

Mobile photography is simply taking photos with your phone. These days, almost everyone has a smartphone, so capturing moments has become very easy. In 2026, this trend is growing fast because phone cameras are getting better every year. Also, many people are getting into smartphone photography to improve their social media photos. But taking a good photo is not only about the camera. You need a few simple mobile photography tips as well. In this guide, you’ll learn easy ways to take clearer and more attractive photos with your phone.
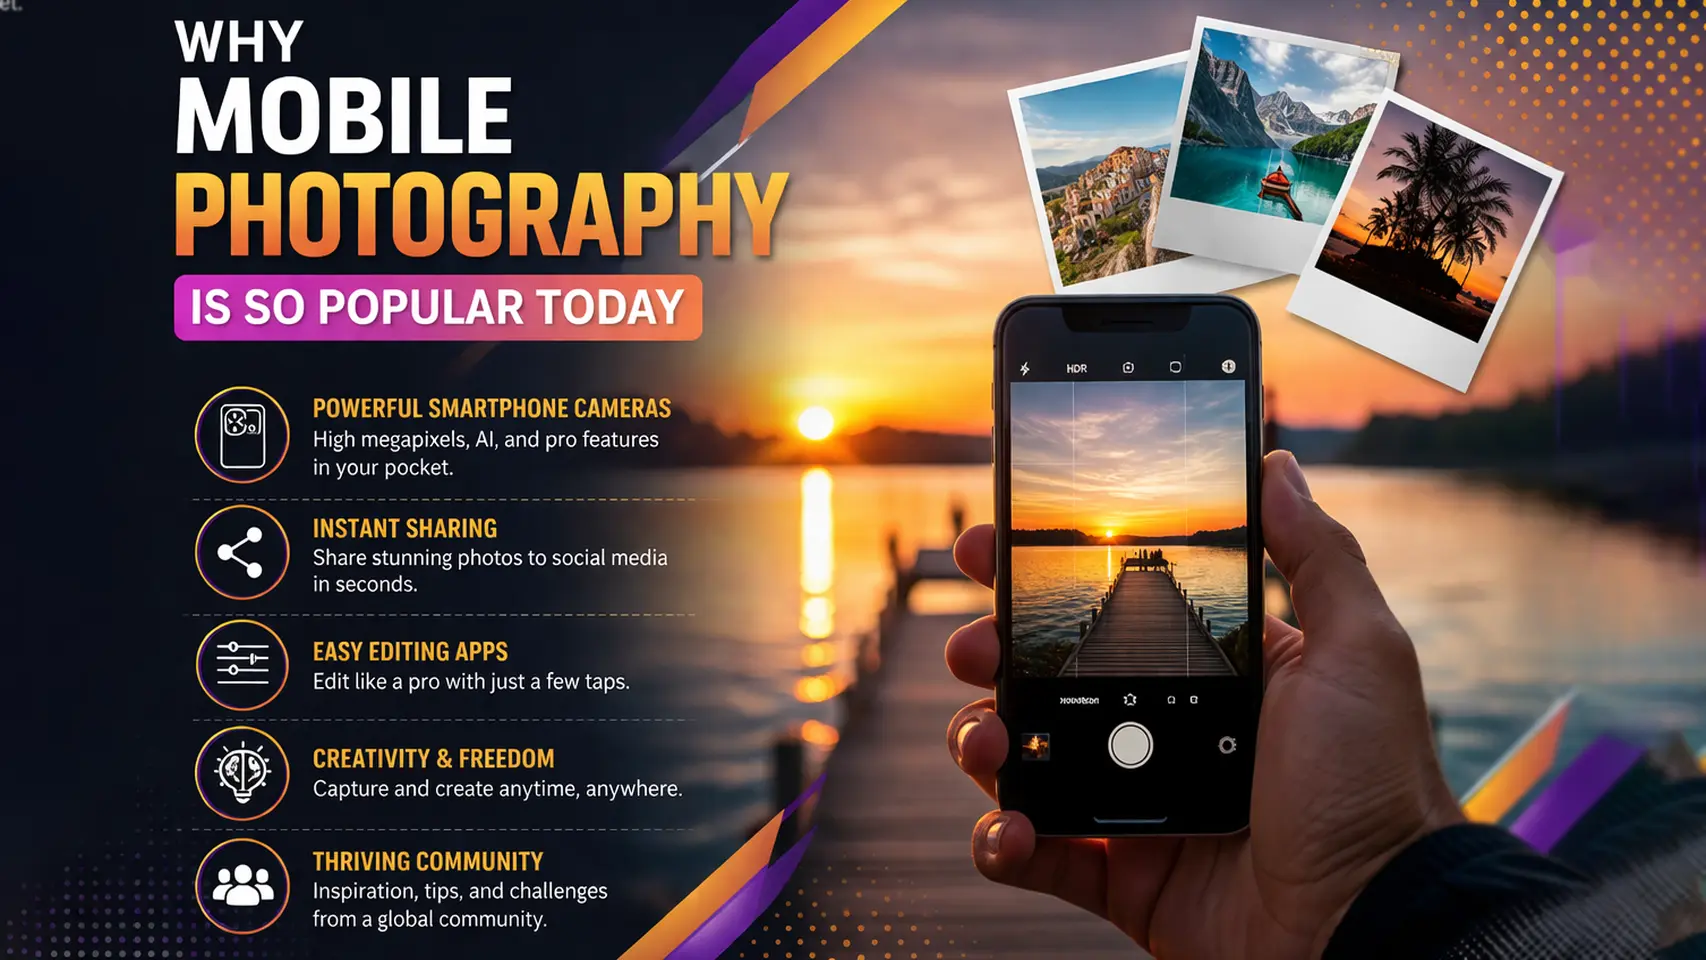
Why Mobile Photography is So Popular Today
Mobile photography is popular mainly because it’s just easy. Almost everyone already has a smartphone, so taking photos doesn’t feel like a big task. You just take your phone out and click. There’s no need to carry a camera or anything extra, which honestly makes a big difference in daily life. Also, phone cameras are much better now than before, so even normal users can get pretty good results without trying too hard.
At the same time, social media has pushed this even more. People want their photos to look good when they post online, so they start caring about it a bit more. But the good thing is, you don’t need much knowledge to begin. Even if you are new, you can still learn quickly just by trying different things and seeing what works.
Mobile Photography Tips for Beginners
If you are just starting, you don’t need expensive gear or advanced skills. Instead, a few simple mobile photography tips can improve your photos quickly. These basics will help you take clearer, sharper, and more balanced shots. So, focus on these small changes first, and you will see a big difference.
Clean Your Camera Lens
This is one of the easiest but most important tips. Your phone lens often gets dirty from fingerprints, dust, or pockets. As a result, your photos can look blurry or dull without you noticing. So, always clean your lens before taking a photo. You can use a soft cloth or even your shirt in a quick moment. Also, make it a habit to check your lens often. This simple step can instantly improve photo quality without any extra effort.
Use Natural Light
Lighting plays a huge role in mobile photography. Natural light is usually the best option because it makes your photos look clear and soft. So, try to shoot during the morning or late afternoon when the light is not too harsh. However, avoid strong midday sunlight because it creates hard shadows. If you are indoors, stand near a window for better light. Good lighting can make even a simple photo look more professional and attractive.
Keep Your Phone Steady
Shaky hands can easily ruin a photo. Even a small movement can cause blur, especially in low light. So, try to hold your phone with both hands for better control. Also, you can rest your hands on a stable surface like a table or wall. If possible, use a tripod for extra stability. In addition, take multiple shots to make sure at least one is sharp. Keeping your phone steady will help you capture clear and focused images every time.
Use Gridlines (Rule of Thirds)
Gridlines help you compose your photos better. You can turn them on from your camera settings. They divide your screen into nine equal parts. So, instead of placing your subject in the center, try to place it along the lines or at the intersections. This creates a more balanced and natural look. Also, it makes your photos more visually appealing. Once you start using this method, your photos will look more professional without extra editing.
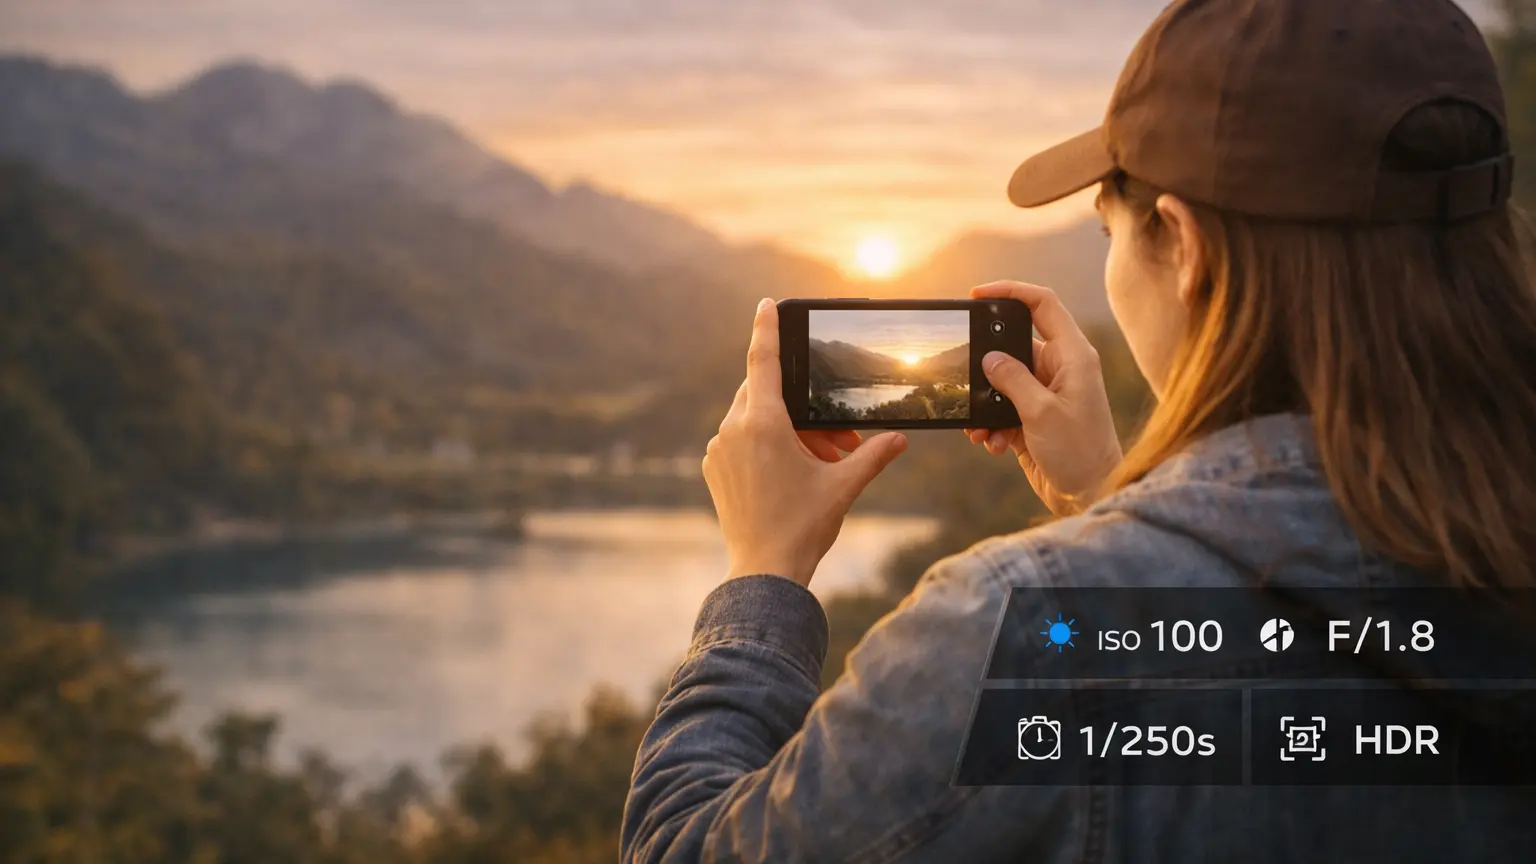
Best Mobile Camera Settings for Stunning Photos
Understanding basic camera settings can improve your photos a lot. You don’t need to learn complex details. Instead, just adjust a few simple settings to get better results. These small changes can help you capture brighter, sharper, and more balanced images with your phone.
HDR
HDR stands for High Dynamic Range. It helps balance bright and dark areas in a photo. So, if your scene has strong light and shadows, turn on HDR. This will keep details in both areas. However, avoid using HDR for moving subjects because it can create blur. Use it mostly for landscapes or still shots.
ISO
ISO controls how sensitive your camera is to light. A low ISO works best in bright conditions and gives clean photos. On the other hand, a high ISO helps in low light but can add noise or grain. So, try to keep ISO as low as possible for better quality.
Exposure
Exposure controls how bright or dark your photo looks. If your image looks too dark, increase exposure slightly. If it looks too bright, reduce it. Most phones let you adjust this by sliding your finger on the screen. So, take a second to adjust it before clicking the photo.
Focus
Focus makes sure your subject looks sharp and clear. Always tap on your subject before taking a photo. This tells your phone where to focus. Also, it helps balance the lighting around that area. Good focus can make a simple photo look much more professional.

Mobile Photography Lighting Tips
Lighting can completely change how your photo looks. Even if your phone camera is good, poor lighting can ruin the shot. So, it’s always better to focus on light first before anything else. Once you understand it a little, your photos will start looking much better.
Natural Light vs Artificial Light
Natural light is usually the easiest and best option. It gives a soft and clean look to your photos. So, try to use sunlight whenever you can. On the other hand, artificial lights are not always perfect. Sometimes they make the photo look too bright or give strange colors. Still, if the light is soft, you can use it. Just try not to mix too many light sources together.
Indoor vs Outdoor Lighting
Outdoor photos are usually easier because sunlight is already available. So, you don’t have to do much. However, indoor photos can be a bit tricky. Rooms often don’t have enough light, and that can make photos look dull. So, a simple trick is to stand near a window. This helps you get better and more natural light without extra effort.
Avoid Harsh Shadows
Strong shadows can make your photo look uneven. This usually happens in bright sunlight, especially in the middle of the day. So, it’s better to shoot in the morning or late afternoon. Also, you can slightly change your position to reduce shadows. Even a small shift can make a big difference in how your photo looks.
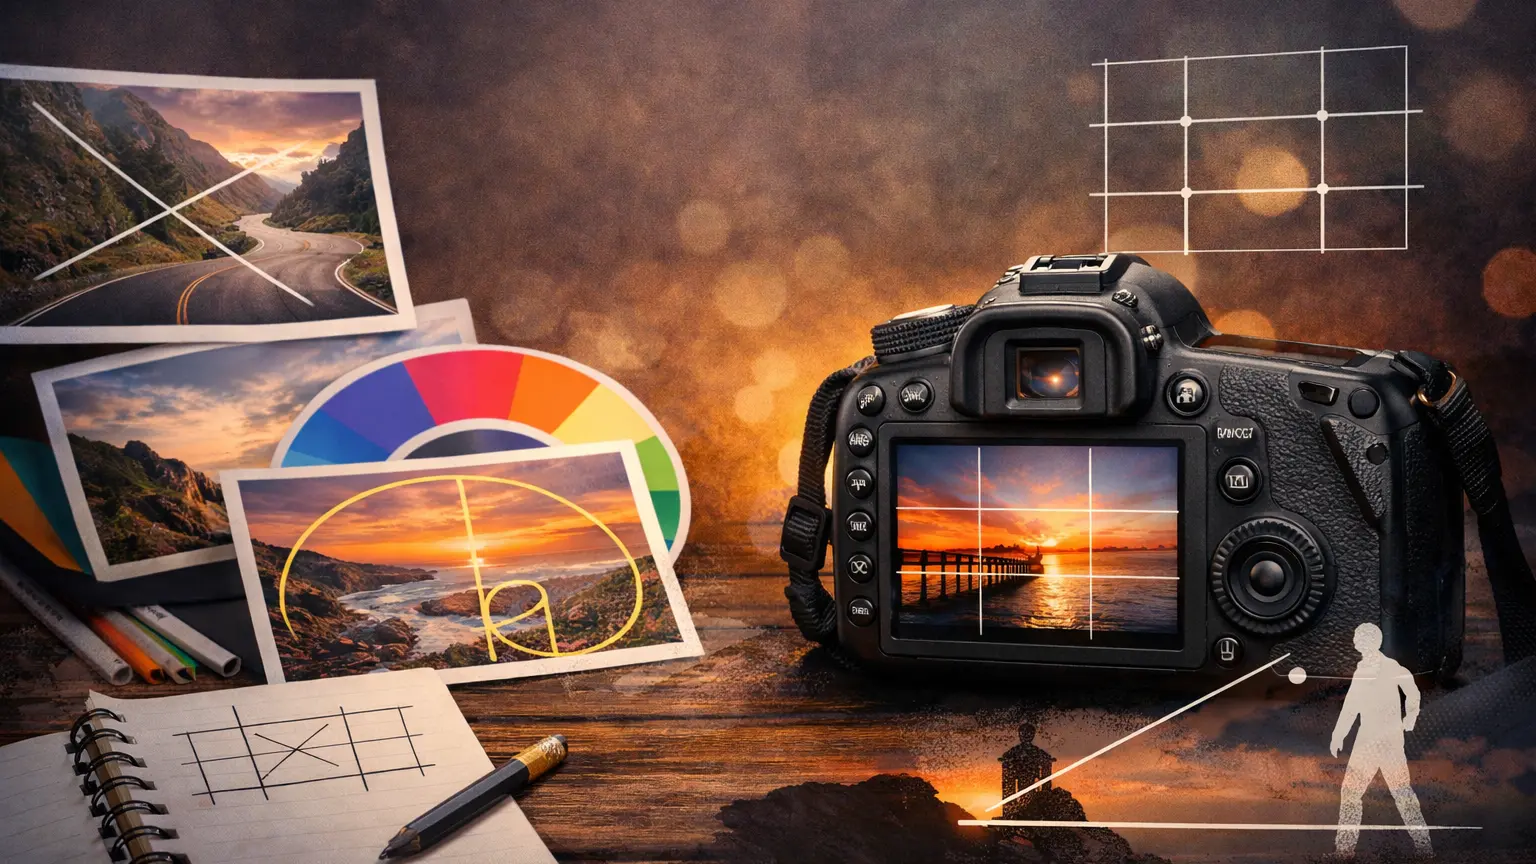
Composition Tips to Make Your Photos Look Professional
Good composition can make a simple photo look much better. You don’t always need a high-end camera. Instead, how you place your subject in the frame matters a lot. So, learning a few basic composition ideas can really improve your mobile photography.
Rule of Thirds
The rule of thirds is a simple way to improve your photo balance. Most phones have gridlines that divide the screen into parts. So, instead of putting your subject in the center, place it slightly to the side. This makes the photo look more natural. Once you start using it, your photos will feel less flat and more interesting.
Leading Lines
Leading lines help guide the viewer’s eyes in a photo. These can be roads, paths, walls, or even shadows. So, try to use these lines to point toward your subject. It creates depth and makes the photo more engaging. Even simple scenes can look more professional with this small trick.
Framing
Framing means using objects around your subject to create a border. For example, you can use doors, windows, or trees. This helps focus attention on the main subject. Also, it adds more depth to your photo. You don’t need anything special—just look around and use what’s already there.
Background Control
A messy background can ruin a good photo. So, always check what’s behind your subject before taking the shot. If the background is too busy, try to change your angle or move closer. A clean background makes your subject stand out more. As a result, your photo will look much more professional.
Mobile Photography Tricks and Hacks
Once you get comfortable with the basics, small tricks can really change your photos. You don’t always need expensive gear or editing. Sometimes, just trying a different approach works better. So, here are a few simple tricks you can try anytime.
Use Reflections
Reflections can make a photo look more interesting without much effort. You can find them in water, glass, or even shiny surfaces. Sometimes you don’t notice them at first, but once you do, they can add a nice touch. So, take a moment to look around before you shoot. Even a simple reflection can make your photo stand out a bit more.
Shoot from Different Angles
Most people take photos straight from eye level. It works, but it can feel a bit boring after a while. So, try changing your angle. Go lower, move to the side, or even shoot from above. You might not get it right every time, and that’s fine. But when it works, the photo feels more creative and less common.
Use Burst Mode
Burst mode is helpful, especially when things are moving. Instead of trying to catch the perfect moment in one shot, just hold the shutter button. Your phone will take several photos quickly. Later, you can pick the best one. It saves time, and honestly, it increases your chances of getting a really good shot.
Use Portrait Mode
Portrait mode is great when you want to focus on one subject. It blurs the background, so the main subject stands out more. This works well for people, but you can also try it with objects. Just make sure the subject is clear and not too far away. Sometimes it doesn’t work perfectly, but when it does, the result looks really nice.
Best Apps for Mobile Photography and Editing
You don’t really need heavy software to edit your photos. Most people just use a few simple apps, and honestly, that’s enough. The goal is not to over-edit but to make small improvements. So, here are a few apps that people use a lot, and they work well without adding watermarks.
Snapseed
Snapseed is probably one of the easiest apps out there. The layout is simple, so you won’t feel confused. You can fix brightness, contrast, and colors in just a few steps. Also, there’s no watermark at all, which makes it even better. If you are new, this is a good place to start.
Lightroom Mobile
Lightroom gives you a bit more control compared to other apps. At first, it might feel slightly advanced, but you’ll get used to it. You can adjust light and color more carefully, which helps your photos look cleaner. The free version is enough for most people, and it doesn’t force a watermark.
PicsArt
PicsArt is more on the creative side. You can add filters, effects, and even small designs. It’s fun to use, but you don’t have to use everything. Sometimes simple edits work better. Some features are paid, but basic editing is still free and usable.
Common Mobile Photography Mistakes to Avoid
Even if you have a good phone, small mistakes can ruin your photos. Many beginners make the same errors without noticing. So, if you can avoid these, your photos will already look much better without doing anything extra.
Blurry Photos
Blurry photos are very common. It usually happens when your hand moves while taking the shot. Sometimes it’s not even noticeable until you check later. So, try to hold your phone steady and take a second before clicking. Also, taking multiple shots can help. That way, you at least get one clear photo.
Bad Lighting
Lighting can easily make or break a photo. If the light is too low, your photo will look dull. On the other hand, too much light can make it too bright. So, try to find balanced lighting. Natural light usually works best, so using a window or open space helps a lot.
Cluttered Background
A messy background can distract from your subject. Sometimes you focus on the main object but forget what’s behind it. As a result, the photo looks confusing. So, take a quick look before shooting. If needed, change your angle or move a little closer.
Over-Editing
Editing is useful, but too much of it can ruin your photo. Strong filters or too much color can make it look unnatural. So, try to keep your edits simple. A small adjustment is often enough. In most cases, less editing actually looks better.
Frequently Asked Questions
What are the best mobile photography tips?
There isn’t just one tip that works for everything. But a few basics help a lot. For example, using natural light, keeping your phone steady, and cleaning the lens can instantly improve your photos. These are simple, but they actually make a big difference.
How can I take professional photos with my phone?
You don’t need anything special to start. Just focus on a few things like lighting, angle, and composition. So, try to shoot in good light and avoid rushing the shot. With a bit of practice, your photos will start to look more professional.
What settings are best for mobile photography?
It really depends on the situation. Still, keeping ISO low and adjusting exposure usually works well. Also, turning on HDR in high-contrast scenes can help. You don’t have to change everything—just small tweaks are enough.
Which app is best for mobile photography?
A lot of people use Snapseed or Lightroom because they are simple and don’t add watermarks. PicsArt is also an option if you like extra effects. You don’t need too many apps though—one or two is enough.
Conclusion
Mobile photography gets easier the more you try it. At first, your photos may not look great, and that’s normal. Just focus on light, angles, and small details when you shoot. You don’t need to do everything perfectly. Over time, you’ll understand what works for you. So keep taking photos, even if they don’t come out perfect every time.


