


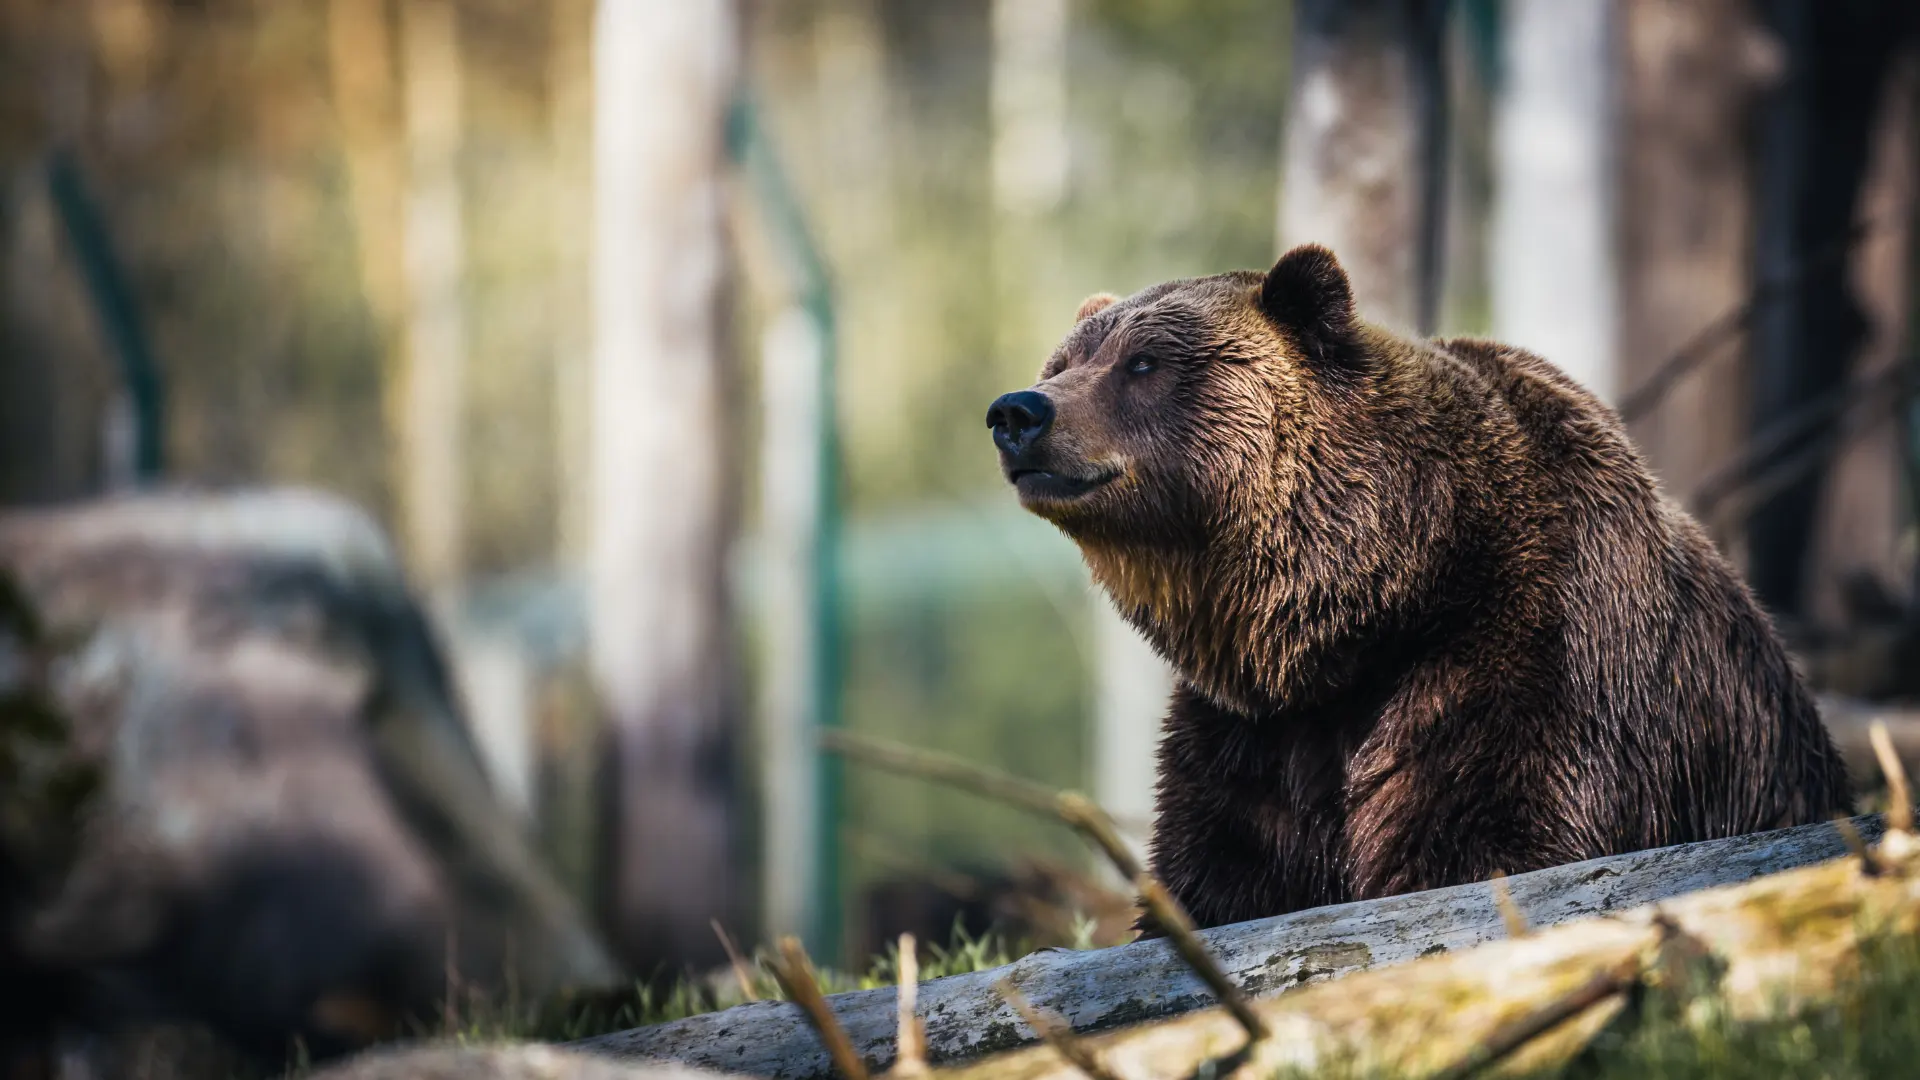
The rule of thirds in photography is a simple composition guide that divides your frame into nine equal sections, making it easier to place your subject in a natural and balanced way. It works by gently guiding your viewer’s eye to the important parts of the photo and creating a natural, easy flow across the image. You should use this rule when you want a clean, well-structured photo that feels comfortable and easy for viewers to take in. Remember, even within the standard camera composition rules in photography, you can break conventions when it strengthens the emotional impact of your photo. The camera composition rules strengthen your composition by adding balance, interest, and clear focus, without making the photo feel busy or crowded. In real-world photography, you can use the rule by lining up your main subjects with the gridlines. Placing key points at the intersections makes your shot feel more dynamic and engaging. It’s especially effective in portrait and wildlife photography, where placing the eyes or main subject along the grid makes your photos feel more engaging and professional.

What is the Rule of 3rds and How It Works
The rule of thirds in photography is a core principle in photography that every photographer should know. The rule of thirds art is a composition approach that divides an image into nine equal parts using two horizontal and two vertical lines. This creates a rule of thirds grid that helps you place key elements in the frame naturally. The main idea is to place important elements along the grid lines or at their intersections instead of keeping them at the centre of the frame. This creates better balance and visual appeal, making the photo look more natural and interesting. This method also guides the viewer’s eye smoothly across the image. Whether you’re shooting landscapes, portraits, or wildlife, understanding this photography rule is essential. Learning this concept is an important step toward creating stronger and more engaging compositions.
When You Should Use the Rule of Thirds
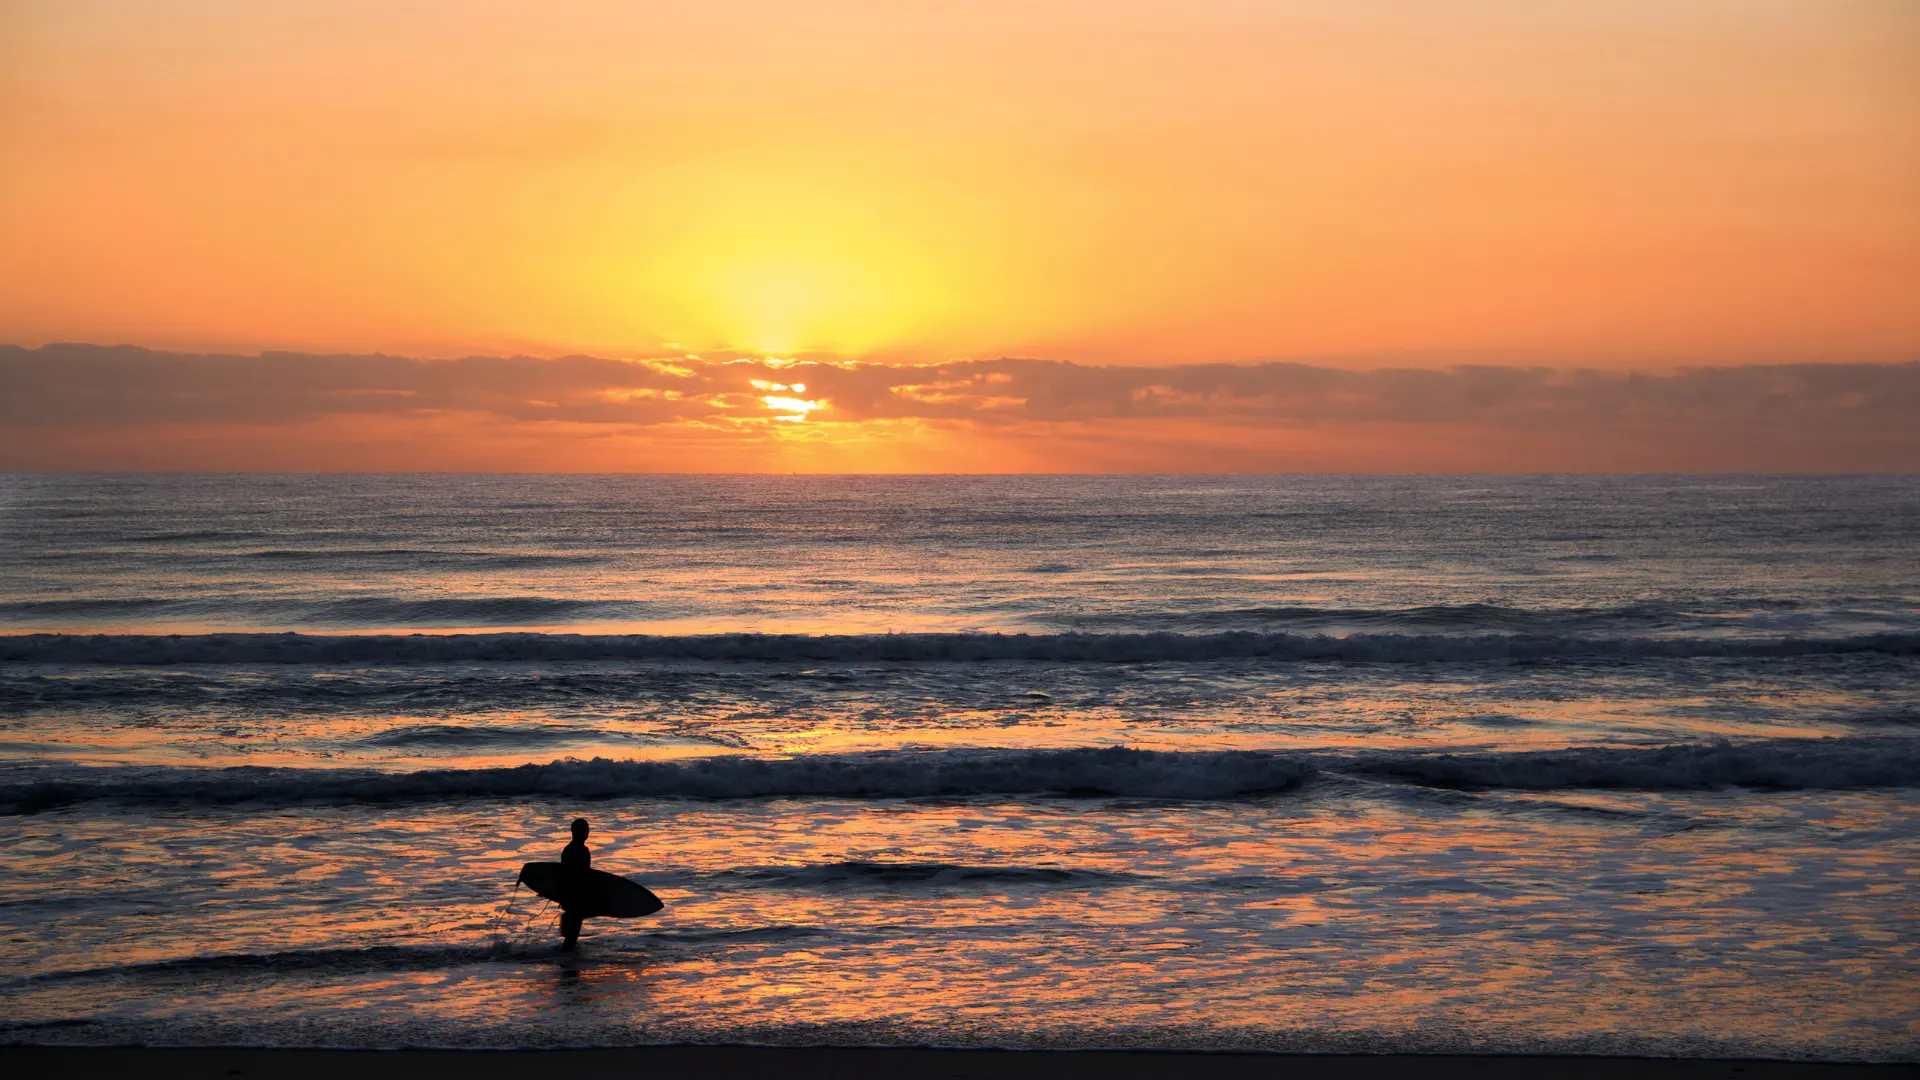
The rule of thirds in photography works best when you want a balanced, well-structured image that still feels natural. For instance, in landscape photography, it’s better to place the horizon along the top or bottom third rather than right in the centre. The photograph gains a sense of movement and openness using this photography technique. In portrait photography, try placing the subject’s eyes along one of the top grid intersections. This helps direct the viewer’s focus to the most important part of the photo. This technique is well for street photography, product shots, and wildlife photography, too. It’s ideal when you want the primary subject to be the focal point, yet also provide a sense of place. Whenever you want your photo to look balanced and easy on the eyes, the rule of 3rds is a helpful guide
Why the Rule of Thirds Improves Your Composition
The law of thirds enhances your composition by bringing balance and harmony to your photos. It keeps your images from feeling flat or dull by guiding you to place subjects where the viewer’s eye is naturally drawn. This approach injects visual appeal without making the composition feel busy, which means your pictures will be captivating, not overwhelming. It also helps emphasise key points in the photo, whether it’s a person’s eyes, a bird in flight, or a tree in a landscape. This idea works well with other camera basic photography rules, such as leading lines or composition framing, which together improve the visual narrative of your photograph. By practising the rule of thirds art, you naturally develop a better eye for balance, proportion, and focus in every shot.

Applying the Rule of Thirds in Real-World Photography
Using the rule of thirds in real-life photography is simpler. Most modern cameras and smartphones let you show a grid on the viewfinder, making it easy to line up your subject with the intersections and lines. A landscape photographer places the horizon line in the top or bottom third of the frame, accentuating either the sky or the foreground. You need to position people or objects along the vertical grid lines for your street photography. Photographers place the main product slightly off-centre to make the composition appear more natural. Wildlife photographers place animals or birds at the intersections, providing enough space and context for a professional look. Repetition in many environments allows photographers to truly grasp the idea, making its application instinctive.
Golden 3rd Rules in Portrait and Wildlife Photography
The rule of thirds in photography is especially useful in portrait and animal photography. The “Golden 3rd” or rule of thirds is a guideline that divides a frame into nine equal parts. This frame is created using two horizontal and two vertical lines. Placing important elements, such as the eyes, along these lines or at their intersections makes the composition more balanced. Aligning the subject with the grid lines creates a more dynamic composition compared to centring it. In landscapes, positioning the horizon along the top or bottom line enhances the scene’s visual appeal. Focusing on the eyes and placing them at an intersection point directs the viewer’s attention to the main subject. Overall, it serves as a guideline that helps photographers develop an intuitive sense for creating the most effective composition for each scene. This leads to images that look professional, feel engaging, and maintain a pleasing visual balance.
Tips for Mastering the Law of Thirds in Photography
Imagine a grid: Imagine dividing your frame into a simple 3×3 grid with two horizontal and two vertical lines. This grid helps make your composition more visually pleasing and balanced.
Position your subject: Position your main subject along a vertical line or at one of the intersections. This makes the photo feel more natural, visually balanced, and comfortable to look at.
Place the horizon: In landscape shots, try placing the horizon along either the top or bottom horizontal line. This helps your photo feel more natural and lets you highlight either the sky or the ground in a pleasing way.
Use grid overlays: The best cameras and smartphones have a helpful built-in grid overlay you can turn on. This makes it easier to line up your subject and compose your shot with natural, pleasing alignment.
Consider portraits: In portraits, try placing the subject’s eyes along the top horizontal line. This makes the photo feel more natural and instantly draws the viewer’s attention.
Edit later: If you forget to apply it while shooting, you can use editing software to crop and reframe your photo following the rule of thirds in photography. This lets you still create a balanced and visually pleasing image even after taking the shot.
Alternative Ideas: The rule of thirds in photography is a useful guideline, but sometimes breaking it can make your photos even more impactful. Placing the subject in the centre can create a sense of stability, balance, and a more natural, grounded feel. In architectural or minimalistic photography, bold central lines or patterns can stand out clearly when this alternative idea is used.
Conclusion
The rule of thirds in photography helps photographers make their images more balanced, engaging, and professional-looking. You can enhance the composition of landscapes, portraits, wildlife, and other types of photography by using it. Using the laws of thirds grid helps the main subject stand out while also creating a balanced composition. As you get the hang of it, this approach becomes second nature. You’ll find yourself free to concentrate on the creative process, all the while producing visuals that look good. The rule of 1,2,3 is an essential step toward creating stronger, more compelling photos.


