

As a photographer, you already know how important every detail is; jewelry photography techniques can either enhance or diminish the impact of your product images. We understand—capturing the brilliance, clarity, and texture of jewelry is no simple chore, and it sometimes feels as though your shots do not fairly represent the real thing. But using the correct methods will make your jewelry pictures go from average to absolutely beautiful.
Jewelry photography techniques covering everything from lighting and background setups to camera settings and post-processing such as jewelry retouching. This post will provide you with practical techniques to regularly produce visually striking jewelry images that sell, regardless of experience level.

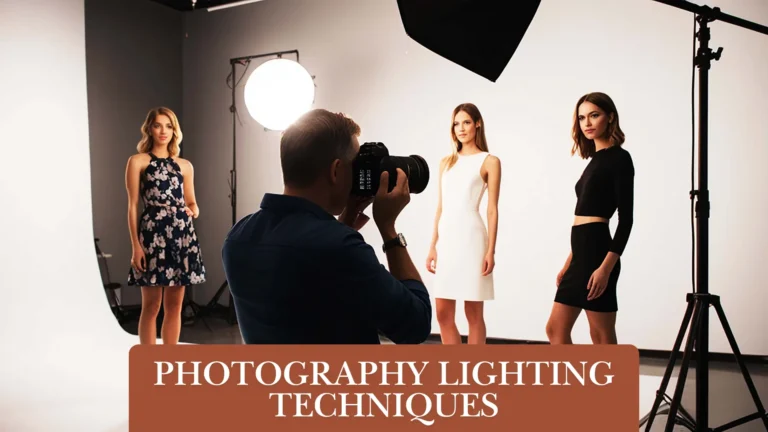
Fundamentals Techniques for Perfect Lighting
It’s important to first understand the basic photography principles to capture a great jewelry photo. These cover knowing how to handle lighting, choosing suitable backgrounds, applying the correct lenses, and keeping cleanliness. Jewelry is small in scale and highly reflective, thus detail is everything. Your final images will seem more polished the clear. A photographer should focus on fundamental lighting principles to create perfect illumination for jewelry.
Perfect Background Selection
The background should accentuate your jewelry rather than take focus from it. Most jewelry photography techniques take advantage of clean, neutral backgrounds such as white, black, or soft gray since they highlight the subject. Marble, wood, or textured cloth can add a bit of elegance for lifestyle shots, but make sure the background never takes front stage over the jewelry itself.
Right Camera Settings
Jewelry photography can be much improved by proper camera settings. Professional jewelry photographers advise low ISO (100–200) to avoid noise, a small aperture (f/11 to f/16) for maximum depth of field, and hand focus for pinpoint accuracy. Especially when shooting at slower shutter speeds, a tripod is also necessary to keep stability and prevent blur.
Mastering Focus on Jewelry
Little items like earrings and rings call for exact attention. Use a small aperture and hand focus to maintain every element clear. By increasing the depth of field, all of the jewelry—from front to back—is in clear focus. One of the basic jewelry photography techniques for a professional and detailed look is this one.
Why Lighting is Crucial in Jewelry Photography
The heartbeat of photography is lighting; in jewelry photography, it is even more important. The way light interacts with crystals, metals, and gemstones defines the beauty of your jewelry in images. One of the most important jewelry photography techniques is shadow and harsh reflection reduction using diffused lighting. A light tent or softbox lighting will help to evenly distribute light, adding depth and shine without producing glare. Photo retouching complements lighting by enhancing the image after it’s captured.
How to Use Lighting in Different Photography
In jewelry photography, lighting plays a crucial role, affecting the details, reflections, and sparkle of the jewelry. Different types of photography—studio, portrait, wedding, and outdoor—require tailored lighting techniques to highlight jewelry effectively.
Studio Photography Lighting
Studio photography lighting techniques are essential to control the lighting reflection of jewelry images. There are three main types of studio lighting: continuous lights, strobe lights, and LED lights. Light modifiers like softboxes and reflectors help shape the light effectively, highlighting the small and reflective surfaces of jewelry. Taking test shots and practicing regularly is essential for achieving professional-quality jewelry photography.
Lighting for Portrait Photography
Portrait photography lighting techniques are essential for controlling shadows and highlights in jewelry images. The key light serves as the main light source, usually placed at a 45° angle to create depth and dimension. Lighting patterns like butterfly, loop, and Rembrandt help enhance the details and sparkle of jewelry. Jewelry retouching helps brighten shadowed areas and reduce contrast when needed.
Lighting Techniques for Wedding Photos
Lighting is one of the most critical elements in wedding jewelry photography. It emphasises understanding natural and artificial light. Wedding photography lighting techniques involve understanding different lighting situations and the jewelry of the model. A jewelry photographer must maintain both camera settings and flash power
Outdoor Photography Lighting
Outdoor lighting offers photographers a wide range of creative possibilities but also brings distinct challenges. Direct midday sunlight can create harsh shadows and strong contrasts for capturing the fine details and sparkle of gemstones. Shooting under a cloudy sky or in open shade works like a giant softbox, providing soft and flattering light for jewelry. During the golden hour, front lighting spreads evenly and gives a warm glow.

How to Avoid Reflections and Glare in Jewelry Photos
Reflective surfaces of jewelry can sometimes catch unwelcome reflections from your hands to the camera lens. Try encircling the piece with a light tent or diffuser to cut sharp reflections. Professional jewelry photographers also advise wearing neutral-colored clothes and using black or white cards to adjust light bounce and shadow direction.
Shooting with Natural Light
Natural light is a great substitute in case you do not have studio lighting. To scatter direct sunlight, arrange your jewelry close to a big window with sheer curtains. This produces soft, pleasing light that accentuates the actual colors and sparkle of your jewelry. Among simple photography techniques, properly using daylight can help create stunning results without additional cost.

Macro Lenses for Jewelry Photography
A macro lens preserves sharpness and clarity while letting you get quite near to the subject. Particularly for displaying textures, gemstone cuts, engravings, or metalwork, this indispensable tool in high-end jewelry photography is These lenses provide your images a rich, editorial finish by catching minute details that standard lenses would overlook.
Capturing Sparkle and Shine
Making your jewelry sparkle requires science as well as art. To highlight areas, use pinpoint lighting; to bounce light into gemstones, use mirrors. Changing your angles somewhat can also improve light reflection off metal and stones. Good jewelry photography techniques concentrate on striking a balance—enough gloss to grab the eye, but not so much that it overcomes the details.

Common Mistakes to Avoid in Jewelry Photography
A shoot can be ruined even with the best equipment by mistakes, including inadequate lighting, dirty jewelry, or distracting backgrounds. Preparing is one of Jewelry Photography Techniques’ golden rules. Always review test shots; clean the jewelry completely, and arrange lighting carefully. These little actions guarantee polished output and help avoid common mistakes.


