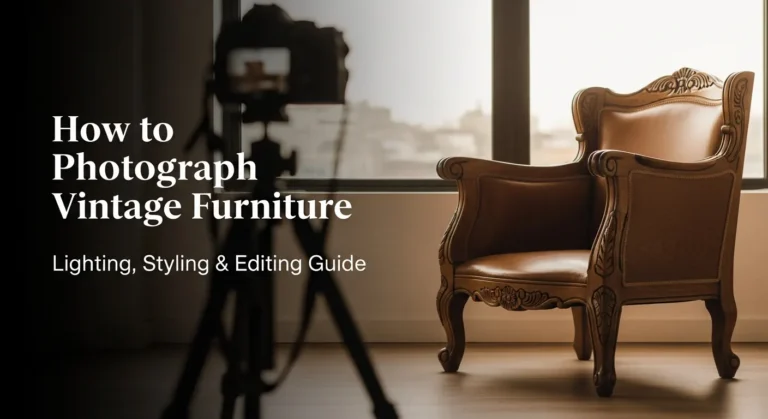
Understanding the Essence of Vintage Furniture
Vintage furniture photography starts with understanding the true character of each piece. Every vintage item has history, texture, and personality. Unlike modern furniture, vintage pieces often show signs of age. For example, you may see worn edges, faded polish, or small cracks in the wood. These details are not flaws. Instead, they add charm and value.
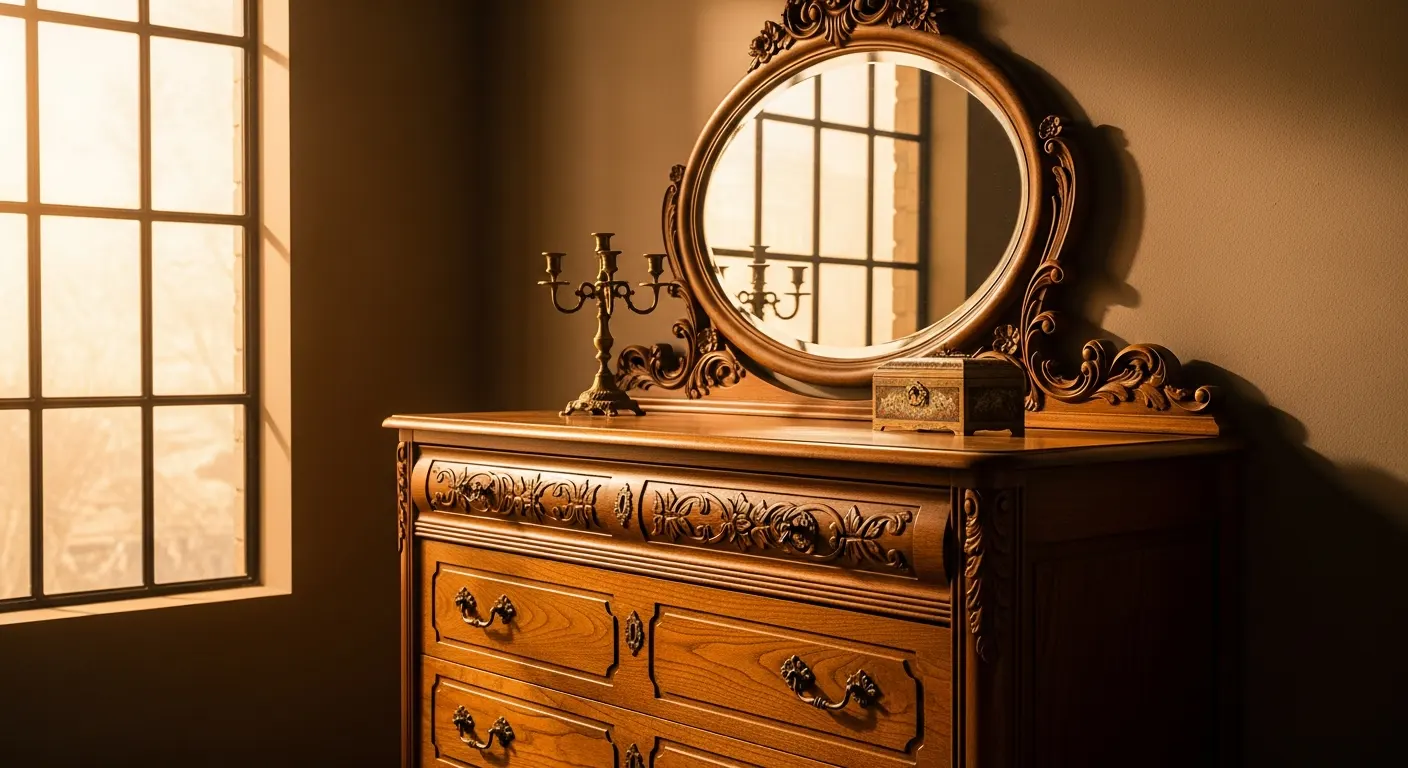
Before you take photos, study the furniture carefully. Look at the wood grain, carvings, fabric patterns, and hardware. Notice how light falls on the surface. Also, pay attention to the design style. It could be mid-century modern, Victorian, or rustic farmhouse. Each style has unique features that deserve attention.
When you understand these elements, you can highlight them in your photos. Focus on what makes the piece special. Capture the texture, shape, and craftsmanship clearly. At the same time, keep the natural look of the furniture. Do not hide its age completely. Instead, show its authentic beauty.
In short, great vintage furniture photography begins with observation. The better you understand the piece, the better you can present it through your lens.
Preparing for Vintage Furniture Photography
Proper preparation makes a big difference in your final images. First, clean the furniture carefully and remove dust or stains. Next, fix small issues if needed. Then, choose a simple background and plan your styling. Good preparation helps you capture clear, attractive, and professional vintage furniture photos. Here are some essential steps:
Cleaning and Polishing
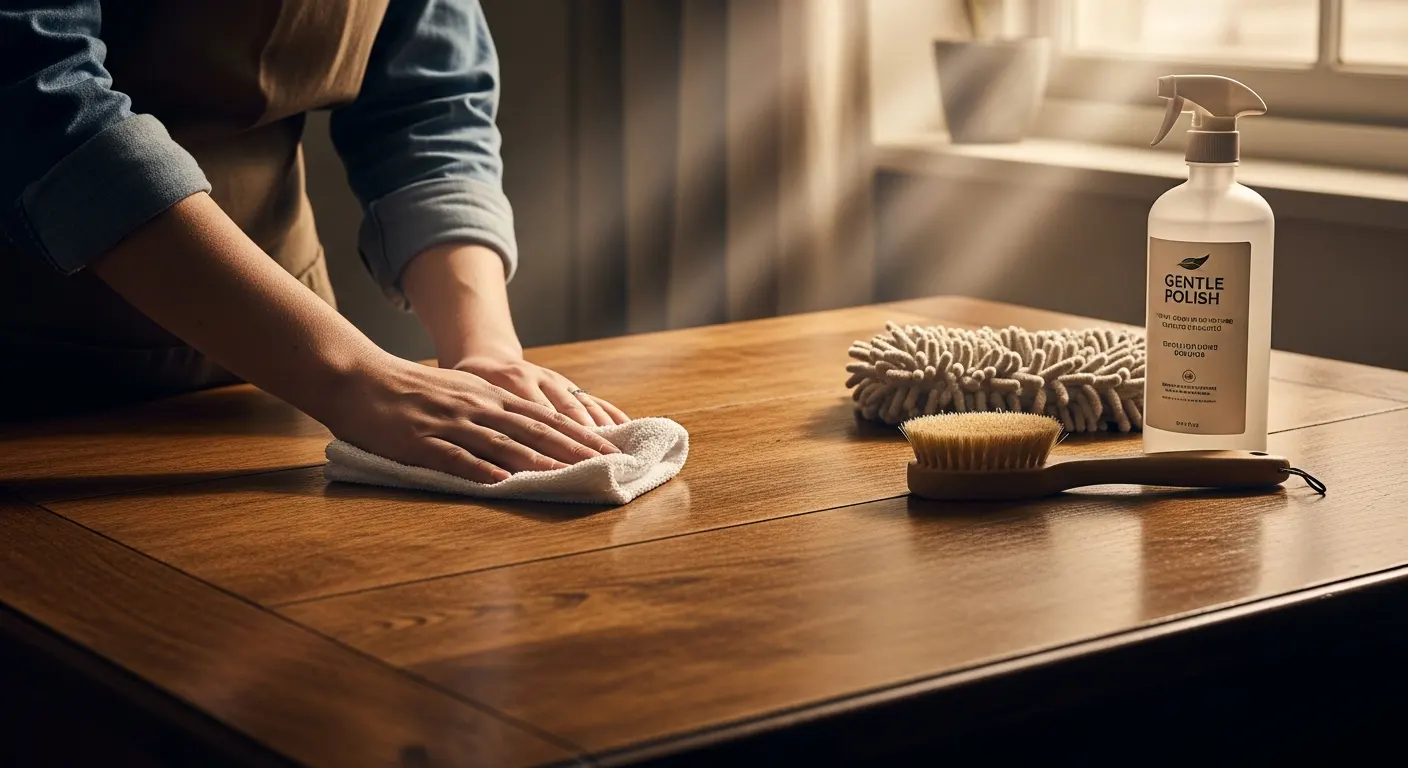
Before taking photos, clean the furniture carefully. Remove dust, dirt, and fingerprints from all surfaces. Use a soft cloth and mild cleaner that suits the material. For carved areas, use a small brush to reach tight spaces. After cleaning, apply a light polish if needed. This step enhances the natural shine and brings out the wood grain, making the furniture look fresh yet authentic in photos.
Choosing the Right Location
The right location can improve your vintage furniture photography instantly. First, choose a clean and simple space. A neutral wall or soft background works best because it keeps the focus on the furniture. Next, look for natural light near a large window. Soft daylight helps show true colors and textures. Also, avoid busy or cluttered areas. A calm setting makes the furniture stand out clearly and look more appealing.
Styling and Staging
Styling helps bring life to your vintage furniture photos. Start by keeping the setup simple and balanced. Add small props like old books, a soft throw, or a classic lamp to enhance the vintage feel. However, avoid adding too many items. The furniture should remain the main focus. Also, match the props with the furniture style. Good staging creates mood, adds depth, and makes the piece look more realistic and inviting.
Mastering Lighting Techniques
Lighting plays a key role in vintage furniture photography. Good light highlights textures, colors, and fine details. Natural light works best for a soft and warm look. However, you can also use soft studio lights for better control. Proper lighting makes the furniture look rich, clear, and timeless.
Natural Light
Natural light is one of the best choices for vintage furniture photography. It creates a soft and realistic look that highlights textures and true colors. Place the furniture near a large window where indirect sunlight enters the room. However, avoid direct harsh sunlight because it can create strong shadows and bright spots. Use sheer curtains to soften the light if needed. Morning or late afternoon light works especially well because it adds warmth. Also, move around the piece to see how light falls on different angles. Proper natural light makes the furniture look authentic and inviting.
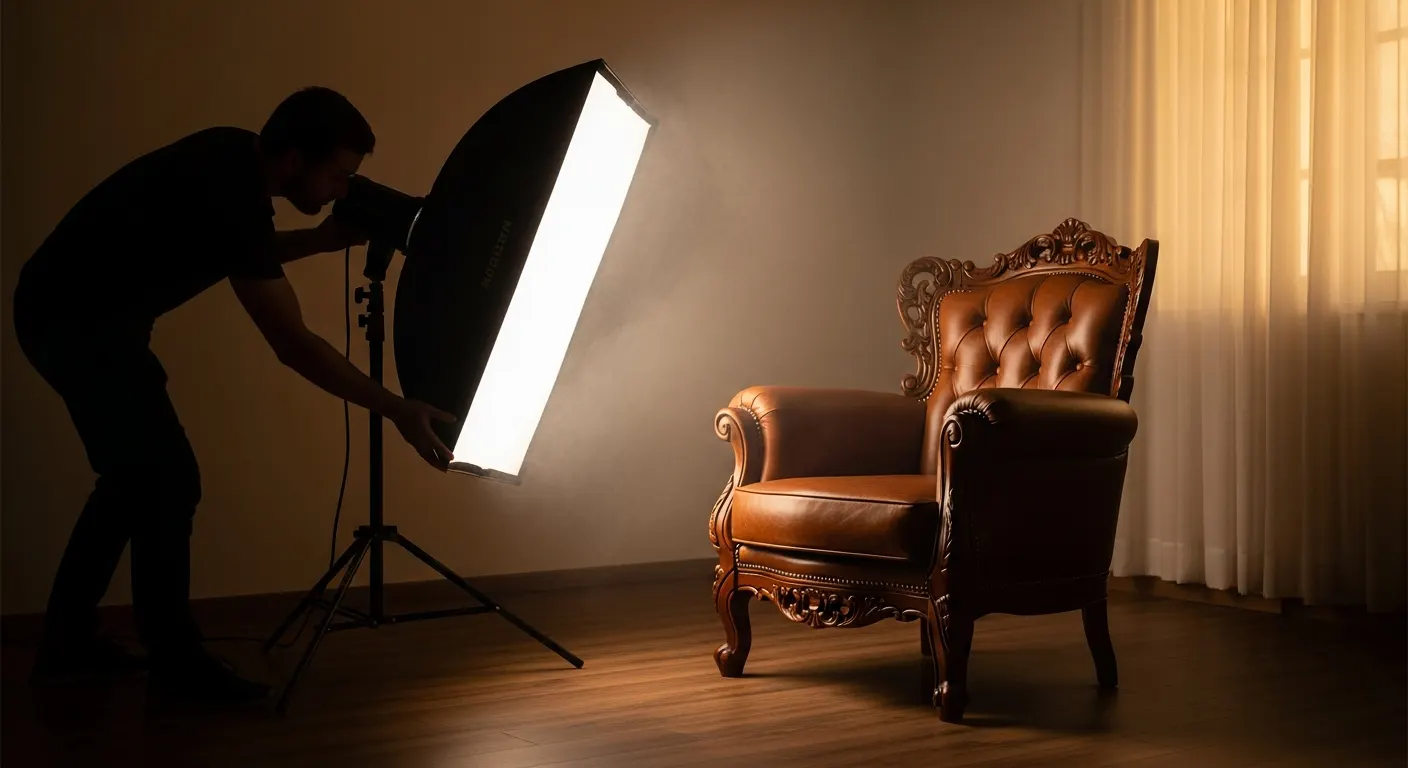
Artificial Light
Artificial light gives you more control when natural light is not available. Use softbox lights or LED panels to create even and balanced lighting. Place the main light at a 45-degree angle to highlight texture and depth. However, avoid placing lights directly in front of the furniture, as this can make the image look flat. You can also use a reflector to reduce harsh shadows. Adjust the brightness carefully to keep the colors natural. With the right setup, artificial light can make vintage furniture look sharp, detailed, and professional.
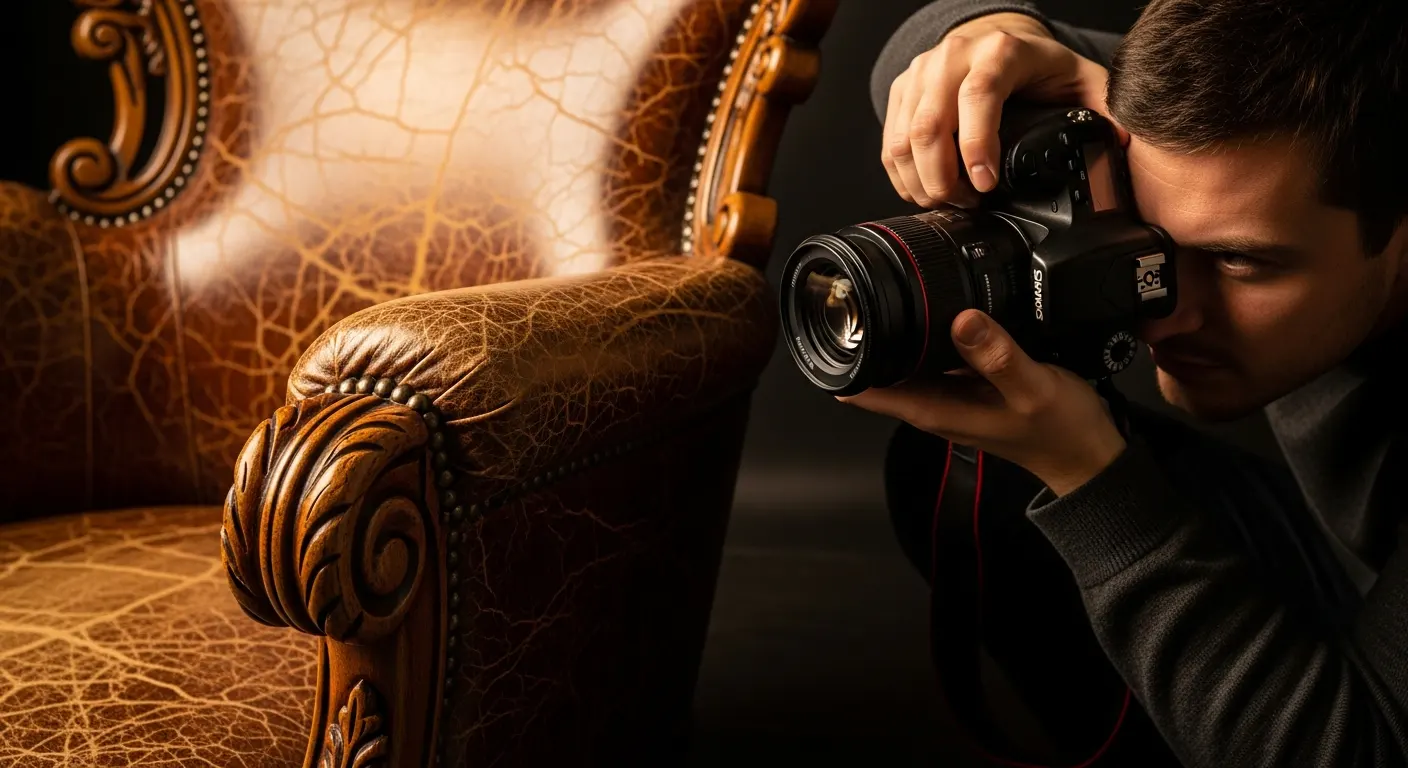
Capturing Textures and Details
Capturing textures and details is essential in vintage furniture photography. These small elements give each piece its unique charm. For example, focus on wood grain, carved patterns, fabric texture, and aged finishes. Use close-up shots to highlight these features clearly. A macro lens can help you capture fine details with sharp focus.
In addition, choose the right angle to show depth. Side lighting works well because it creates soft shadows that reveal texture. However, avoid using very strong light that hides natural imperfections. Vintage furniture often looks beautiful because of its worn edges and subtle cracks. So, do not remove every sign of age.
Also, keep your camera steady. Use a tripod if needed. Sharp and clear detail shots help viewers appreciate the craftsmanship. When done correctly, texture-focused photos make the furniture look rich, authentic, and full of character.
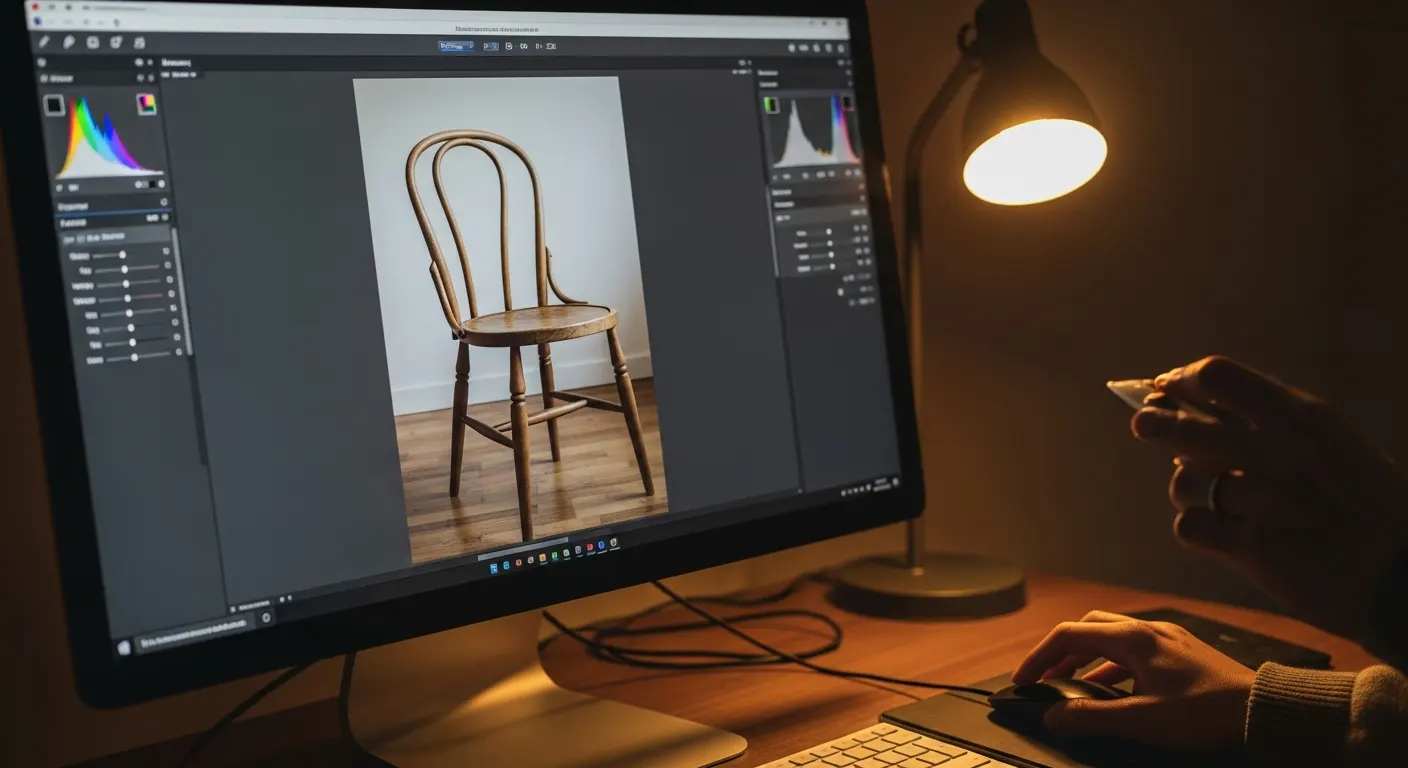
Post-Processing Tips for Vintage Furniture Photography
Editing helps refine your vintage furniture photos without removing their natural charm. Start with basic color correction to keep tones accurate and warm. Then adjust contrast and clarity to highlight textures. However, avoid heavy editing that makes the piece look artificial. Subtle improvements keep the furniture authentic while enhancing overall image quality.
Color Correction
Color correction helps your vintage furniture photos look natural and balanced. First, adjust the white balance to remove unwanted color casts. This step ensures the wood tones and fabrics appear true to life. Next, fine-tune brightness and exposure to avoid dull or washed-out images. Warm tones often work well because they enhance the antique feel. However, do not over-saturate the colors. Keep the edits subtle so the furniture maintains its authentic and timeless look.
Highlighting Textures
Highlighting textures makes vintage furniture look rich and detailed. Start by increasing clarity slightly to bring out wood grain, fabric weave, or carved patterns. Then adjust contrast carefully to add depth. However, avoid pushing these settings too high. Over-editing can make the surface look rough or unnatural. Instead, make small and gradual changes. Zoom in while editing to check fine details. Proper texture enhancement helps viewers see the craftsmanship clearly and appreciate the furniture’s authentic character.
Removing Imperfections
Removing imperfections helps your photos look clean and professional. Start by fixing dust spots, small stains, or distracting marks using tools like the healing brush or clone tool. However, do not remove every scratch or sign of age. Vintage furniture often looks beautiful because of its natural wear. Keep minor details that add character. Focus only on distractions that pull attention away from the piece. Careful retouching keeps the image polished while preserving authenticity.
Showcasing Your Work
After editing your photos, choose only the best images to share. Focus on quality, not quantity. Upload clear, sharp, and well-lit pictures that truly represent your style. You can post them on Instagram or add them to a simple online portfolio. Also, write short captions to explain the furniture style, lighting setup, or editing approach. This adds value and shows your creative thinking.
Stay consistent with your tone and editing style so your work looks professional. Over time, this helps people recognize your photography easily. In addition, update your portfolio regularly as your skills improve. When you showcase your work with care and consistency, you build confidence, attract attention, and grow as a vintage furniture photographer.
Exploring Creative Angles and Compositions
Creative angles and thoughtful composition can make your vintage furniture photography stand out. Instead of always shooting from eye level, try different perspectives. For example, a low angle can make a chair or cabinet look strong and elegant. On the other hand, a slight side angle can show depth and shape more clearly. Move around the piece and test multiple views before choosing the best one.
Composition is equally important. Use the rule of thirds to create balance in your frame. Keep the furniture as the main subject and avoid distractions in the background. You can also frame the piece using doors, windows, or curtains to add depth. However, keep the setup simple and clean. Strong angles and balanced composition help your photos look more professional and visually engaging.
Resources for Inspiration
Finding inspiration can help you improve your vintage furniture photography. Start by exploring interior design websites and home décor blogs. Look at how professionals use light, color, and composition. Notice how they style furniture and place props. This will give you new ideas for your own shoots.
You can also browse social media platforms like Instagram and Pinterest. Search for vintage décor or antique furniture photography. Save the images you like and study what makes them stand out. However, do not copy directly. Instead, use them as inspiration to develop your own style. Learning from others helps you grow faster and stay creative.
Conclusion
Vintage furniture photography requires careful preparation, balanced lighting, creative angles, and subtle editing. When you understand the character and texture of each piece, you can highlight its true beauty. Keep your approach simple and authentic. Most importantly, practice regularly and refine your style. With consistency and attention to detail, you can create timeless and visually appealing images.