

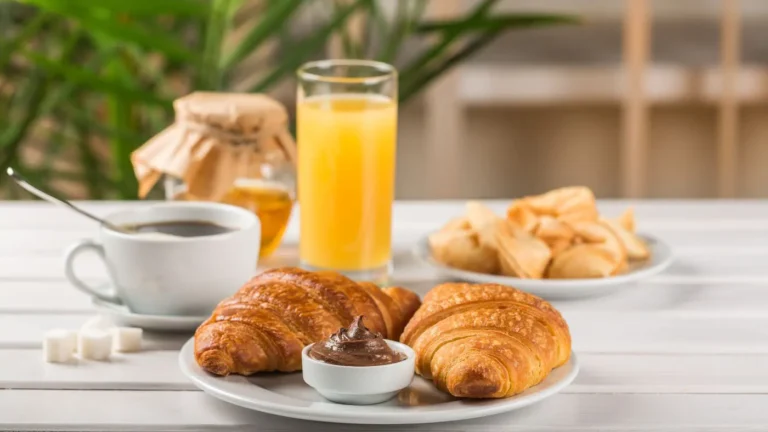
Food and drink photography focuses on making food look fresh, tasty, and attractive. It combines creativity with simple techniques that help viewers connect emotionally with the image. Good styling, lighting, and composition can turn ordinary food into something irresistible. This guide explains each part step by step in an easy way.
Food and Drink Styling: Making Food Look Appetizing
Food styling is the basis of food and drink photography. If the food does not look good in real life, the photo will never work. Styling helps control shape, color, texture, and mood. Small details make a big difference in how food appears on camera.
How to Make Food Look Delicious
Food should look natural and inviting, not perfect or fake. Slight mess, uneven cuts, or soft textures make food feel real. Focus on showing the best side of the dish. Always style with the camera angle in mind.
Freshness Is Key
Fresh food looks brighter, fuller, and more alive. Wilted herbs or dry food quickly ruin a photo. Always prepare food just before shooting. Keep extra ingredients ready for replacement.
Create “Lived-In” Scenes
A lived-in scene feels natural and relatable. Small crumbs, sauce drips, or used cutlery add realism. These details help tell a story instead of showing a staged setup. Viewers connect more with realistic scenes.
Texturize Everything
Texture makes food feel touchable and real. Crispy edges, creamy surfaces, and rough toppings add visual interest. Use light from the side to highlight textures. Texture helps food look more appetizing.
Manage Temperature
Hot food cools quickly and loses appeal. Cold drinks lose condensation fast. Work quickly and shoot in short sessions. Replace food when it starts to look tired.
Color Balance Matters
Colors affect mood and appetite. Too many colors can distract the viewer. Choose plates and backgrounds that support the food’s color. Balanced colors help the main dish stand out.
Think in Layers
Layers create depth and dimension. Place foreground, main subject, and background elements carefully. Use props or ingredients to build layers. This makes photos feel rich and professional.
Keep It Simple
Too many elements confuse the viewer. Focus on one main subject. Remove anything that does not support the story. Simple setups often look more powerful.
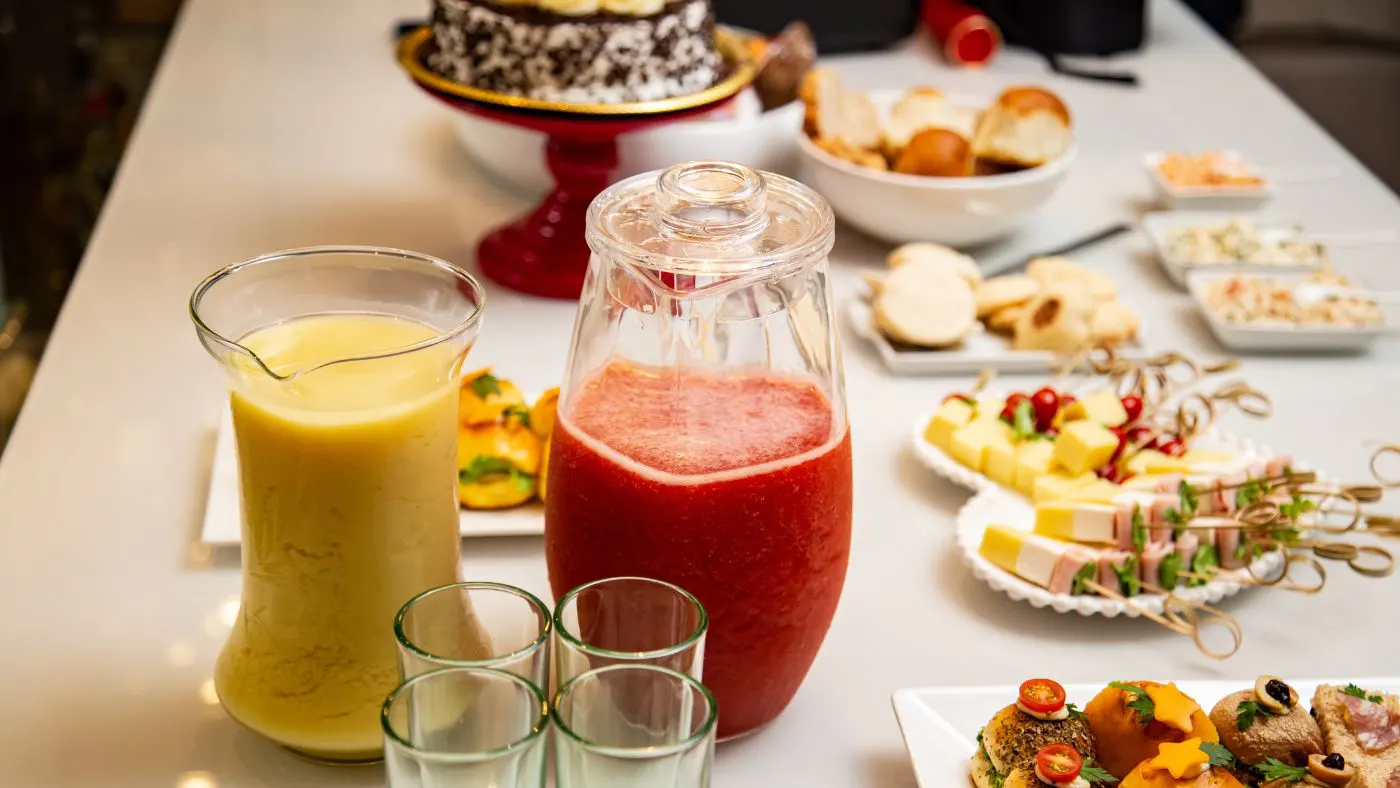
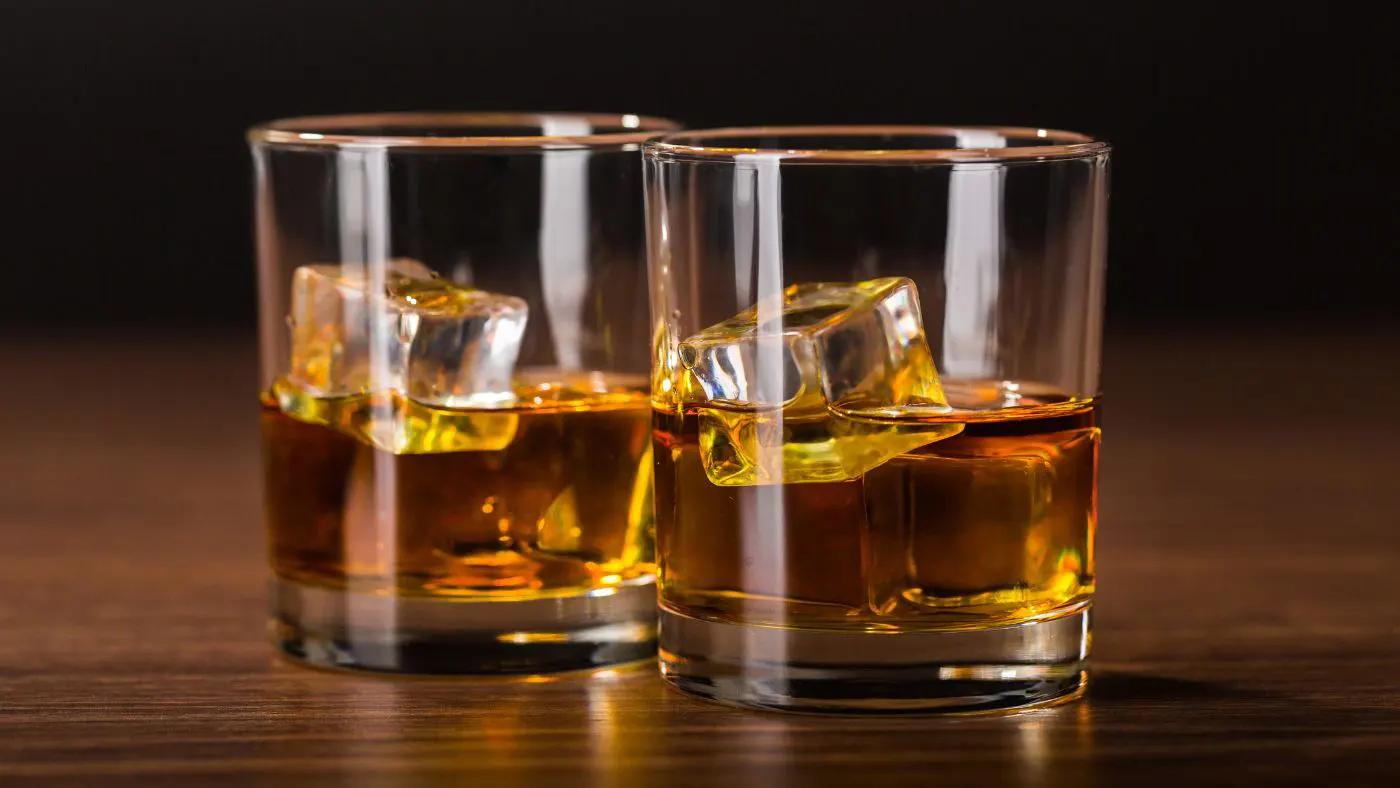
Drink Styling Techniques
Drink photography needs extra care because liquids change quickly. Glass reflections, ice, and condensation play a big role. Clean and controlled styling makes drinks look fresh and premium.
- Condensation Is Key: Condensation makes drinks look cold and refreshing. Use a spray bottle with water and glycerin. Apply drops carefully on the glass. This effect lasts longer and looks natural.
- Perfecting Liquids: Liquids should look clean and smooth. Avoid bubbles unless they add value. Pour slowly and wipe spills immediately. Clear liquids photograph best when clean and controlled.
- Clean Glassware: Any fingerprint or dust shows clearly on the glass. Always clean glasses before shooting. Use gloves or hold from the base. Clean glass improves image quality instantly.
- Use Artificial Ice: Real ice melts fast and loses shape. Artificial ice keeps its form and clarity. It helps maintain consistency during long shoots. This is common in professional drink photography.
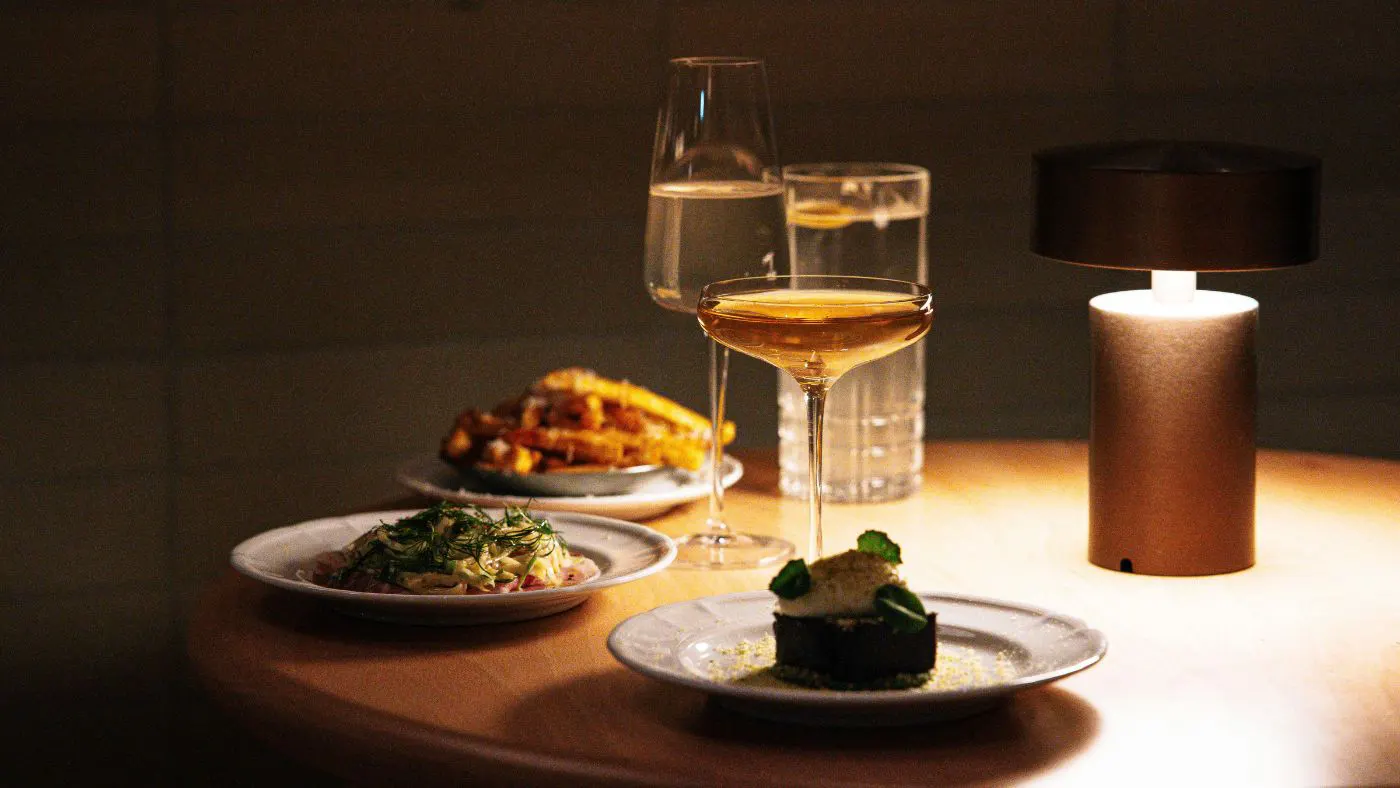
Lighting: Creating Mood in Food and Drink Photography
Lighting controls emotion, depth, and texture. Soft light works best for food and drinks. Direction and quality of light matter more than brightness. Good lighting makes food feel natural and appealing.
- Soft Light Is Mandatory: Soft light reduces harsh shadows. It creates smooth transitions between light and dark. Window light works perfectly. Soft light keeps food looking fresh.
- Sidelight (90 Degrees): Side light highlights texture and shape. It works well for most food types. This angle adds depth and contrast. Use reflectors to balance shadows.
- Backlighting (12 O’clock): Backlighting creates glow and transparency. It works great for drinks, steam, and sauces. Control light intensity to avoid overexposure. Combine with reflectors for balance.
- Use Reflectors: Reflectors brighten dark areas. They help control contrast naturally. White foam boards work well. Reflectors improve detail without extra lights.
- Avoid Front Flash: Front flash flattens the image. It removes texture and creates harsh reflections. Food looks dull under flash. Always use natural or diffused light.
Angles and Composition: Arranging the Story
Angles and composition guide the viewer’s eyes. They help show food in the most attractive way. Different dishes need different angles. Photo composition creates balance and focus.
The Three Key Camera Angles
45° Camera Angle
This angle feels natural and realistic. It works well for most dishes. It shows depth and layers clearly. Many professional food photos use this angle.
90° Camera Angle (Flat Lay)
Flat lay works best for spreads and table scenes. It shows patterns and symmetry. Keep styling neat and balanced. This angle suits social media content.
Straight-On (0°)
This angle works for burgers, drinks, and tall food. It highlights layers and height. Keep the background clean. Eye-level shots feel bold and strong.
Composition for Reality
Natural composition feels believable. Avoid perfect symmetry unless needed. Small imperfections add charm. Reality builds trust with viewers.
Rule of Thirds
Place the subject slightly off-center. This creates visual balance. It guides the viewer’s eye naturally. This rule improves composition instantly.
Odd Numbers
Odd numbers feel more natural than even ones. Three or five elements work well together. This creates visual interest. It avoids stiff compositions.
Props
Props support the story of the food. Choose simple and relevant items. Avoid overpowering the subject. Props should feel intentional.
Background
Background sets the mood and tone. Neutral backgrounds keep the focus on food. Dark backgrounds add drama. Always avoid distractions.
Styling (Get Close)
Close shots highlight detail and texture. They create intimacy with food. Make sure focus stays sharp. Close-ups work well for storytelling.
Choose Your Location
Pick a place with good natural light. Simple surfaces work best. Avoid cluttered environments. Location affects the final mood.
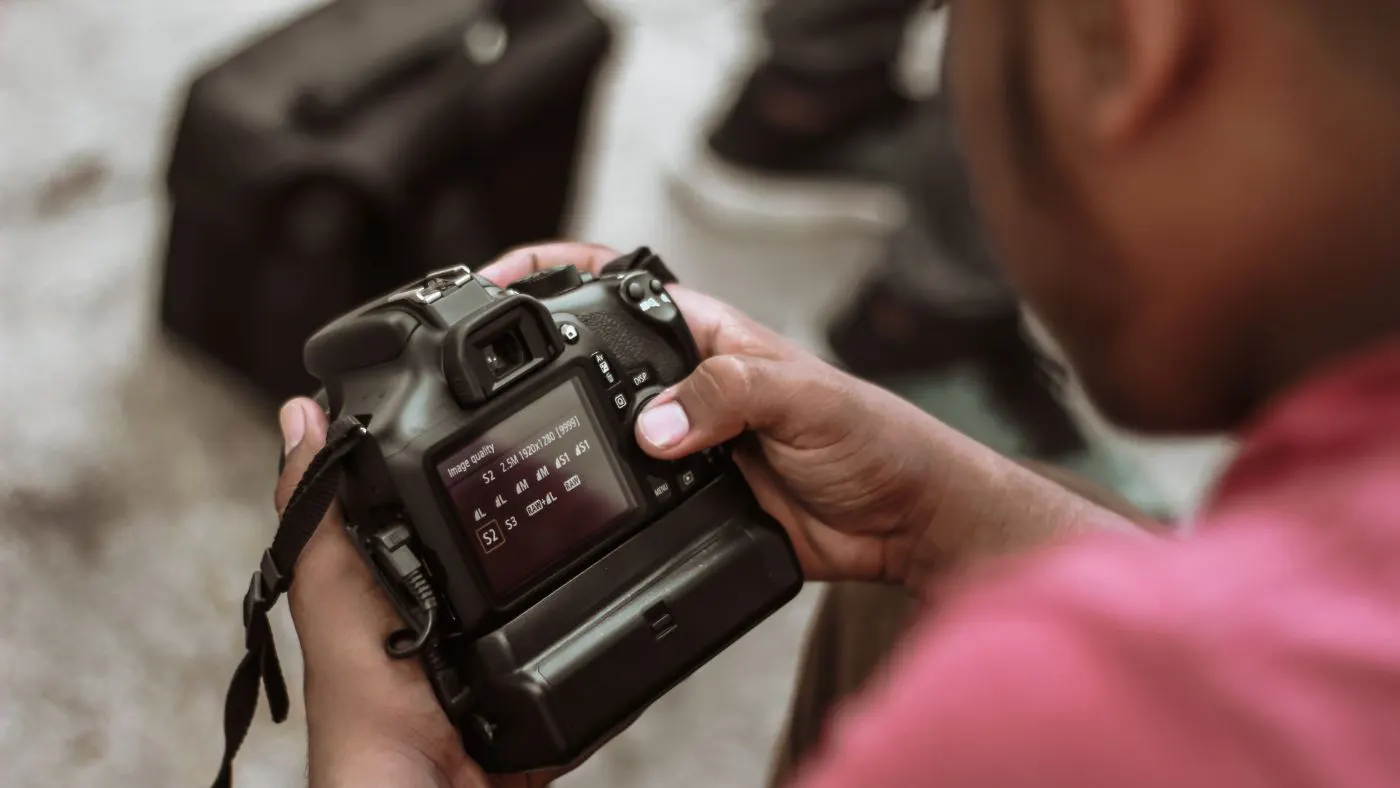
Camera Settings for Better Food and Drink Photography
Camera settings help you control light, focus, and image quality. You do not need high-end equipment to take good food photos. When you understand basic settings, you can handle any lighting situation with confidence. Consistent settings help you maintain a clean and professional look.
Aperture
Aperture controls how much of the scene stays in focus. A wide aperture creates a soft and blurred background, which helps the food stand out clearly. Settings between f/2.8 and f/5.6 work well for most food and drink photos. This range keeps the main subject sharp while gently blurring the background. Using a wider aperture also allows more light into the camera, which helps when shooting in natural light.
ISO
ISO controls the brightness of your image. A low ISO keeps photos clean and free from grain. Always try to stay between ISO 100 and 400 for the best image quality. When you increase ISO too much, photos lose detail and look rough. Clean images always look more professional and appealing.
Shutter Speed
Shutter speed controls how long the camera captures light. A faster shutter speed helps avoid blur when shooting handheld. When the light is low, slow down the shutter and use a tripod to keep the image sharp. Sharp photos make food textures look clear and fresh. Blurry food images reduce quality instantly.
Lens
The lens you choose affects how food appears in the frame. Prime lenses produce sharper images and better background blur than zoom lenses. A 50mm lens works well for general food photography, while an 85mm lens is great for close-up shots. These lenses show food in a natural perspective and help create a professional look with minimal effort.
Common Food and Drink Photography Mistakes to Avoid
Mistakes can quickly reduce the quality of food and drink photos. When you know what to avoid, improvement becomes much faster. Small changes can make a big visual difference. Paying attention to details helps your photos look clean and professional.
Avoid Direct Overhead Light
Overhead light makes food look flat and lifeless. It removes natural shadows that give shape and depth to food. Always use a side light or a back light to create texture. Light direction plays a major role in how food looks.
Dirty Plates or Glasses
Small dust spots, fingerprints, or stains stand out in photos. These details distract viewers and reduce image quality. Always clean plates and glasses before shooting. Clean surfaces save time during editing and improve results instantly.
Overcrowded Compositions
Too many props or elements confuse the viewer’s eye. The main food item should always be the focus. Remove anything that does not support the story. Simple compositions feel stronger and more professional.
Over-Editing Colors
Heavy color editing makes food look fake and unappetizing. Oversaturated colors remove natural texture and detail. Keep colors close to real life. Slight adjustments create a more appealing and trustworthy image.
Control Shadows
Very dark shadows hide important details in food. Shadows should support depth, not block visibility. Use reflectors to soften harsh areas. Balanced light improves clarity and texture.
Ignoring Background Distractions
Busy or messy backgrounds pull attention away from the food. Always check the edges of the frame before shooting. Simple and clean backgrounds keep the focus on the subject. This step improves composition instantly.
Why Food Photographers Come to Image Expert
Taking a food or drink photo is not just about the shoot. Many times, even a good image feels unfinished until it gets proper retouching. This is where Image Expert becomes useful. They work closely with food and drink photos, so they understand how food should look on screen. Their edits improve the image but keep it looking real. Many photographers who work with food and drink photography know that a strong image often needs careful retouching to reach its full potential.
What Makes Their Retouching Feel Different
Image Expert does not treat every photo the same way. They look at each image and decide what it actually needs. Sometimes it is color, sometimes light, sometimes small cleanup work. They avoid heavy presets and focus on natural correction. The food still looks like food, not a graphic design.
Food and Drink Retouching Work They Handle
They take care of common issues that food photographers face. Dust on plates, stains, glass reflections, and uneven colors get fixed. Shadows feel more balanced, and highlights feel softer. Texture stays visible, but never sharp in an unnatural way.
How They Work With Photographers
Before photo editing, they try to understand your shooting style and final use. Each photo gets manual attention instead of automatic filters. If something feels off, changes can be requested easily. This keeps the final result close to what you imagined.
Why Many Food Photographers Trust Them Long-Term
Food photographers often need fast and reliable support. Image Expert India helps reduce editing stress and saves time. Their work fits well for menus, websites, and social media use. For photographers who shoot food regularly, they become a steady and dependable editing partner.
Final Thoughts
Food and drink photography depends on small details. Styling builds appetite, lighting adds mood, and composition tells the story. When these work together, photos feel alive and real. Practice consistently and keep setups simple for the best results.


