Digital photography dominates modern imagery, but the darkroom photography process still holds a unique charm. Working with light-sensitive materials, chemicals, and pure craftsmanship makes this experience feel intimate and immersive. Instead of clicking icons or applying filters, you physically shape the image through paper, film, and controlled exposure. If you are entering the world of the photographic darkroom, this guide will walk you through everything from setup to producing your final photograph.

Why Darkroom Photography Still Matters
Mindful and Patient Process: In the darkroom photography process, each image is approached with more thought and intention. This slow, hands-on workflow creates a calm, human-touch experience.
Unique Aesthetic and Archival Quality: Darkroom prints have a unique beauty with rich tones, deep blacks, and bright highlights. Images can last for centuries, adding lasting value to the artwork on fiber-based paper.
Educational Foundation: The darkroom process teaches photographers key principles like exposure, composition, and the physical behavior of light and chemicals. This hands-on learning encourages diligence and thoughtfulness, enhancing their digital photography skills.
Uniqueness of Each Photo: Every darkroom print is unique, with slight variations in exposure and development. It enhances artistic value and emotional depth, unlike mass-produced digital images.
Tactile and Manual Control: In the darkroom, a hands-on experience is achieved using light and chemicals. Physical techniques like dodging and burning connect the photographer more deeply and personally to the final image.

The Basic Ideas of the Darkroom Photography Process
The darkroom photography process isn’t just an old technique; it’s a craft. A lot of photographers go back to dark room photography because it teaches them how to be disciplined, focused, and intentional with every image. Each final output becomes a one-of-a-kind physical photograph, not just data on a screen.
Understanding light: Working in the darkroom helps you see how light behaves on different surfaces and how shadows are formed. This hands-on experience strengthens your sense of natural exposure and helps you predict how an image will turn out.
Recognizing tonal contrast: You begin to notice how midtones, highlights, and shadows interact to create mood and depth. Knowing this helps your photos look more interesting and lets them convey emotion more effectively.
Practicing composition: Every shot in film matters, so framing becomes a thoughtful process. You learn to compose each image carefully, making intentional decisions about placement, balance, and perspective.
Learning patience: Darkroom photography is slow by nature; nothing happens instantly. This pace teaches you patience and helps you develop a more mindful approach to your craft.
Embracing imperfection: Grain, softness, and slight irregularities aren’t flaws; they’re part of the charm. Accepting these small imperfections adds character and uniqueness to every print.

Step 1: Set Up Your Darkroom Workspace
Creating a proper workspace is the foundation of successful dark room photography studio work. There are four main zones for the darkroom photography process:
Dry area: The dry area of a darkroom is an important workspace where all light-sensitive materials and equipment are handled. Here, tasks such as loading film, projecting onto the enlarger, composing prints, and working with the necessary tools are carried out. The materials are moved to the wet area after the work in the dry area is completed.
Wet area: The wet area of a darkroom is where film and print development, stop baths, fixing, and all types of chemical processes are carried out. Its main components include a sink or work surface, developing trays or tanks, running water, adequate ventilation, safelights, and chemicals.
Storage section: In an effective darkroom, a dedicated and well-organized storage section is essential. This section should be located within the dry area and separate from the wet area to ensure efficient workflow. The storage section should include vertical shelving, labeled containers, chemicals, paper, negatives, flat files, and dedicated drying racks.
Drying area: In a darkroom, the drying area is kept separate from the wet area to prevent chemical contamination and control humidity. Films and prints dry efficiently in a clean, dust-free environment. The setup includes segregation from chemical trays, humidity control (typically 35–45%), and dust management using drying cabinets or enclosed spaces. Films are usually hung vertically or dried in cabinets, while prints can be dried using lines, racks, or blotter books.
Step 2: Developing the Film Negative
After you’ve exposed your film, you’ll begin turning it into negatives either in complete darkness or using a darkroom tent photography setup. You gently wind the film onto a reel, place it inside the developing tank, and once sealed, you’re free to switch on the normal light. This step often feels calm and focused; you’re preparing your captured moments for the next stage.
In darkroom photo developing, the process moves in a clear chemical sequence. The developer makes the hidden image appear. The stop bath quickly stops the reaction. Finally, the fixer makes the image permanent and safe to handle. Afterward, the film is washed thoroughly to remove chemical residue and then left to dry. When you lift the final strip of negatives, you see tiny reversed versions of your photos. These are the raw pieces that will soon become real prints. It’s a rewarding moment where the magic of analog photography starts to feel real.
Step 3: Printing the Photograph
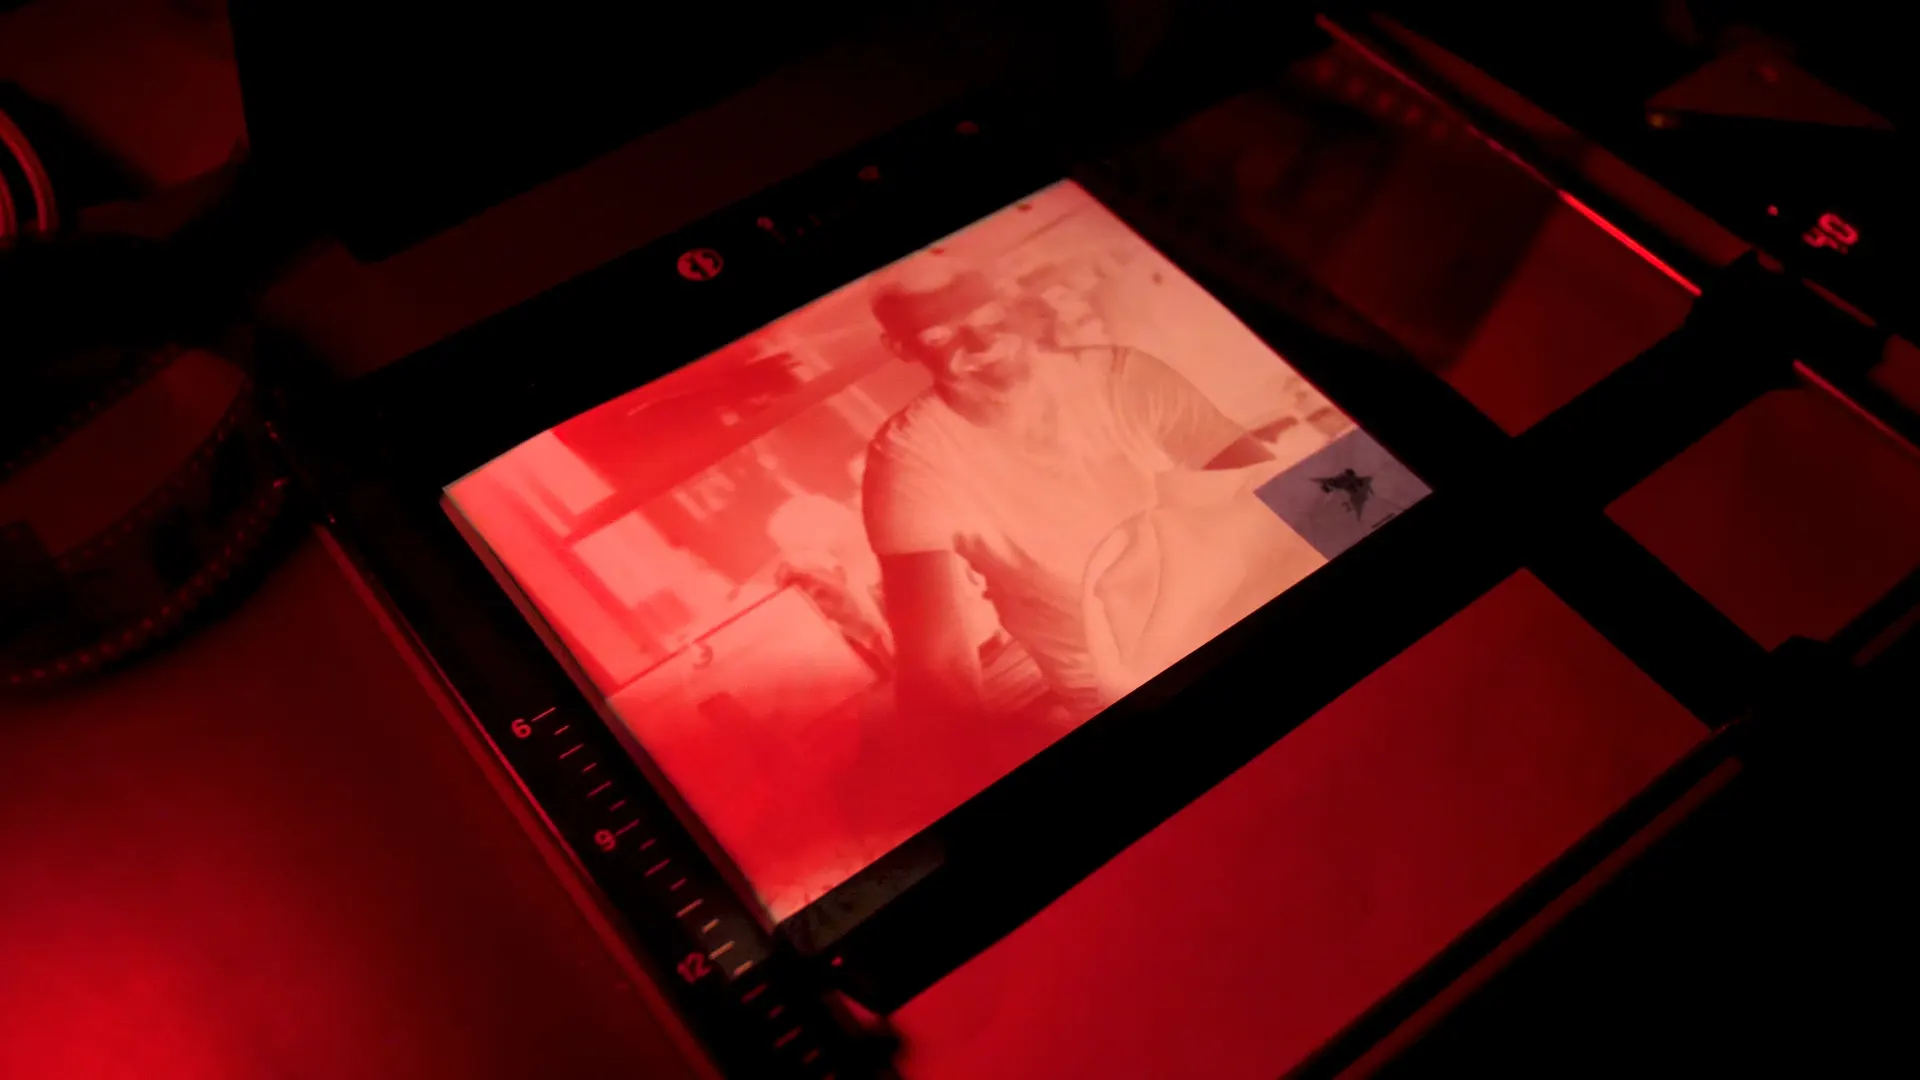
This is the moment where your photos finally become real prints using the darkroom printing process, moving the image from your negatives onto photo paper. You place the negative in the enlarger, gently adjust the focus, fine-tune the framing, and expose the paper to light for just the right amount of time. Then the sheet goes into the developer, stop bath, fixer, and finally a rinse.
Watching the image slowly appear in the developer tray is almost magical, first faint and ghostlike, then gradually becoming more defined and alive. The red glow of the safe light, the quiet atmosphere, and even the familiar scent of chemicals make the experience feel calm, focused, and almost meditative.
Whether you are making a clean, classic print with black and white darkroom printing or trying different tones and contrasts, this part of the process is very creative. It lets you shape the image exactly how you want. It’s where your creative decisions, intuition, and emotion all come together to form the final photograph, something personal, intentional, and truly handmade.
Step 4: Mastering Exposure & Contrast
Working in the darkroom is a blend of artistry and technical skill. You can shape how deep the shadows appear, how bright the highlights feel, how visible the grain becomes, and how sharp the edges look. By using contrast filters and variable contrast paper, you control the entire mood of the image; lower grades create a softer, more dreamy feel, while higher grades bring bold contrast and dramatic presence.
Before committing to a full print, you usually make small test strips to find the ideal exposure time. These little trials save paper, time, and disappointment. As you grow more confident, you might start experimenting with classic creative methods like dodging (lightening certain areas), burning (darkening others), and selective lighting techniques. These advanced darkroom techniques allow you not just to reproduce a photo, but to sculpt it, guiding the viewer’s eye, shaping emotion, and ultimately giving the final print a personal artistic signature.
Step 5: Final Washing & Drying
Once the print has been fixed, giving it a proper rinse is essential to ensure it lasts over time. Washing it for 10–20 minutes helps remove any remaining chemicals so the image won’t fade or deteriorate later. Letting the print dry in a clean, dust-free space prevents tiny marks or spots from forming. Some photographers prefer to press the print flat for a sleek, professional surface, while others like keeping a bit of natural texture because it adds character to the final piece.
Maintaining a clean and organized workspace is crucial in the darkroom photography process. Cleaning the trays, tongs, and containers keeps your setup fresh and reliable for next time. If you’re using a darkroom developing kit, maintaining good hygiene helps preserve the chemicals longer and makes your next session smoother and more efficient. Over time, these simple habits transform the darkroom into a comfortable, consistent working environment where creativity can flow naturally.
Common Beginner Mistakes
Overexposing prints: It’s always better to start with shorter exposure times and adjust slowly. This way, you get better control over the shadows and highlights, and you won’t waste valuable photo paper. Small tweaks can make a big difference in how the final image looks.
Chemical contamination: Make sure to use separate tools for each chemical developer, stop bath, and fixer. Mixing them accidentally can ruin your prints or create unexpected effects. Keeping your tools clean ensures consistent, reliable results every time.
Temperature inconsistency: Try to maintain your chemicals at a steady 20°C / 68°F. Sudden temperature changes can make the film or paper react unpredictably, affecting your final print. A stable temperature keeps the development smooth and controlled.
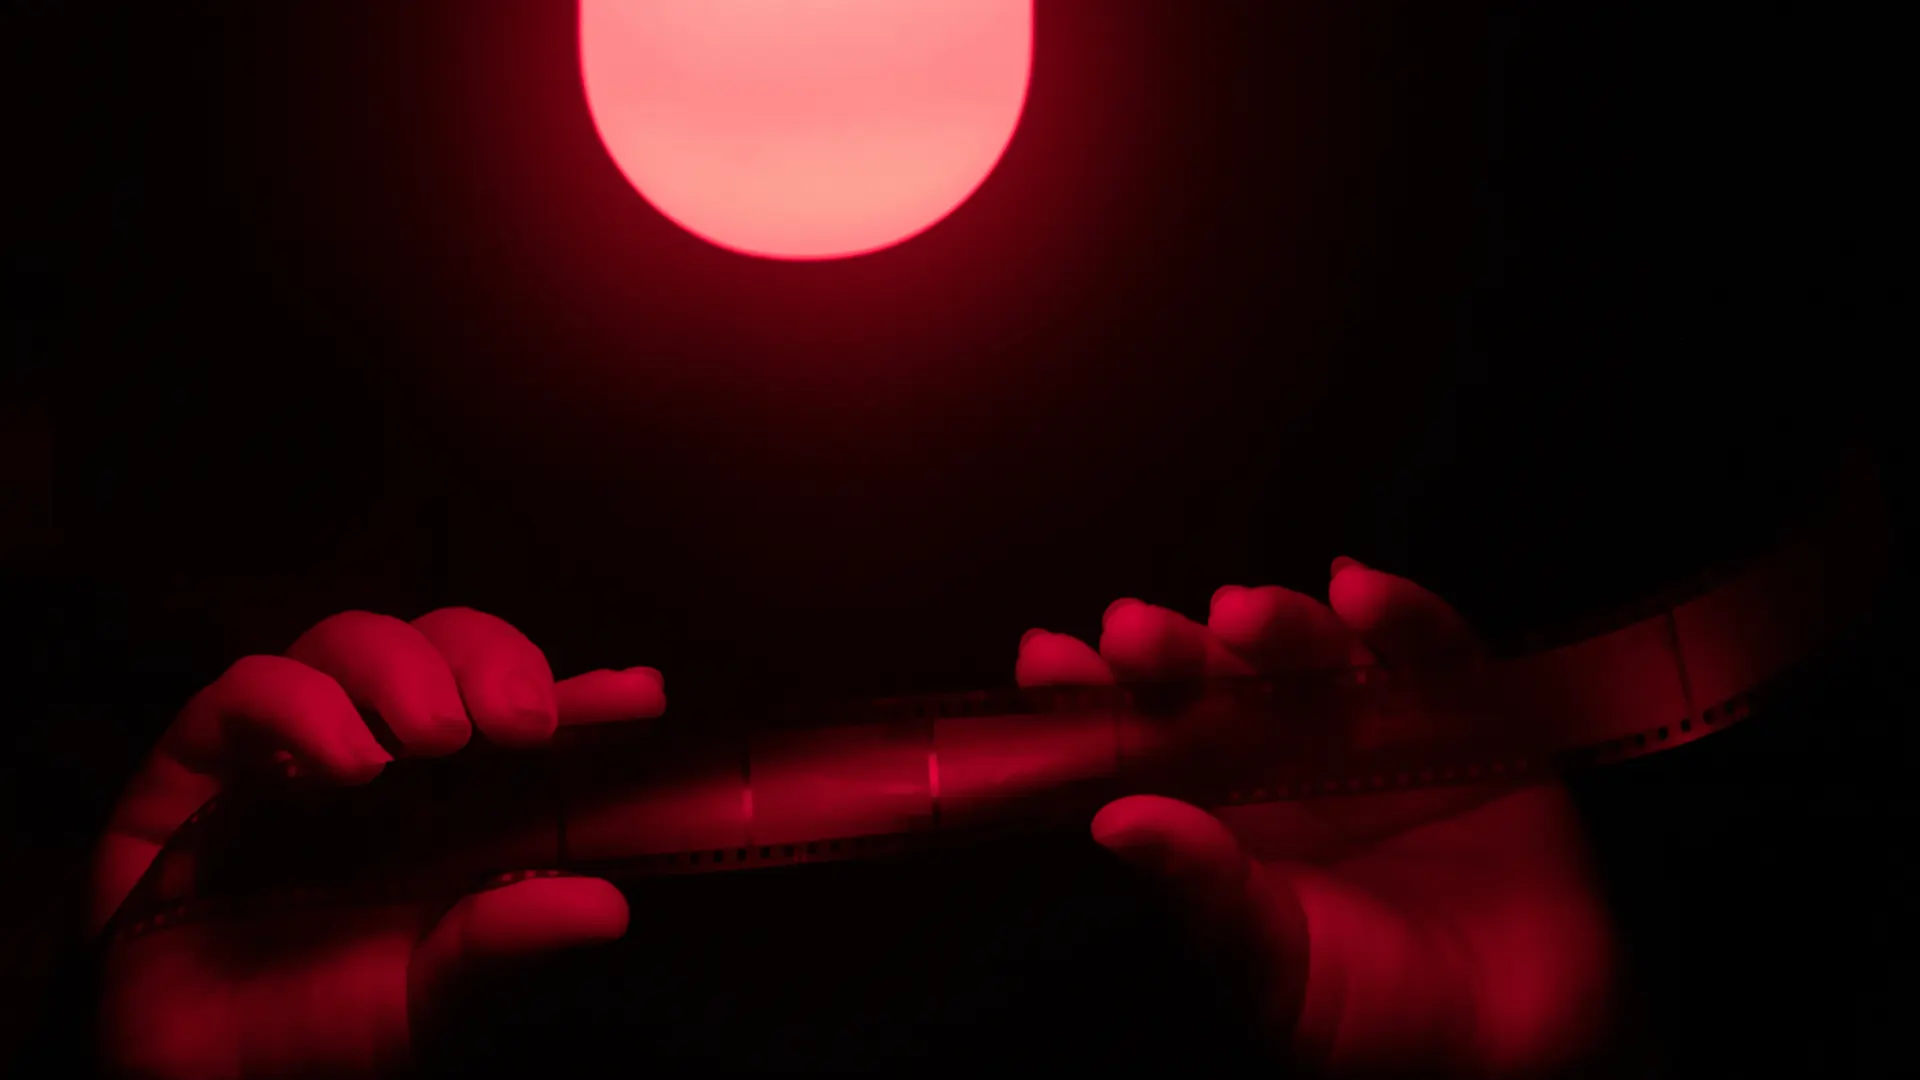
Handling film with bare fingers: Always use gloves or hold the film by the edges. Fingerprints or scratches can damage the emulsion and ruin your negatives. Careful handling preserves the quality of your work and avoids frustrating mistakes.
Skipping test strips: Don’t skip test strips; they’re a small but powerful step. Exposing a tiny piece of paper first lets you find the perfect timing and contrast. This saves both paper and time, making the final print much more predictable and satisfying.
Darkroom Tools You Should Know
The proper tools are essential in the darkroom photography process to achieve high-quality and consistent prints.. A 50mm enlarger lens helps project a sharp, detailed image, while a grain focuser lets you fine-tune the focus with precision. Simple items like an anti-static cloth, clean cutting blades, and a dependable timer may seem small, but they play a huge role in keeping your workflow smooth and preventing mistakes that could damage your negatives or prints. Each tool has its purpose, and learning to use them properly makes the process feel more professional and enjoyable.
Many photographers today also combine traditional darkroom work with digital methods. Scanning your finished prints allows your darkroom developing photos to be preserved digitally, creating a reliable backup, making sharing easier, and allowing your work to reach a wider audience. Even with digital copies, the hands-on experience of printing by hand remains unmatched. The careful adjustments, the slow emergence of the image, and the tactile process make each print feel personal, unique, and incredibly satisfying — a true reflection of your creativity and dedication.
Black & White vs Color Darkroom
Black and white film is perfect for darkroom photography process. The chemicals are easy to handle, the process is forgiving, and it gives you plenty of space to be creative. You can focus on learning how light, shadow, and contrast work without worrying too much about exact temperatures or timing. The results often feel timeless and carry a unique emotional touch that digital images rarely have.
Color film, on the other hand, is more demanding. Processes like color darkroom printing or colour darkroom printing need very precise temperature, timing, and chemical control. Even small changes can affect the colors and tones of your prints, making it less forgiving for beginners.
While color images can be bright and eye-catching, black and white helps you learn the basics of photography first. It teaches you to see light, shade, and composition clearly, letting you create photos that feel personal, expressive, and full of character.
Conclusion
The dark room process in photography invites you to slow down, observe subtle tones, and appreciate the journey from capture to print. Whether using darkroom photo printing professionally or learning at home, the analog method deepens your creative connection to light and composition. The patience and precision required unlock a deeper understanding of visual storytelling, reminding us why handcrafted images still matter.