


Setting up a photography studio on a budget is easy if you understand what you actually need. Photographers can create a professional studio at home for product photos, ecommerce shoots, or creative work with basic tools and a well-planned setup. You don’t need expensive gear or a large space for a new studio. They can start with a small space, learn the basics of lighting and background control, and gradually add better equipment as their skills improve. Even a simple room with perfect natural light can produce high-quality photos. Your home setup can look like a professional studio while still staying budget-friendly. A product photography studio setup typically includes proper lighting, a clean backdrop, a stable camera setup, and accessories.

Choose a Perfect Area for Your Studio
When you begin setting photography studio at home, start by choosing a small, quiet, and clutter-free space. You don’t need a fancy room, just a place where you can control light and keep your background simple. A clean corner, a spare room, or even a window-side table can work well. If you want your setup to look more stylish, try simple photo studio ideas like textured paper, colored boards, or small props to add character. This stage is very important for anyone setting photography studio for e-commerce or small business needs.
Space Size and layout
The ideal studio size depends on the type of work you do. Plan for at least 20–25 sq meters (215–270 sq ft) for headshots, 30–50 sq meters (320–540 sq ft) for full-body portraits, and 60–100 sq meters (645–1075 sq ft) for commercial shoots or video production. A ceiling height of at least 3 meters (10 feet), though higher ceilings (12+ feet) are better for overhead lighting, cranes, and booms.
Flooring and walls Color
Choosing the right flooring and wall colors can greatly enhance a studio’s functionality. Light-colored walls and floors reflect natural and artificial light, making the studio appear brighter. White walls work well as an instant background.
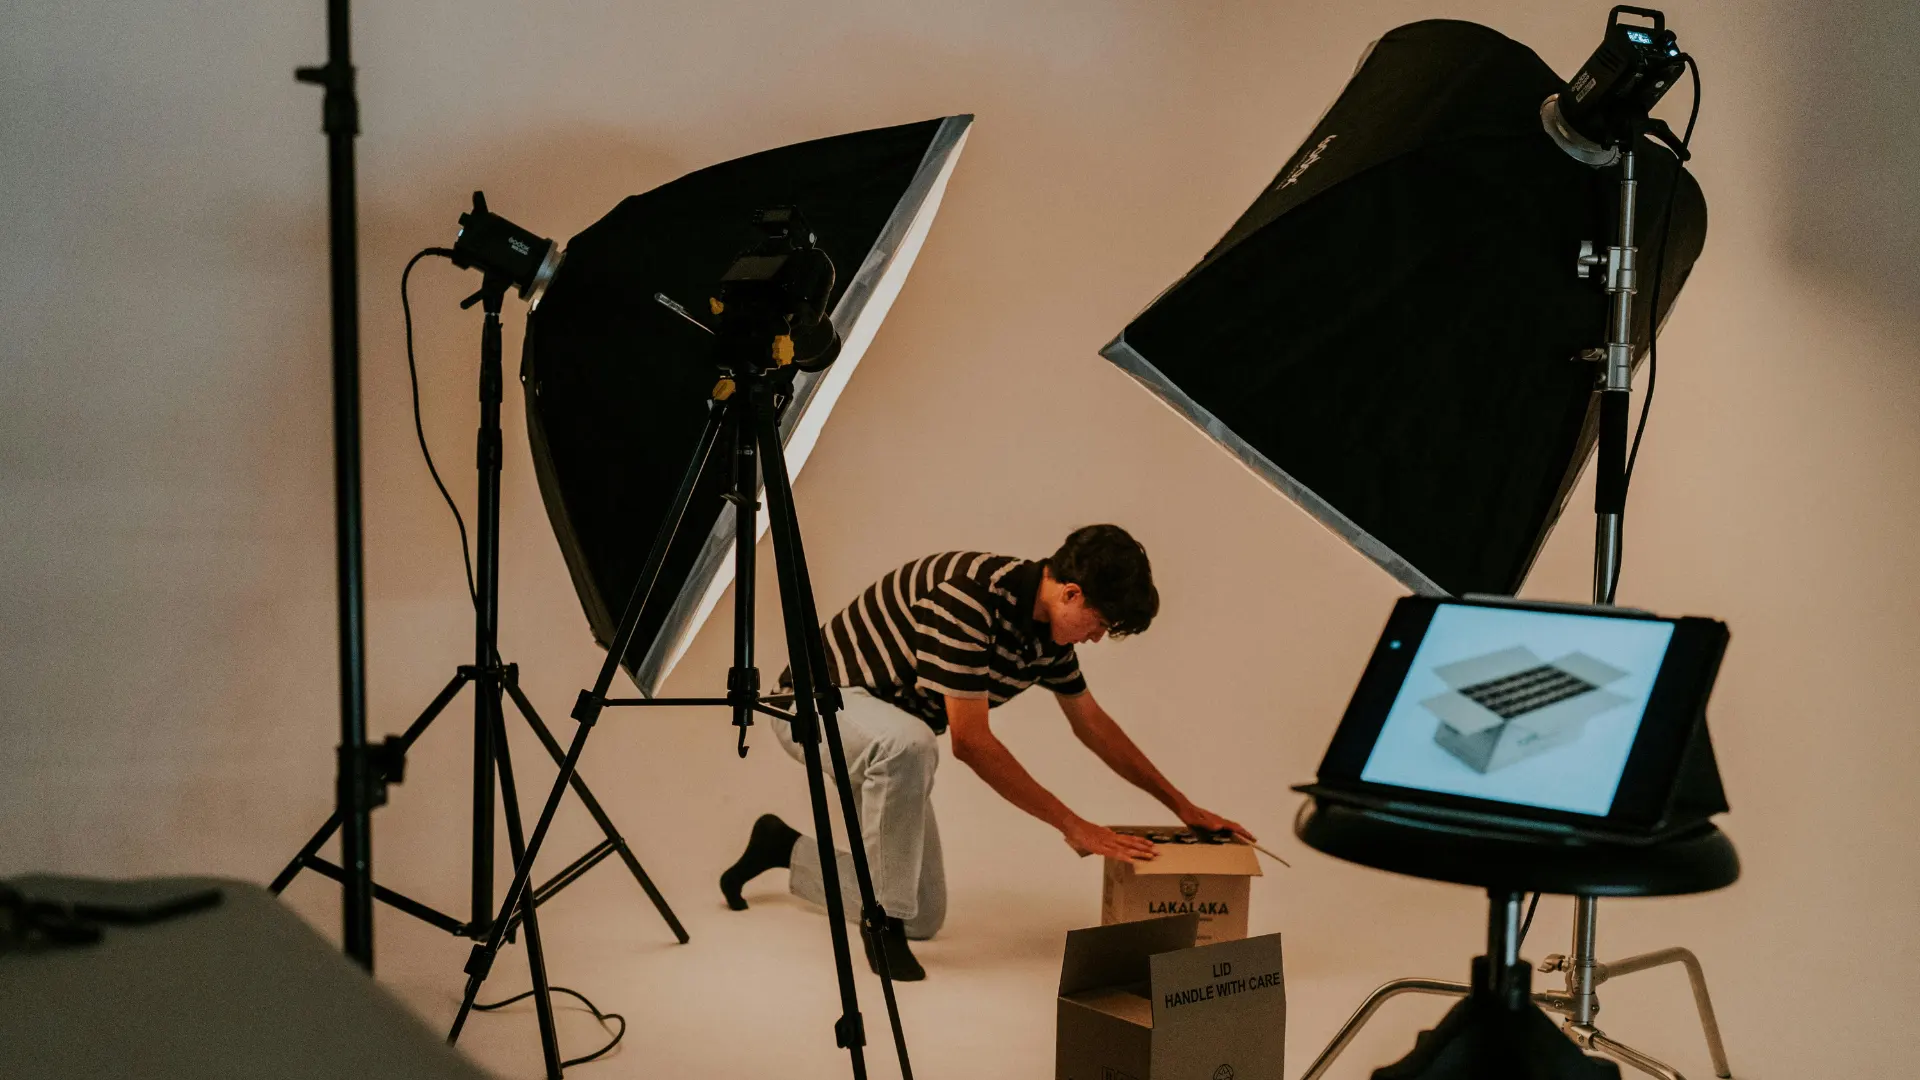
Organized Photo Studio Zone
A neat product area keeps your photos sharp and professional. For advanced work, upgrade your workspace into a 360-degree product photography studio with a simple turntable and steady light. Later, you can develop it into a full 360-degree studio photography setup as your needs grow.
Consistency is the key. If your space stays organized and steady, your photography results will improve naturally.

Building Your Affordable Equipment Setup
When setting photography studio, keep your equipment list simple. A basic setup is enough to start practicing and learning the essentials. A photography setup kit is a great starting point because it usually includes a small light, reflector, and tripod. These tools help you control brightness and reduce blur. A steady stand also supports your lighting and backdrop system. A clean table, plain backdrop, and tripod form a strong basic photography studio setup, helping you learn angles and light control easily.
Camera: A camera is the heart of your setup, capturing your photos with clarity and detail. It gives you the control you need to shape the final look of each shot.
Lens: A lens decides how your camera views the scene, shaping the sharpness, depth, and overall feel of your photo. Picking the right lens makes it easier to take sharp, clear, and professional-looking photos.
Memory cards: Memory cards hold all your photos and videos, giving your camera the space to keep capturing shots without interruption. Using a dependable memory card keeps your photos safe and makes them easy to access whenever you need them.
External Hard Drive: An external hard drive provides extra space to safely store and back up all your photos and videos. It keeps your work organized and protected, so you don’t have to worry about losing any important files.
Filters: Filters are tools you can use on your camera or in editing to change how your photos look. Filters can boost colors, cut down glare, and add creative effects to make your photos stand out.
Tripod: A tripod holds your camera steady, so your photos stay sharp and free from blur. It’s perfect for shooting in low light, taking long exposures, or framing shots with precision.
Reflectors: Reflectors redirect light onto your subject, softening shadows and giving your photos a more balanced, professional look. They’re a simple, affordable way to boost your lighting without needing costly gear.
Modifiers: If you want to expand your product photography studio equipment, start with small upgrades like a softbox or stronger LED light. This shapes and softens the light from a source, reducing harsh shadows. This helps improve your lighting quality without a big investment.
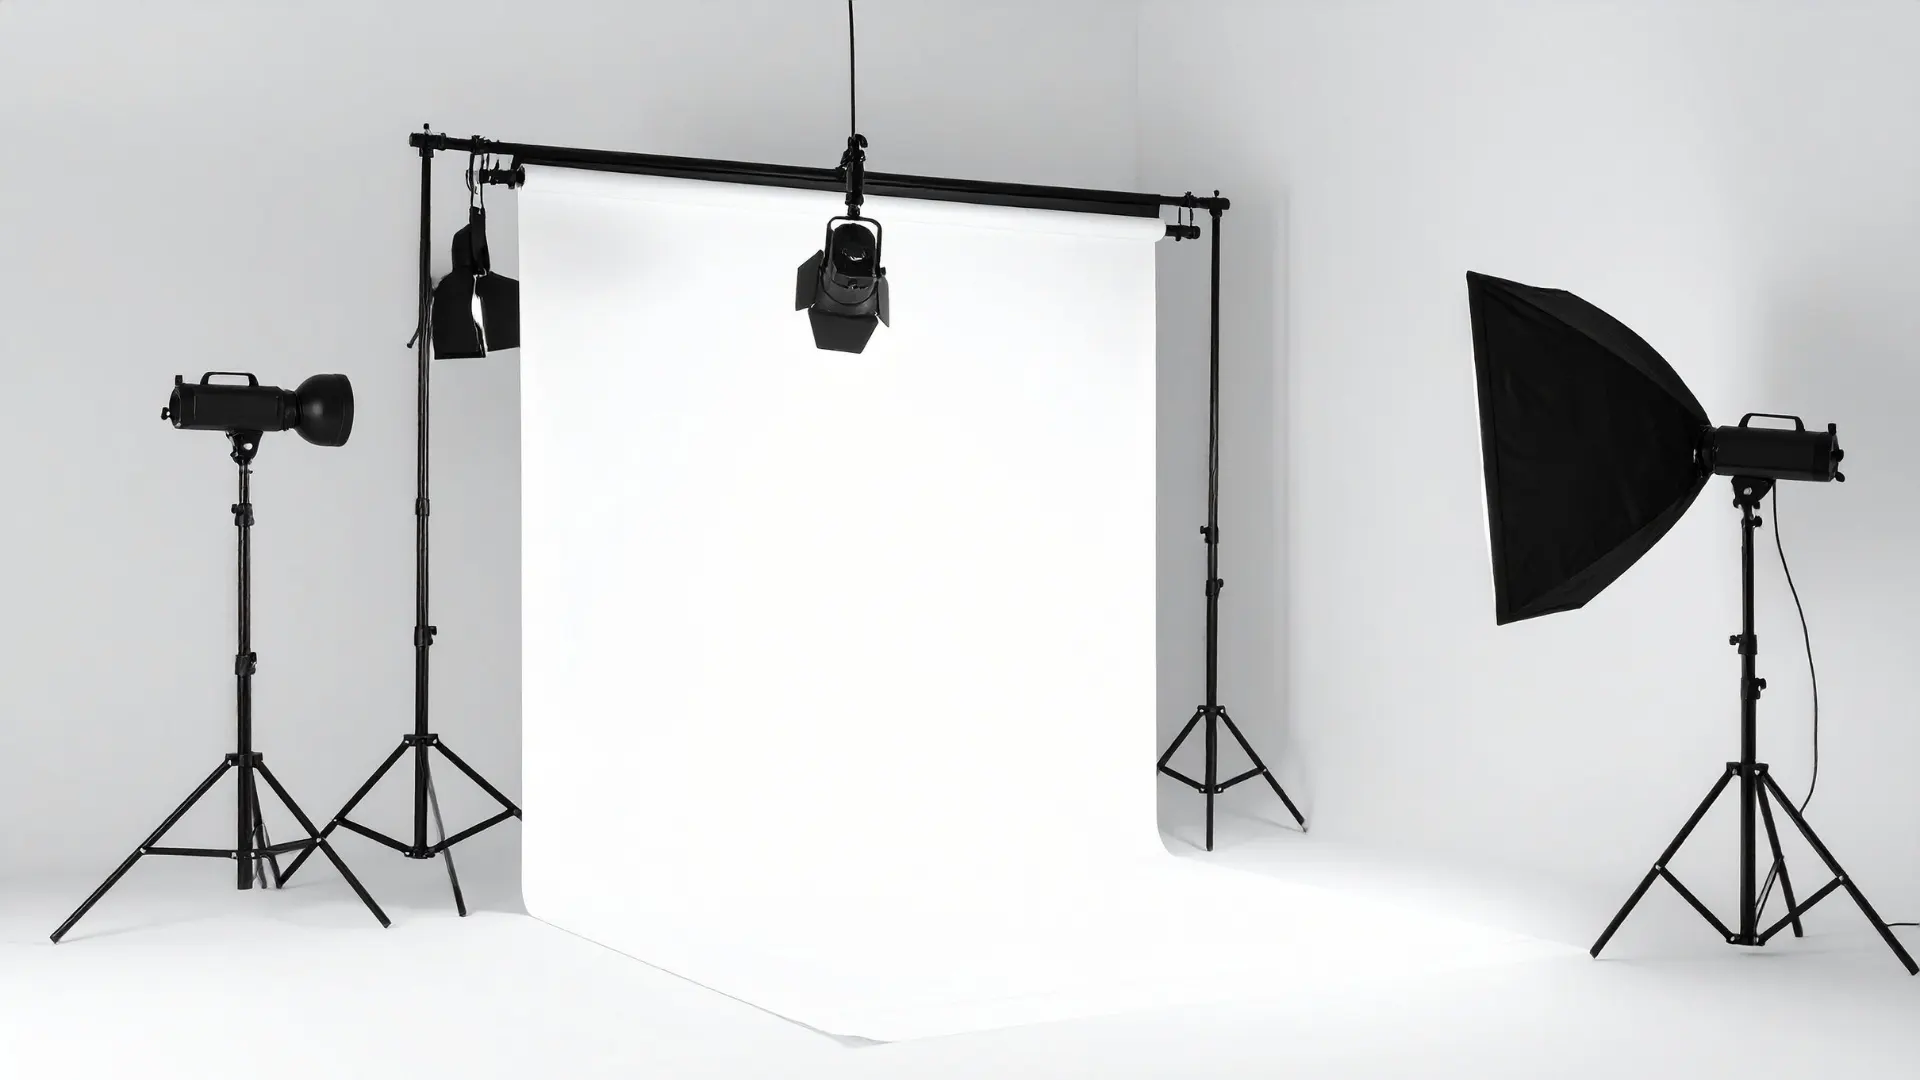
Planning Your Lighting Setup
Lighting shapes the final quality of your images. When setting photography studio on a budget, choose soft and even lighting. Natural window light is excellent for beginners, but one LED panel is enough if you shoot at night. If you shoot jewelry, build a small jewellery photo studio using diffused light. Jewelry reflects light easily, so soft illumination helps capture shine and detail without harsh reflections.
For clean product photography lighting, place your main light at a 45-degree angle. This angle creates natural shadows and makes your product look three-dimensional. Use a white foam board to bounce light back onto your subject. Natural window light also provides soft brightness without extra cost. A white sheet or paper roll creates a clean product photo studio setup instantly. Place your product in the center and use soft light so shadows stay smooth. This gives you a clean product photo setup ideal for online stores.
Choosing the Right Backdrops
Simple photo studio backdrops like white or gray paper give your photos a professional look. White is great for ecommerce, while gray adds a premium tone. Vinyl and cloth backdrops are also good because they last longer and are easy to clean. A plain wall gives you a clean background, which makes your photos look polished. If you’re learning how to make a photography studio with reusable backgrounds, choose materials that don’t wrinkle and are quick to set up. As you improve, you can grow your setup into a complete photography studio for portraits, branding, or product shoots.
Improving Your Studio Setup
Once you complete the steps of setting photography studio, start experimenting. Move your light, test angles, and try new backdrops. These small adjustments teach you how light behaves and improve your photography quickly.
Practice Makes Everything Better
Even a small room can become a great home photo studio setup with consistent practice. A tripod, soft light, and clean background are enough to produce sharp and appealing photos. Over time, your workflow may grow into an ecommerce photography studio as you shoot more products.
A simple beginner photography studio setup helps you learn one step at a time. With practice, your photos will look more polished and professional. Even your beginner photo studio setup can create high-end results once you understand light and composition.
Consider post-processing Service
Post-processing services make your photos look even better after shooting by fine-tuning colors, lighting, and details. Photo retouching can transform ordinary shots into polished, professional-quality images. These services also fix imperfections, tidy up backgrounds, and make sure your product or subject looks its absolute best. Using post-processing saves time and gives your photos a polished, consistent, and professional look throughout your portfolio or online store.
Conclusion
Setting photography studio on a budget is completely achievable with simple tools and a clear plan. By choosing the right space, using basic equipment, and practicing your lighting, you can create professional-looking photos without spending much. Whether you’re shooting products, jewelry, or ecommerce items, a small home studio can deliver excellent results. With time and practice, your setup will improve, and your photography quality will rise naturally—proving that great photos don’t always require expensive equipment.


