

Street photography shows real life in public places without setup, scripts, or direction. It captures people, moments, and everyday stories as they happen. In NYC, night lights, crowds, and nonstop motion can make street photos feel alive and full of energy. We’ll also cover camera settings, black-and-white techniques, composition tips, and safe candid methods. The goal is simple: keep your shots clean and clear, while still telling a strong story.
What is Street Photography
Street photography is about capturing real, unscripted moments in public places. It focuses on emotion, timing, and everyday life—not posed shots. Instead of controlling the scene, you observe and react to what’s happening around you. It’s not about the “perfect pose”—real emotion and timing matter most. Often, a scene that lasts only a second becomes the story of your photo.
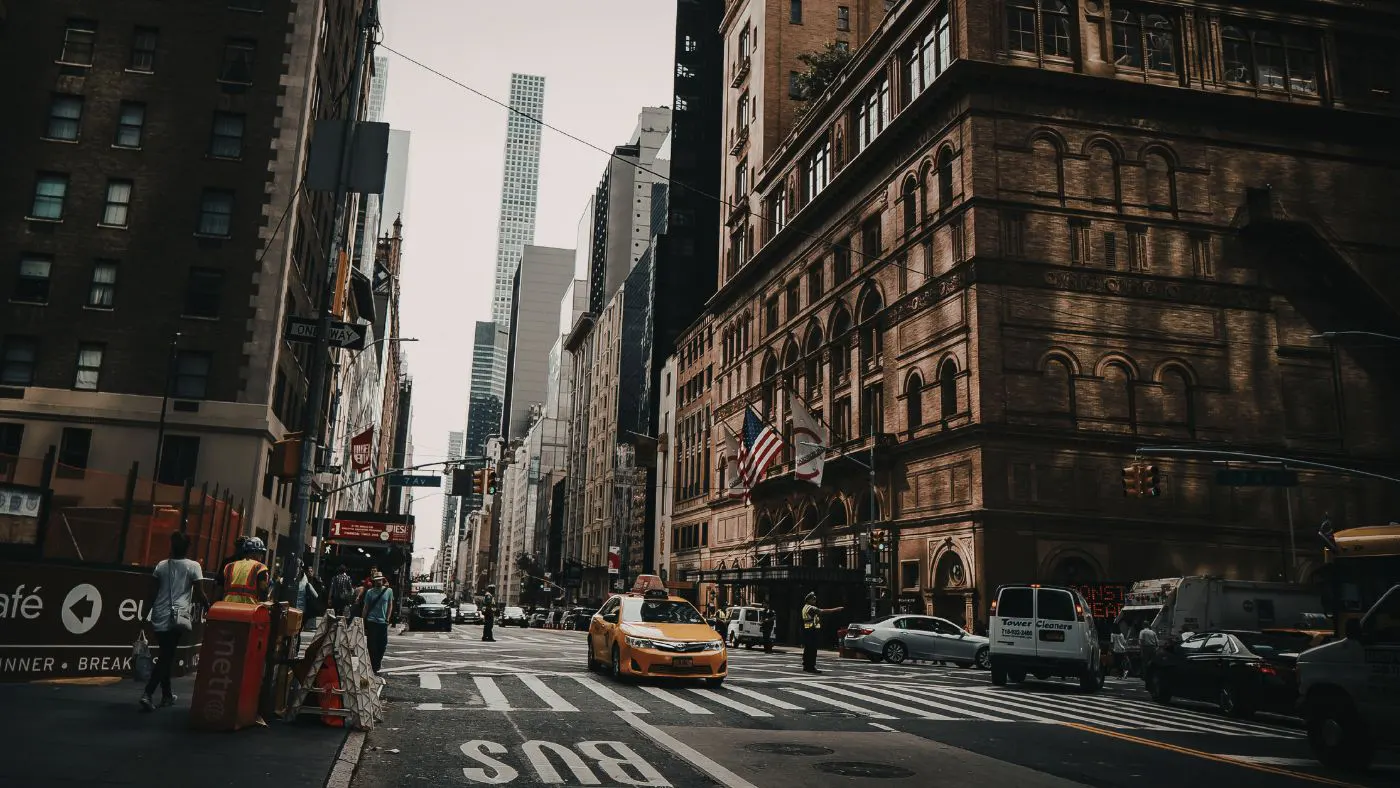
In my experience, the best street photos come from moments you don’t expect. For example, in NYC, I often wait near crosswalks or subway exits. When someone walks into a strong light or makes a natural gesture, that’s the shot.
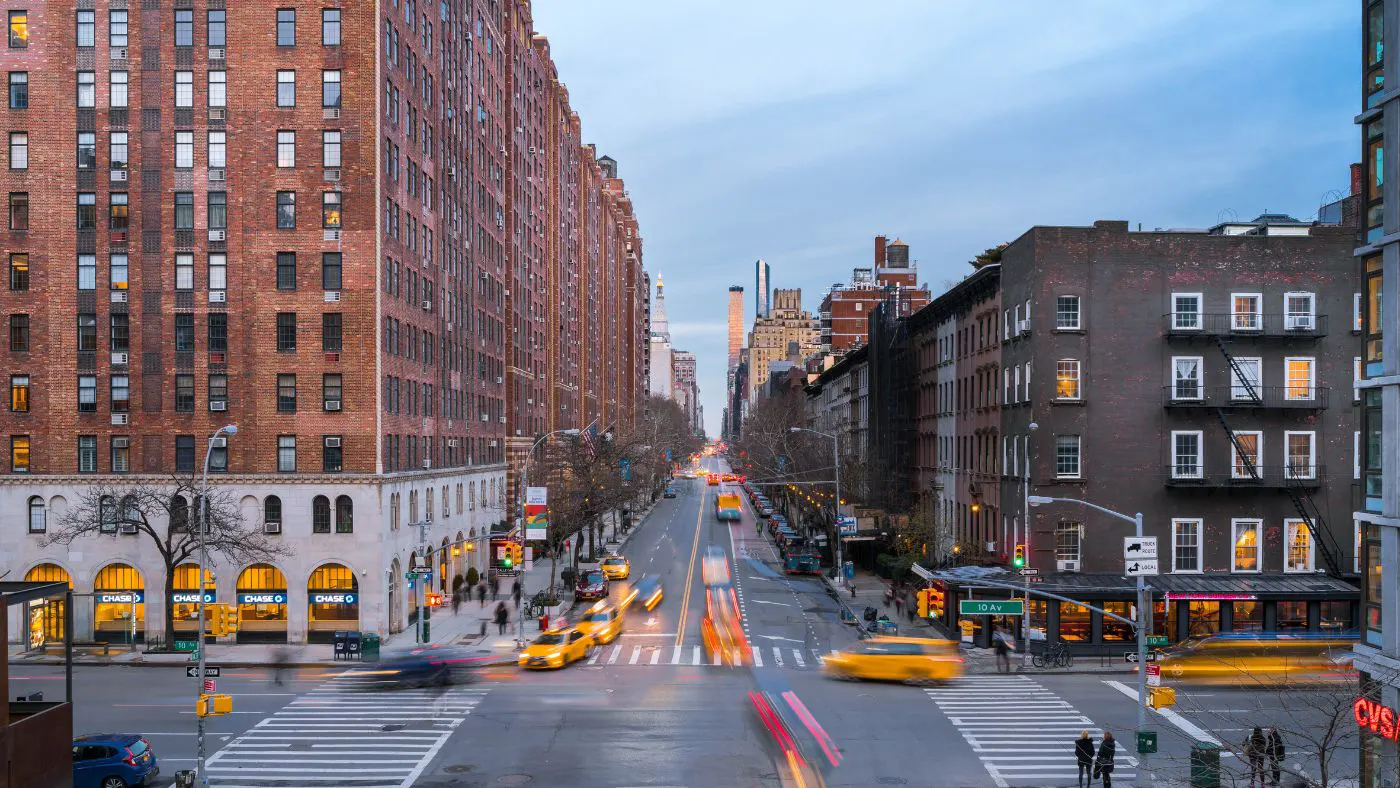
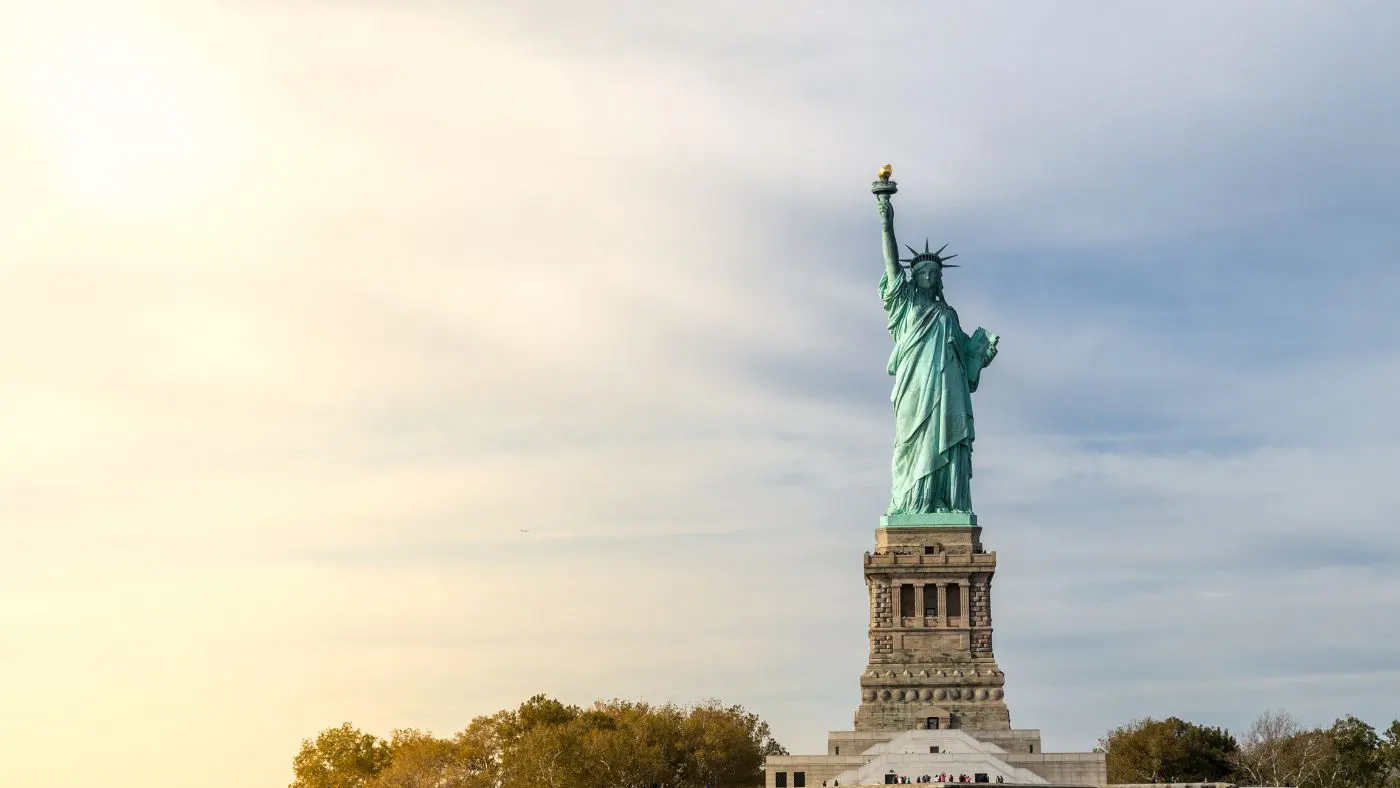
I captured NYC street photo during blue hour from an elevated position to get a clear, centered view of the road. I used a slow shutter speed to create light trails from moving cars while keeping the buildings sharp. I waited for balanced traffic flow to make the composition look clean and dynamic.
In NYC night street photography, this candid energy feels stronger because light and shadow change fast. Once you understand the meaning of street photo-shoot, your shooting purpose becomes clear.
Street Photography vs Street Style Photography
Street style photography is usually fashion/outfit or look-focused, and the subject is often aware of the camera. Photography of street is more about moments and stories—where the place, people, and time work together. In NYC, street style photography is mostly seen in South of Houston Street and other fashion-focused areas. This type of photography happens everywhere—the subway, crosswalks, corner stores, and all around the city. When you’re clear about which one you’re shooting, your composition, distance, and ethics become easier to set. As a result, your readers will understand you’re following the real “definition” of street photography.
NYC Night Street Photography Ideas
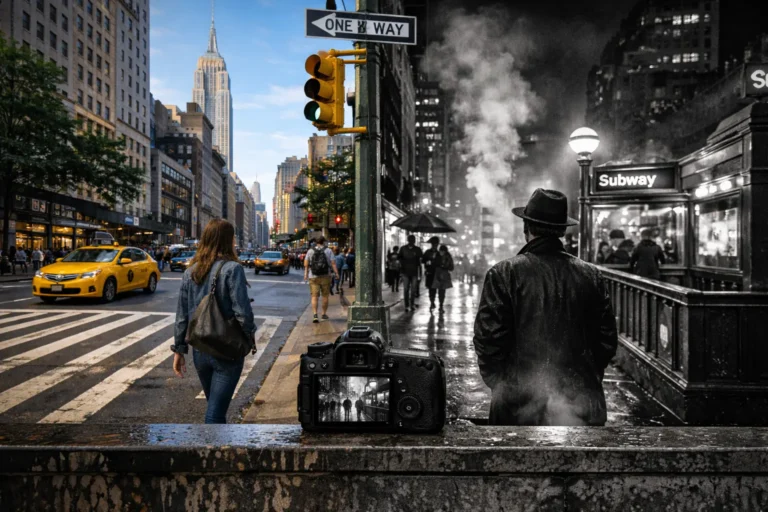
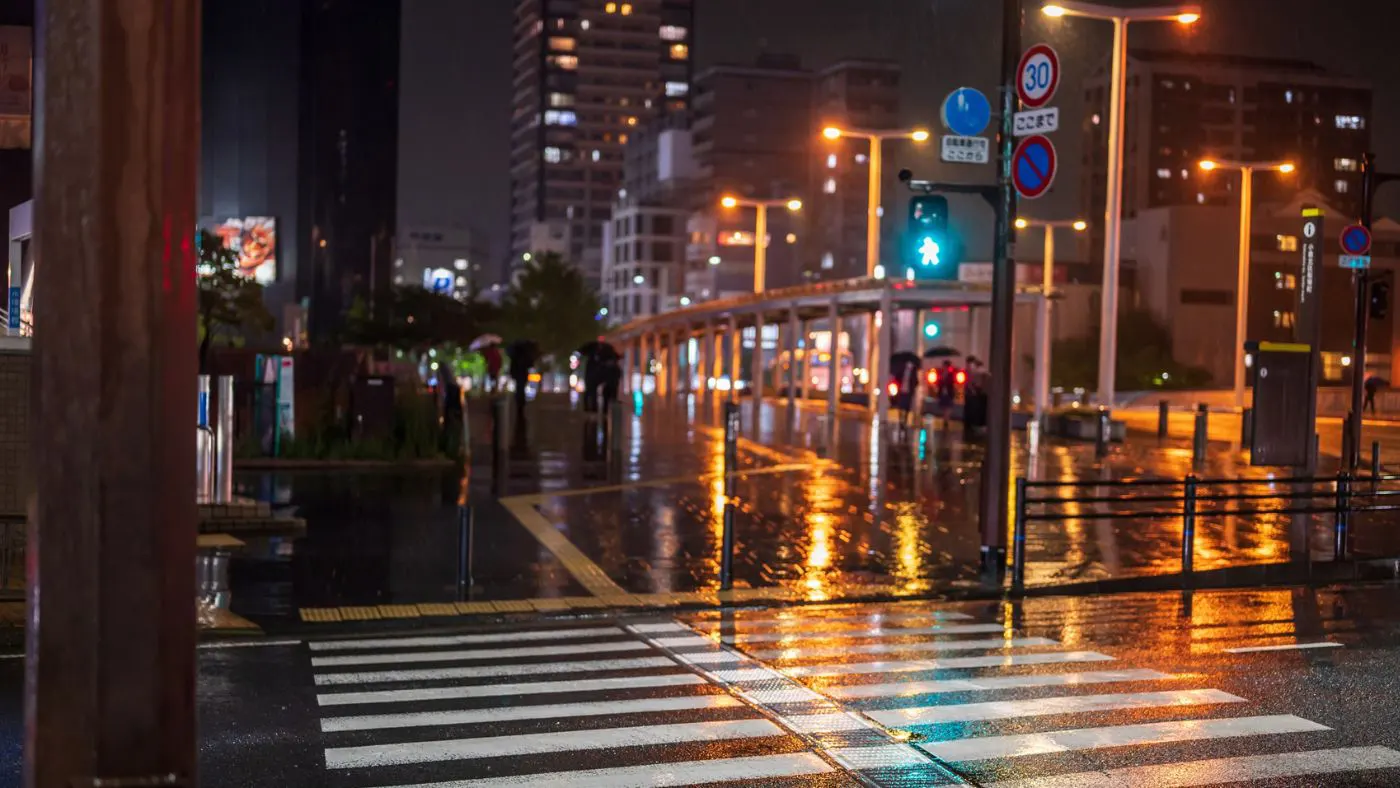
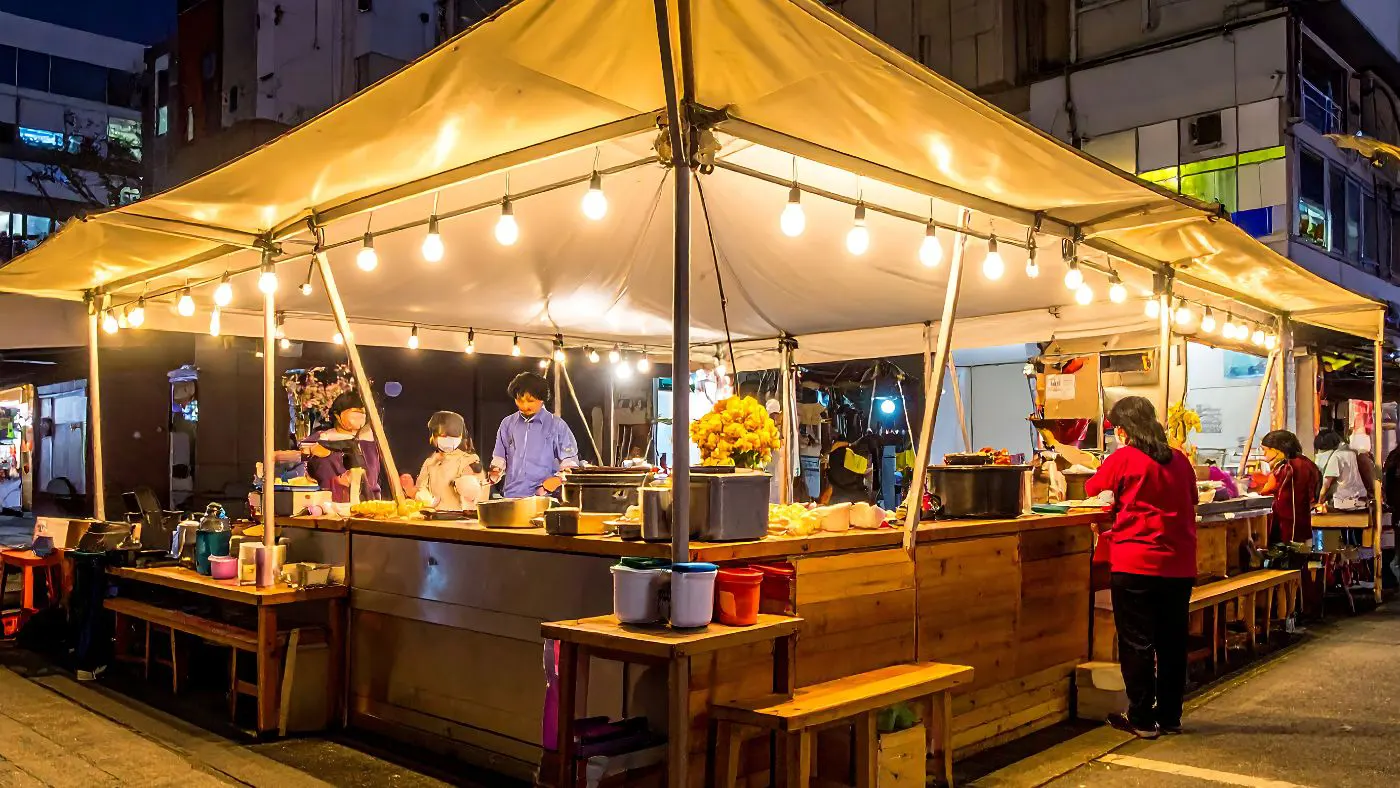
NYC is a city of nights—like a stage with a different atmosphere. Neon signs, subway lighting, steam, and rain reflections create a mood that’s hard to get in daylight. That’s why night street photography is trending in the USA, especially content focused on NYC. In this section, you’ll understand why New York street photography feels so attractive at night and how to capture that vibe.
New York Nights = Natural Drama
NYC night lighting is layered—street lamps, shop signs, and distant headlights all build a scene together. This mixed light gives your subject cinematic depth, especially in black and white street photography. If you treat local light as your “key light,” you can get strong, portrait-like street shots without flash. Crowds and movement keep your frame alive. That’s why NYC night street photography isn’t only a technique—it’s capturing an atmosphere.
For example, on a rainy night in NYC, I stood near a crosswalk and waited for the signal to turn green. As people started walking, the wet road reflected streetlights and signals. When someone stepped into that reflection, I captured the moment. The mix of light, shadow, and movement created a cinematic street scene
Best Time & Weather for Great Street Photography
Blue hour (the short time after sunset) feels magical in NYC because the sky still glows while city lights start to shine. Late evening changes the crowd pattern—fewer people, deeper shadows, and more mystery. Rainy nights create puddle reflections that add extra layers to the composition, giving great contrast in B&W. Fog/steam (like NYC manhole steam) makes silhouette shots even stronger. Use golden hour and weather as creative tools, not obstacles.
One rainy evening in NYC during blue hour, I stood near a crosswalk and waited for traffic to pass. The wet road reflected neon lights and street signals. When a person walked through the frame, their silhouette and the reflection combined to create a strong black and white composition. The mix of soft sky light and city glow made the scene feel cinematic and full of mood.
Street Photographer Mindset (Night Shoot Edition)
Night street photography is not just about camera settings—you need the right mindset. At night, scenes change fast, people move quickly, and lighting is unpredictable. If you aren’t calm, observant, and confident, you’ll miss shots or end up with shaky frames. This section teaches you how to stay composed and catch decisive moments.
Observation + Patience
The best night street shots often can’t be chased—you get them by waiting. Choose a corner, crosswalk, or subway entrance, then observe where the light falls. Let people naturally walk through that light pocket—the moment will come to you. With patience, you stop taking random shots and start taking intentional ones. This makes your storytelling much stronger.
Confidence + Blend In
In NYC, people are busy, so if you move naturally, most won’t even notice you. If you’re nervous, your movements become awkward, and you’ll ruin candid moments. Keep calm body language, act normal (don’t over-avoid eye contact), and follow a “shoot–move–reset” flow. When you keep a respectful distance, you stay safer, and your subject feels less uncomfortable. This confidence is what gives you consistent candid street shots.
Night Lighting Basics for Street Shots
Night street photography is basically “light hunting.” You must highlight your subject using available light instead of flash. In NYC, shop signs, street lamps, and car headlights can all act like free studio lights. You just need to know which light works best for your subject. This section simplifies the lighting basics.
Available Light Use
Notice people standing under shop signs or street lamps—light naturally falls on their faces there. Turn these “light pockets” into your shooting spots. You don’t need to direct your subject into the light—just time it right. In NYC night street photography, neon light creates interesting effects on skin, and in B&W it becomes texture. If you use available light well, your shots instantly look premium.
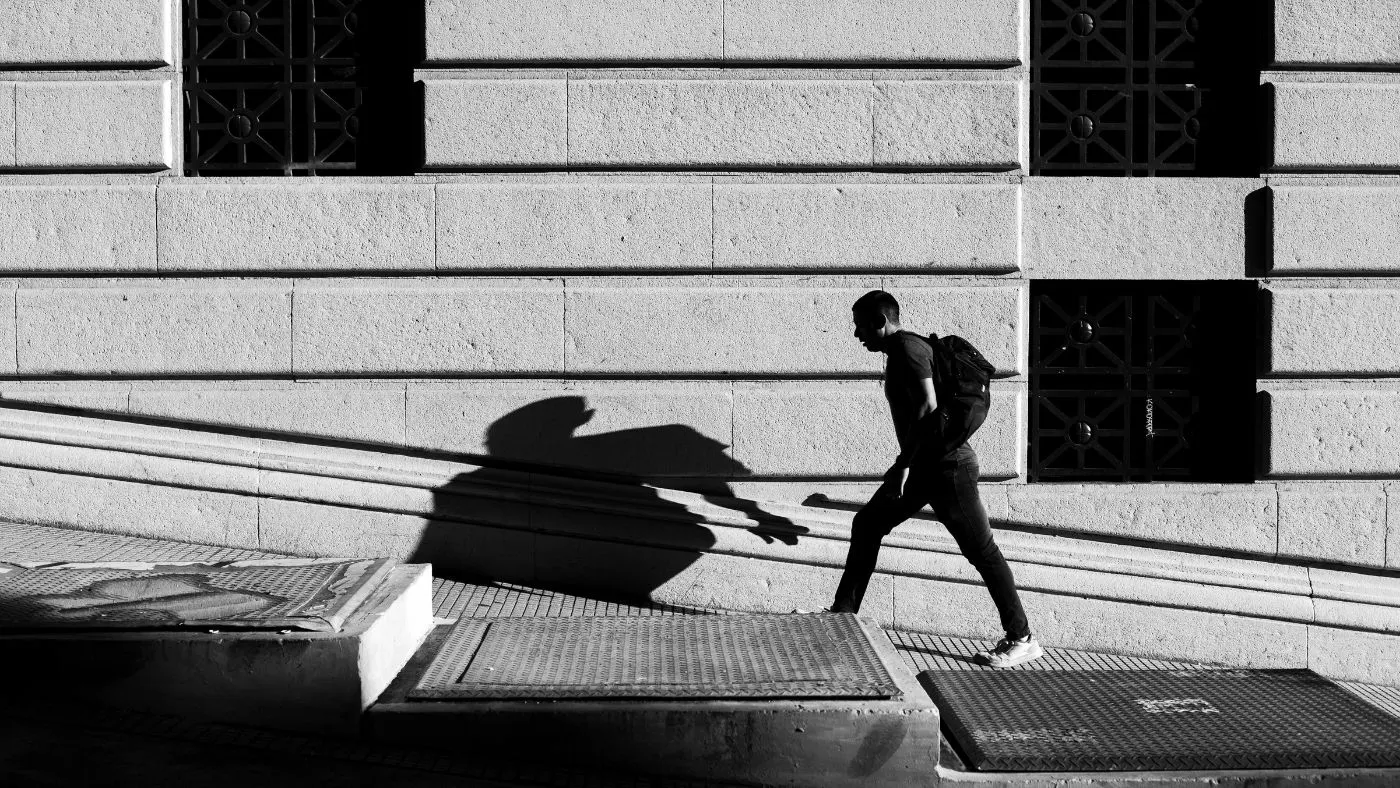
Backlight & Silhouette
When the light is behind your subject, the subject becomes dark and forms a silhouette—very effective for night street photography. Steam, fog, or rain makes silhouettes even more dramatic. Silhouette shots need less facial detail, so they can also feel safer from a candid/ethics perspective. NYC subway entrances or bright billboards are great for silhouettes. A strong outline often equals a strong image.
Shadows + Reflections
Wet roads and puddle reflections are common in NYC nights, and they add an extra story layer to your frame. Shadows can create mystery or act as leading lines. Long shadows work beautifully on crosswalks or alleys, especially in B&W. Reflection shots can require slower composition, but the payoff is huge. In night B&W street photography, reflections can become your signature.
Composition for NYC Night Streets
At night in NYC, frames can get cluttered—signs, lights, people, and cars all pile in. That’s why composition is your biggest weapon. You’ll turn chaos into a story using lines, layers, and timing. This section gives quick composition rules that work in the field.
Leading Lines & Frames
Crosswalk lines, subway stairs, and building edges naturally pull the viewer’s eye toward your subject. Choose angles where lines point into the subject area. Doorways and shop windows can create natural frames that separate the subject from the environment. NYC is full of frames—you just need to train your eye to see them. Strong leading lines instantly make your photo look more professional.
Layering for Depth
Layering creates story: foreground (shadow/umbrella), midground (subject), background (lights/signs). If you build your frame in three layers, the photo won’t feel flat. In NYC crowds, layering is easier because people naturally exist across multiple planes. You just need timing so the layers don’t overlap messily. Good layering keeps images rich even in B&W.
Timing (Decisive Moment)
A gesture, a glance, a step into the frame—these are decisive moments. In NYC, people move fast, so you must have your frame ready ahead of time. Stand near a light pocket and let the moment come to you. If you miss timing, the shot might be technically fine, but emotionally empty. In night street photography, timing is king.
Candid Techniques (Respectful & Safe)
To shoot candid street photography, respect, distance, and behavior matter. In NYC, some people are privacy-sensitive while others don’t care—but your approach should always be professional. The more respectful you are, the safer you’ll be, and the more consistently you can shoot. This section gives candid techniques without being “creepy.”
Keep Distance Smartly
Using 35mm/50mm focal lengths lets you keep a natural distance while still capturing candid moments. Getting too close can make subjects uncomfortable—and at night it can be risky. With a bit of distance, you capture both gestures and environment, which is the beauty of street photography. NYC night backgrounds are full of strong lights, and distance often improves composition. Smart distance = better ethics + better frames.
Shoot-Move-Reset
If you take a shot and then stand there staring, it feels awkward. Instead, take the shot, move, then observe again. This flow keeps you more invisible and helps candid moments stay natural. In busy NYC streets, it works well because your movement blends into the crowd. It reduces overthinking and increases output.
When to Ask Permission
For close-up portraits, kids, vulnerable situations, or moments involving sadness/risk, asking permission is best. At night, people can be drunk or emotional, so extra caution matters. Permission can build a connection and sometimes leads to even better portraits. Even when permission isn’t required, respectful behavior is always important. Strong ethics support long-term growth.
Black and White Street Photography Look (NYC Style)
Black and white street photography is always popular in the USA, and it feels even stronger in NYC at night. City light and shadow create graphic shapes in B&W. Color distractions disappear, while story, emotion, and texture become clearer. This section gives practical ideas to build a strong B&W look.
Contrast Control
In B&W, contrast creates subject separation. If highlights blow out or shadows block up, you lose detail. Expose so the subject stays readable, and background lights createa mood. NYC neon and lamps can be extremely bright, so highlight control matters. Balanced contrast is what makes timeless B&W.
Grain (Tasteful)
Grain adds a gritty, film-like feeling that matches the NYC vibe. But too much grain makes skin and detail look muddy. The goal is to add texture, not destroy quality. Night ISO can naturally create grain—enhance it carefully. Subtle grain = premium look.
Texture & Shapes
NYC has brick walls, metal shutters, steam, and wet asphalt—these pop as texture in B&W. Use light angles that reveal texture, like side light. Shapes like silhouettes, umbrellas, and hats become strong graphic elements. Without color, texture, and shape, most of the storytelling is lost. Choose subjects and scenes with texture in mind.
Editing Workflow for Night B&W (Fast)
A simple, repeatable editing workflow helps you build a consistent style. Photo retouching isn’t only about making things pretty—it’s about removing distractions and clarifying the story. NYC night B&W relies heavily on tone control and clean framing. This workflow is beginner-friendly but can deliver pro results.
B&W Conversion
Start by converting to B&W and adjusting tones so your subject stands out from the background. Reduce highlights if needed and lift shadows if they’re too crushed. Keep the glow of NYC lights, but don’t let your subject disappear. Once the tone balance is right, the photo instantly looks stronger. This becomes your base layer.
Dodge & Burn (Light)
Dodge means brightening; burn means darkening—this is a storytelling tool in B&W. Lightly brighten the face/hands/gesture to guide the viewer’s eye. Darken distracting parts of the background to clean the frame. Overdoing it looks fake, so keep it subtle. Gentle dodge & burn creates a professional look.
Crop & Straighten
NYC scenes can be messy, so crop to tighten the composition. If horizons or vertical lines aren’t straight, city shots feel “off.” Cropping lets you refine the rule-of-thirds or centered symmetry. In B&W, composition matters even more, so the crop is your second chance. Straight frames feel strong.
NYC Night Street Photo Spots (Ideas)
NYC is huge, but night street photography has a few reliable environments where light and activity stay consistent. Knowing spots reduces wasted time and increases practice. These location ideas help with planning, and crowded areas tend to be more beginner-friendly and safer.
Midtown Neon Areas
Midtown has bright signage and crowd energy, making night street photography easier. With plentiful light, your settings stay more stable. Neon creates bold contrast in B&W, giving an iconic look. Movement is constant, so it’s perfect for timing practice. It’s a high-success zone for beginners.
Subway Entrances/Platforms
Subway entrances often have directional light that shapes faces and shadows nicely. Stairs act as ready-made leading lines for composition. People rushing through creates perfect decisive-moment training. Platform light can be dramatic, but respect matters. Motion and geometry naturally appear here.
Chinatown / SoHo / Brooklyn Streets
These areas offer textures, narrow streets, and shop lights that create moody scenes. Chinatown has signage and crowd layering, while SoHo can mix clean streets with fashion energy. Brooklyn streets can be quieter, giving shadow-heavy B&W potential. You can pick areas depending on the mood you want. Story variety is high.
Best Camera Settings for Night Street Photography (NYC)
The main challenge in night street photography is balancing exposure—light is low, but movement is high. Faster shutter speeds freeze motion but darken the image; higher ISO brightens the photo but adds noise. NYC street lights help, but you still need to adjust quickly. This section gives you a beginner-friendly settings mindset that works in real streets.
Shutter Speed
You usually need a relatively fast shutter speed to freeze people or traffic; your subject will blur. But blur isn’t always bad—motion blur can show the “city rush” feeling. If you’re shooting crowds or walking subjects, keep shutter speed high enough so faces and gestures stay readable. Crosswalks and subway stairs have fast action, so the wrong shutter speed can ruin the shot. Think of shutter speed as your “motion control knob.”
Aperture
A wider aperture lets in more light, helping you keep ISO lower. But very wide apertures give shallow depth of field—background lights look great as bokeh, but you may lose scene layering. If you want multiple layers in a street scene, stopping down slightly can make the frame richer. In NYC night scenes, balancing neon signs and your subject often depends on aperture choices. Choose your aperture based on your shot goal.
ISO
Increasing ISO makes the image brighter but can add noise—this is a normal tradeoff in night street photography. NYC has lots of light, so you may not always need extremely high ISO, but darker blocks can demand it. Editing can reduce some noise later, but fixing underexposure is much harder. It’s better to use a slightly higher ISO and expose your subject properly. Use the mindset: “clean enough + story strong.”
Focus
Autofocus can hunt at night, so you need predictable focusing. Zone focusing is a classic street photography method—set a distance, and you can shoot candid moments quickly. For moving subjects, continuous AF can help, but fast locking is crucial. At subway entrances or crosswalks, people move quickly, so a focus delay means missed moments. Set your focus mode before the action happens.
Common Mistakes to Avoid (Night + B&W)
Beginners often make a few common mistakes in night street photography—fixing them quickly improves results. Many people get distracted by NYC’s strong lights and forget the subject, which kills the story. Others over-edit and make images look harsh. This section helps you avoid those pitfalls.
Underexposure
Some people shoot too dark and try to brighten later—this often results in noise. It’s better to expose your subject properly in the field. NYC lights can be bright while the subject stays dark, so meter carefully. Slightly brighter exposure gives better tones in B&W. Avoiding underexposure makes editing easier.
Busy Background
NYC is cluttered, so if you don’t check the background, your subject disappears. Before shooting, pause for one second and scan for distractions. Changing the angle often creates a cleaner background instantly. In B&W, stronger contrast makes clutter even more noticeable. Clean backgrounds create stronger subjects.
Over-Editing
Too much contrast, clarity, or grain makes the image harsh. In B&W, subtlety looks premium. Your editing goal should be clarity of subject/story—not showing effects. Keep it natural but impactful. A consistent look also helps ranking and branding.
Quick Checklist Before You Shoot
If you head out quickly, a short checklist boosts consistency. Preparation reduces missed shots in night street photography. NYC scenes appear and disappear fast, so being camera-ready gives an advantage. Follow this checklist, and your first 30 minutes will be productive.
Settings Ready
Set shutter/aperture/ISO and focus mode before you start. Keep a base exposure and only make small adjustments on the fly. Whether you use Auto ISO or manual, stay consistent. Make sure the lens is clean, the battery is full, and you have card space. A ready camera captures ready moments.
One Micro-Goal
Trying to shoot everything in one night creates messy results. Pick one micro-goal—only silhouettes, only reflections, or only crosswalk moments. Goals help you filter scenes and sharpen timing. This speeds up learning dramatically. Focused practice = faster improvement.
Safety & Ethics
Stay aware of your surroundings at night, especially on quieter blocks. Crowded, well-lit areas are safer for beginners. Don’t violate privacy, and avoid vulnerable situations. A respectful approach builds confidence and makes shooting sustainable. When you’re safe and ethical, creativity flows freely.
FAQ
Some questions come up again and again about NYC night street photography—especially about definitions, settings, and the B&W look. These quick answers help readers fast, and FAQ sections also support SEO because people search in question form. You can keep them as short answers, too.
What is Street Photography?
Street photography is capturing real-life candid moments in public places, where story, emotion, timing, and environment work together. It’s not staged portraits or fashion shoots—it’s observation-driven photography. In cities like NYC, it’s popular because movement and city light constantly create stories. Understanding the definition helps you shoot ethically and purposefully.
Best Settings for Night Street Photography?
Settings change by scene, but the goal is to keep the subject readable and control motion. Use available light and keep the shutter speed fast enough so the main subject doesn’t blur. Balance aperture/ISO for proper exposure, and set your focus method in advance. Most importantly, avoid underexposure. A consistent base setup makes quick adjustments easy.
How to Get a Black and White Street Photography Look?
The B&W look comes from tone control, balanced contrast, and emphasizing texture. Protect highlights and avoid crushing shadows so you keep depth. Use subtle dodge & burn to separate the subject, and add tasteful grain if you want. NYC neon, steam, and rain create strong textures and shapes in B&W naturally. The secret is not over-editing.
NYC Night Street Photography Tips for Beginners?
Start in crowded, well-lit areas so settings are easier and safety is higher. Choose a micro-goal (silhouette/reflections/crosswalk) and repeat similar shots for practice. Keep your settings ready, use a shoot–move–reset flow, and avoid lingering. Maintain a respectful distance and ask permission when needed. With regular practice, NYC nights become your best teacher.


