

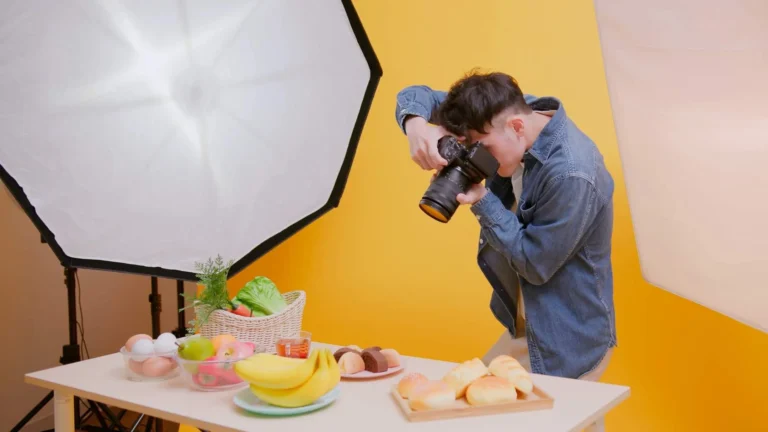
A good indoor photoshoot can look just as professional as an outdoor shoot. The key is knowing how to use the environment properly. To get great results indoors, it’s important to know some effective indoor photography ideas. Indoor lighting is usually lower. Different types of light often mix. Small and messy background items can easily ruin the frame. That is why choosing the right location is important. You must also control the light carefully. Setting your camera correctly is equally important.
Many people search for the best camera for interior photography to improve results. The right camera and lens help capture better details. They also improve sharpness and color accuracy.
In this step-by-step guide, you will learn how to plan an indoor photoshoot from start to finish. It covers location selection and lighting setup. You will also learn camera settings and composition techniques. The guide explains how to avoid common mistakes. It also covers post-processing for a more professional look.
Location and Lighting for Indoor Photography
The biggest difference in an indoor shoot comes from choosing the right location and controlling the light. Indoor frames often look flat. Shadows may fall awkwardly on the face. The background can also appear messy. So you must first pick the right spot, then adjust the light based on your subject.
Start by scanning the entire room. Notice where the light falls best. Look for a clean, simple background. Window light is usually the easiest and most beautiful option. It is soft, natural, and flattering. Morning and late afternoon light is softer. Midday sunlight can be harsh. If the light is soft, place your subject close to the window. Facing the window gives even lighting and natural skin tones. Turning the subject slightly creates a shadow on one side, adding depth and a cinematic feel.
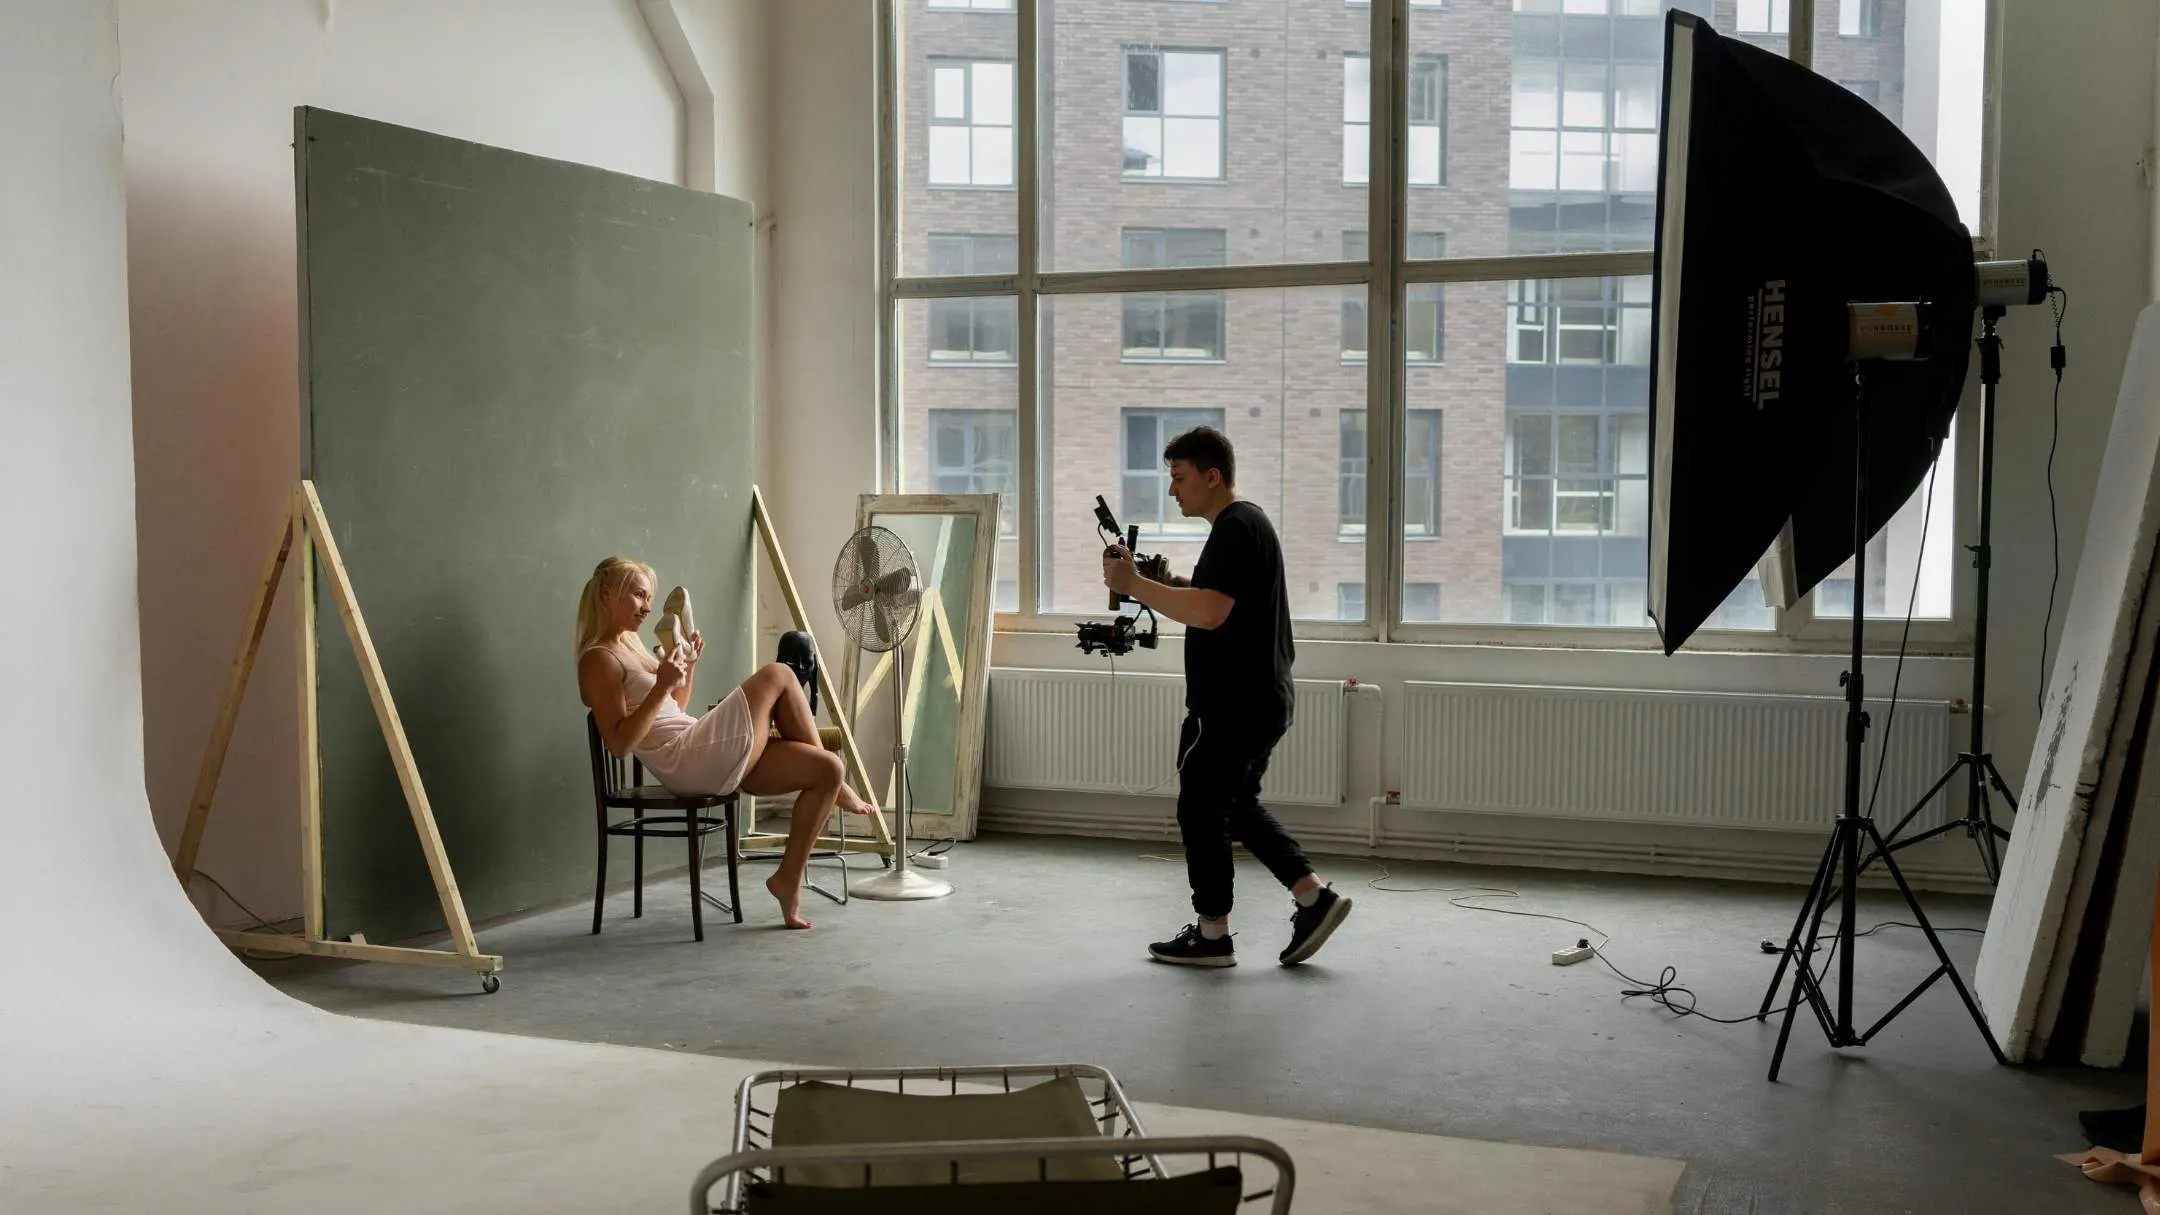
If you use strobes or LED panels, you have full control over the light. Place the light slightly to the side instead of directly in front. This adds dimension to the face. Bare lights can look harsh, so use a softbox or umbrella to soften them. Mixing artificial light with ambient light keeps the background natural. Reducing exposure slightly can create a moody look.
Indoor shooting is about careful observation. Small adjustments make a big difference. Move the subject closer to the window to soften shadows. Raise the light for a slimmer look. Lower it for drama. Keep the background clean and create some distance from it. These simple steps can make your indoor shoot look professional and premium.

Camera Settings & Technique for Indoor Photoshoot
The biggest challenges in an indoor photoshoot are low light, mixed-color lighting (warm/cool), and motion blur. Outdoors, there is usually more natural light, but indoors, the light is limited—so if your camera settings are not correct, the photo becomes dark, noisy, or blurry. Balancing the exposure triangle (Aperture–ISO–Shutter Speed) properly and following a few smart techniques is what makes indoor photos look premium.
Adjust Aperture for Subject Focus
Using a wide aperture (lower f-number) allows more light to enter and creates a beautiful background blur. This makes the subject stand out and gives the frame a “pro” look. However, for group shots or wide frames where you want everyone sharp, it’s better to use a narrower aperture (higher f-number). So you should set your aperture based on whether you are shooting a portrait or a group.
Set the Right Shutter Speed to Avoid Blur
When shooting handheld, or when the subject moves even slightly, a slow shutter speed makes the photo blurry. So indoors, you should keep the shutter speed at a level that controls hand shake and subject movement. If you are photographing kids, events, or any moving subject, you need a faster shutter speed. And if the light is low, using a tripod or stable support (table/wall) allows you to use a slower shutter and still keep the image sharp. You should set the shutter speed while considering movement from both “you” and the “subject.”
ISO for Proper Brightness
Increasing ISO brightens the image, but higher ISO also increases grain/noise. Many people are afraid to raise ISO indoors, so the image becomes too dark. Even if there is a little noise, a properly exposed (bright with details) photo can be corrected much better in editing. So indoors, increase ISO gradually until your shutter speed is safe and the brightness looks correct. Noise tolerance differs from camera to camera, so testing your own camera to find what ISO is “acceptable” will give you the best results.
Right Shooting Mode for Indoor Control
Choosing the shooting mode is also very important indoors. If you want full control, using Manual mode and balancing aperture–shutter–ISO yourself will give you the most consistent results. If you want to work faster, Aperture Priority is a good option—here you set the aperture and the camera chooses the shutter speed. Just make sure the shutter doesn’t become too slow. This way, instead of handling everything at once, you can control your shots using “aperture + exposure compensation/ISO.”
White Balance for Accurate Indoor Colors
A major color problem in indoor photography is white balance. Indoor bulbs often look yellow (warm) or sometimes greenish, while window light is white/cool—mixing them can make skin tones look strange. Try to keep one type of light (if using window light, turn off indoor bulbs), or set the WB preset/custom WB according to your indoor lighting. If you shoot in RAW, fixing white balance in editing becomes much easier—this is one of the biggest advantages of shooting RAW indoors. RAW files allow you to recover highlights, shadows, and colors much more safely.
Indoor Shooting Technique
It’s not only about settings—small habits can greatly improve indoor results. First, always keep focus on the eyes/face (use eye-focus/face detection for portraits if available). Second, adjust the subject position based on the light direction—side light adds dimension, and front light gives a soft, clean look. Third, when shooting handheld, control your breathing and press the shutter steadily; if needed, support yourself on a wall/table. And if there is a lot of motion, raise ISO a bit to keep shutter speed fast—because sharp images are always more valuable. The best indoor photoshoot results come when you use aperture to control look/depth, shutter speed to control blur, and ISO to balance brightness.

Type of Indoor Photography Angles
Indoor photoshoots depend on which angle you shoot from and how you arrange elements inside the frame. When you change the angle, the same room or the same subject can feel realistic in one shot, larger in another, soft in one, and dramatic in another. And when the composition is right, the frame looks clean, balanced, and comfortable to the viewer’s eyes.
Eye-Level Angle:
The most “natural” and most commonly used angle indoors is the eye-level angle. Shooting from this angle means capturing the scene the way people normally see it, so it creates a familiar feeling. At eye level, the photo usually looks balanced and realistic.
Low Angle:
Using a low angle indoors can make the subject or space look “bigger.” In room shots, a low angle helps highlight ceiling details, light fixtures, or architectural lines. When using a low angle, it’s important to pay attention to straight lines inside the frame.
High Angle:
A high angle means shooting from above, looking down. This can make the subject look relatively smaller or softer, and for room shots, it helps show the layout more clearly. Many times, taking the shot slightly higher than eye level works better for an indoor overview. High-angle photos can show the floor, furniture placement, and spacing together in one frame.
Bird’s-Eye View:
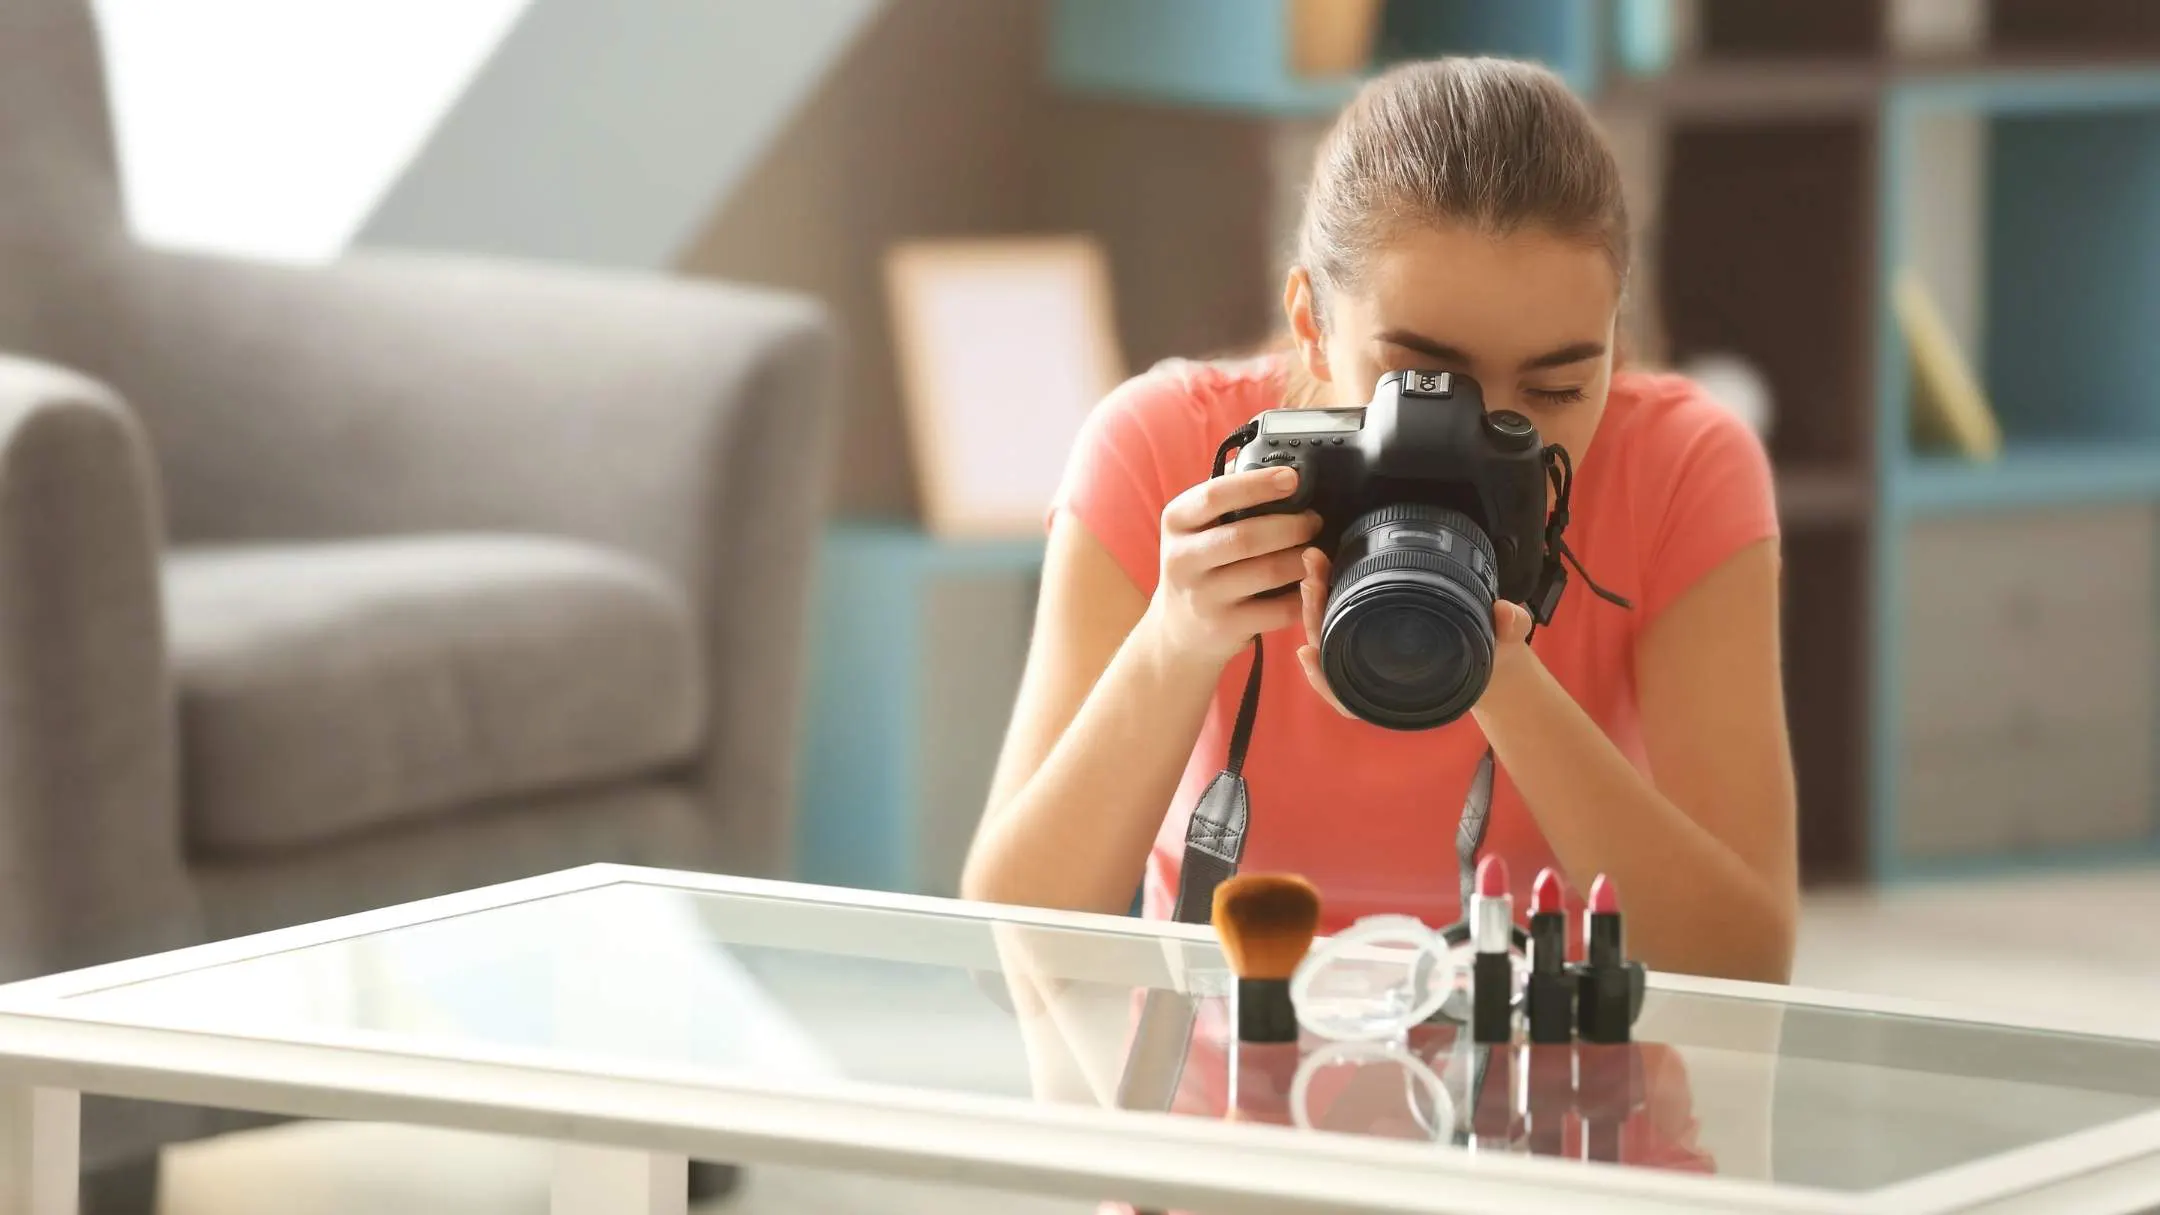
This angle is commonly used for flat lays on a table, food shots, product setups, patterns, or neatly arranged items. In this view, the photo looks more graphic, clean, and unique, which is very popular for social media content.
Dutch Angle (Dutch Tilt):
Sometimes in indoor shoots, you can use a Dutch tilt, where the camera is slightly tilted. This makes the horizon/lines diagonal instead of straight, creating a dynamic feel. It works well for fashion, musical, story-type, or creative content.
Composition Techniques for Indoor Photoshoot
Rule of Thirds:
This rule of thirds is very effective here. If you imagine the frame divided into 9 sections and place the subject slightly to the side or close to the lines instead of keeping them in the center, the frame looks more balanced and interesting. Especially in portraits, when the subject stays on one side, and you keep negative space on the other side, the photo looks more stylish—and you also get space to place text or captions.
Leading Lines:
These are very easy to find indoors—hallways, table edges, window frames, stair lines, or wall designs. By using these lines, you can “guide” the viewer’s eyes toward the subject. This creates a visual path inside the image and makes the frame look deeper.
Symmetry and Balance:
Symmetry and balance are very powerful indoors. If you place the subject in the middle of a door/window or keep equal elements on both sides, the photo feels organized and classy. You can also break symmetry and use asymmetry if you want—just make sure the visual “weight” of the frame doesn’t become heavier on one side.
Framing (Frame Within a Frame):
Another beautiful indoor composition technique is creating a frame within a frame. Using doors, windows, arches, or even gaps in curtains to surround the subject draws the viewer’s focus directly to the subject and adds depth to the photo.
Depth and Layering:
To avoid indoor photos looking flat, layering is very helpful. If you place a light element in the foreground (like plant leaves, the edge of glass, or a curtain corner), keep the subject in the middle, and the background behind—then the photo forms three layers, which looks very cinematic. In portraits, using a wide aperture to soften the background helps the subject stand out more, while for room/interior shots, using a narrower aperture to keep more of the scene sharp makes the space easier to understand.
Negative Space:
One of the simplest but most powerful parts of composition is negative space. If you fill every part of the frame, indoor shots can look too busy. Keeping some empty space around the subject allows the frame to “breathe,” makes the subject clearer, and gives the whole photo a premium minimal look.
Common Indoor Photoshoot Mistakes
Common mistakes in an indoor photoshoot usually fall into three areas: lighting, composition and styling, and camera settings.
Lighting issues:
Since indoor spaces have less light than outdoors, photos often end up looking dark. Another major mistake is mixing different light sources—like cool daylight from a window, warm yellow bulbs, or cold fluorescent lights—which can create strange color tones in the image.
Many people also don’t use light in the right way. If the subject is placed too far from a window, the face won’t get enough light, and the photo will look dull. On the other hand, if you shoot directly toward a very bright window, the background can become overexposed, or the subject may turn into a silhouette. In simple terms, keeping the white balance correct and positioning the subject based on the light source helps indoor shots look much cleaner and more professional.
composition and styling mistakes
The most common composition and styling mistake in an indoor photoshoot is not paying enough attention to the background. Cluttered items, visible wires/cords, dirt, or anything that sits awkwardly behind the subject can easily ruin the frame. Another mistake is keeping the subject right in the center in every photo or shooting everything from the same eye-level (standing) angle, which makes the images feel repetitive and less interesting.
Small details also matter a lot—wrinkled clothes, marks on mirrors, or an unmade bed can lower the overall quality of the photo. That’s why cleaning up the background before shooting, trying different angles, and fixing small details in advance helps indoor shots look much cleaner and more professional.
Camera Setting and Technique Mistakes
Common camera settings and technique mistakes often happen during indoor photoshoots. Many photographers struggle to balance exposure properly. Some use the wrong lens. Others miss focus, over-edit images, or forget to use a tripod. If you do not set the exposure triangle (aperture, shutter speed, and ISO) correctly, photos can become too dark or too bright. A slow shutter speed can also cause motion blur.
Even if you use the best camera for interior design photography, poor settings can still ruin the result. Correct handling of camera settings is very important. Another common mistake is choosing the wrong lens. A wide lens can distort room or face proportions. On the other hand, a very narrow lens may fail to capture enough space. In portrait photography, keeping the eyes sharp is essential. If the eyes are out of focus, the photo will not look professional.
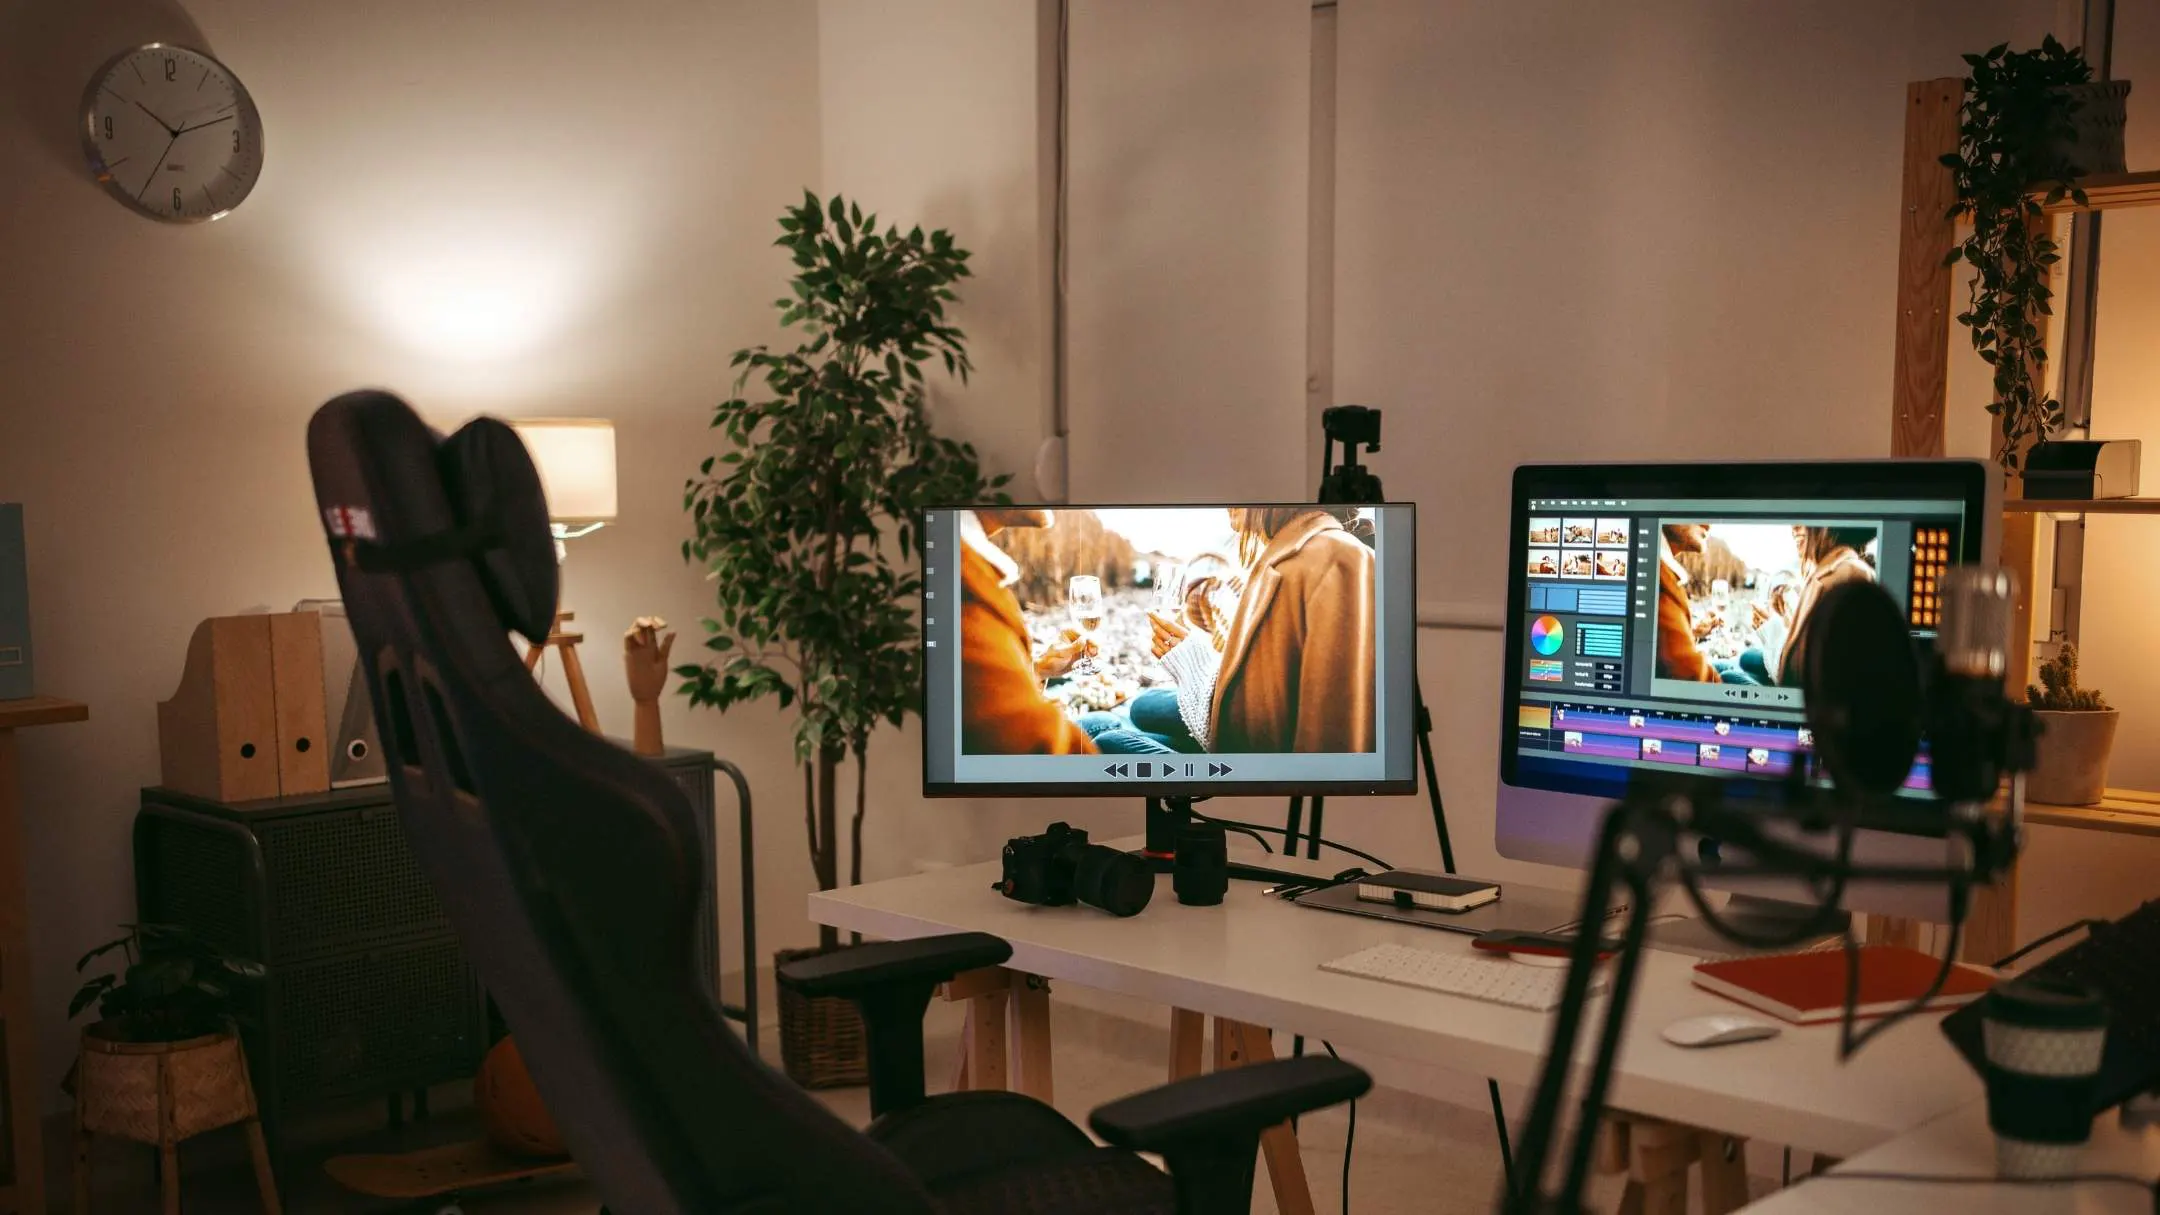
Post-Processing for Indoor Photography
Post-processing for indoor photoshoots actively enhances your RAW images through professional photo retouching. It includes correcting incorrect exposure, removing color cast issues, straightening crooked lines, and cleaning small unwanted elements. It also enhances the final look by improving colors, contrast, and shadow/highlight detail so the space feels clean, realistic, and visually appealing.
Image Selection & Organization: This step focuses on choosing the strongest images from the shoot and organizing them properly inside editing software. It helps streamline the workflow and ensures only high-quality photos move forward for editing.
Color Correction & White Balance: Colors are adjusted to look natural and consistent across all images. Proper white balance removes unwanted color casts and helps create the desired mood, whether warm, neutral, or cool.
Exposure & Contrast Enhancement: Brightness, highlights, and shadows are balanced to reveal details without losing depth. This process improves clarity and gives indoor photos a more dynamic and professional appearance.
Cropping & Alignment: Images are refined by adjusting framing and correcting tilted lines. This is especially important for indoor and architectural photography, where straight edges and clean composition matter.
Retouching & Object Removal: Unwanted elements such as dust, wires, stains, or small distractions are carefully removed. This ensures the viewer’s focus stays on the subject and the space looks clean and polished.
Sharpening & Noise Control: Details are enhanced to make images crisp while reducing grain caused by low indoor lighting. The goal is to achieve sharp visuals without making the image look artificial.
Creative Styling & Visual Effects: Subtle styles or tonal adjustments are applied to enhance atmosphere and depth. These creative touches help convey emotion and align the images with the photographer’s or brand’s vision.
Conclusion
A successful indoor photoshoot is all about smart decisions and small adjustments. Your photos look professional with the right location, lighting, and camera settings. Messy backgrounds, mixed lighting, and incorrect exposure reduce image quality.
Finally, post-processing completes the workflow by correcting color, exposure, and details so your indoor images look clean, realistic, and consistent. Follow these steps to capture high-quality indoor photos anywhere.


