

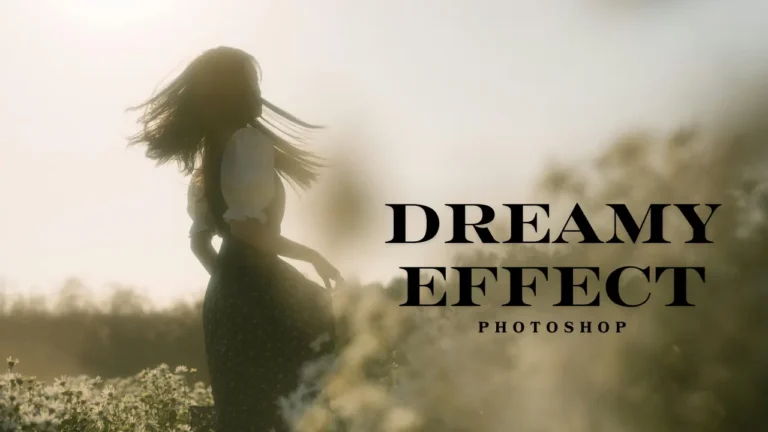
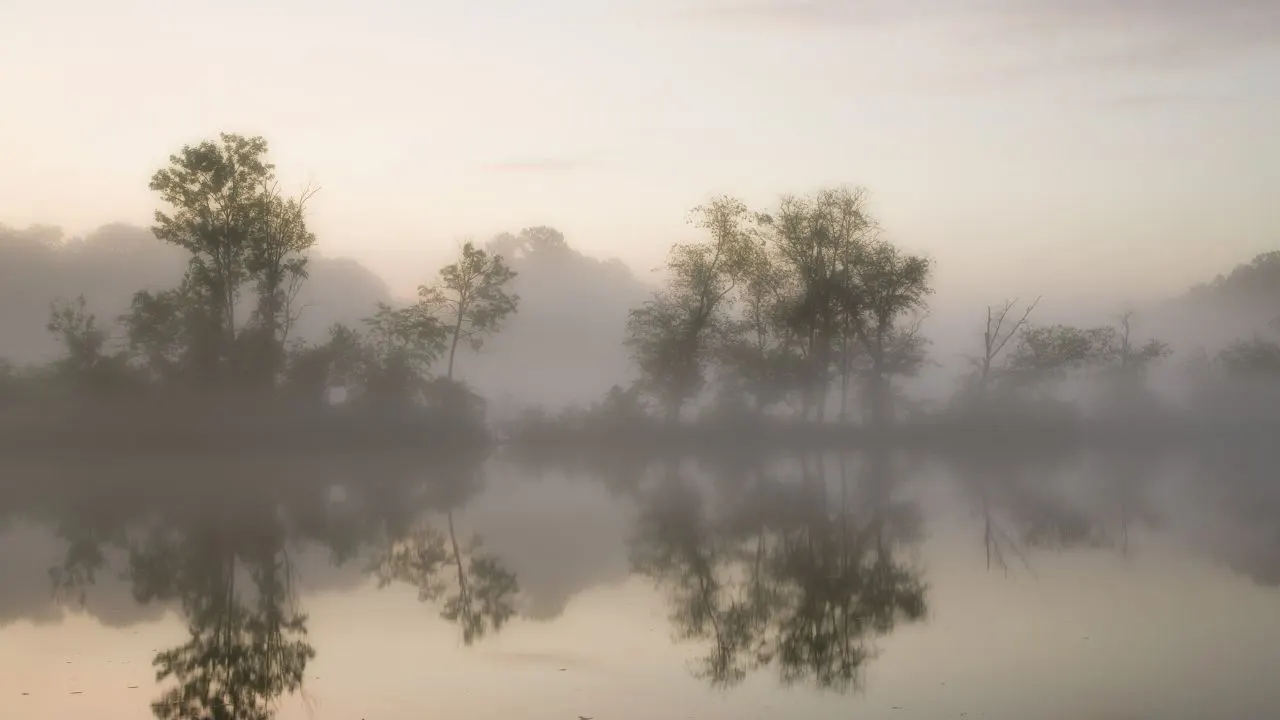
Dreamy photo editing is a popular style that makes photos look soft, calm, and emotional. This effect uses gentle light, smooth colors, and a soft glow to create a magical feeling. A dreamy effect helps photos stand out and feel more artistic. Many photographers use this style to tell stories through images.
Using a Dreamy Effect Photoshop Action is a smart decision because it saves a lot of time. Creating dreamy effects by hand requires many steps and strong Photoshop skills. However, Photoshop actions do the hard work automatically. Wedding photographers, portrait editors, and social media creators benefit the most from this tool. For pro-level dreamy photo editing, actions help deliver fast, clean, and professional results every time.

What Is a Dreamy Effect Photoshop Action?
A Dreamy Effect Photoshop Action is a ready-made editing tool created inside Photoshop. It applies soft glow, light haze, smooth contrast, and color effects with one click. This makes dreamy Photoshop effects easy, even for beginners who are still learning photo editing.
These actions work in a non-destructive way. That means your original photo stays safe and unchanged. Photoshop creates new adjustment layers instead of editing the photo directly. You can change brightness, glow strength, and color tones anytime. Dreamy Photoshop actions are widely used in portraits, weddings, lifestyle photos, and creative projects. When used properly, they give images a polished and professional look.
How Dreamy Photoshop Actions Work
Photoshop actions record many editing steps in the correct order. When you press the play button, Photoshop repeats those steps automatically. Dreamy effect actions usually add glow layers, color layers, and brightness adjustments. Each layer can be edited later, which makes learning easier. This system gives users full control over the final result.
Key Benefits of Using Dreamy Effect Actions
Dreamy effect actions make photo editing faster and simpler. They help keep all photos looking similar in style. Beginners can create advanced effects without stress. Professionals can finish projects quickly and handle more work. Most importantly, dreamy photo editing becomes easy while keeping good image quality.
What You Need Before Using a Dreamy Effect Photoshop Action
Before using a Dreamy Effect Photoshop Action, proper preparation is very important. Without preparation, the final image may look strange or messy. First, you must make sure your Photoshop version supports the action file correctly.
Image quality is another key factor. Low-resolution photos often become too blurry after applying dreamy effects. Clean and well-prepared images produce better professional dreamy photo editing results. Good preparation always leads to better-looking photos.
Photoshop Version & File Requirements
Using an updated version of Adobe Photoshop is highly recommended. Most dreamy Photoshop actions work best with Creative Cloud versions. High-quality JPEG or RAW files give the best results. For online use, sRGB color mode is ideal. These settings reduce errors and improve performance.
Preparing Your Image for Best Results
Before running the action, fix exposure and white balance carefully. Remove dust, spots, or unwanted objects from the image. Clean photos respond better to a dreamy effect. This step makes the final result look natural and professional.

How to Install and Use Dreamy Effect Photoshop Action
Installing a Dreamy Effect Photoshop Action is very easy and only needs to be done once. After installation, you can use the action again and again. Correct installation keeps your editing process smooth and stress-free.
When running the action, do not click around in Photoshop. Let the action finish completely. Interrupting the process can cause errors. Following the correct steps helps achieve clean, dreamy photo editing results.
Step-by-Step Installation Process
Open Photoshop and go to the Actions panel from the Window menu. Click “Load Actions” and select the downloaded .ATN file. The action will appear in the panel immediately. Restart Photoshop if needed to ensure everything works smoothly.
How to Apply the Action Correctly
Open your prepared image and select the main image layer. Choose the Dreamy Effect Photoshop Action and press Play. Wait patiently while Photoshop processes the effect. Once finished, new adjustment layers will appear automatically.
Layer Adjustments After Running the Action
After the action finishes, review all created layers. Glow, light, and color effects are separated for easy control. Adjust opacity to reduce or increase strength. Use layer masks for specific areas. This step is very important for pro-level dreamy photo editing.
How to Customize Dreamy Effect for Pro-Level Results
Customization makes dreamy edits look more professional and natural. Default action settings do not work perfectly for every image. Adjusting effects helps match the photo’s mood and lighting.
Too much glow can make photos look fake. Wrong color tones can damage skin appearance. Customizing the dreamy Photoshop effect keeps the image balanced and realistic.
Adjusting Soft Glow and Light Effects
Lower glow layer opacity slowly. Avoid strong glow on faces, especially eyes and lips. Apply glow more on backgrounds if needed. Balanced light makes the dreamy photo effect soft and pleasing.
Fine-Tuning Colors, Contrast, and Highlights
Use color balance layers to adjust tones gently. Warm colors feel romantic and soft. Cool colors feel calm and cinematic. Avoid strong contrast. Soft color adjustments look more professional.
Keeping Skin Texture Natural
Over-softening removes natural skin details. Reduce opacity and add light sharpening if needed. Natural skin texture is very important in dreamy photo editing. Real-looking skin improves image quality.
Best Tips for Natural & Professional Dreamy Photo Editing
Always keep dreamy edits simple and clean. Not every photo needs a strong dreamy effect. Choosing the right image is very important for success.
Zoom in often to check details. Compare before-and-after versions regularly. These habits help improve editing quality over time.
Avoiding Over-Editing Mistakes
Too much glow or color saturation makes photos look fake. Always use effects gently. In professional dreamy photo editing, small changes create better results. Simple edits look more realistic.
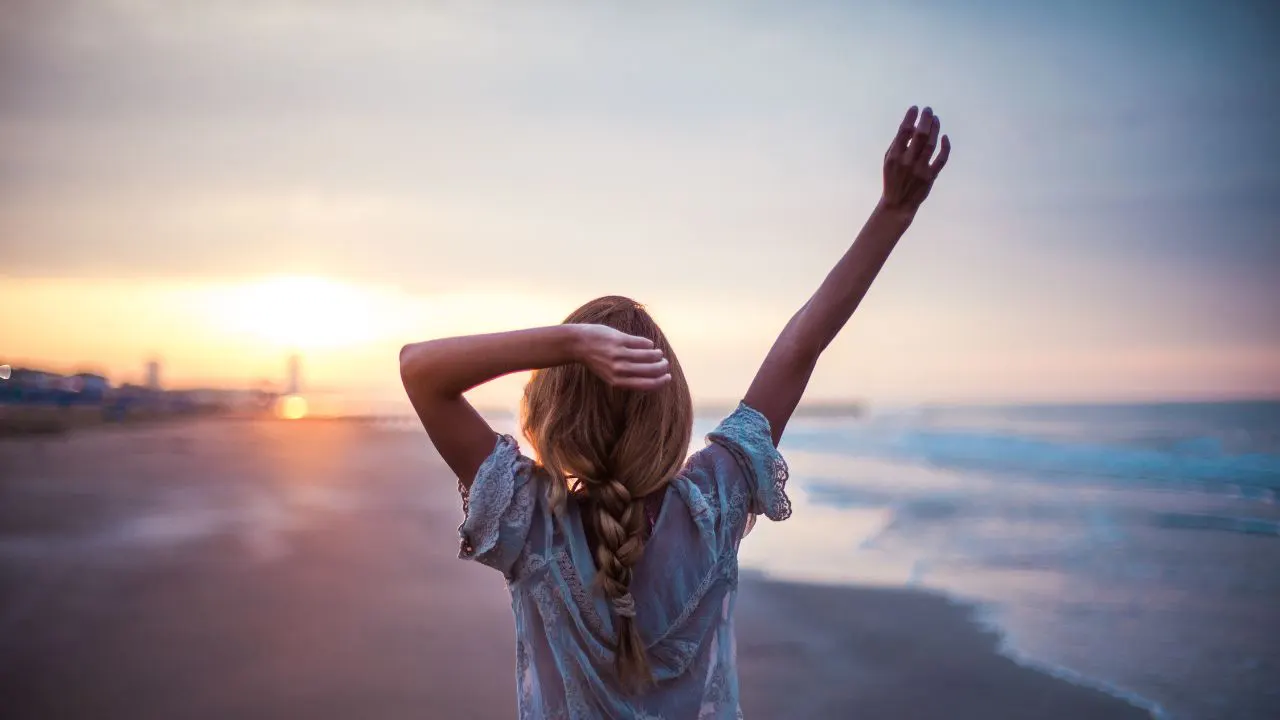
Choosing the Right Photos for Dreamy Effects
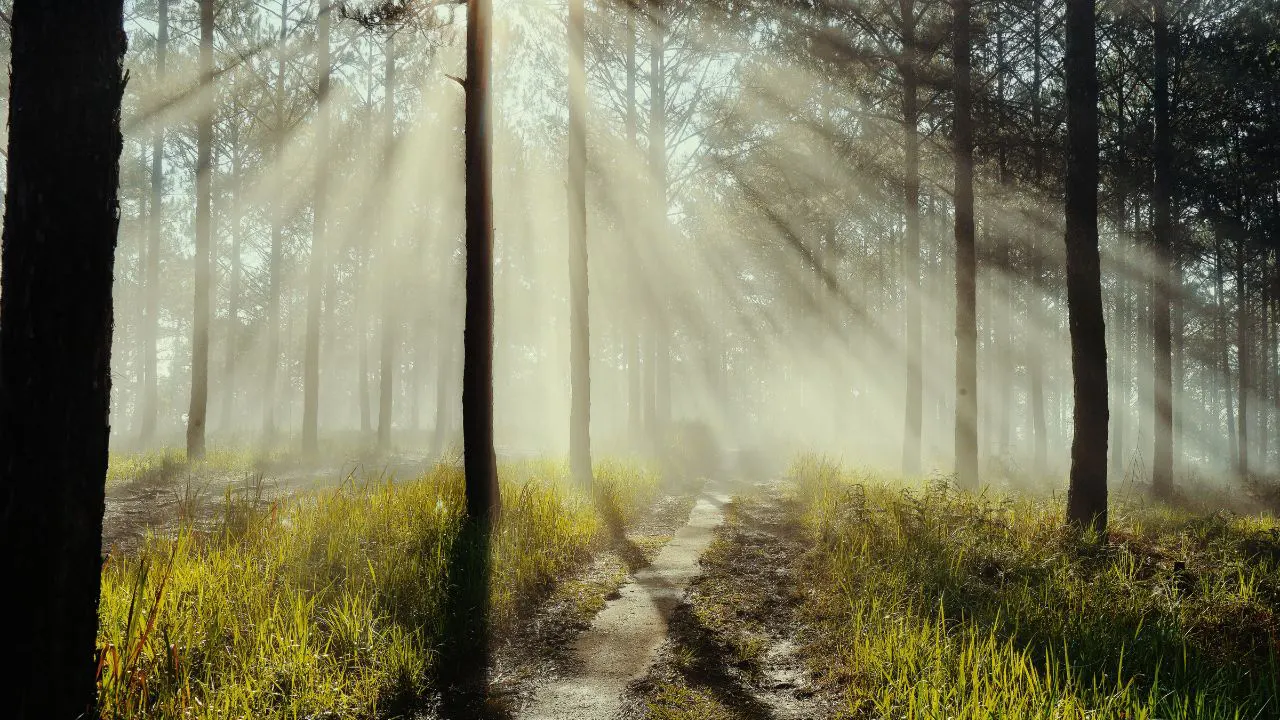
Photos with soft, natural light work best for dreamy Photoshop effects. Golden hour portraits, weddings, and lifestyle photos are great choices. Harsh lighting reduces dreamy beauty. The right photo always gives better results.
Common Problems and Easy Fixes
Sometimes Dreamy Effect Photoshop Actions may not work as expected. Most problems are easy to fix if you understand them. Knowing common issues saves time and frustration.
Stay calm and check settings carefully. Rushing often creates new problems.
Action Not Working or Stopping
Older Photoshop versions may cause actions to stop. Make sure the action loads correctly. Follow instructions carefully. Low computer memory can also create issues. Restarting Photoshop often fixes the problem.
Overexposed or Washed-Out Results
Lower glow and brightness layers carefully. Fix exposure before running the action. Use masks to control bright areas. Balanced lighting brings back professional quality.
Unnatural Color Tones
Incorrect white balance causes color problems. Adjust color balance layers manually. Keep skin tones natural. Use reference images if needed. Correct colors make dreamy edits believable.
Final Thoughts
A Dreamy Effect Photoshop Action is a powerful and helpful editing tool. When used correctly, it creates soft, beautiful, and professional photos. Good preparation, careful customization, and balance are the keys to success.
Practice regularly to improve your skills. Do not use the same settings on every image. Adjust effects based on each photo. This step-by-step approach will help you master dreamy photo editing confidently.


