

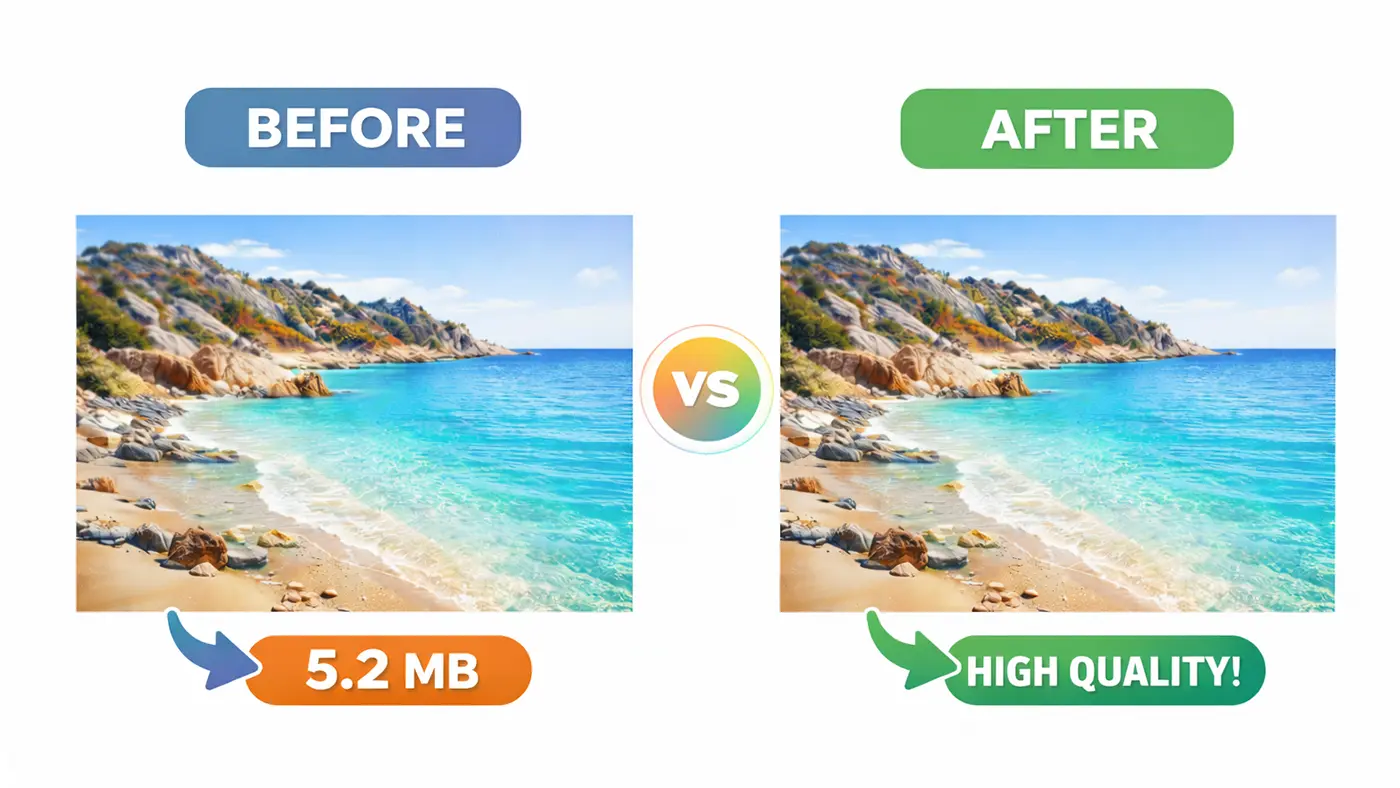
If your image file is too large, your website can load slowly, and your uploads may fail. The good news is you can compress image in krita without losing quality by using the right export settings. Many people say “online,” but Krita is a desktop app—still, you can get the same result by exporting smartly. This guide shows how to reduce file size in Krita while keeping the image sharp.
Can You Compres Images in Krita “Online”?
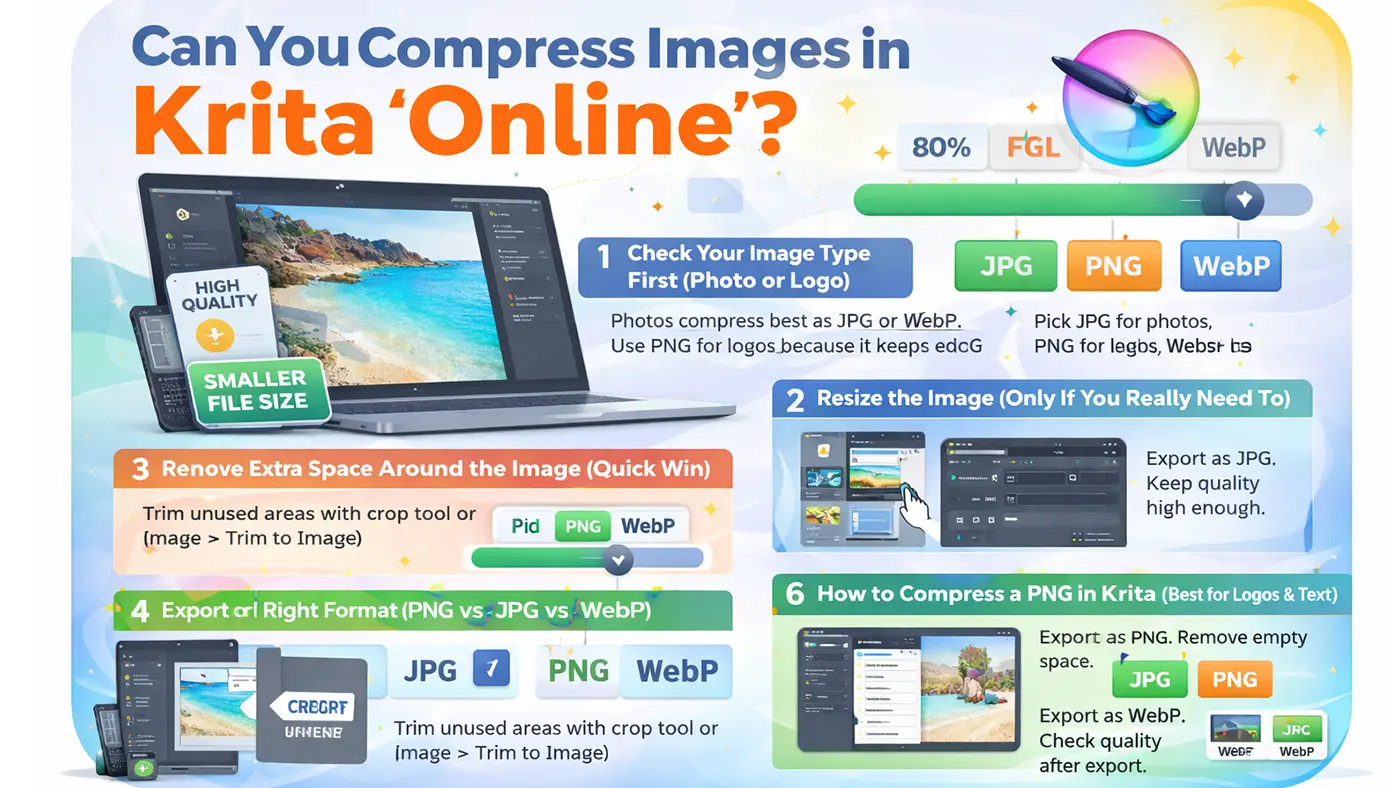
Krita does not run in a browser, so it is not an online tool. People often use “online” because they want a fast method without heavy image editing. In Krita, you can still compress images quickly by changing export settings and choosing the right format. The final result is the same: a smaller file that still looks clear. Even though Krita is not a browser tool, you can still compress image in krita quickly with smart export options.
1) Check Your Image Type First (Photo or Logo)
Before you compress, decide what kind of image you have. Photos usually compress best as JPG or WebP, and they can become much smaller. Logos, icons, or screenshots with text often look best as PNG because it keeps sharp edges. Picking the right format is the easiest way to reduce file size without losing quality.
2) Resize the Image (Only If You Really Need To)
Resizing is one of the fastest ways to reduce image size in Krita. Go to Image > Scale Image and keep the aspect ratio locked so the image does not stretch. If your image is 6000px wide but you only need 1500px for a website, resizing will cut file size a lot. This is a smart step because exporting a huge image often wastes space.
3) Remove Extra Space Around the Image (Quick Win)
Sometimes the file is large because the canvas is bigger than the subject. Use the crop tool or go to Image > Trim to Image (if available for your version/workflow) to remove empty areas. Less canvas space means fewer pixels to save, so the file becomes smaller. This step does not reduce quality—it just removes unused space.
4) Export the Right Format (PNG vs JPG vs WebP)
Choosing the right format is the key to compression without visible quality loss. JPG is best for photos because it compresses very well while still looking natural. PNG is best for logos and text because it keeps edges clean, but it can be heavy for photos. WebP is often the best option for websites because it can keep good quality with a smaller size than JPG or PNG.
5) How to Compress a JPG in Krita (Best for Photos)
Go to File > Export (or Export As) and choose JPG/JPEG. In the JPG settings, lower the quality slowly until the image still looks sharp. For most photos, a quality range of around 75–90 looks very good and saves a lot of space. Always zoom in and check the edges, because too low quality can create blocky marks.
6) How to Compress a PNG in Krita (Best for Logos & Text)
Export as PNG when you need sharp lines or transparency. PNG does not use “quality” the same way JPG does, so it may stay large. To reduce PNG size, keep the image dimensions reasonable and remove extra empty space around the subject. If the PNG is still too big for web use, consider exporting as WebP instead, especially for large images.
7) How to Export WebP in Krita (Best for Web)
If your Krita version supports WebP, export as WebP for strong compression with good quality. WebP is great for product photos, banners, and blog images because it loads fast on websites. You can control quality like JPG, but the file size is often smaller at the same visual quality. After exporting, open the file and zoom in to confirm it still looks clean.
8) Best Krita Export Settings (Simple Guide)
Use these simple rules to keep quality and reduce size. For photos, export as JPG or WebP and keep quality high enough that the image looks natural. For logos and icons, use PNG if you need transparency and sharp edges. If your website supports WebP, it is often the best balance of quality and small size.
Common Problems & Fixes
Problem 1: “My Image Looks Blurry After Export”
This usually happens when the image is resized too much or exported at low quality. Try exporting at a higher quality or keep a larger pixel size. Also check that you are not viewing a small preview that looks soft. Always zoom to 100% to judge real sharpness.
Problem 2: “File Size Is Still Large”
If the file is still big, the image dimensions may be too large. Resize the image to the actual size you need for web or store use. Also, try switching formats, because a photo saved as PNG is often much larger than a JPG or WebP. WebP is usually the best option for a smaller size.
Problem 3: “Colors Look Different”
Color changes can happen if color profiles are not handled the same in every app. Try exporting in sRGB for web use if possible. Also, keep your edits consistent and avoid heavy filters right before exporting. View the export in a browser to confirm the final look.
Need Help Compressing Images Fast?
If you don’t want to spend time testing settings in Krita, we can help. Image Expert compresses images without making them look blurry or pixelated. We choose the best format (JPG, PNG, or WebP) and keep the quality clean for websites and eCommerce. You’ll get smaller file sizes that load faster and still look sharp. If you have many images or tight deadlines, our service saves you a lot of time. Visit the Image Expert website and send your images to get started.
FAQ (Frequently Asked Questions)
Can I Compress Image In Krita Without Losing Quality?
Yes, you can reduce file size without visible quality loss by exporting the right way. Use JPG/WebP for photos and PNG for logos or text. Keep the quality setting high enough that the image still looks sharp. Always check the export at 100% zoom.
What Is The Best Format to Reduce File Size In Krita?
For photos, JPG and WebP usually give the smallest file size. PNG is best for logos and transparency but can be larger. WebP is often the best choice for websites because it stays clear and loads fast. Choose based on your image type.
Is WebP Better Than JPG In Krita Export?
For web use, WebP is often better because it can keep similar quality with a smaller size. It is great for blog images and product photos. JPG is still fine if you need wide support everywhere. If your site supports WebP, it is a smart option.
Conclusion
To compress image in Krita online without losing quality, focus on the right steps: resize only when needed, remove extra empty space, and export using the best format. Photos usually work best as JPG or WebP, while logos and text look best as PNG. Export slowly, check the result, and keep settings simple. With these tips, you can reduce image file size in Krita and still keep a clean, sharp look.


