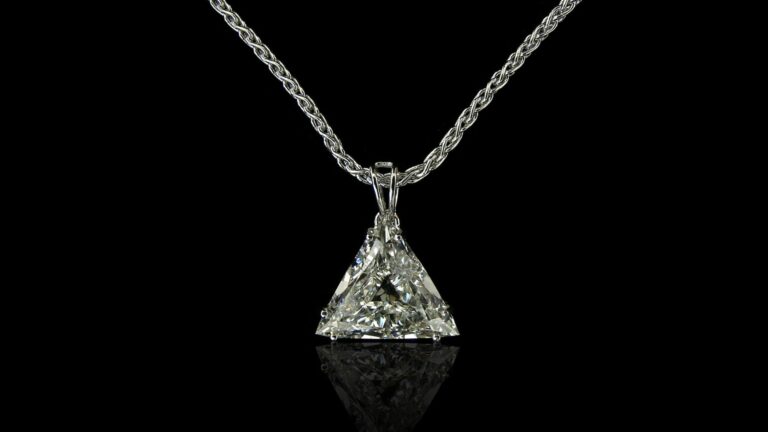
A pendant is one of the most attractive pieces of jewelry necklace photo. Retouching is essential for turning raw shots into flawless, professional, polished images. It enhances the shine, color, metals, gemstones, and details of the pendant. Pendent retouching makes it more effective in attracting customers and boosting sales in today’s competitive jewelry USA market. This comprehensive pendant retouching guideline helps you understand the complete retouching process, from capturing high-resolution images to the final edits.
Why Pendant Retouching is Essential for Jewelry Businesses
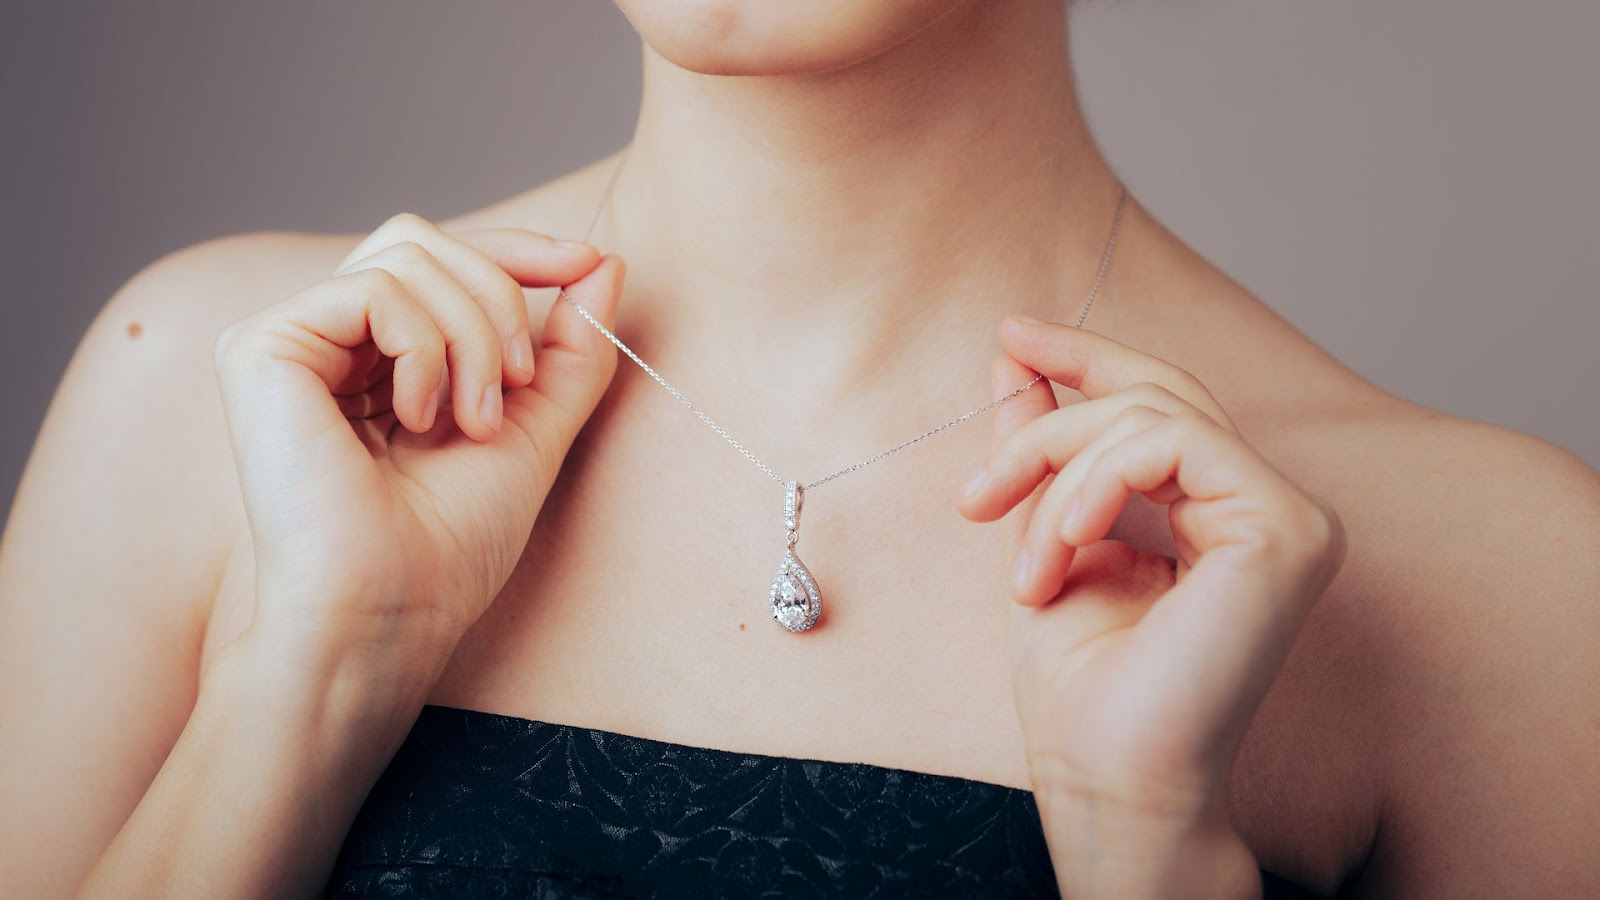
Pendant retouching enhances the visual image so that it can look polished, professional, and attractive. Jewelry pendant image retouching highlights the metal and gemstone to preserve natural shine. Pendant photo retouching service removes imperfections such as dust, scratches, fingerprints, and minor flaws. The gemstone retouching service corrects the gemstone and metal colors of the pendant for a realistic and vibrant appearance. High-quality pendant images increase customer trust and conversion. This pendant retouching guideline makes the jewelry image suitable for catalogs, social media, and advertisements.
Pendant Retouching Guideline for Jewelry Photography
High-quality pendant images are the cornerstone of a successful jewelry presentation. A professionally retouched pendant can significantly enhance its appeal and perceived value in e-commerce, catalogs, or marketing materials. You can remove imperfections and enhance the shine and color of your jewelry with necklace and pendant retouching service. This guide walks you through each essential step, helping you transform ordinary pendant photos into stunning visuals
Start with High-Quality Images
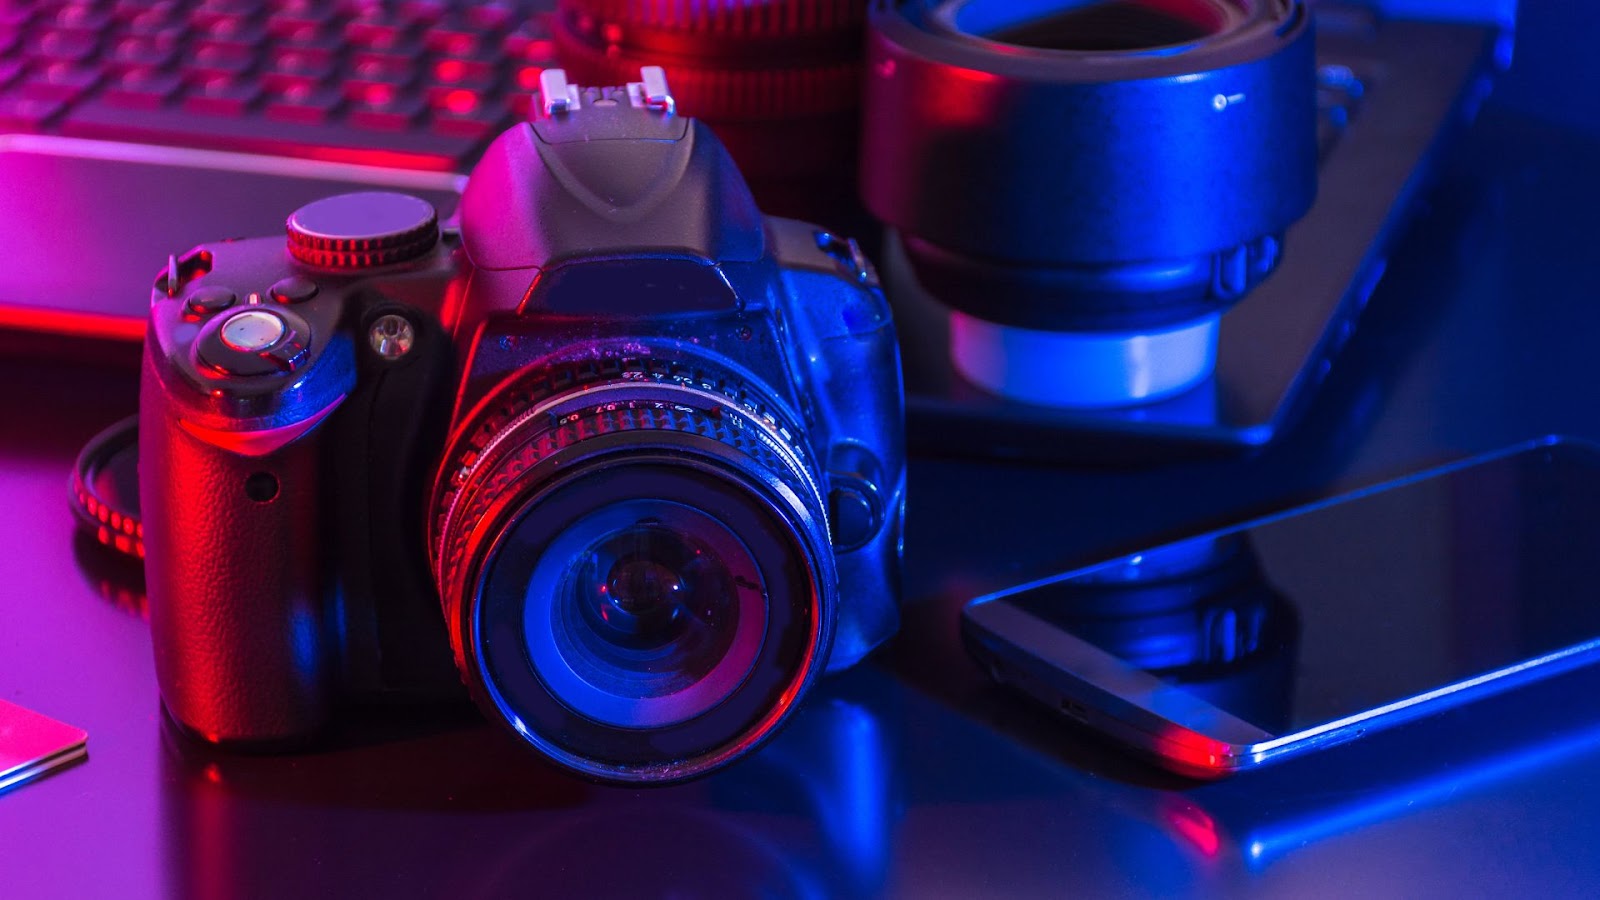
The foundation of successful pendant image retouching begins with photography. The first condition in the pendant retouching guideline is a high-quality image. A high-resolution camera should be used to capture every fine detail of a pendant’s design and color clearly. High-resolution images contain a large number of pixels, making every small detail sharp and visible. High-quality photos provide more flexibility during editing, allowing you to easily crop, zoom, or print in larger formats. Jewelry retouchers can effortlessly remove cracks, spots, or imperfections by using high-quality source files. They can give a smooth and polished appearance to a pendant photo.
Jewelry Pendant Retouching Process
Pendant photography is an art that combines technical skill with creative vision. Identify any major imperfections, such as dust, scratches, or reflections that need attention. Pendant photography needs to choose the right angles to showcase the pendant’s design and features. Jewelry pendant retouchers ensure proper lighting to avoid harsh shadows or overexposed highlights. We provide a comprehensive, step-by-step approach to pendant retouching, covering everything from initial background cleanup to final export.
Step 1: Background Cleanup and Enhancement
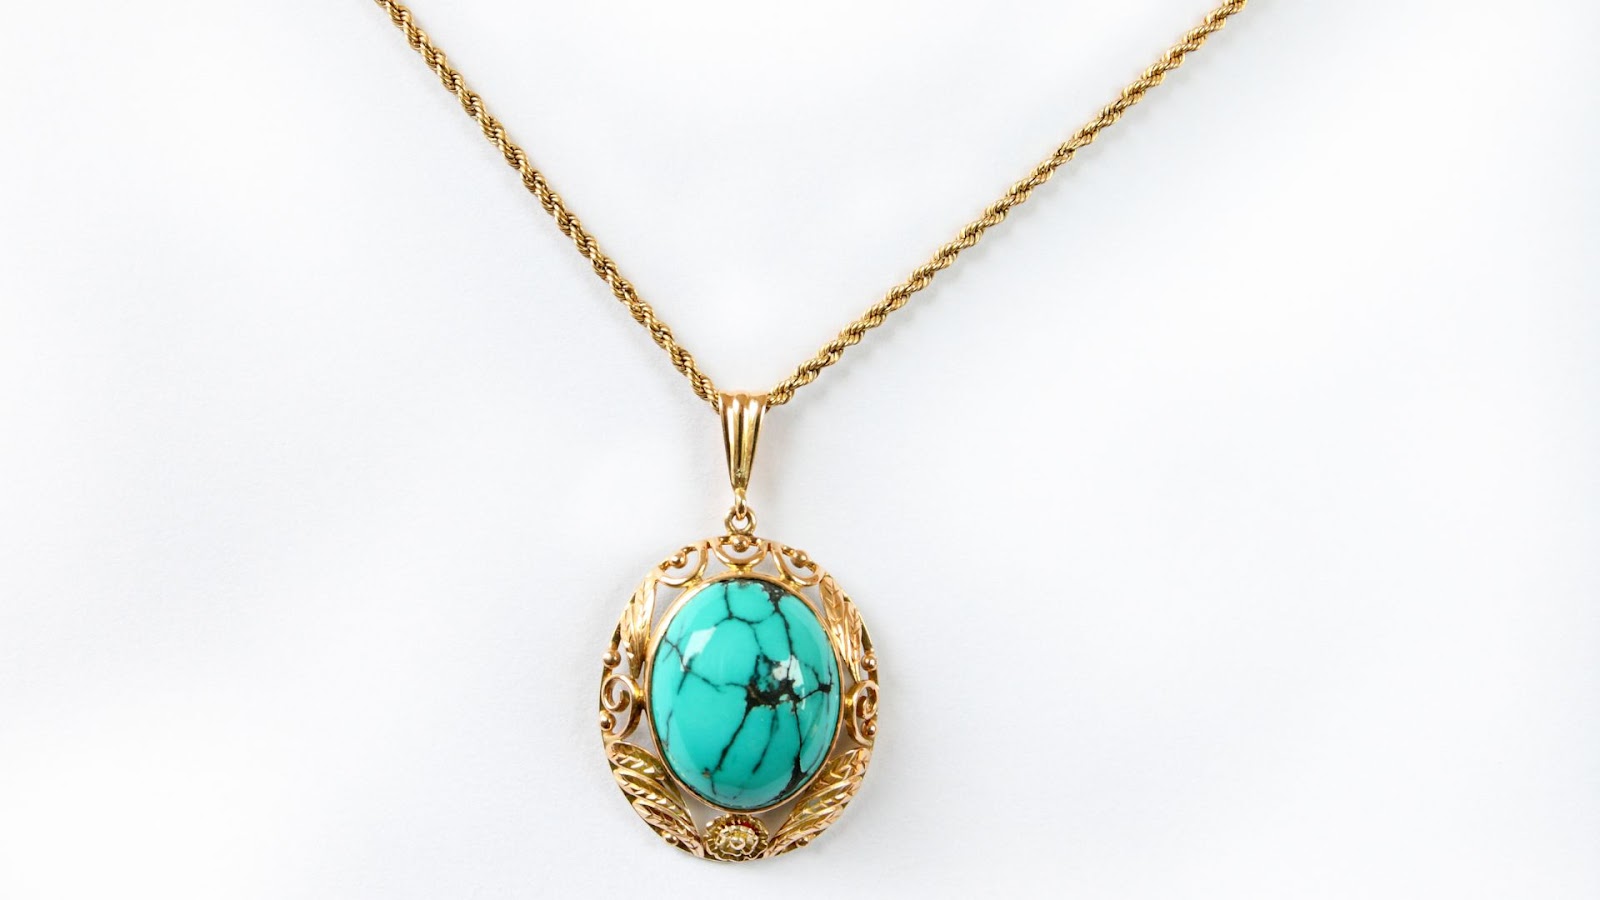
One of the first steps in photo retouching is cleaning or replacing the background. Pendant retouching removes any distractions, inconsistencies, or unwanted objects using Photoshop tools such as the pen tool, layer masks, and cloning tools. Layer masks allow nondestructive editing, giving flexibility to make adjustments without altering the original image. You can utilize the Clone Stamp or Healing Brush to fix inconsistencies. Neutral or white backgrounds are often preferred for e-commerce platforms to make pendants stand out. Jewelry pendant retouching matches the background style with other product photos for a uniform catalog look.
Step 2: Combining Multiple Images for Detail Enhancement
A photographer captures multiple shots from different perspectives for flexibility in editing. Capture multiple shots of the pendant, focusing on different elements (beads, gemstones, or metal parts). So, pendant retouching enhances the complex designs, combining multiple shots of details and texture. This technique ensures each component of the pendant will be sharp and visually appealing. A retoucher can use precise alignment and masking techniques to merge images seamlessly to maintain a natural appearance. Pendant photo retouching keeps lighting consistent across merged images to avoid mismatched highlights or shadows.

Step 3: Removing Dust, Scratches, and Imperfections
Dust, scratches, fingerprints, or minor defects can distract viewers and reduce the perceived value of the jewelry. We can use a combination of the spot healing brush and clone stamp tools with low opacity and soft edges to clean imperfections. This layered approach ensures that the pendant looks polished without over-editing. The pendant retoucher cleans gemstone facets carefully to enhance brilliance without distortion.
Step 4: Enhancing Shine and Reflections
The pendant retoucher preserves natural highlights to keep the pendant realistic. Jewelry pendant retouchers use Dodge and Burn tools subtly to enhance sparkle and shine without overexposing. This retouching method fixes the missing or uneven reflections and transforms a reflective image. We can add soft light overlays for a gentle boost to gemstone brilliance. Balance reflection intensity so it complements the pendant rather than distracting from it. Highlight gemstone facets carefully to emphasize clarity and depth.
Step 5: Color Correction and Contrast Adjustment
Adjust the hue, saturation, and curves selectively to refine the pendant’s color fidelity. This step ensures gemstones, metals, and other components retain their natural tones while appearing more vibrant. Avoid global adjustments that can distort the pendant’s realistic appearance. You can use adjustment layers (Hue/Saturation, Curves, Levels) for nondestructive editing. This technique corrects gemstone colors to ensure they match their true appearance. Color correction enhances metal tones (gold, silver, and platinum) without over-saturating. This color editing technique maintains consistency with other product images for a uniform catalog look.
Step 6: Adding Shadows for Depth
Soft shadows beneath the pendant enhance three-dimensionality, making the jewelry appear tangible and realistic. Adjust the shadow intensity, direction, and softness to match the lighting in the original photograph, creating depth without overpowering the subject. The shadow-adding technique creates a soft shadow beneath the pendant to enhance its three-dimensional look. We can use a new layer and apply a soft brush or gradient tool for realistic shadows. Shadow creation adjusts opacity and blur to keep shadows natural and subtle. This method blends shadows smoothly into the background for a professional finish.

Step 7: Balance Exposure
Balancing exposure is essential to ensure the pendant looks clear, vibrant, and realistic. We should check the overall brightness to make sure the pendant is neither too dark nor overexposed. The retoucher can use level or curve adjustments for precise exposure control. Pendant retouching adjusts the exposure and fixes any overly bright or washed-out areas. We should maintain natural lighting without flattening the jewelry’s depth. Through this technique, we can make sure gemstone brilliance is visible without losing texture. This technique matches exposure levels across all product images to maintain a consistent, professional look.
Step 8: Cropping and Resizing
Cropping and resizing are crucial steps to present your pendant professionally and focus attention on the jewelry. Resizing and cropping remove unnecessary space and focus on the pendant. This technique maintains the correct aspect ratio to prevent distortion. We should follow platform guidelines (e-commerce sites often prefer square or specific dimensions). Online image resizing and cropping help center the pendant for a balanced, professional look. The cropping and resizing technique leaves enough space around the pendant, creating a neat and elegant look. Resize images to web-friendly dimensions without losing quality. Export in high resolution for catalogs and optimized size for online use. Ensure consistency in cropping style across all jewelry product photos.
Step 9: Maintain Consistency Across Product Images
Consistency across all pendant images is essential for a professional and cohesive jewelry catalog. Image Expert keeps shadow styles consistent in direction, softness, and opacity. Standardizing cropping and resizing ensures equal framing across product listings. Match the color tones of metals and gemstones for a cohesive catalog appearance. We follow brand guidelines to align with overall e-commerce or marketing visuals.

Step 10: Final Touches
The finishing touches make a significant difference in professional pendant photography. The final touches are essential to ensure your pendant images are polished, professional, and ready for presentation. Crop and adjust the image composition for optimal presentation. Ensure the final image is clean, polished, and ready for e-commerce platforms, catalogs, or marketing materials. Avoid over-retouching so the pendant doesn’t lose its natural texture. Following the pendant retouching guideline to ensure your images achieve a professional, consistent, and visually appealing look.