

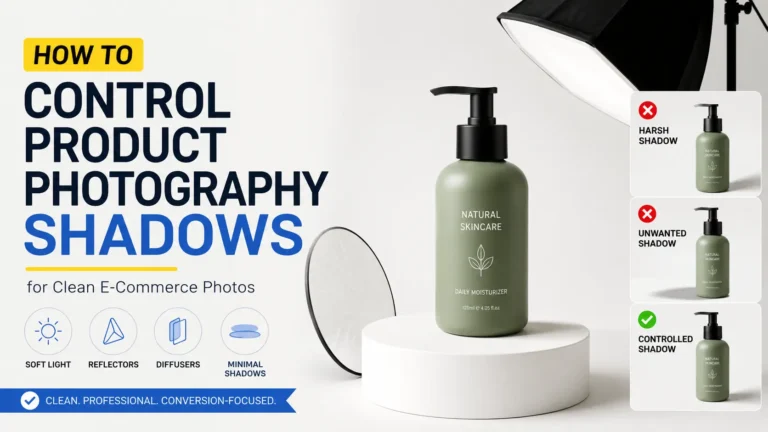
A product photo can look clean, but still feel a little flat. Most of the time, the shadow is the reason. A soft shadow helps the item sit naturally on the surface. It also shows shape, depth, and small details. But when the shadow looks too dark or sharp, it takes attention away from the product. So, you do not need to remove every shadow. You need to control it. A simple change in light angle, distance, or reflector placement can make the photo look more real and ready for an online store.
Understanding the Importance of Shadows in Product Photography
A product photo without a shadow can look a bit strange. The item may look like someone cut it out and placed it on a plain background. So, a shadow helps the product feel more real.
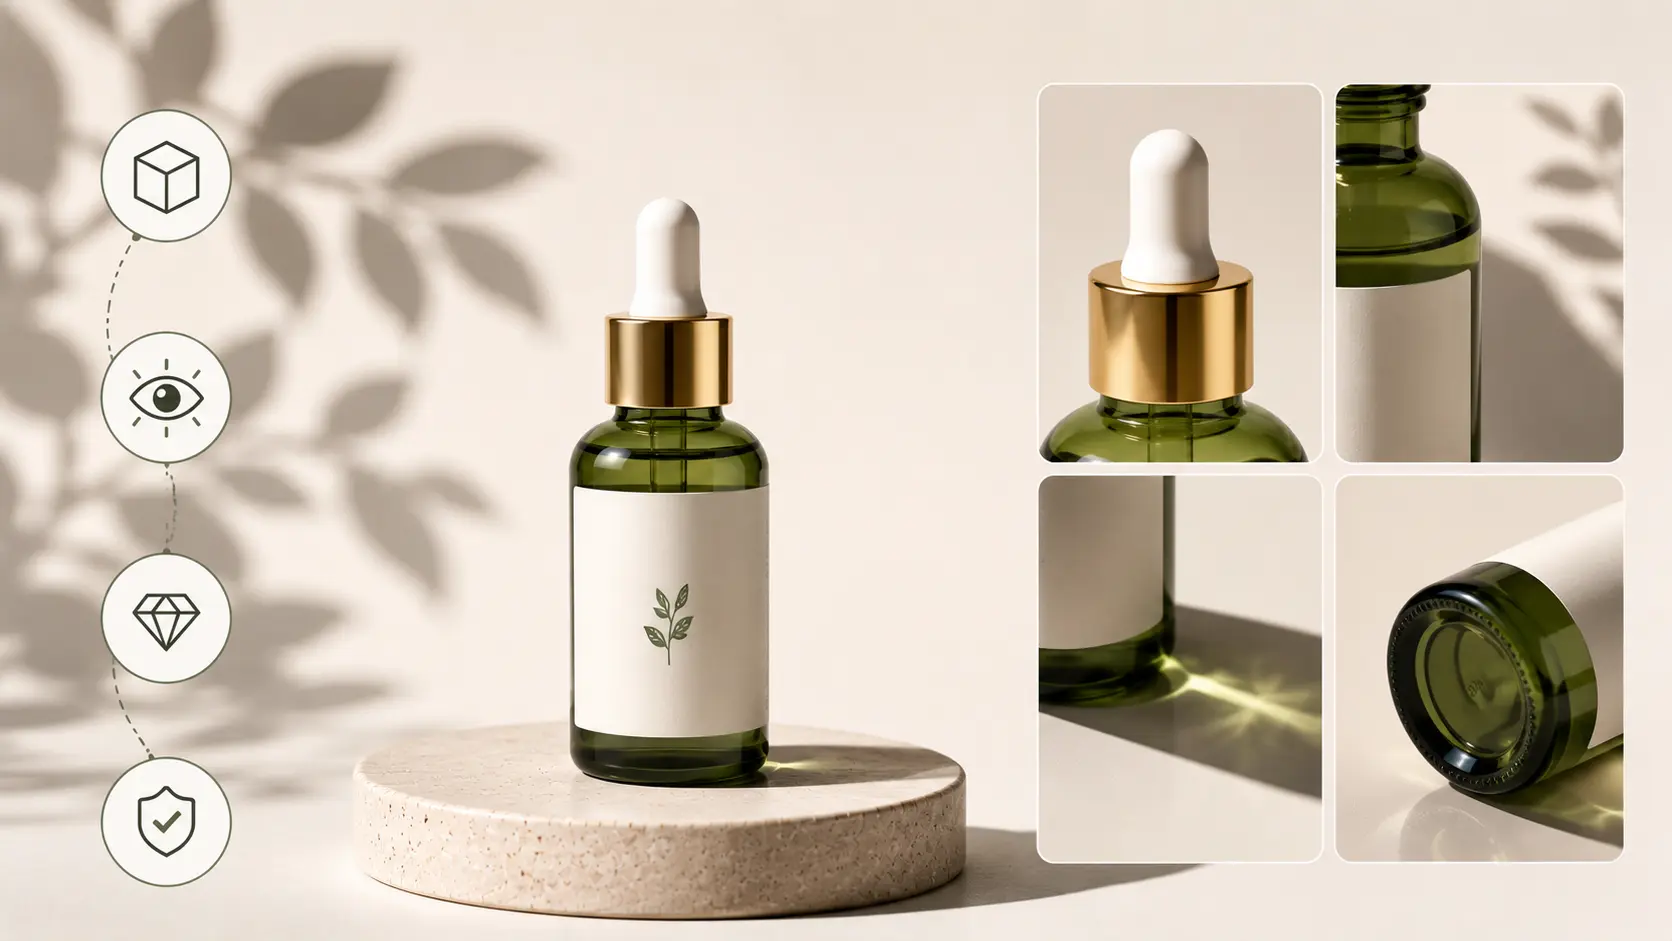
In product photography, shadows show shape, size, and depth. A small shadow under a product tells the viewer that the item is sitting on a surface. It also helps the buyer understand the form of the product. For example, a soft shadow under a ring, shoe, bag, watch, or cosmetic bottle can make the item look more natural.
However, the shadow should not become the main focus. A dark shadow can hide small product details. A sharp shadow can pull the buyer’s eye away from the item. Also, an uneven shadow can make the whole photo look careless. This is why shadow control is important.
For online stores, shadows matter even more. Buyers cannot hold the product in their hands. They only see the photo before they decide. So, the image needs to show the product clearly. When the shadow looks soft and natural, the product feels easier to trust. As a result, the product page looks cleaner and more helpful for shoppers.
How to Control Shadows in Product Photography
Shadow control starts with your light. Before you change the camera setting, look at where the light is coming from. A small move in the light position can change the whole shadow.
First, place one main light slightly above the product. Keep it a little toward the front, not directly on the side. Then take a test photo and check the shadow. If it looks too dark, place a white card or reflector on the opposite side. This will push some light back into the dark area.
Sometimes the shadow looks too sharp. In that case, use a diffuser, softbox, or white curtain in front of the light. This makes the light spread better. As a result, the shadow becomes softer and easier on the eye.
Also, look at the space around the product. If the item sits too close to the background, the shadow may look heavy or dirty. So, move the product a little forward and test again.
You do not need to remove every shadow. A small, soft shadow can help the product look real. But it should never hide details or take attention away from the item.
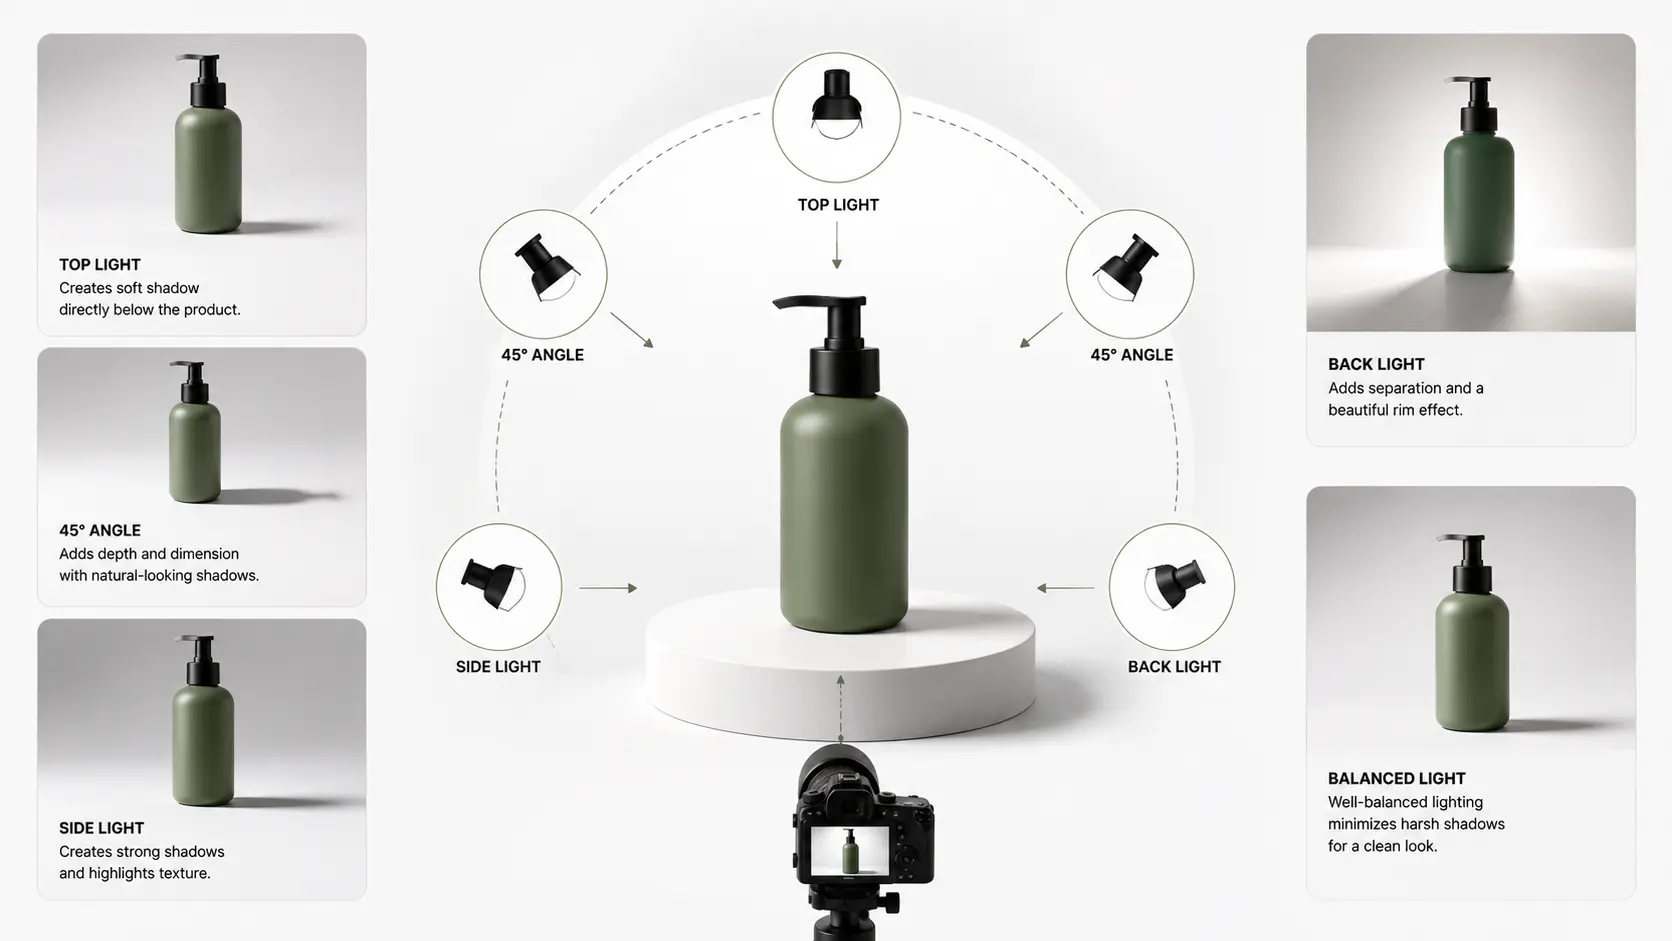
1. Lighting Position and Angles
Light position controls where the shadow falls. If you move the light higher, the shadow becomes shorter. If you move it lower, the shadow becomes longer. So, for most product photos, place the main light slightly above and in front of the product. This helps create a soft shadow while keeping the product clear.
Also, try a few small angle changes before you take the final shot. If the shadow looks too dark, add a reflector on the opposite side. If it looks too flat, move the light a little to the side. But avoid very low light unless you want a dramatic look, because long shadows can distract buyers in online product images.
2. Hard Light vs. Soft Light
Light can feel hard or soft, and it changes the shadow right away. A small direct light usually makes a sharp, dark shadow. That look can work for a bold ad photo. Still, it often feels too heavy for a normal product page.
For a softer shadow, make the light source bigger. You can use a softbox, diffuser, light tent, or a white curtain near a window. Also, keep the light close enough so it spreads nicely over the product. This helps the shadow look smoother without making the photo look flat.
3. Using Reflectors to Control Shadows
A reflector helps when one side of the product looks too dark. It sends some light back into the shadow area. So, the product looks clearer without adding another light.
You do not always need a costly reflector. A white card, foam board, or even white paper can work for small products. Use a white reflector for a soft look. Use a silver one when you need more light. Also, move the reflector closer or farther until the shadow looks balanced.
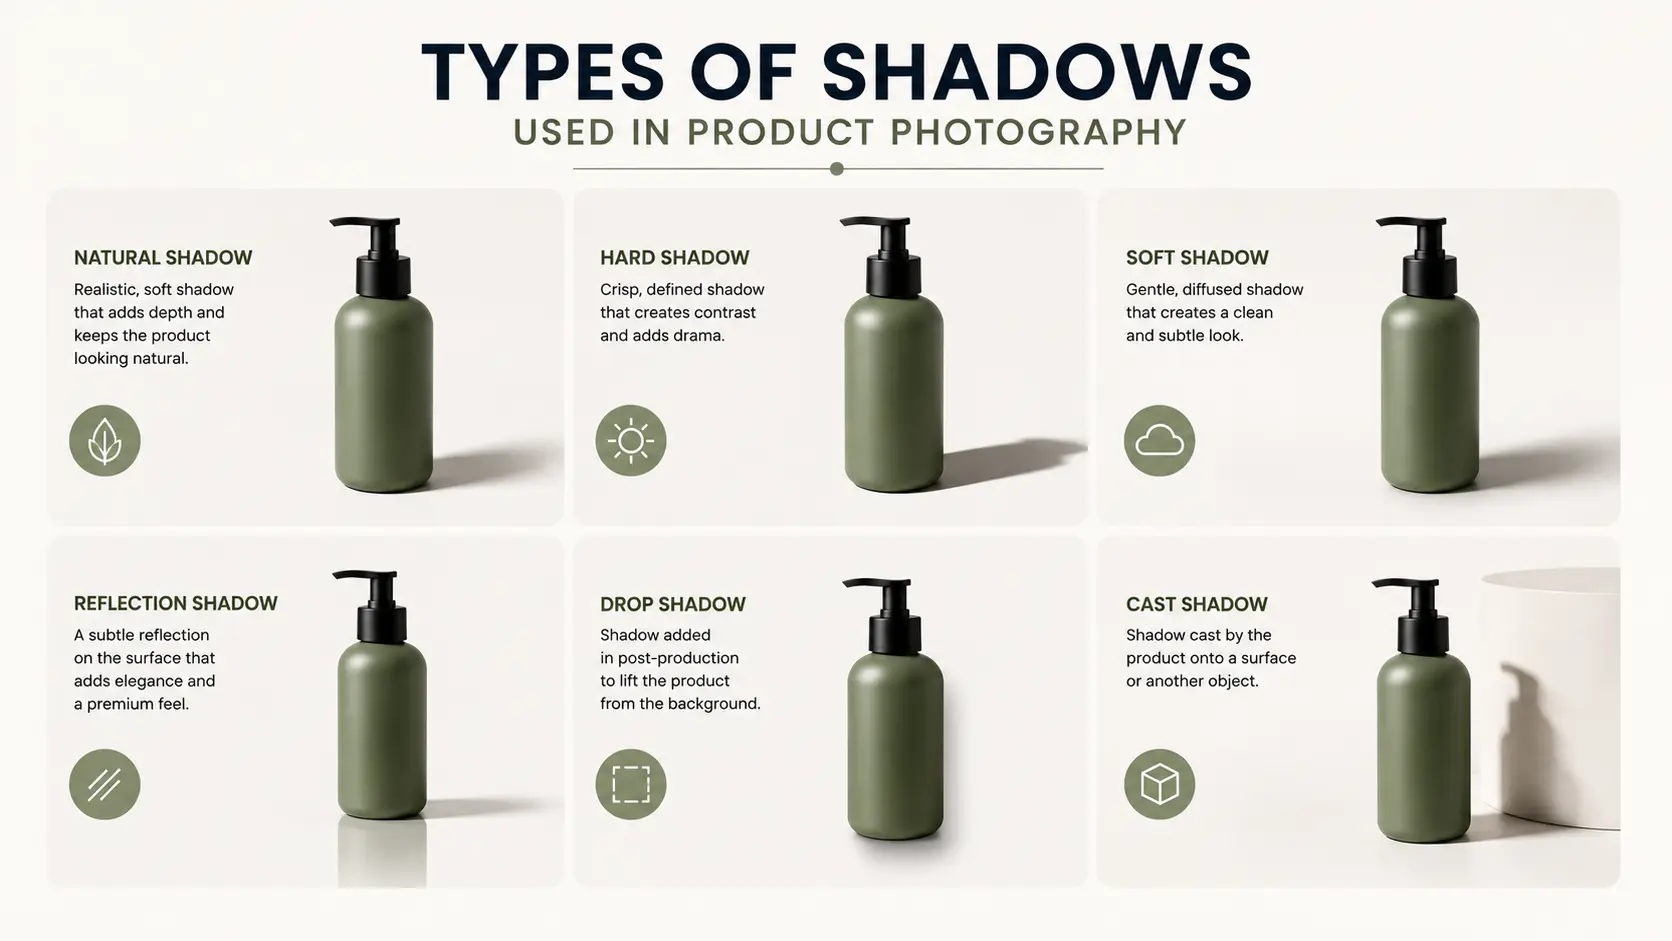
Types of Shadows Used in Product Photography
Not every product needs the same shadow style. Some items look better with a soft natural shadow. Others need a clean drop shadow after editing. So, before you shoot or edit, think about the product, the background, and the final use of the image.
Natural Shadow
A natural shadow comes from the real light setup during the shoot. It often looks more realistic because the shadow follows the actual shape of the product. This type of shadow works well for shoes, bags, furniture, cosmetics, handmade items, and lifestyle product photos.
A soft natural shadow can make the product feel like it belongs on the surface. However, the shadow should not look too dark or messy. If it hides product details, use a reflector or change the light angle.
Drop Shadow
A drop shadow is usually added during editing. It works well for product photos on a white or plain background. Many online stores use this shadow style because it makes the product look grounded without adding too much mood.
Keep the drop shadow soft and light. If it looks too sharp, the product may look pasted onto the background. Also, make sure the shadow direction matches the product lighting.
Reflection Shadow
A reflection shadow gives a soft mirror-like look under the product. It works well for jewelry, watches, perfume bottles, glass items, and luxury products. This style can make the photo feel more polished.
Still, the reflection should stay subtle. If it looks too strong, it can distract buyers from the product. So, use reflection shadows only when they match the product style.
Creating Shadows That Enhance Your Product’s Features
Shadows are not always a problem. In many product photos, they can help the item look better. A soft shadow can show texture, shape, and depth. So, instead of removing every shadow, try to use it in a controlled way.
Use Shadows to Highlights Texture
Some products need a little shadow to show their surface. For example, leather bags, fabric items, watches, shoes, and handmade products can look flat without shadows. A soft side shadow can bring out the texture and make the item feel more real.
For jewelry, shadows should stay light and clean. A small shadow under a ring, necklace, or bracelet can show shape. However, it should not hide the sparkle, metal shine, or small stone details.
Add Depth Without Making the Image Heavy
A shadow can help a product feel more solid. This matters when the product has shape, height, or layers. Shoes, bags, boxes, bottles, and home decor items often need some shadow to show depth.
Still, the shadow should not look too strong. If it becomes too dark, the photo may feel heavy. So, keep the shadow soft enough to support the product.
Use Creative Shadows Carefully
Creative shadows can work well for ads, banners, and lifestyle product photos. They can add mood and make the image more interesting. For example, a long shadow can work for skincare, perfume, furniture, or home decor photos.
But for normal online store images, keep the shadow simple. Buyers need to see the product first. So, use creative shadows only when they match the purpose of the photo.
Product-Specific Shadow Tips
Every product reacts to light in a different way. So, one shadow style will not work for all items. A ring, a shoe, and a perfume bottle all need a different level of shadow control.
Jewelry
Jewelry photos need a soft touch. A dark shadow can hide sparkle, stone cuts, and metal shine. For rings, earrings, necklaces, and watches, keep the shadow light and close to the product. A soft natural shadow or a small reflection shadow often looks best.
Electronics
For electronics, the product should look clean and sharp. The shadow can show the shape, but it should not cover ports, buttons, screens, or edges. If the photo looks too heavy, reduce the shadow or add a reflector.
Fashion Items
Shoes, bags, and clothing usually look better with a natural shadow. It helps show shape, size, and texture. For example, a soft shadow under a shoe can make it look more real on the surface. Still, keep the shadow away from logos, stitching, and design details.
Cosmetics and Bottles
Cosmetic products, skincare items, and perfume bottles often look good with a soft shadow or light reflection. This gives the photo a cleaner look. But the label must stay easy to read. If the shadow makes the text unclear, change the light angle or soften the shadow in editing.
Furniture and Home Decor
Furniture and home decor items can handle a little more shadow. Natural shadows help show size, height, and depth. This is useful for chairs, lamps, tables, rugs, and decor pieces. However, keep the shadow direction the same if you use several photos on one product page.
Common Mistakes to Avoid with Product Photography Shadows
Shadows can make a product photo look better, but only when they stay under control. A small lighting mistake can make the image look dark, flat, or messy. So, before you finish the shoot or start editing, check how the shadow looks around the product.
Overly Harsh Shadows
A harsh shadow has a sharp edge and a dark tone. It often happens when you use a small direct light or place the light too far from the product. This type of shadow can pull attention away from the item and make the photo feel too heavy. To fix it, use a diffuser, softbox, or white curtain to spread the light. You can also move a large light source closer to the product to make the shadow softer.
Shadows That Hide Product Details
A shadow should never cover the main parts of the product. For example, it should not hide jewelry stones, watch faces, buttons, logos, labels, or fabric texture. Buyers need to see these details before they make a decision. If the shadow blocks an important area, change the light angle first. Then use a reflector or white card to bring some light back into the dark side.
Uneven Shadows
Uneven shadows can make the photo look careless. One side of the product may look too dark, while another side looks too bright. This often happens when the light setup is not balanced. Before you fix it in editing, try small changes in the setup. Move the reflector, adjust the light height, or turn the product slightly. These small moves can make the shadow look cleaner and more natural.
Fake-Looking Edited Shadows
A bad edited shadow can make the product look pasted onto the background. This usually happens when the shadow is too dark, too sharp, or placed in the wrong direction. If you add a shadow in editing, keep it soft and light. Also, match the shadow direction with the light in the photo. A natural shadow should support the product, not look like a separate effect.
Different Shadow Styles Across Product Images
For online stores, similar products should have a similar shadow style. If one image has a dark shadow, another has a light shadow, and another has no shadow at all, the product page can look messy. This can also make the brand feel less careful. So, try to keep the same shadow direction, softness, and brightness across similar product photos.
Tips for Post-Processing Product Photography Shadows
Even after a good photoshoot, the shadow may need a little work. Sometimes it looks too dark. Sometimes the edge looks too sharp. Other times, the background looks dirty because of uneven shadow. You do not have to change the full image for this. A few careful edits can make the shadow softer and help the product look closer to real life.
Use Dodge and Burn Carefully
In Photoshop, Dodge and Burn can help with small shadow fixes. Use Dodge when one area looks too dark and hides product details. Use Burn when the photo needs a little more depth. But use both tools slowly. If you push them too much, the product can start to look fake.
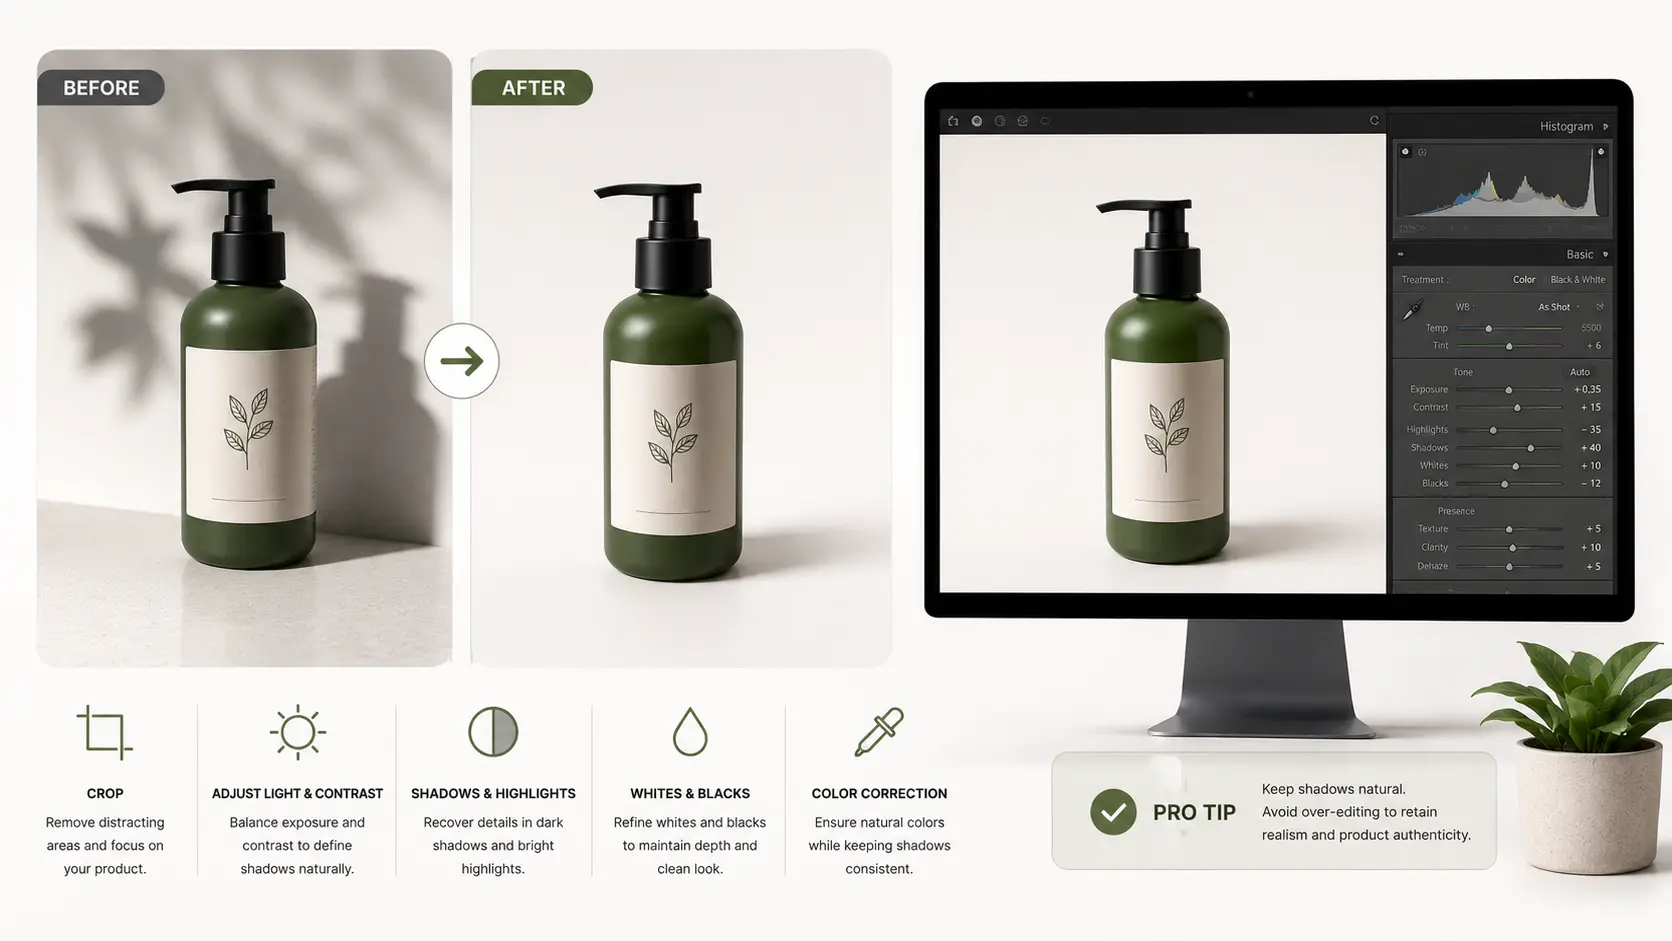
Adjust Shadows in Lightroom
Lightroom can also help when the dark areas need a small lift. The shadow slider works well for this, but do not move it too far. If you brighten every shadow, the photo may lose shape. So, make small changes and check the product after each edit.
Add a Soft Drop Shadow
If the product looks like it is floating on a white background, add a soft drop shadow. Keep it light and close to the product. Also, blur the edge so it does not look cut out. The shadow should follow the same light direction as the original photo.
Remove Shadows That Look Messy
Some shadows do not help the product at all. They only make the background look uneven or dirty. In that case, remove the messy part during editing. Still, keep a small natural shadow if the product needs depth. That way, the item does not look flat.
Product Photography Shadow Control Checklist
Before you upload a product photo, take one last look at the shadow. A small shadow problem can make the image look less clean. So, check these points first:
- Does the shadow look soft and natural?
- Can buyers see the main product details?
- Is the shadow too dark, sharp, or long?
- Does the product look steady on the surface?
- Does the background look clean?
- Does the shadow match the light direction?
- Do similar product photos have a similar shadow style?
If something looks off, fix the light angle, use a reflector, or adjust the shadow during editing. A few small changes can make the final image look much better.
Frequently Asked Questions
Should product photos have shadows?
Yes, a product photo can have a shadow. In fact, a small soft shadow often makes the item look more real. The problem starts when the shadow looks too dark, sharp, or messy.
How can I make the shadow softer?
Start with the light. Use a softbox, diffuser, or a white curtain to spread the light. You can also place a white card near the product. This helps brighten the dark side without changing the full setup.
Are harsh shadows always bad?
Not always. A harsh shadow can work for a bold ad or creative photo. But for a normal online store image, it can feel too strong. Most product pages look better with a softer shadow.
Can I fix shadows after the shoot?
Yes, you can fix many shadow problems in editing. You can lighten a dark shadow, remove a messy one, or add a soft drop shadow. Still, it is better to control the light during the shoot first, because editing cannot fix everything.
Conclusion
You do not have to remove every shadow from a product photo. In many cases, a small soft shadow makes the item look more real. But the shadow should stay under control. If it looks too dark, sharp, or messy, buyers may look at the shadow instead of the product. So, check the light angle first. Then use a diffuser or reflector if the shadow still feels too strong. You can also fix small shadow problems during editing. The main thing is simple: the product should stay clear, and the shadow should not get in the way.


