Adding a shadow to text is a simple but powerful design technique. It can make your text stand out instantly. Text shadows add depth, improve readability, and give your design a clean, professional look.
You can use text shadows in social media graphics, thumbnails, and branding materials. They help your design look more attractive and eye-catching.
If you want to add a shadow to text in Photoshop, the process is quick and beginner-friendly. Photoshop has built-in tools to create realistic shadows. You can customize them in just a few clicks.
In this guide, you’ll learn how to add a shadow to text in Photoshop step by step. You’ll also get

Add a Shadow to Text in Photoshop Step-by-Step Guide
If you’re wondering how to add a shadow to text in Photoshop, follow these simple steps. This beginner-friendly guide will show you exactly how to create a clean and professional shadow effect.
Step 1 – Open Photoshop and Create Text
Open Adobe Photoshop and create a new document. Select the Type Tool (T) and add your text to the canvas. Choose a font, size, and color that fits your design.
Step 2 – Select the Text Layer
Go to the Layers panel and click on your text layer. Make sure it is selected before applying any effects.
Step 3 – Open Layer Style Panel
Click the “fx” icon at the bottom of the Layers panel. Then select “Drop Shadow” from the list. This will open the Layer Style window.
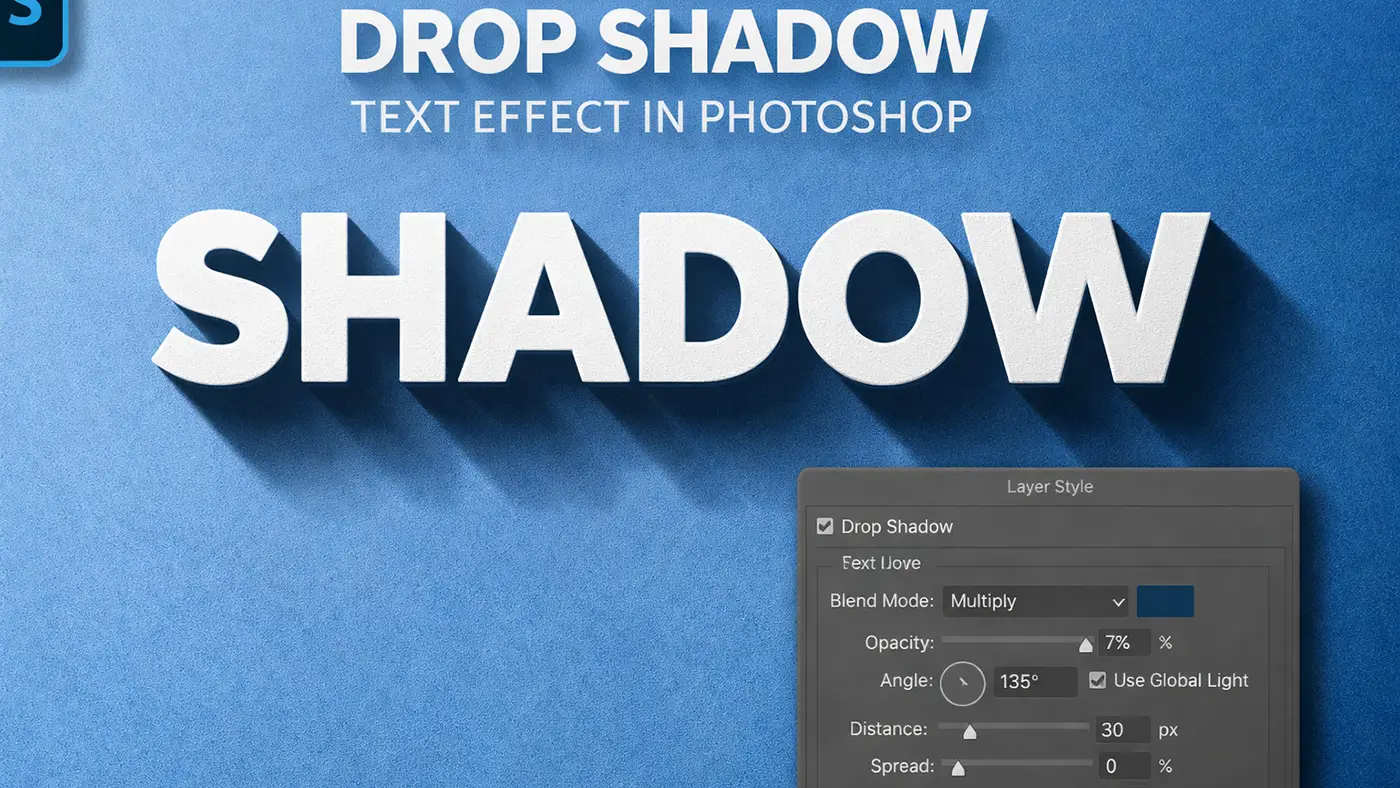
Step 4 – Apply Drop Shadow
Now you can add a drop shadow in Photoshop text using the built-in settings. You’ll see the shadow appear behind your text instantly.
Step 5 – Adjust Shadow Settings
Customize your shadow to match your design. Here are the key settings:
- Distance – Controls how far the shadow is from the text
- Spread – Adjusts the thickness or intensity of the shadow
- Size – Makes the shadow softer or sharper
- Opacity – Changes how dark or light the shadow appears
Play with these settings until you get the desired look. This is the best way to learn how to add a drop shadow in Photoshop text like a pro.

Add a Shadow Behind Text in Photoshop
If you want to learn how to add a shadow behind text in Photoshop, the key is proper positioning and subtle adjustments. A well-placed shadow should sit naturally behind the text, not distract from it.
To place the shadow correctly, open the Drop Shadow settings from the Layer Style panel. Then adjust the angle so the light source feels realistic. This will control where the shadow appears behind the text.
Next, increase the Distance slightly to move the shadow away from the text. This creates a clear separation and gives a more natural depth effect. Avoid setting the distance too high, as it can make the shadow look disconnected.
You should also adjust the Size to soften the edges. A slightly blurred shadow looks more realistic and sits better behind the text. Combine this with lower Opacity to keep the effect subtle and professional.
For better results, keep the shadow direction consistent with other elements in your design. This is an important tip when learning how to add a shadow behind text in Photoshop effectively.
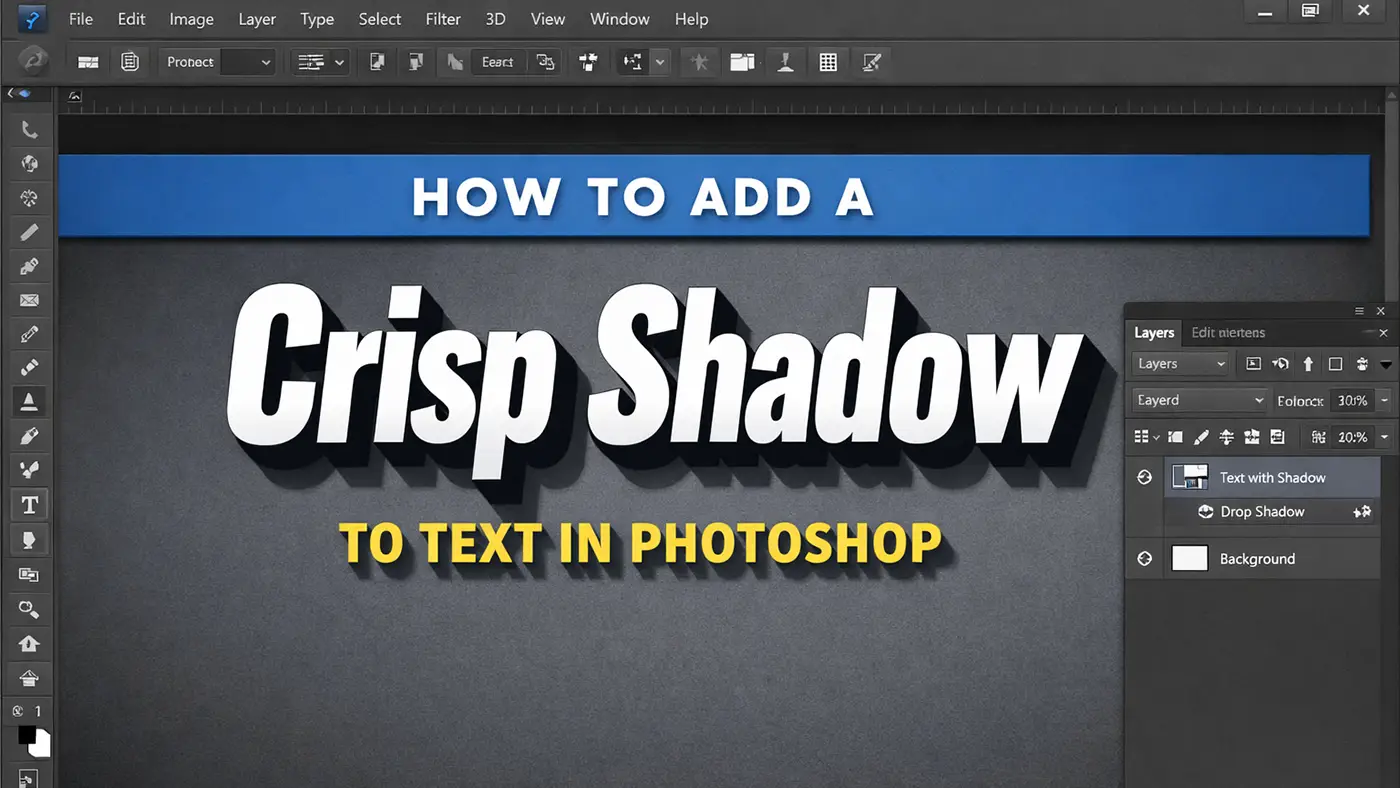
How to Add a Crisp Shadow to Text in Photoshop
If you want your text to look sharp and professional, understanding how to add a crisp shadow to text in Photoshop is key. A crisp shadow gives your design a clean edge without the blurry effect, making it perfect for modern graphics, thumbnails, and logos. Below are the essential adjustments you need to make.
Reduce Blur
To create a crisp shadow, the first step is reducing blur. In the Drop Shadow settings, lower the Size value so the shadow edges become sharper and more defined. Keeping the size very low (around 0–5 px) helps eliminate softness and gives a clean, tight shadow.
Increase Hardness
Next, increase the Spread to make the shadow more solid. A higher spread reduces the feathered edges and makes the shadow appear bold and crisp. This step is important because it controls how strong and defined your shadow looks.
Adjust Size & Spread
The key to mastering how to add a crisp shadow to text in Photoshop is balancing Size and Spread together. Use a low Size and a higher Spread to achieve a sharp result without unwanted blur. Fine-tuning these two settings will help you create a professional, polished shadow effect.
How to Add a Drop Shadow Text Effect in Photoshop
Learning how to add a drop shadow text effect in Photoshop allows you to create a variety of creative styles beyond basic shadows. From soft shadows to dramatic long shadows and layered effects, Photoshop gives you full control to design eye-catching text.
Soft Shadow Effect
A soft shadow is perfect for subtle and realistic designs. Simply increase the Size and lower the Spread in the Drop Shadow settings to create a smooth, blurred shadow. This style works well for backgrounds where you want depth without making the text too harsh.
Long Shadow Effect
To create a trendy long shadow, increase the distance significantly and keep the angle consistent. You can also duplicate layers or use multiple shadows to extend the effect further. This style is popular in modern graphic design and gives a bold, directional look.
Layered Shadow Effect
Layered shadows add depth by combining multiple shadow effects. You can apply more than one shadow with different sizes, opacities, and distances to create a rich, dimensional look. Mastering how to add a drop shadow text effect in Photoshop this way helps your text stand out in complex designs.
How to Add a Shadow to 3D Text in Photoshop
If you want to create depth and realism, learning how to add a shadow to 3D text in Photoshop is essential. 3D text shadows make your design look more dynamic and visually engaging, especially for posters, thumbnails, and branding materials.
Use the 3D Panel
One way to add shadows is by using Photoshop’s built-in 3D tools. After converting your text into a 3D layer, go to the 3D panel and adjust the light source. By changing the light direction and intensity, Photoshop automatically generates realistic shadows that match the perspective of your 3D text.
Use Duplicate Layers
Another simple method for how to add a shadow to 3D text in Photoshop is duplicating layers. Copy your text layer, place it behind the original, and slightly offset it to create a shadow effect. You can darken the color and apply a slight blur or reduce opacity to make it look more natural.
Combine Both Methods for Best Results
For a more advanced look, combine the 3D panel lighting with duplicated shadow layers. This gives you both realistic depth and creative control over the shadow style. Fine-tuning opacity, angle, and distance will help you achieve a polished 3D shadow effect.
How to Add Shadow to Text in Photoshop Elements
If you’re using Elements instead of the full version, learning how to add a shadow to text in Photoshop Elements is still quick and easy. The interface is simpler, but it includes all the essential tools you need to create clean and professional text shadows.
Use the Layer Style Panel
In Photoshop Elements, select your text layer and go to Layer → Layer Style → Style Settings. From there, enable the Drop Shadow option to instantly apply a shadow effect. This is the easiest way to add depth to your text without complex adjustments.
Adjust Shadow Settings
Once the drop shadow is applied, you can customize it by adjusting opacity, distance, size, and angle. Lower size values create sharper shadows, while higher values make them softer. Tweaking these settings helps you control how subtle or bold the shadow appears.
Keep It Simple for Best Results
When learning how to add a shadow to text in Photoshop Elements, it’s best to keep your settings clean and minimal. Avoid overusing blur or extreme distances, as simple shadows often look more professional. A balanced shadow will improve readability while maintaining a polished design.
Common Mistakes to Avoid
- Too Much Blur: Using a high Size value can make your shadow overly soft and muddy. This reduces text clarity and makes the design look unprofessional. Keep the blur low if you want a clean and sharp shadow.
- Wrong Angle: If the shadow angle doesn’t match the light source, the design will look unnatural. Always keep the direction of light consistent across all elements. This small detail makes a big difference in realism.
- Over-Dark Shadow: Using pure black with high opacity can make the shadow look harsh and unrealistic. Instead, lower the opacity or use a dark gray for a more natural effect. Subtle shadows often look more professional.
- Low Contrast: If your shadow blends too much with the background, it becomes invisible. Make sure there’s enough contrast between the text, shadow, and background. This helps improve readability and visual impact.
Conclusion
Adding shadows to text in Photoshop is a simple way to improve your design. It helps your text stand out and look more professional. By adjusting settings like size, spread, opacity, and angle, you can create both soft and crisp shadow effects. With regular practice, you can easily create clean and eye-catching text for any project.