

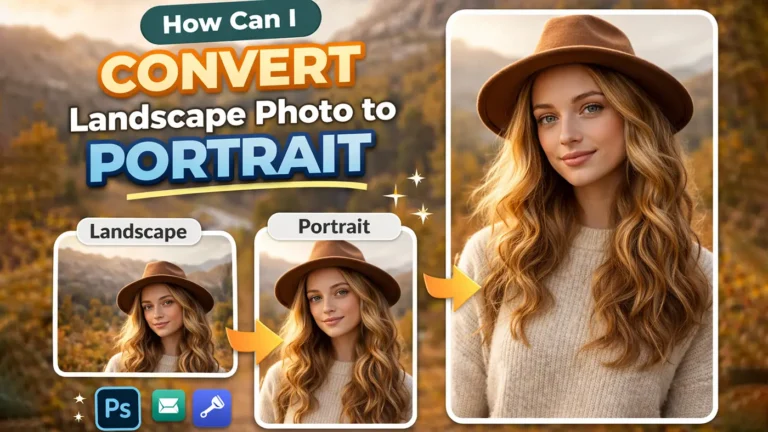
A landscape photo is a wide image. People often use this format for travel shots, group photos, and outdoor scenes. But many image editing websites and apps work better with tall images. That is why many people want to turn a landscape photo into a portrait photo.
Portrait images fit better on phone screens, Instagram Stories, Pinterest pins, thumbnails, and many print designs. A vertical layout can also place more focus on the main subject and make the photo look cleaner
These simple tips will help you convert a landscape photo to portrait. You will see how to crop the image, adjust the frame, and keep the photo looking sharp and natural.
Best Ways to Convert Landscape Photo to Portrait
There is more than one way to turn a landscape photo into a portrait image. The best method depends on your photo, your layout needs, and how much control you want during photo editing. Some options are quick and simple, while others give you more room to keep details and improve the final result.
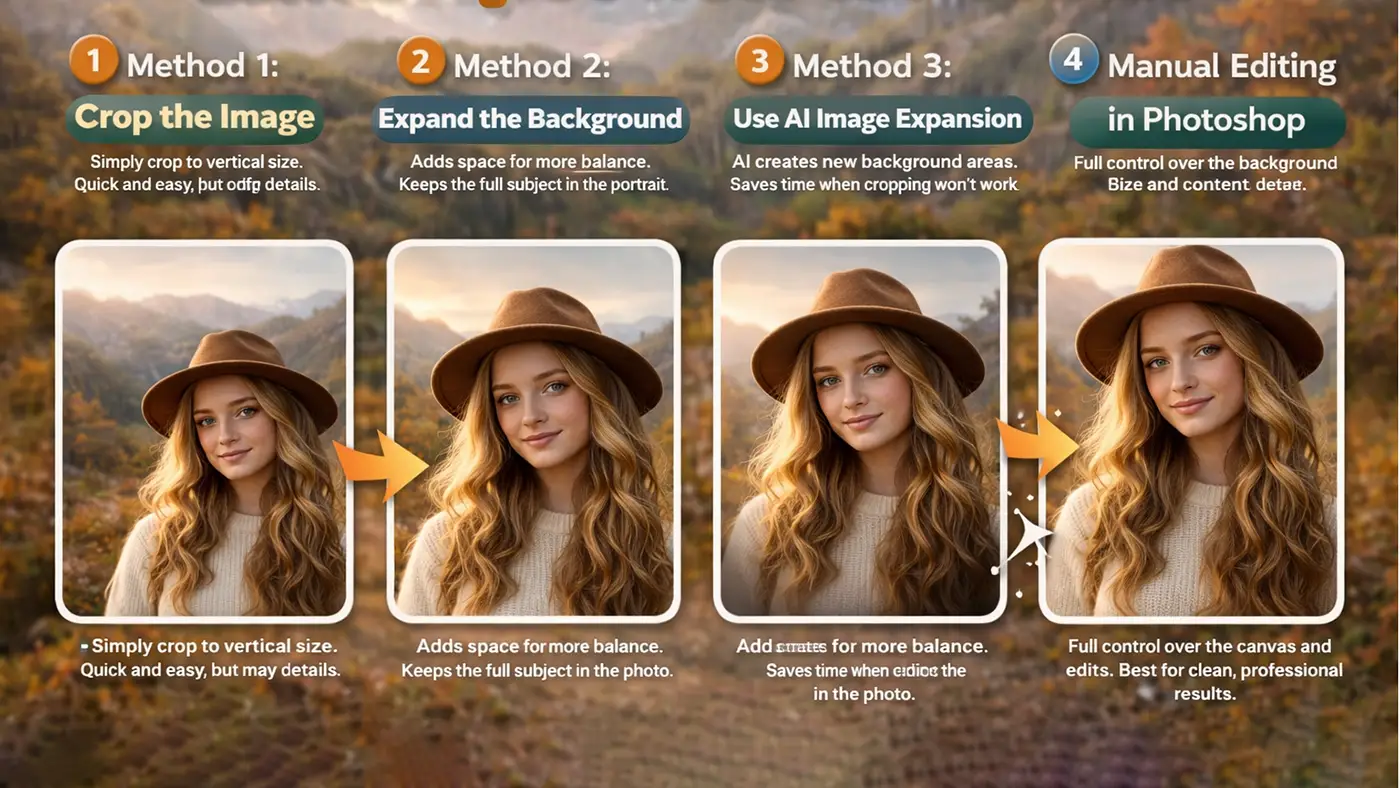
Method 1: Crop the Image
Cropping is the fastest way to convert a landscape photo to portrait. You simply cut the photo into a vertical shape and place the main subject inside the new frame. This method works best when the subject sits near the center of the image. It is quick and easy, but it can remove important details from the left or right side.
Method 2: Expand the Background
This method helps you keep more of the original photo. Instead of cutting the image too much, you add extra space at the top, bottom, or sides to create a portrait layout. You can fill that space with a blurred background, a solid color, or a cloned part of the original image. It is a good option when you want to protect the main subject and keep the photo balanced.
Method 3: Use AI Image Expansion
AI image expansion can create new background areas around your photo. This is very helpful when cropping would cut off important parts of the image. It also saves time because the tool does much of the work for you. Still, you may need to fix small errors or adjust details after the AI finishes.
Method 4: Manual Editing in Photoshop
Photoshop gives you full control over the process. You can change the canvas size, move the image into a better position, and fill empty areas with editing tools. This method takes more time, but it often gives the best results. It is a strong choice when you want a clean and professional portrait image.
How to Convert Landscape Photo to Portrait in Photoshop
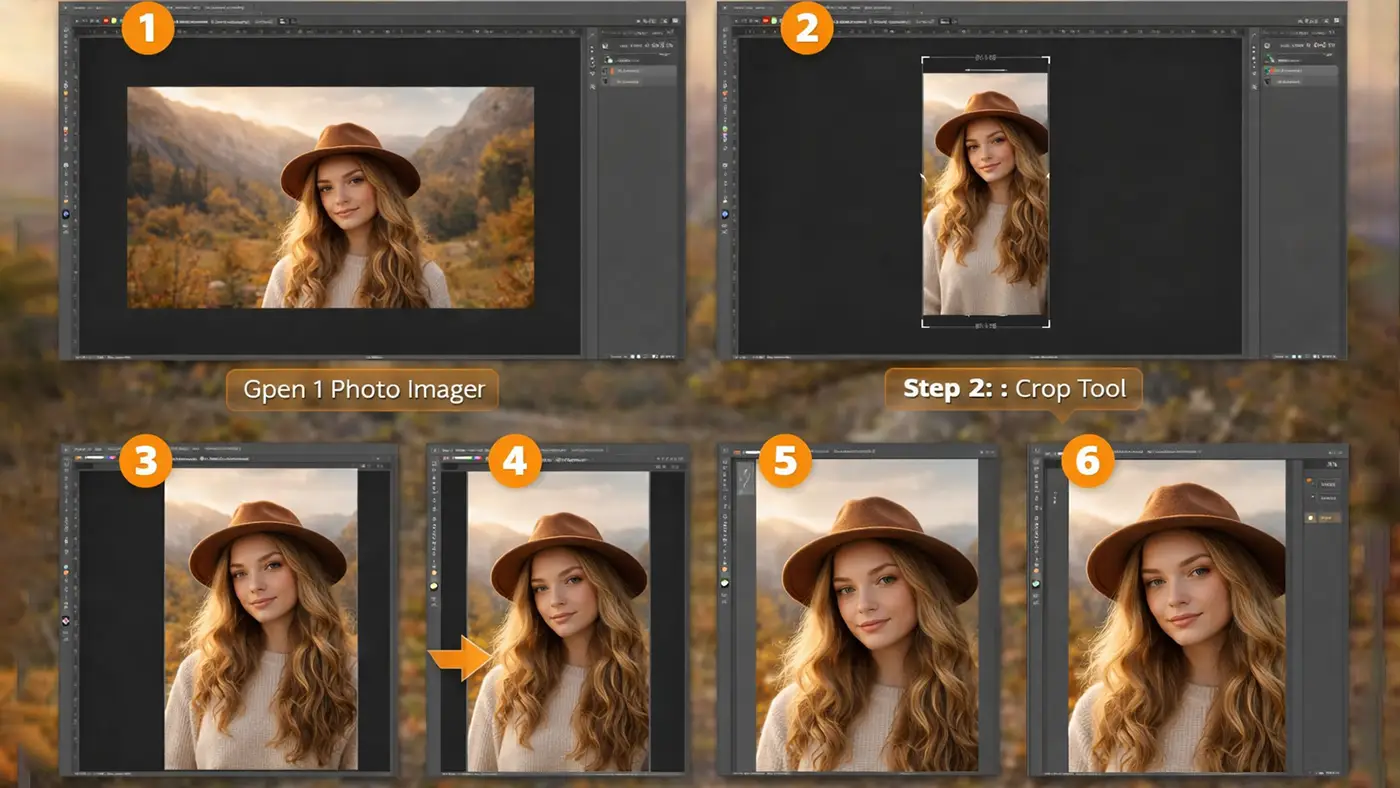
Step 1: Open Your Image
Open your photo in Photoshop and check the full image before you start. This helps you see how much space you have for a portrait layout. Next, duplicate the layer so you can edit safely without changing the original file. A copied layer also makes it easier to compare the before and after result.
Step 2: Choose a Portrait Size
Select the Crop Tool from the toolbar and choose a vertical ratio. A 4:5 ratio works well for social media posts, while 9:16 is great for Stories, Reels, and mobile screens. Pick the size that fits your final use. This step gives your photo the right portrait shape from the start.
Step 3: Reframe the Subject
Move the crop box until the main subject sits in the best position. Try to keep the face, body, or main object clear and balanced inside the frame. Make sure the new layout does not cut off important details. A strong crop keeps the image clean and focused.
Step 4: Extend the Canvas if Needed
If the crop removes too much from the photo, extend the canvas instead. Go to the canvas size settings and add extra space to build a portrait layout. This gives you more room without cutting the original image too hard. It is a smart option when you want to keep more background or subject detail.
Step 5: Fill Empty Areas
Use Content-Aware Fill to fill blank spaces quickly and smoothly. You can also use the Clone Stamp Tool or Generative Fill to rebuild missing parts of the background. Blend the new areas carefully so they match the original image. This step helps the final portrait look natural and complete.
Step 6: Adjust Final Details
Check the edges and clean up any strange lines or rough areas. Then adjust the color, brightness, and contrast so the whole image looks even. Add a little sharpening if the photo looks soft after editing. These final fixes help your portrait image look polished and professional.
Best Aspect Ratios for Portrait Images
Choosing the right aspect ratio helps your portrait image fit the platform or project you have in mind. Each size works best for a different use, so it is smart to pick the ratio before you start editing.
4:5 is one of the best sizes for Instagram posts. It gives you a tall image without taking up too much space. This ratio works well for portraits, fashion photos, and product images.
9:16 is the most common vertical size for Stories, Reels, and Shorts. It fills the full mobile screen and creates a strong visual impact. This ratio is perfect for content made for phones and social media.
2:3 is a classic size for print and photography. Many photographers use it because it looks natural and balanced. It also works well for portraits that you want to print or frame.
3:4 is a simple and flexible portrait layout. It is a good choice for general editing, blog images, and design work. If you want a vertical image that is not too tall, this ratio works very well.
Portrait to Landscape Tips for Better Results
Keep the subject centered when possible. A centered subject makes it easier to change a landscape photo into a portrait layout without losing important parts. It also helps the final image look balanced and clean.
Do not crop too tightly. If you crop too much, the photo can feel cramped and cut off key details. Leave enough space around the subject so the image can breathe.
Maintain natural background lines. Watch the lines in walls, buildings, roads, or horizons when you crop or extend the image. Straight and natural lines help the photo look real and well edited.
Use high-resolution photos. A sharp, large image gives you more room to crop and edit without losing quality. Low-quality photos can look blurry or pixelated after you change the layout.
Check the final result on mobile view. Many portrait images are made for phones, stories, and social media apps. Viewing the photo on a mobile screen helps you see if the framing, size, and subject placement look right.
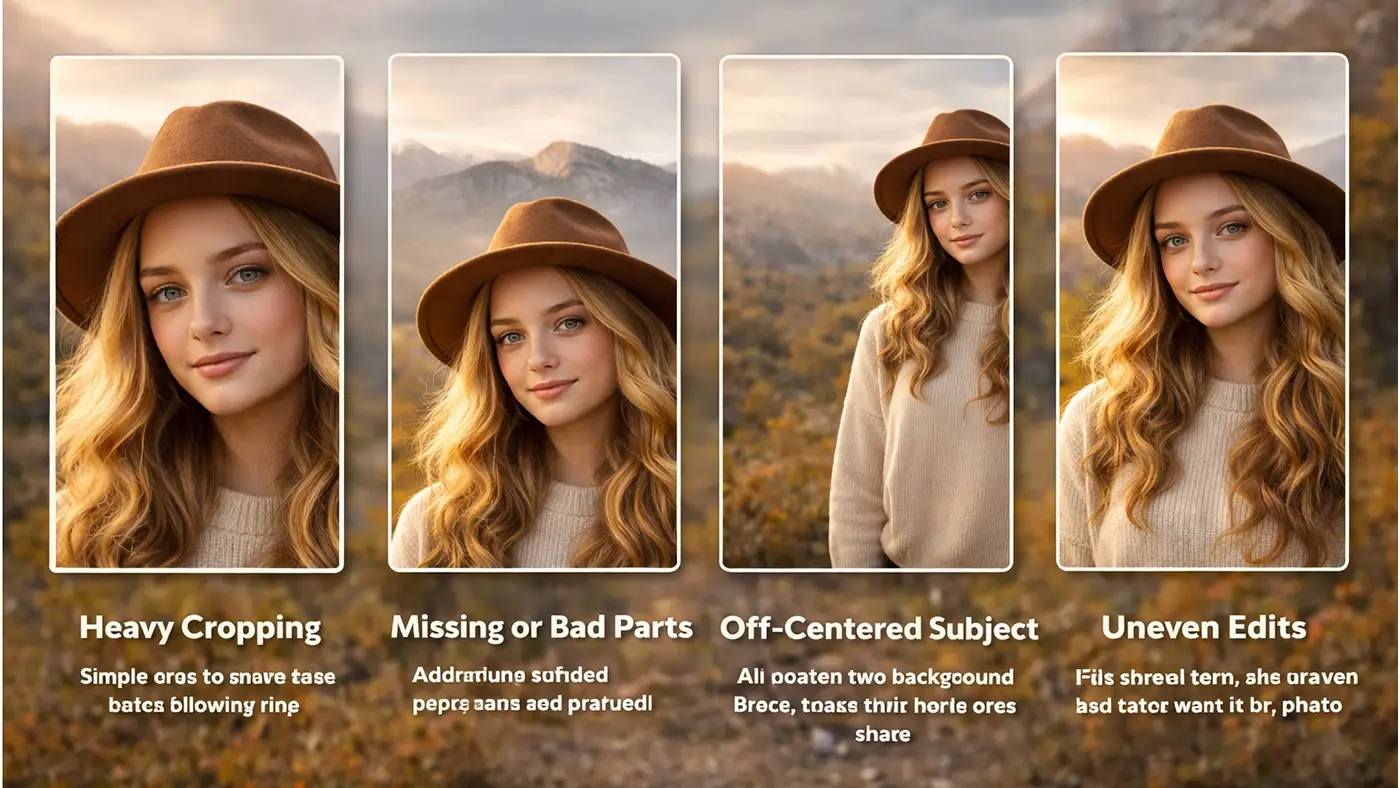
Common Mistakes to Avoid
One common mistake is cutting off important body parts. When you crop a landscape photo into a portrait shape, you need to protect the face, hands, and other key parts of the subject. If the crop feels too tight, the image can look awkward and unbalanced. Always check the full frame before you save the final version.
Another mistake is stretching the image to make it fit a vertical layout. This can make people, objects, and backgrounds look wider or taller than they should. A stretched photo often looks fake right away. It is better to crop, expand the background, or use editing tools instead.
Using too much blur is also a problem. Blur can help fill extra space, but too much of it can make the image look unnatural and low quality. Keep the blur soft and balanced so the main photo still looks clean.
Poor AI fill results can hurt the final image as well. AI tools save time, but they may create strange shapes, broken lines, or messy details. Always zoom in and check the filled areas carefully.
Many people also ignore aspect ratio requirements. Different platforms need different portrait sizes, so choosing the wrong ratio can make your image look off. Always match the photo size to the platform before you finish editing.
Best Tools to Convert Landscape Photo to Portrait
Several tools can help you turn a landscape photo into a portrait image. Some tools work best for quick edits, while others give you more control and better results.
Photoshop is one of the best tools for this job. It lets you crop the image, change the canvas size, and fill empty areas with tools like Content-Aware Fill, Clone Stamp, and Generative Fill. It is a great choice if you want full control and professional results.
Canva is a simple option for beginners. You can resize your design, place the photo inside a portrait layout, and add background space if needed. It works well for social media posts, stories, and quick design projects.
Fotor is another easy tool for basic photo editing. It offers crop, resize, and simple background adjustment features. It is useful when you want a fast way to create a portrait version without using advanced software.
Adobe Express is good for quick online editing. You can resize images, choose ready-made portrait formats, and prepare visuals for social media or mobile use. It is simple, clean, and easy to use.
AI image expand tools help when you need to create extra space around a photo. These tools can generate missing background areas and turn a wide image into a taller one. They save time, but you should still check the final result and fix any odd details.
Conclusion
Converting a landscape photo to portrait is simple when you use the right method. Cropping works well for quick edits, while background extension and AI tools are better for detailed photos. With a few smart changes, you can create a clean portrait image that looks great on social media, mobile screens, and print. You can also use simple steps to convert portrait photo to landscape when needed.
FAQ for Convert Portrait to Landscape Image
Q1: Can I Convert a Landscape Photo to Portrait Without Losing Quality?
Yes, you can keep good quality if you start with a high-resolution photo. Cropping, canvas extension, and careful editing help protect image quality. Problems usually happen when the photo is too small or stretched too much.
Q2: What Is the Best Tool to Convert Landscape to Portrait?
Photoshop is one of the best tools because it gives you full control. You can crop the image, extend the background, and fix empty areas with advanced tools. Canva, Fotor, and Adobe Express are also good for quick and simple edits.
Q3: Can Photoshop Turn a Horizontal Photo into a Vertical One?
Yes, Photoshop can turn a horizontal photo into a vertical one. You can use the Crop Tool, change the canvas size, and fill extra space with Content-Aware Fill or Generative Fill. This makes it a strong choice for portrait conversion.
Q4: Is Ai Good for Expanding a Landscape Photo into a Portrait?
Yes, AI can work very well for this. It can create extra background space and save time during editing. Still, you should check the final image carefully because AI can sometimes create small mistakes.
Q5: Which Portrait Ratio Is Best for Instagram?
A 4:5 ratio is one of the best choices for Instagram posts. It gives you a tall image that looks great in the feed. For Instagram Stories and Reels, 9:16 is the best option.


