
Pet photo editing turns simple pictures into eye-catching portraits. This guide explains the best techniques in a clear way. You will learn how to enhance fur, brighten eyes, fix lighting, and remove distractions. It also shares creative tips to make your pet photos stand out.
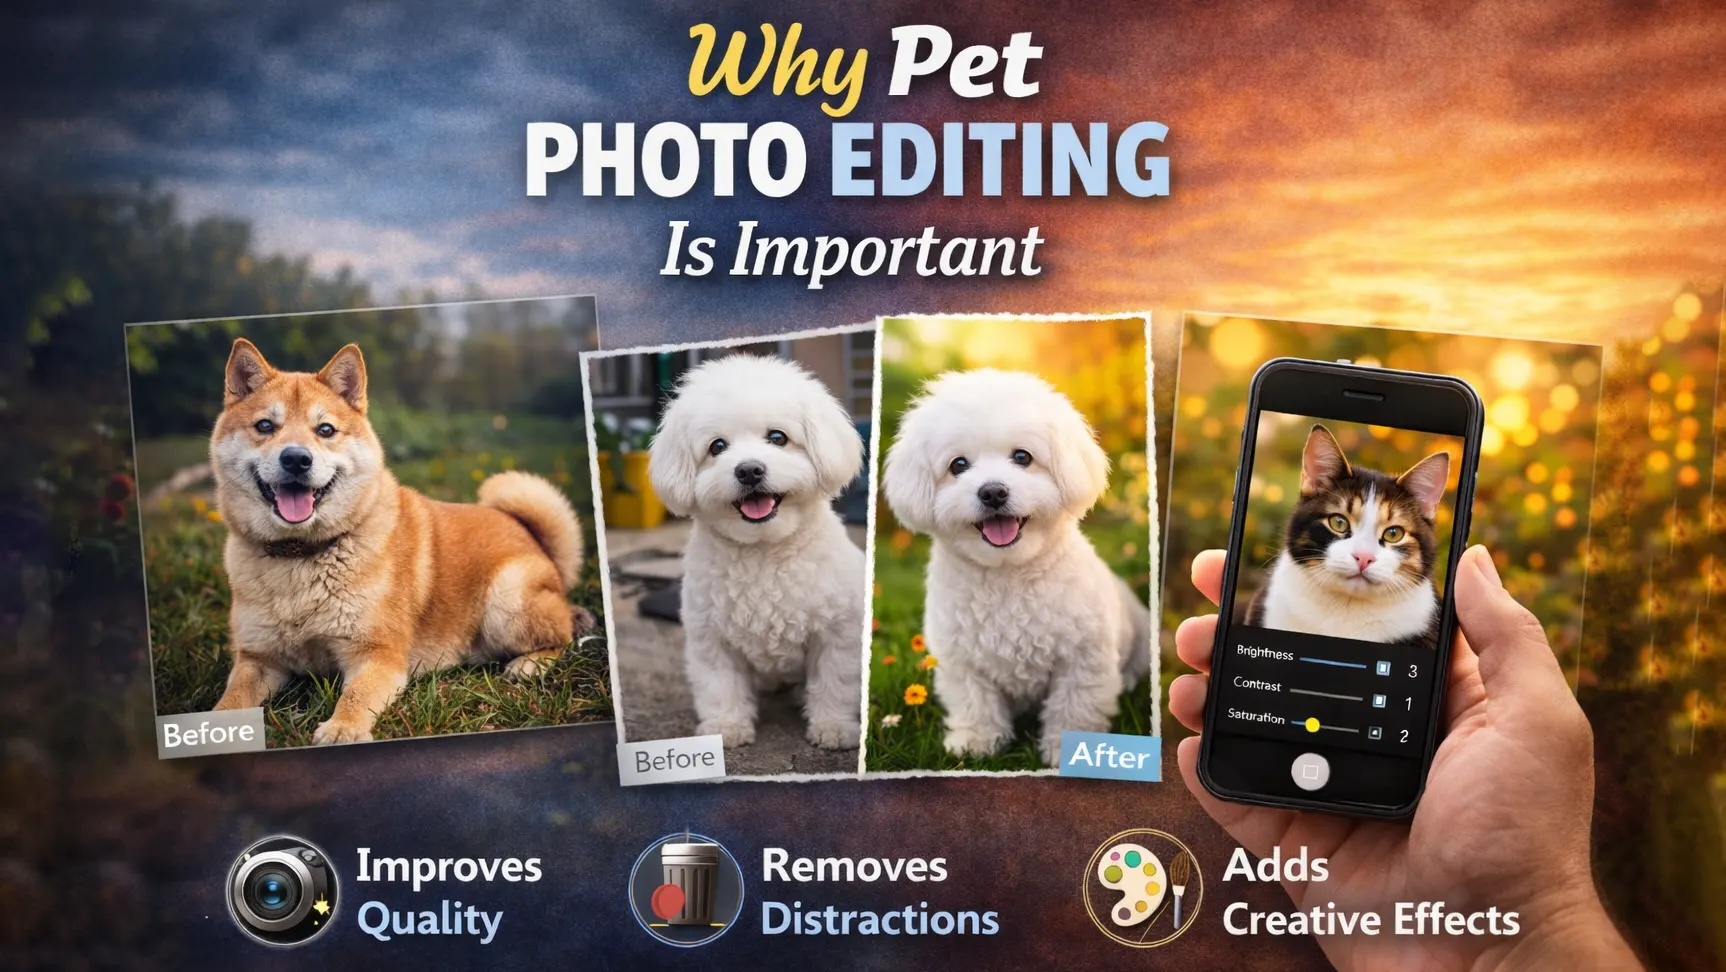
Why Pet Photo Editing Is Important
Pet photo editing makes images look clearer and more attractive. It helps fix lighting, improve colors, and remove small distractions. Even a sharp photo can look dull without basic edits. With proper adjustments, a simple pet portrait can look clean and more professional.
Enhancing Fur, Eyes, and Natural Details
Fur is one of the first things people notice in a pet photo. If the fur looks flat or blurry, the image loses its charm. Careful pet photo retouching helps add texture while keeping the fur soft and natural. Light sharpening can improve detail without making the image look harsh.
The eyes also play a key role in pet portraits. Clear and bright eyes create emotion and connection. Small changes in brightness and color balance make the eyes look more alive. These adjustments add depth without changing the natural look of the pet.
Creating a Professional and Social Media-Ready Look
Clean and polished images perform better online. Background removal for pet photos helps remove unwanted objects and keeps the focus on the subject. Balanced pet photo color correction improves tone and makes the image look natural.
Professional pet photo editing also builds consistency. When all your images follow the same style, your portfolio looks more organized. This creates trust and makes your work appear more reliable.
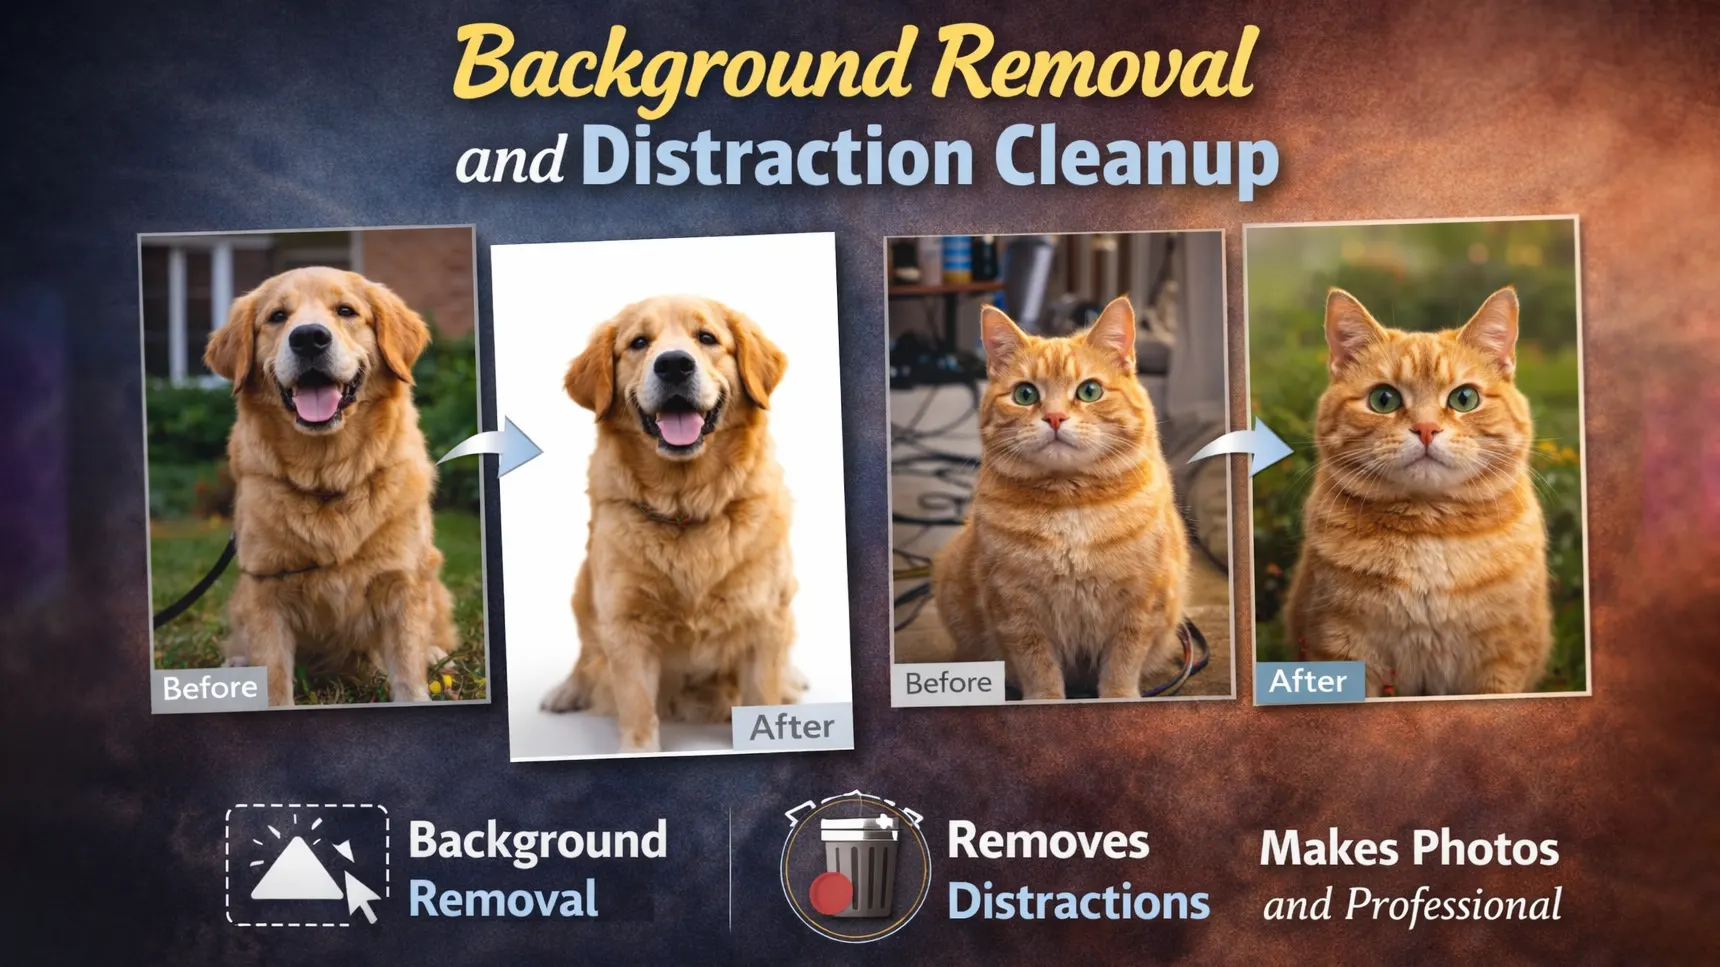
Background Removal and Distraction Cleanup
Background removal plays a key role in pet photo editing. Many pet photos include busy or messy backgrounds that take attention away from the subject. When you remove distractions, the viewer can focus fully on the pet. A clean background also makes the image look more polished and professional. Proper background cleanup improves clarity and strengthens the overall composition of the photo.
Selecting Fur Edges Accurately
Pet fur is soft, detailed, and often uneven. Because of this, selecting the edges requires patience and precision. If the selection is too sharp or rough, the fur can look cut out and unnatural. This is a common mistake in Photoshop pet photo editing.
To get better results, use soft brush tools and refine the mask carefully. Zooming in helps you see small hair details more clearly. Slow and careful editing keeps the fur looking natural and smooth. Accurate edge selection makes a big difference in the final image.
Removing Leashes and Unwanted Objects
Leashes, collars, tags, or background objects can distract from the main subject. These elements break the clean look of a pet portrait. Removing them helps create a stronger and more focused image.
You can use healing, clone, or content-aware tools to fix these areas. However, the edited parts should blend smoothly with the surrounding texture. When done carefully, object removal looks invisible and natural. This step greatly improves the quality of professional pet photo editing.
Natural Background Replacement
Sometimes the original background does not match the mood or style of the photo. Replacing it can improve the visual impact, especially for social media or portfolio work. However, the new background must match the lighting and color of the pet.
If the shadows and highlights do not match, the image will look fake. Adjusting brightness, contrast, and color balance helps create harmony. A natural background replacement keeps the image realistic while making it more visually appealing.
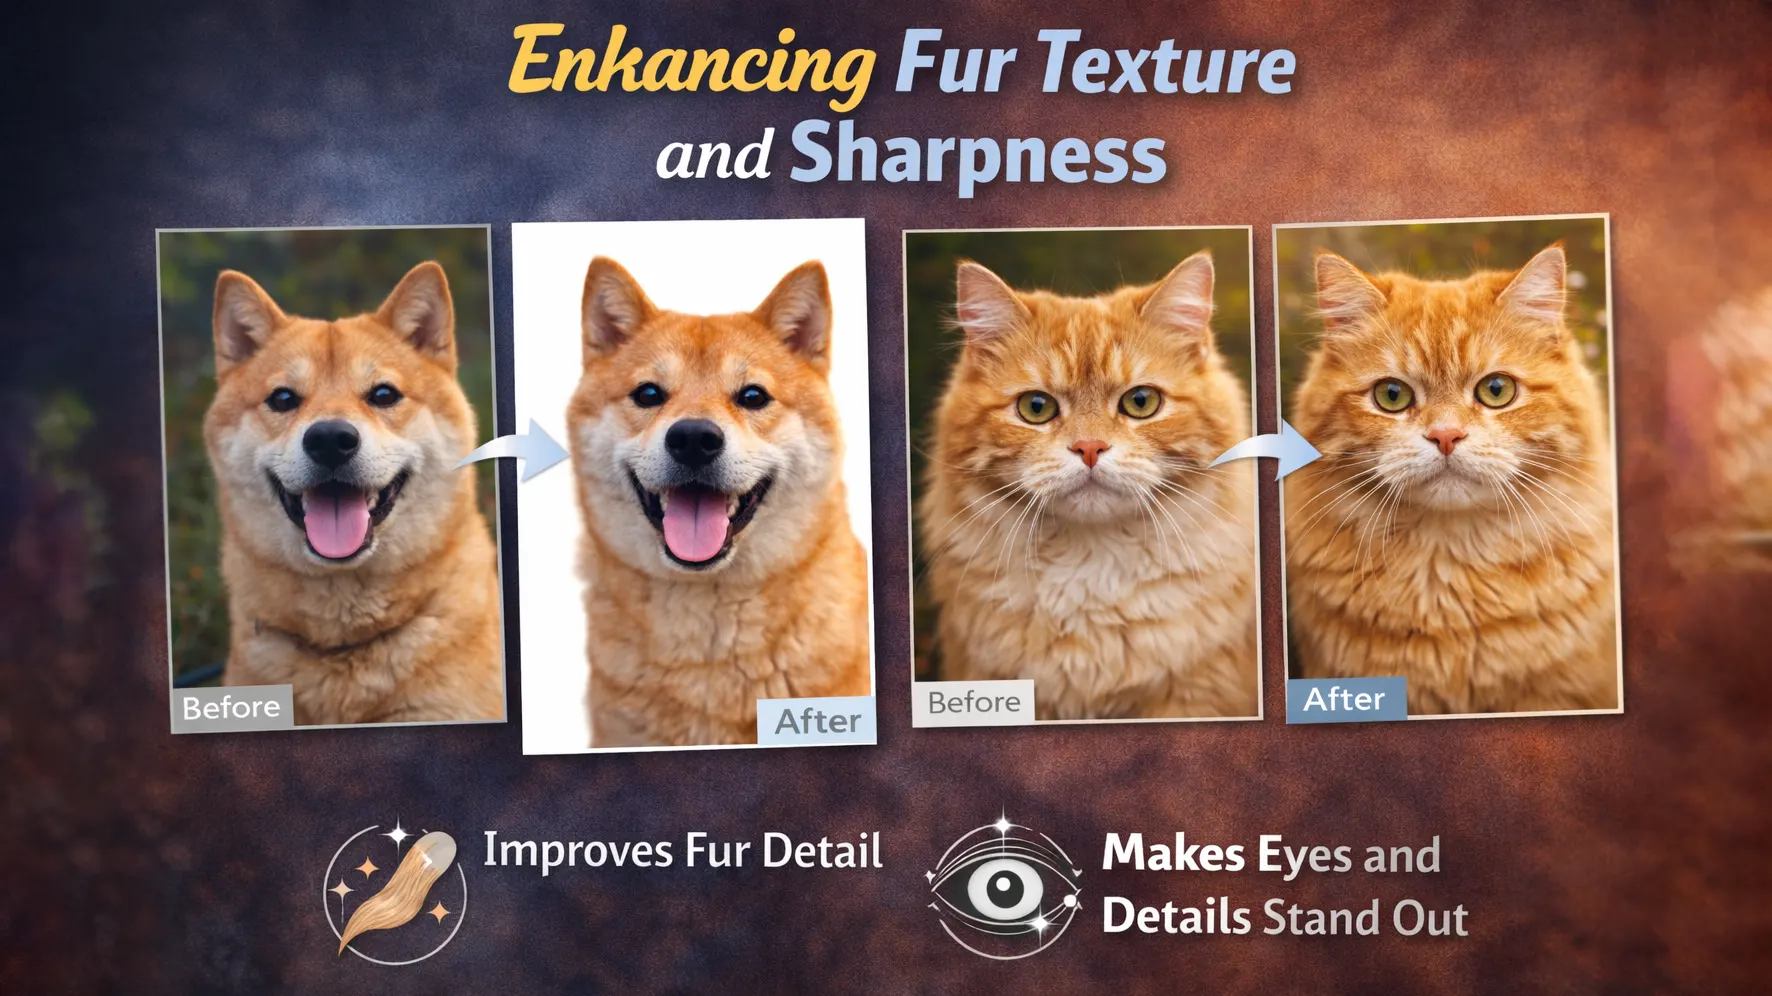
Enhancing Fur Texture and Sharpness
Fur texture is one of the most important parts of pet photo editing. If the fur looks flat, the image feels lifeless. Proper sharpening helps bring out fine details and adds depth to the portrait. However, too much sharpening can create noise and make the fur look rough. The goal is to enhance clarity while keeping the texture soft and natural.
Smart Sharpening Without Noise
Sharpening should improve detail without damaging the image quality. When you apply too much sharpening, small grains and rough edges appear. This makes the fur look harsh instead of soft.
To avoid this, use controlled sharpening tools and adjust the strength slowly. Focus only on the important areas, such as the face and upper fur. Keeping the background slightly softer also helps reduce visible noise. Smart sharpening improves clarity while maintaining a clean look.
Preserving Natural Texture
Natural texture is key in pet portrait editing. Over-editing can remove important fur details and make the image look fake. Smooth skin effects should never be applied heavily on fur.
Instead, use light adjustments and zoom in to check small details. Keep the original texture visible while improving contrast and brightness. When texture stays natural, the final result looks realistic and professional.
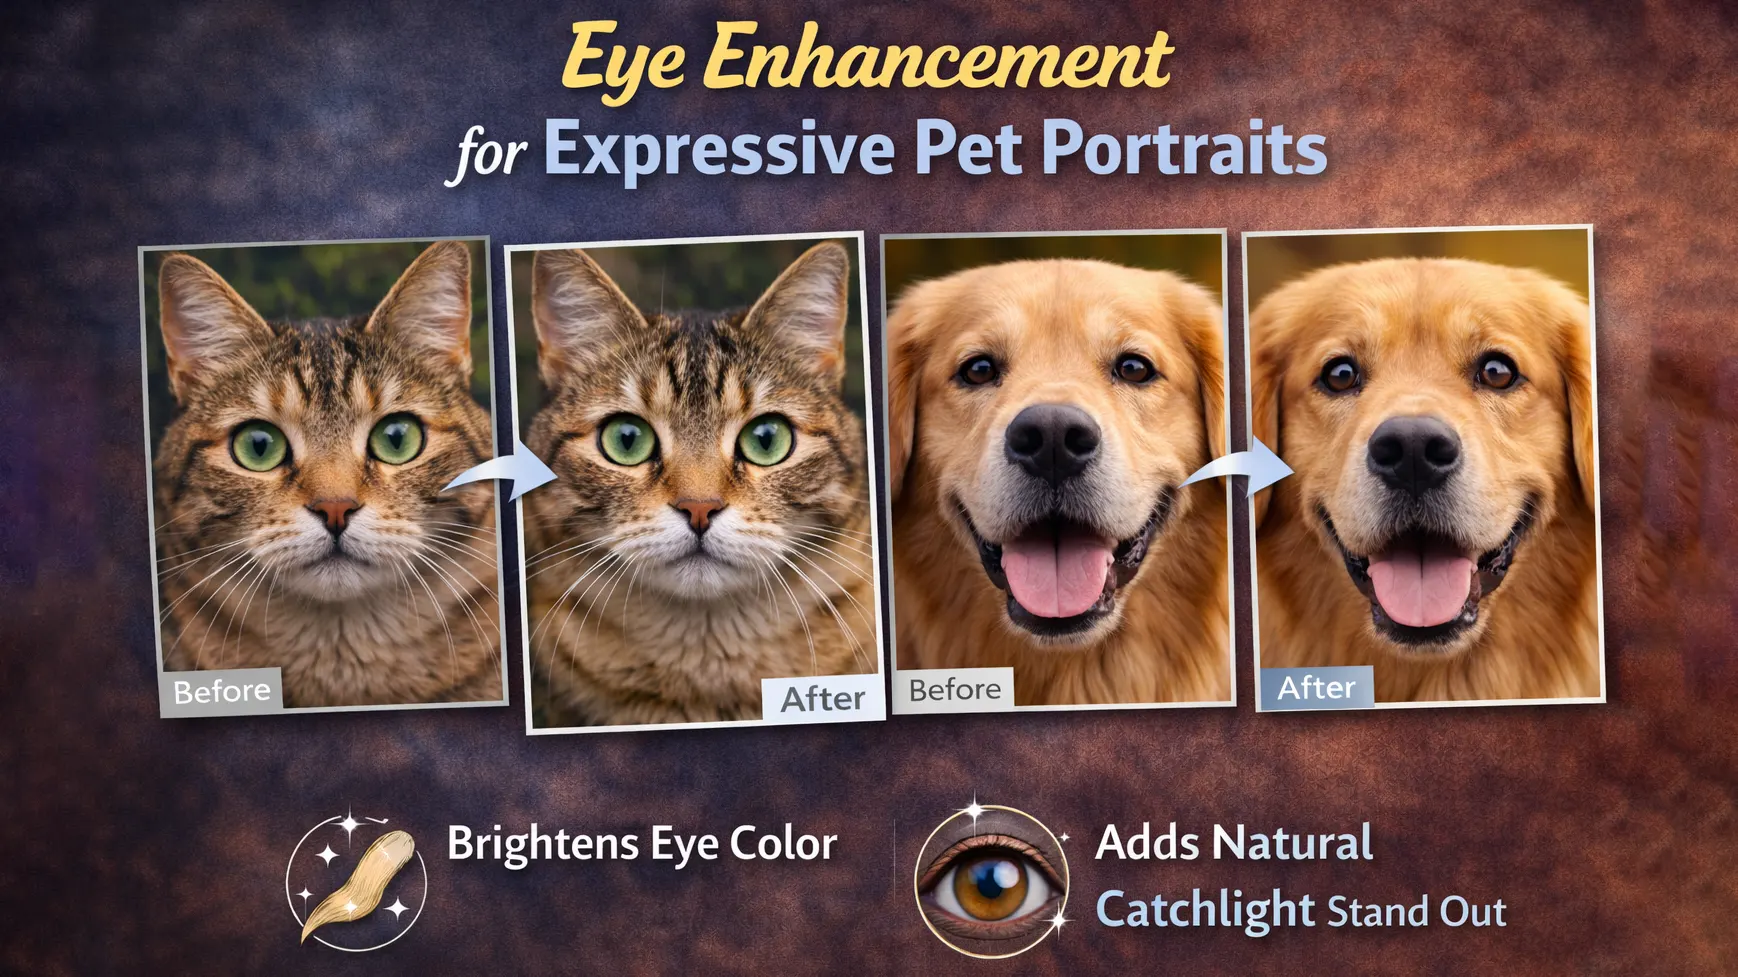
Eye Enhancement for Expressive Pet Portraits
The eyes are the most powerful part of a pet portrait. They show emotion and help create a strong connection with the viewer. If the eyes look dark or dull, the image may feel flat. Careful eye enhancement in pet photo editing improves clarity and adds life to the portrait. The goal is not to change the eyes, but to make them look clean, bright, and natural.
Brightening and Adding Catchlight
Brightening the eyes helps draw attention to the face. A small increase in exposure and contrast can improve clarity without losing detail. It is important to adjust slowly, because too much brightness can remove texture and make the eyes look fake.
Adding a soft catchlight can also improve expression. Catchlight is the natural reflection of light inside the eye. If it is weak, you can gently enhance it to add depth. This makes the pet look more alert and engaging while keeping the image realistic.
Natural Eye Color Correction
Lighting conditions often affect eye color in photos. Sometimes the color looks dull or slightly off due to shadows or camera settings. Gentle color correction helps restore the natural tone of the eyes.
Avoid strong saturation or dramatic color shifts. Instead, make small adjustments that match the pet’s real eye color. Balanced editing keeps the portrait believable while making the eyes stand out in a natural way.
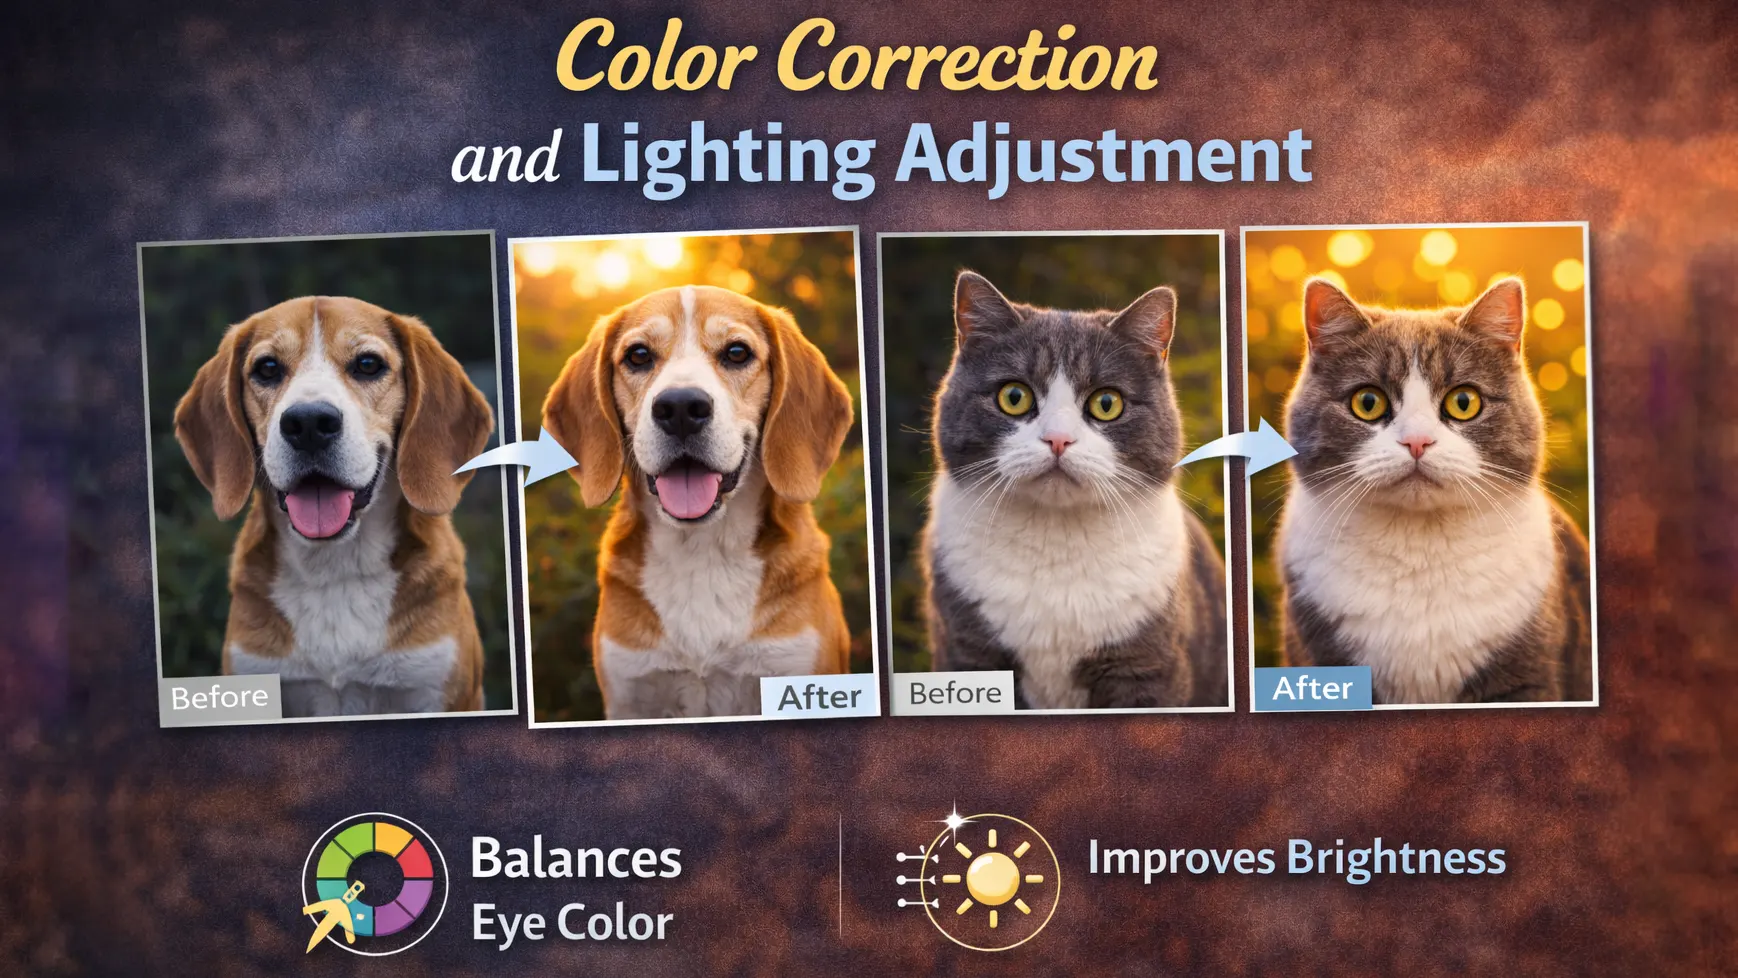
Color Correction and Lighting Adjustment
Color and light play a major role in pet photo editing. Even a well-composed image can look dull if the colors are off or the lighting is uneven. Proper color correction helps restore natural tones, while lighting adjustments improve clarity and depth. When both are balanced, the pet looks more realistic and visually appealing.
Fixing White Balance and Exposure
White balance controls the overall color tone of an image. If it is not correct, the photo may look too warm or too cool. Adjusting white balance helps restore natural fur color and skin tone. This step is important in pet photo color correction because pets often have mixed fur shades.
Exposure is equally important. If the image is too dark, details in the fur and eyes may disappear. If it is too bright, highlights can lose texture. Small exposure adjustments help reveal details while keeping the image balanced and clear.
Balancing Highlights and Shadows
Highlights and shadows affect depth and dimension. Strong highlights can remove important details from light-colored fur. Deep shadows can hide texture in darker areas. Balancing both helps maintain a natural look.
Reducing harsh highlights and lifting soft shadows improves overall harmony. However, adjustments should remain subtle to avoid a flat appearance. Balanced lighting makes the portrait look clean, realistic, and professionally edited.
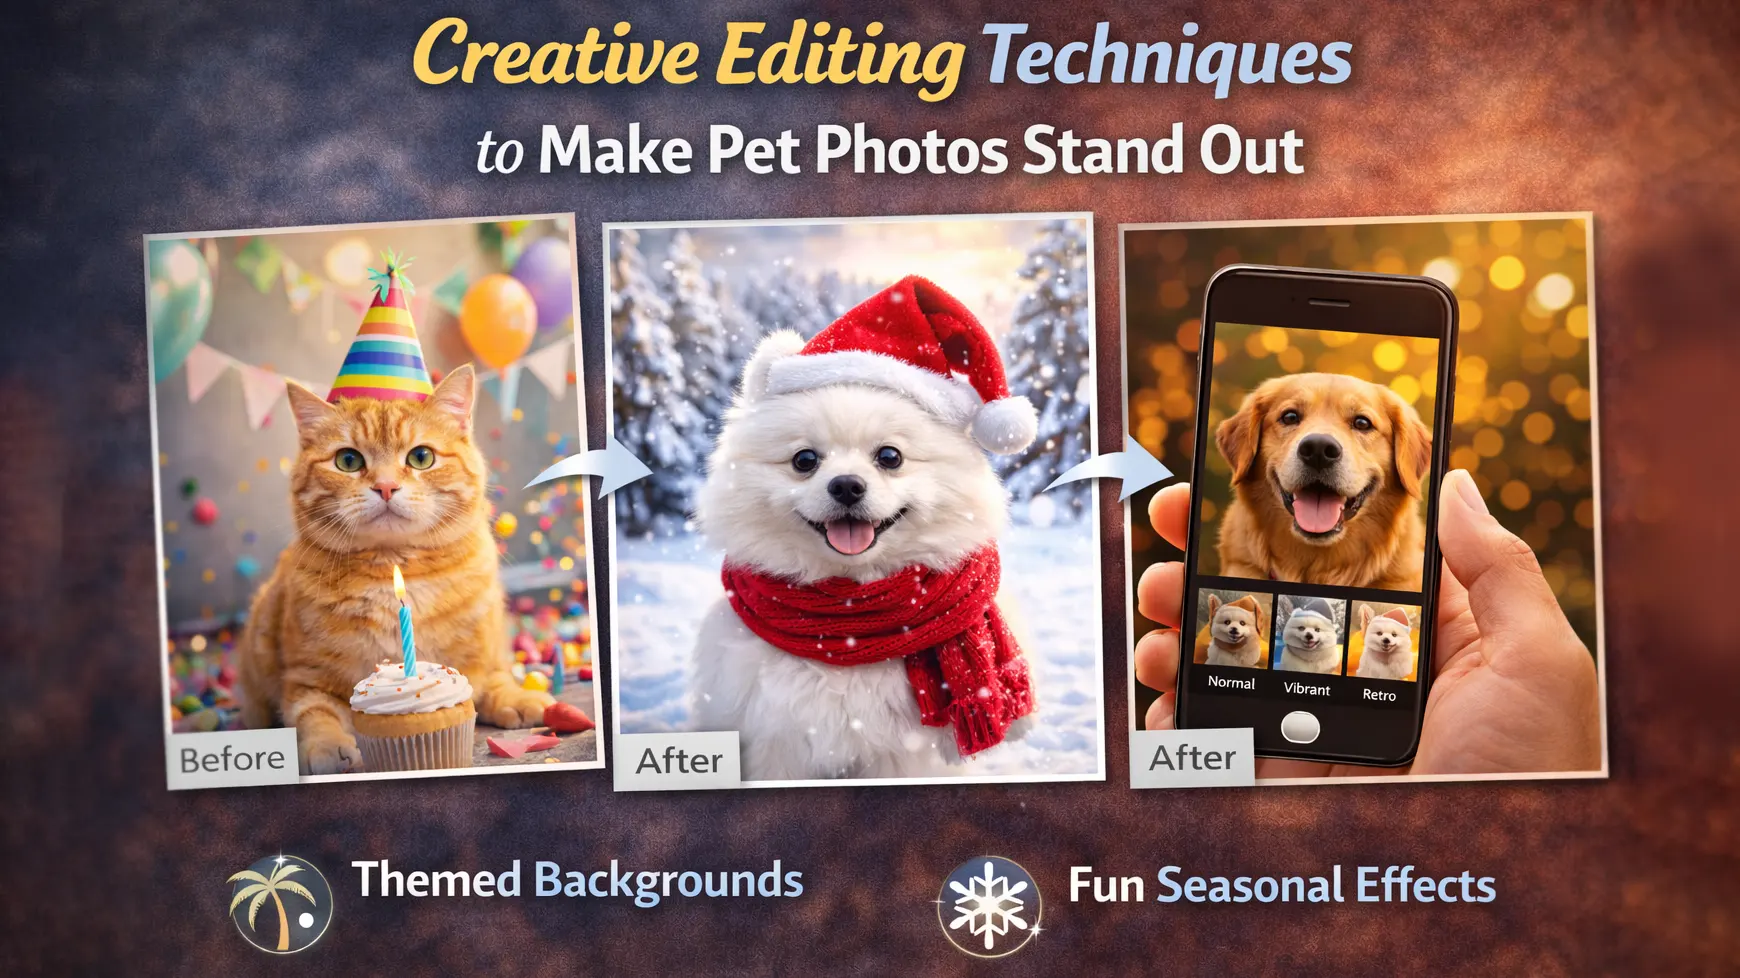
Creative Editing Techniques to Make Pet Photos Stand Out
Creative editing helps your pet photos look unique and memorable. Basic corrections improve quality, but creative techniques add style and personality. When used carefully, they can turn a simple portrait into an eye-catching image. The key is to enhance the mood without making the photo look unnatural.
Dramatic Color Grading
Color grading changes the overall mood of the image. Warm tones can create a cozy and happy feeling, while cooler tones can give a calm and soft look. Dramatic color grading works well for artistic pet portrait editing, especially for social media or portfolio work.
However, strong color shifts should stay balanced. Too much saturation or contrast can make fur look unrealistic. Adjust tones slowly and check skin and fur colors often. A controlled color grade adds depth while keeping the pet’s natural appearance.
Seasonal and Themed Edits
Seasonal edits can make pet photos more engaging. For example, warm autumn colors, winter snow effects, or soft spring tones can match the time of year. These small changes help the image feel fresh and relevant.
Themed edits also work well for holidays or special events. Adding simple background elements or soft light effects can improve visual appeal. Keep the design clean and avoid overcrowding the frame. When done properly, creative pet photo editing makes the image stand out while still looking realistic.
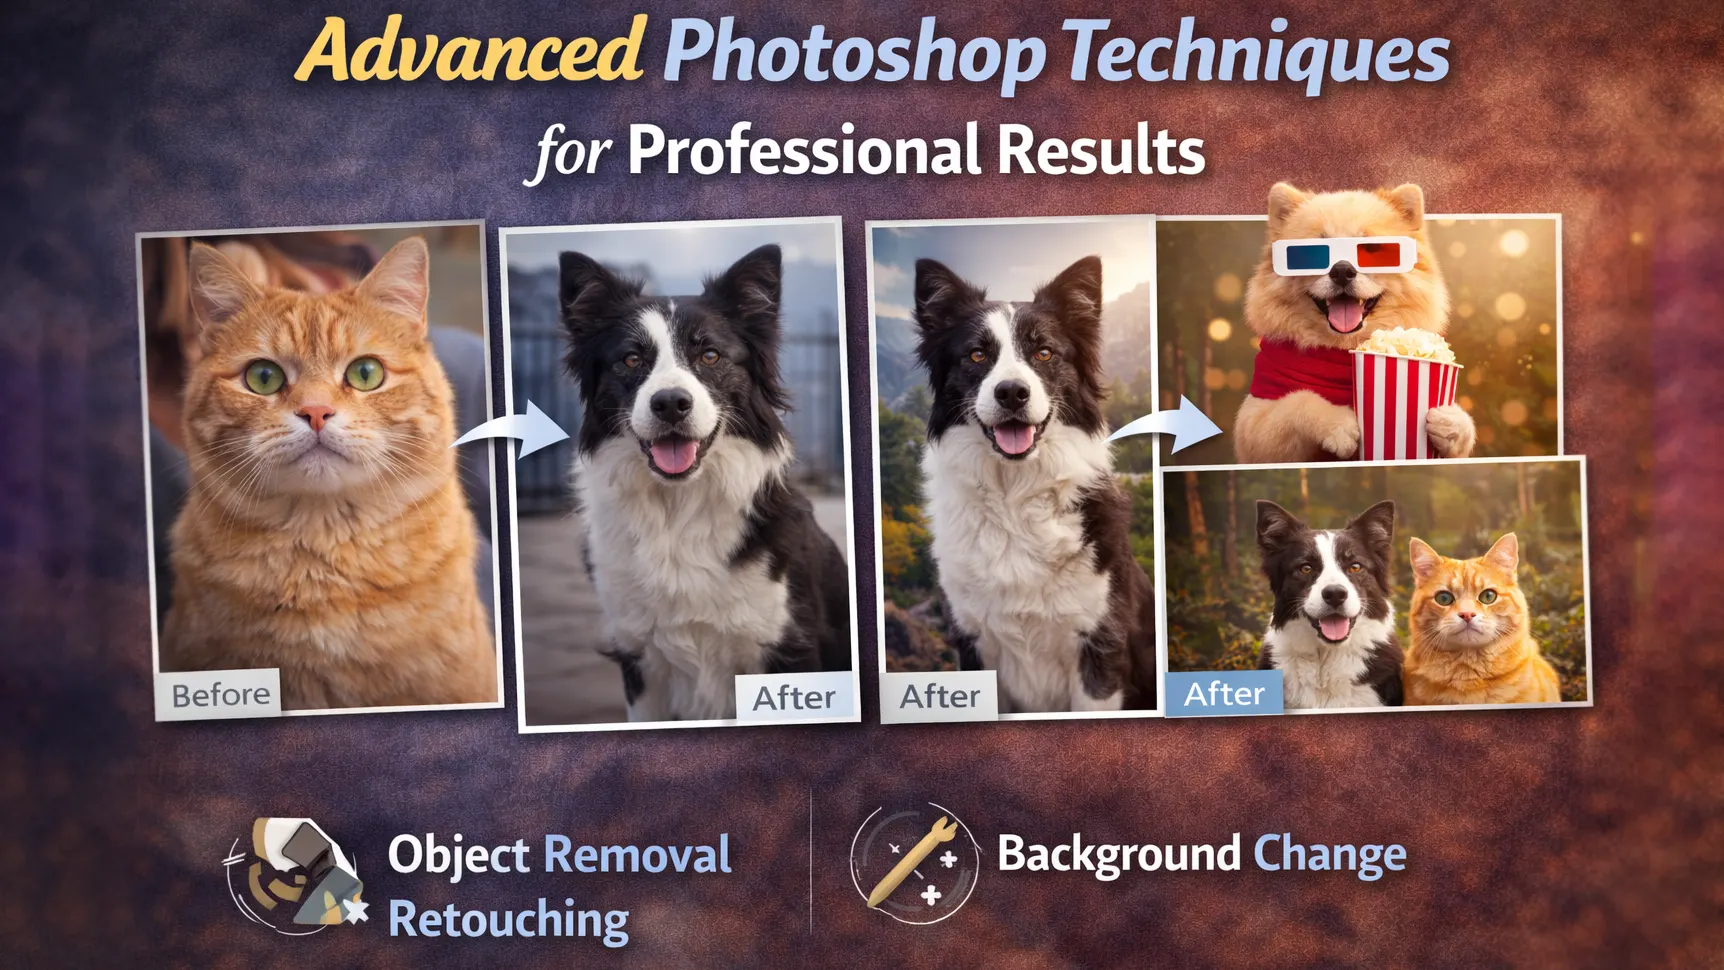
Advanced Photoshop Techniques for Professional Results
Advanced tools in Photoshop help create clean and detailed results. These techniques are useful when basic edits are not enough. They give you more control over light, color, and selection. When used carefully, they improve quality without making the image look over-edited.
Layer Masks and Precise Selections
Layer masks allow you to edit specific areas without changing the whole image. This is very helpful in Photoshop pet photo editing, especially when working on fur or background edges. Instead of erasing parts of the image, you can hide or reveal areas smoothly. This keeps the editing flexible and safe.
Precise selections also improve accuracy. Tools like refine edge or select and mask help capture small hair details. Careful selection keeps the fur natural and prevents harsh outlines. Clean masking makes the final image look polished and professional.
Dodge and Burn for Depth
Dodge and burn is a technique used to control light and shadow. Dodging makes areas slightly brighter, while burning makes them darker. This helps shape the face and body of the pet. It adds depth without changing the original colors.
The key is to work gently and build the effect slowly. Strong adjustments can create uneven patches or visible marks. Soft and controlled dodge and burn enhances texture and gives the portrait a more realistic, three-dimensional look.
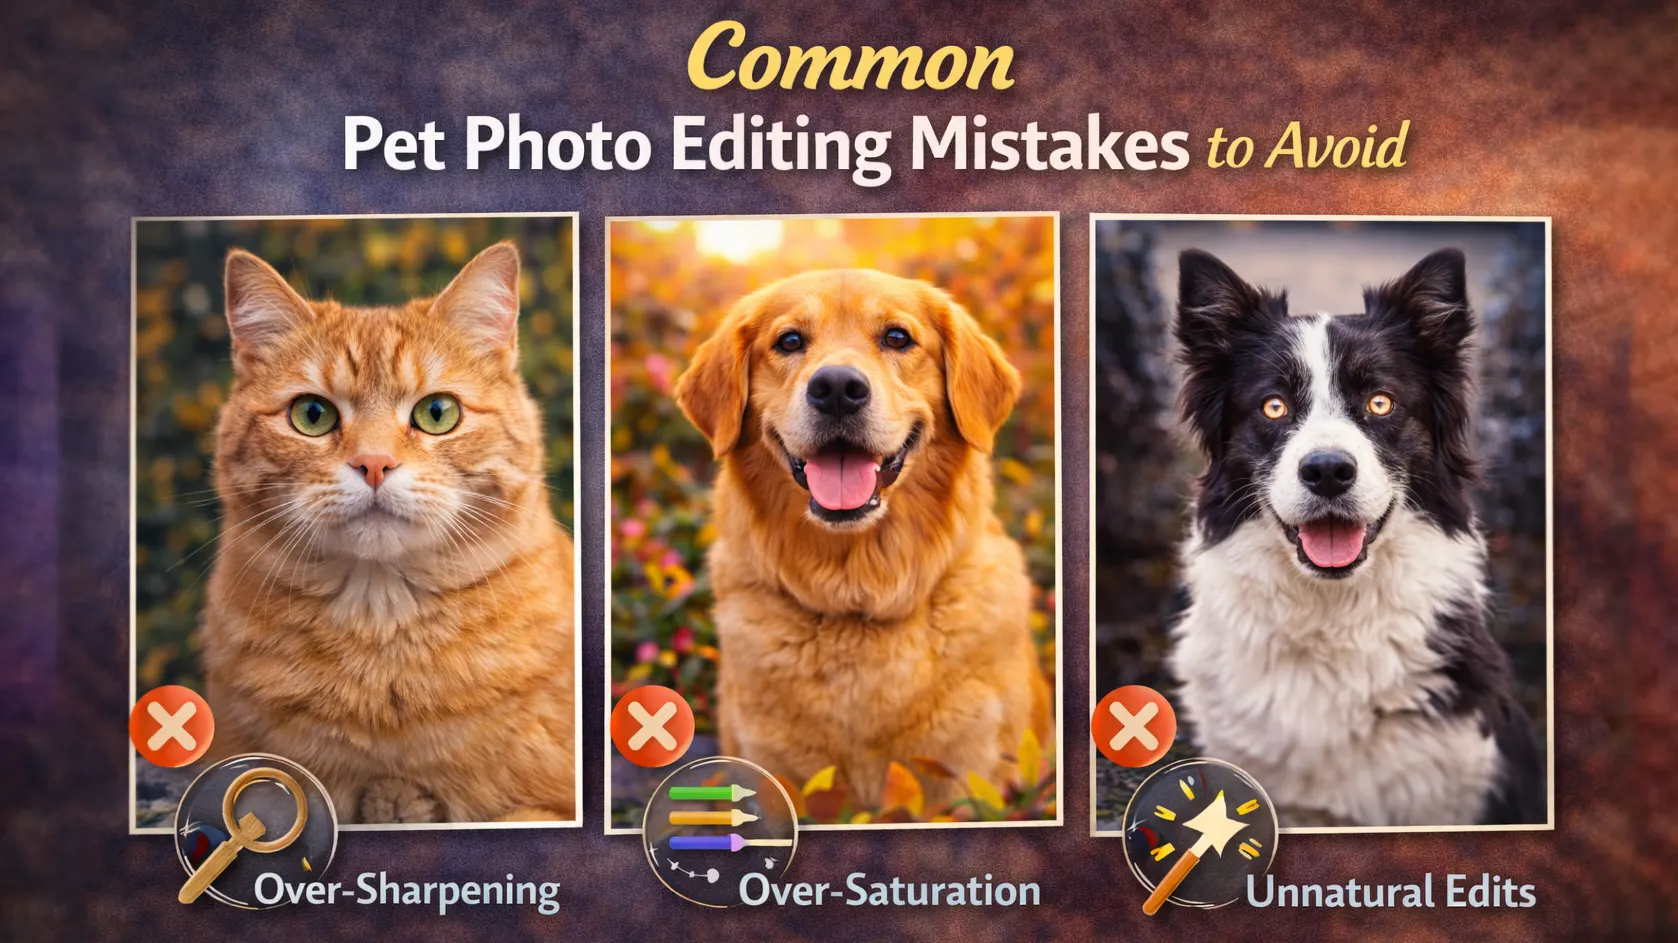
Common Pet Photo Editing Mistakes to Avoid
Even good editors can make small mistakes in pet photo editing. These mistakes can reduce image quality and make the photo look unnatural. Knowing what to avoid helps you create cleaner and more professional results. Simple and careful adjustments often work better than heavy edits.
One common mistake is over-smoothing the fur. When too much blur or skin effect is applied, the fur loses its natural texture. This makes the pet look artificial. Always keep fine details visible to maintain realism.
Another mistake is using too much saturation or contrast. Strong colors may look attractive at first, but they can quickly make the image look unrealistic. Balanced pet photo color correction keeps tones natural and pleasant to the eye.
Hard edges around the fur are also a common problem. Poor background removal can leave sharp outlines that look fake. Take time to refine edges and blend them smoothly.
Finally, avoid over-sharpening. Too much sharpening creates noise and rough texture. Instead, apply light and controlled adjustments. Clean and subtle editing always produces better results.
When to Consider Professional Pet Photo Editing Services
Sometimes editing every photo by yourself becomes hard. If you have many images to finish, the process can take too much time. In this case, professional pet photo editing services can be a smart choice. They help you save time and keep image quality high.
High-volume work is one common reason to outsource. Editing many pet portraits while keeping the same style is not easy. A professional team can maintain consistent color, lighting, and detail across all images. This is helpful for photographers, studios, and online sellers.
Some edits also require more skill and patience. Detailed fur masking, background removal for pet photos, and careful color correction can take practice. Professional editors use the right tools to complete these tasks smoothly.
Outsourcing pet photo editing is useful when time is limited or quality must stay consistent. It allows you to focus on shooting and growing your business while experts handle the editing work.
Conclusion
Pet photo editing helps transform simple images into polished portraits. Small improvements in lighting, color, and detail create a strong visual impact. Clean background removal makes the subject stand out. Careful fur enhancement adds detail without making it look fake. Natural eye adjustments improve clarity while keeping the image realistic.
The most important rule is to keep editing natural. Avoid heavy filters, strong colors, or over-sharpening. Subtle and balanced adjustments usually produce better results.
Practice helps you improve over time. If you need consistent quality or handle many images, professional pet photo editing services can be a smart choice. Focus on clean and realistic edits to make every pet photo stand out.
Frequently Asked Questions
What is the best software for pet photo editing?
Adobe Photoshop is one of the best tools for pet photo editing. It offers advanced features for background removal, fur detail work, and color correction. Lightroom is also useful for basic light and color adjustments. Simple mobile apps can work for basic edits. However, professional results usually need desktop software.
How do you enhance fur in pet photos?
To enhance fur, use light sharpening and controlled contrast. Avoid strong blur or heavy smoothing, as it removes natural texture. Zoom in while editing to protect small hair details. Good pet photo retouching improves clarity while keeping the fur soft and realistic.
How can I remove background from pet photos?
You can remove the background using selection and masking tools. In Photoshop pet photo editing, tools like Select and Mask help refine fur edges. Work slowly and check hair details carefully. Clean background removal for pet photos keeps the focus on the subject and improves image quality.
Can beginners edit pet photos professionally?
Yes, beginners can learn pet photo editing with practice. Start with simple adjustments like exposure, white balance, and basic retouching. Focus on small improvements instead of dramatic changes. With time and patience, results will look more polished and professional.
Is outsourcing pet photo editing worth it?
Outsourcing pet photo editing is helpful when you have many images or limited time. A professional team can deliver consistent quality and save hours of work. It is a practical choice for photographers, studios, and online sellers who need clean and reliable results.