If your photos look too dark, too bright, blurry, or grainy, the fix usually sits inside three simple controls. Once you understand Camera Settings, you stop guessing and start choosing. In this guide, I’ll explain aperture, shutter speed, and ISO in plain words, then show how camera modes move you from Auto to Manual without confusion.
Camera Settings Basics (What They Control)
Before you change any dial, it helps to know what you’re trying to control. This section keeps it simple: we’ll talk about brightness and the meter that helps you judge it.
Exposure (Brightness) in Simple Words
Exposure means how bright or dark your photo looks. If a photo is too bright, it can lose detail in the sky or on faces. However, if it’s too dark, important parts disappear into shadow. Exposure is not about “perfect”—it’s about being clear. Therefore, you aim for enough light to show the subject the way you want.
The Exposure Meter (How to Read It)
The exposure meter is the little scale in your camera that often shows numbers like -2, -1, 0, +1, +2. It’s the camera’s best guess about brightness. When the pointer sits near 0, the camera thinks exposure looks balanced. However, bright or dark scenes can trick it, so you should still take a test shot and adjust.

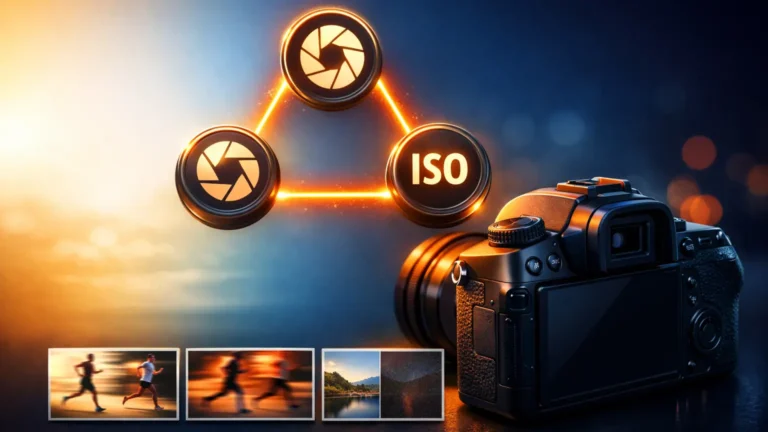
The 3 Main Camera Settings (Aperture, Shutter, ISO)
Now we get to the big three. These photography settings work as a team, so when you change one, you often need to balance another to keep the same brightness.
Aperture (f-number): Light + Background Blur
Aperture is the opening inside the lens, so it controls how much light enters. A smaller f-number (like f/1.8) usually lets in more light and makes the background blurrier. Meanwhile, a larger f-number (like f/8) lets in less light and keeps more of the scene in focus. Therefore, aperture control is often your “look” choice first, then you balance exposure.
Shutter Speed: Motion Blur vs Freeze
Shutter speed controls how long the camera collects light, and it strongly affects blur. A fast shutter can freeze movement, while a slow shutter can create motion blur. Because of this, shutter is your sharpness protector. If your hands shake, the whole image can blur. If the subject moves, only the subject may blur. So, when blur happens, check shutter first, then fix exposure.
ISO: Brightness + Noise (Grain)
ISO brightens the photo in-camera, but it can add noise (grain), especially on a high ISO camera setting. Therefore, treat ISO like your backup tool. Start low for cleaner images, then raise ISO when you can’t open aperture more or when you can’t slow shutter without blur. In other words, ISO settings help you rescue brightness, but you pay with more grain if you push it too far.
Auto to Manual (Modes You Need)
Camera modes decide who controls what. Once you understand each mode’s job, moving from camera auto mode to camera manual mode feels much easier and less stressful.
Auto Mode: What the Camera Chooses
Auto mode chooses aperture, shutter speed, and ISO for you, using the camera’s internal “best guess.” This is useful when you need a quick photo. However, Auto often chooses a slow shutter indoors, which creates blur. Also, it may raise ISO without warning, which adds noise. So, Auto is convenient, but it doesn’t always protect sharpness or clean image quality.
Aperture Priority (A/Av): You Set Aperture
Aperture Priority means you choose the aperture camera setting, and the camera chooses shutter speed to match exposure. This helps when you care about background blur or how much stays in focus. However, you must watch shutter speed, because the camera might pick something too slow. Therefore, if the shutter drops, raise ISO or adjust aperture slightly so you keep the look without blur.
Shutter Priority (S/Tv): You Set Shutter
Shutter Priority lets you choose shutter speed, and the camera picks aperture to balance brightness. This is helpful when you want to freeze motion or avoid blur from shaky hands. However, in low light the lens may hit its widest aperture and still not get enough light. Because of that, the photo can turn dark unless you raise ISO or enable Auto ISO to support your shutter choice.
Manual Mode (M): You Set Both
Manual mode means you set both aperture and shutter speed, and you control the main trade-off directly. At first, it feels slower, but it becomes consistent once you practice. Also, Manual helps when lighting stays steady, because the camera won’t change settings between shots. Therefore, if you want repeatable results and full control over aperture and shutter, Manual is the clearest option.
Auto ISO: What It Changes
Auto ISO changes ISO automatically to help keep exposure reasonable. Even in Manual mode, Auto ISO can still move ISO up or down behind the scenes. This can be helpful when light changes quickly, because you can lock aperture and manual shutter while ISO “floats.” However, it may choose very high ISO, which adds noise. So, if possible, set a maximum ISO limit so quality stays under control.
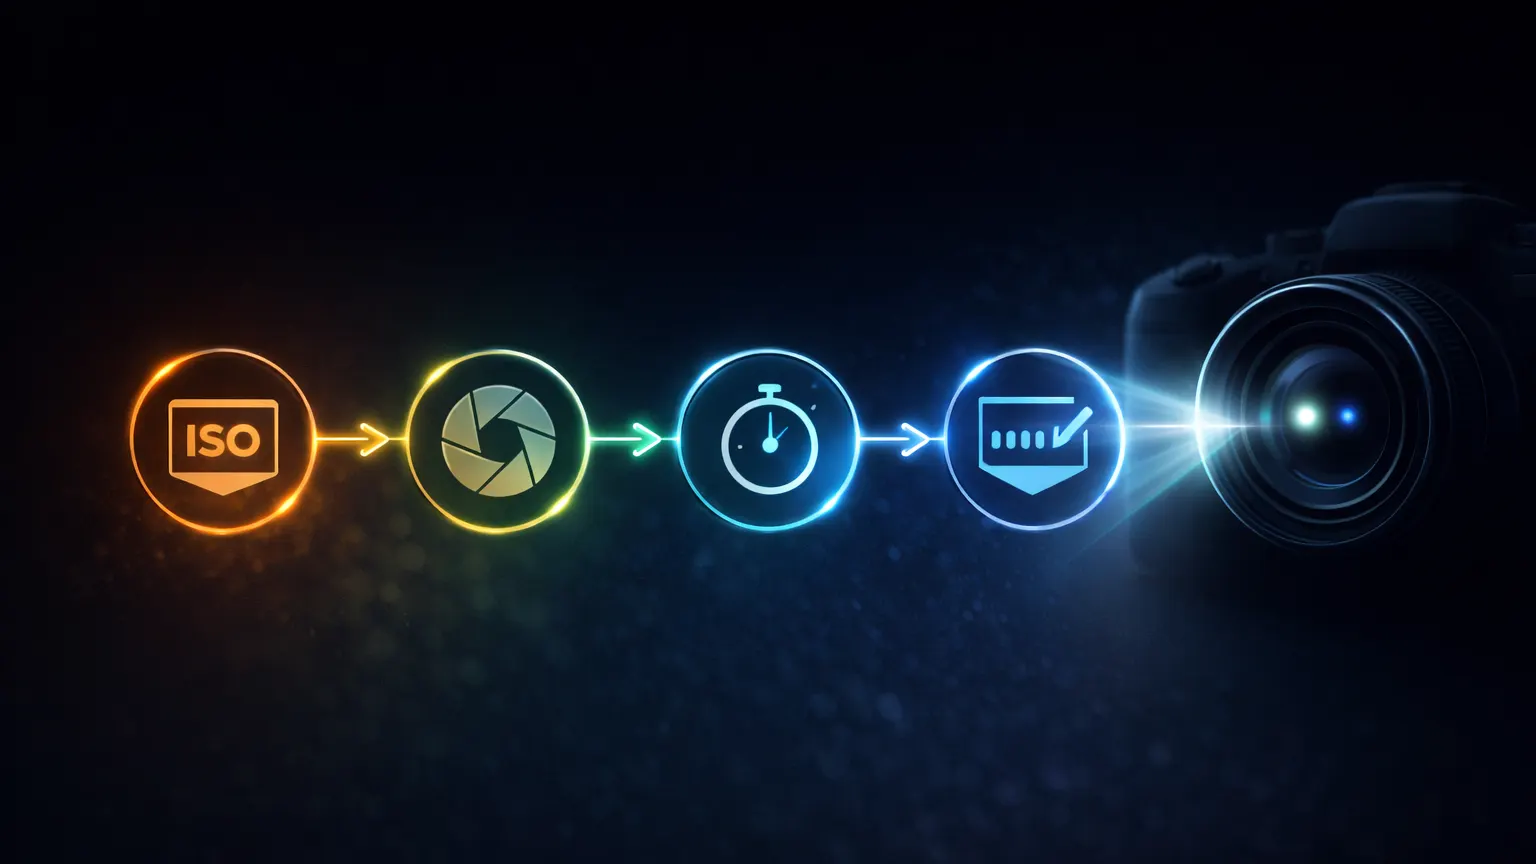
Manual Mode Steps (The Easy Order)
This order keeps you calm in Manual, because you solve one problem at a time instead of spinning dials randomly.
Step 1: Set ISO (Start Low)
Start with a low ISO so your photo stays clean. In bright light, ISO 100–200 often works. Indoors, you may begin around ISO 400–800. However, don’t raise ISO early unless you must. First, choose your look with aperture and protect sharpness with shutter. Then increase ISO only until the exposure meter looks reasonable.
Step 2: Set Aperture (Choose Blur/Depth)
Next, pick your aperture settings based on how much background blur you want. A smaller f-number gives more blur, while a bigger f-number keeps more in focus. Because aperture also changes brightness, your choice affects the rest. Therefore, decide the “look” first, then let shutter and ISO do the heavy lifting for exposure. This keeps your photos consistent.
Step 3: Set Shutter (Avoid Blur)
Now choose shutter speed to avoid blur. If your hands shake, a faster shutter helps immediately. Meanwhile, if your subject moves, you need an even faster shutter to freeze motion. After you speed up shutter, the photo may get darker. As a result, you balance with aperture or ISO instead of risking blur again. Think: sharp first, then bright enough.
Step 4: Check Meter + Take a Test Shot
After setting ISO, aperture, and shutter, check the exposure meter. Bring it closer to “0” as a safe starting point. However, don’t trust it blindly—take one test photo. Then review it quickly: if it’s too dark, add light with ISO or slower shutter; if it’s too bright, reduce light with faster shutter or lower ISO.

Quick Fixes (Common Problems)
When something looks wrong, you can usually fix it with one smart change, and then you rebalance the other settings.
Photo Too Dark / Too Bright (What to Change First)
If the photo is too dark, you must add light: open aperture, slow shutter, or raise ISO. If it’s too bright, do the opposite: close aperture, use a faster shutter, or lower ISO. However, pick the change with the smallest downside. For example, if blur is already a problem, don’t slow shutter—raise ISO instead.
Photo Blurry (Shake vs Motion)
First, figure out the blur type. If everything looks smeared, you likely shook the camera, so increase shutter speed. If only the subject is smeared, the subject moved, so increase shutter speed even more. Then, because faster shutter darkens the photo, you rebalance using aperture or ISO. This simple order prevents you from “fixing” blur by accident.
Photo Noisy (ISO Too High)
Noise usually means ISO is too high. Therefore, lower ISO if you can. But you must replace that lost brightness somehow, so open aperture or slow shutter a bit. However, don’t slow shutter so much that blur returns. In low light, accept a little grain to keep the photo sharp. Clean but blurry is usually worse than slightly noisy but clear.

Quick Cheat Sheet (Simple Starting Points)
Use these as starting points, then fine-tune with the meter and a test shot. They keep your iso aperture shutter speed choices simple.
Bright Light (Easy Start)
In bright light, start with low ISO, because you have plenty of light already. Then choose aperture for the amount of blur or depth you want. After that, keep shutter speed comfortably fast so the image stays sharp. Because you don’t need high ISO here, photos usually look clean. This is also the easiest place to practice understanding camera settings.
Indoor Light (Easy Start)
Indoors, light is weaker, so you often need a higher ISO than outside. Start with a moderate ISO, choose your aperture, and then watch shutter speed closely. If shutter becomes too slow, raise ISO one step. Meanwhile, if you need more depth of field, close aperture a bit and compensate with ISO. This approach keeps blur under control without overusing high ISO.
Low Light (Handheld Start)
For handheld low light, set shutter speed first to avoid blur, then open aperture to let in more light. After that, raise ISO until the exposure looks usable. However, don’t chase perfect brightness if it forces blur—sharp photos matter more. As a result, you may accept some grain, especially if your camera struggles at night. Keep adjustments small and test often.
Conclusion
At this point, you can move from Auto to Manual with a clear routine, not guesswork. The big idea is simple: aperture shapes the look, shutter protects sharpness, and ISO rescues brightness when needed. If you practice this for a few days, Camera Settings will stop feeling like random numbers and start feeling like easy choices you control.
Frequently Asked Questions
What are the 3 basic camera settings (Exposure Triangle)?
They are Aperture, Shutter Speed, and ISO.
Together they control brightness (exposure):
- Aperture = how much light enters
- Shutter speed = how long light enters
- ISO = how bright the camera makes the photo (can add noise)
Which camera setting should I change first: aperture, shutter speed, or ISO?
Use this easy order:
- Aperture (decide background blur / how much is in focus)
- Shutter speed (make it fast enough to avoid blur)
- ISO (raise only if the photo is still too dark)
What does aperture (like f/2.8 or f/8) mean?
Aperture is the lens opening.
- f/2.8 (small number) = more light + more background blur
- f/8 (bigger number) = less light + less background blur (more things in focus)
What shutter speed should I use to avoid blurry photos?
Use a faster shutter speed if your photo is blurry.
- If blur is from hand shake, increase shutter speed (faster).
- If blur is from a moving subject, you need an even faster shutter.
Then balance brightness by opening aperture or raising ISO.
When should I use Auto ISO (and when should I avoid it)?
Use Auto ISO when light changes fast and you want the camera to keep exposure okay while you focus on aperture/shutter.
Avoid Auto ISO when you want the cleanest image and the light is steady—then set ISO manually and keep it low.