Glare on eyeglasses is one of the most common challenges in portrait and product photography. Glare on eyeglasses can obscure the subject’s eyes and reduce image quality. Photoshop offers powerful tools and techniques to eliminate glare seamlessly. Learning how to remove eyeglass glare in Photoshop is essential for photographers. This step-by-step guide covers 11 effective methods to remove eyeglass glare in Photoshop. Whether you’re a beginner or a seasoned photographer, these steps will help you achieve polished, professional results every time.
What is Eyeglass Glare?
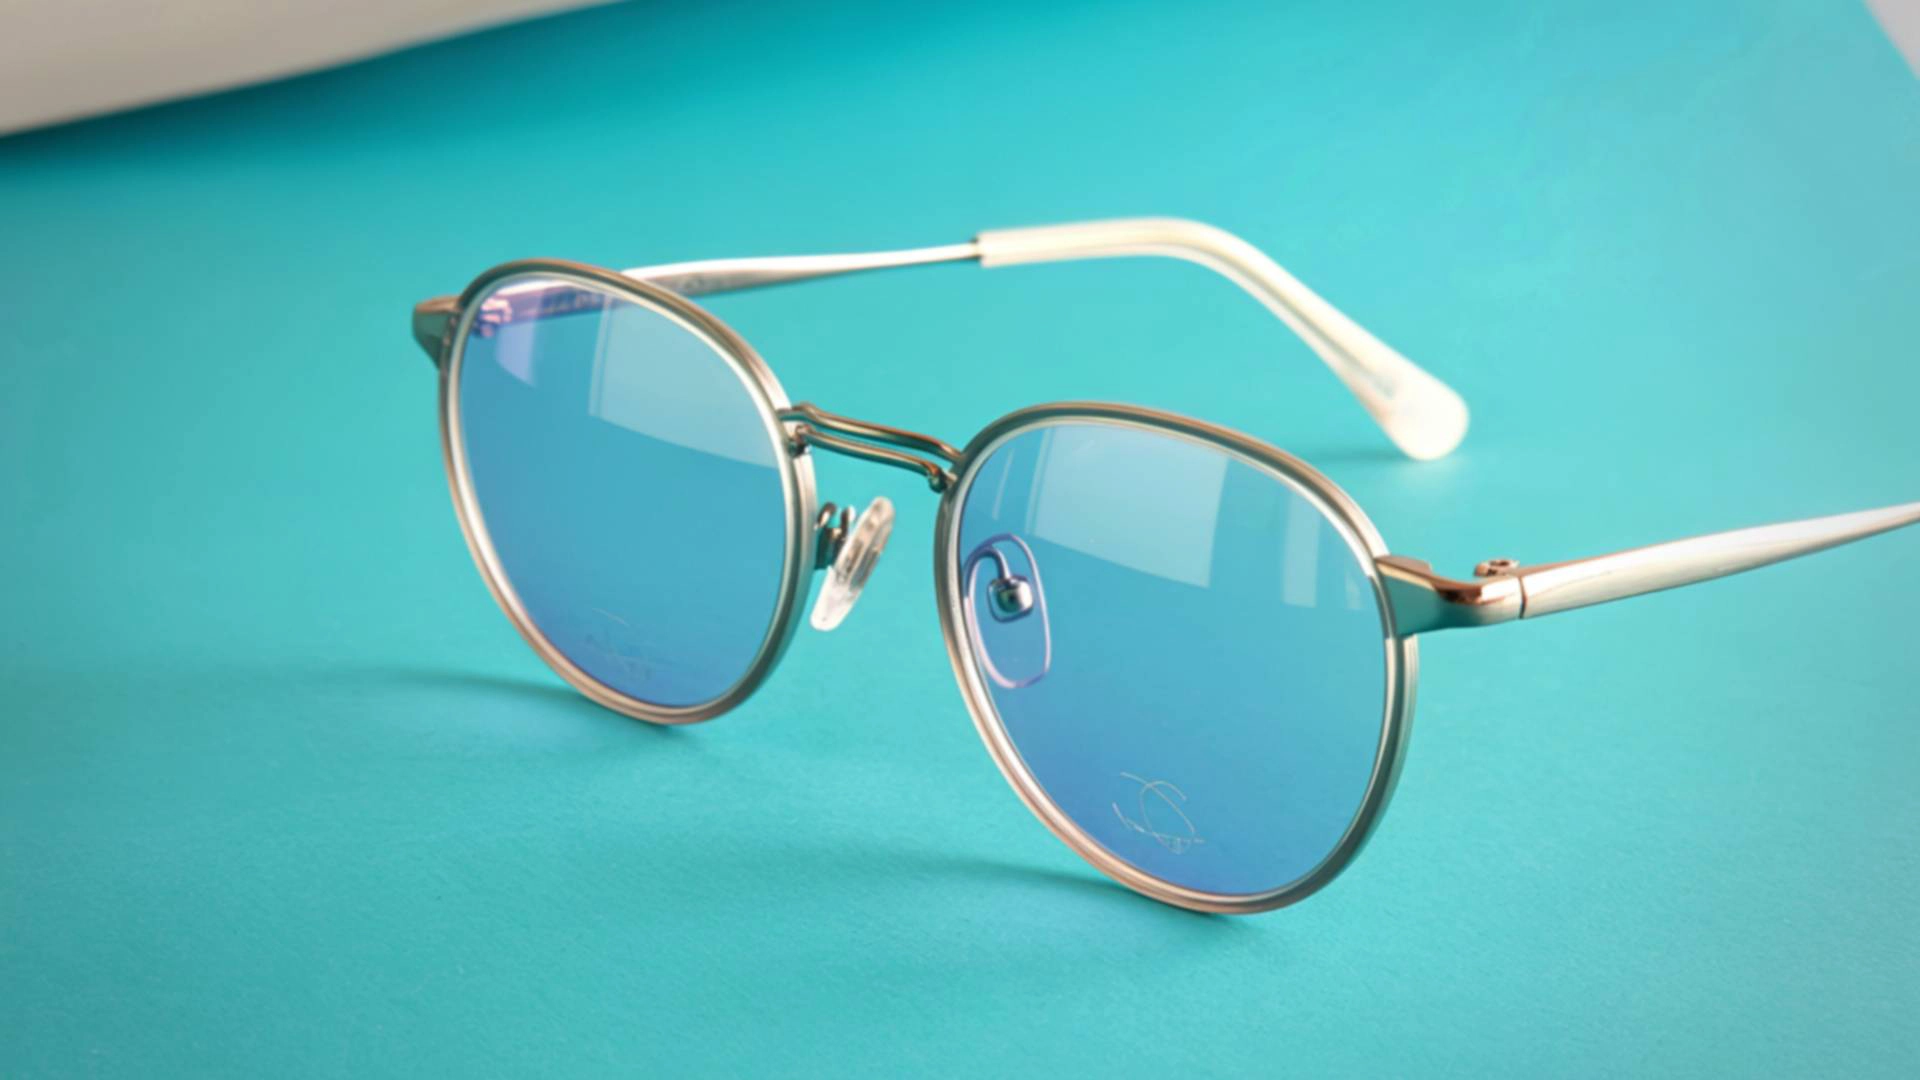
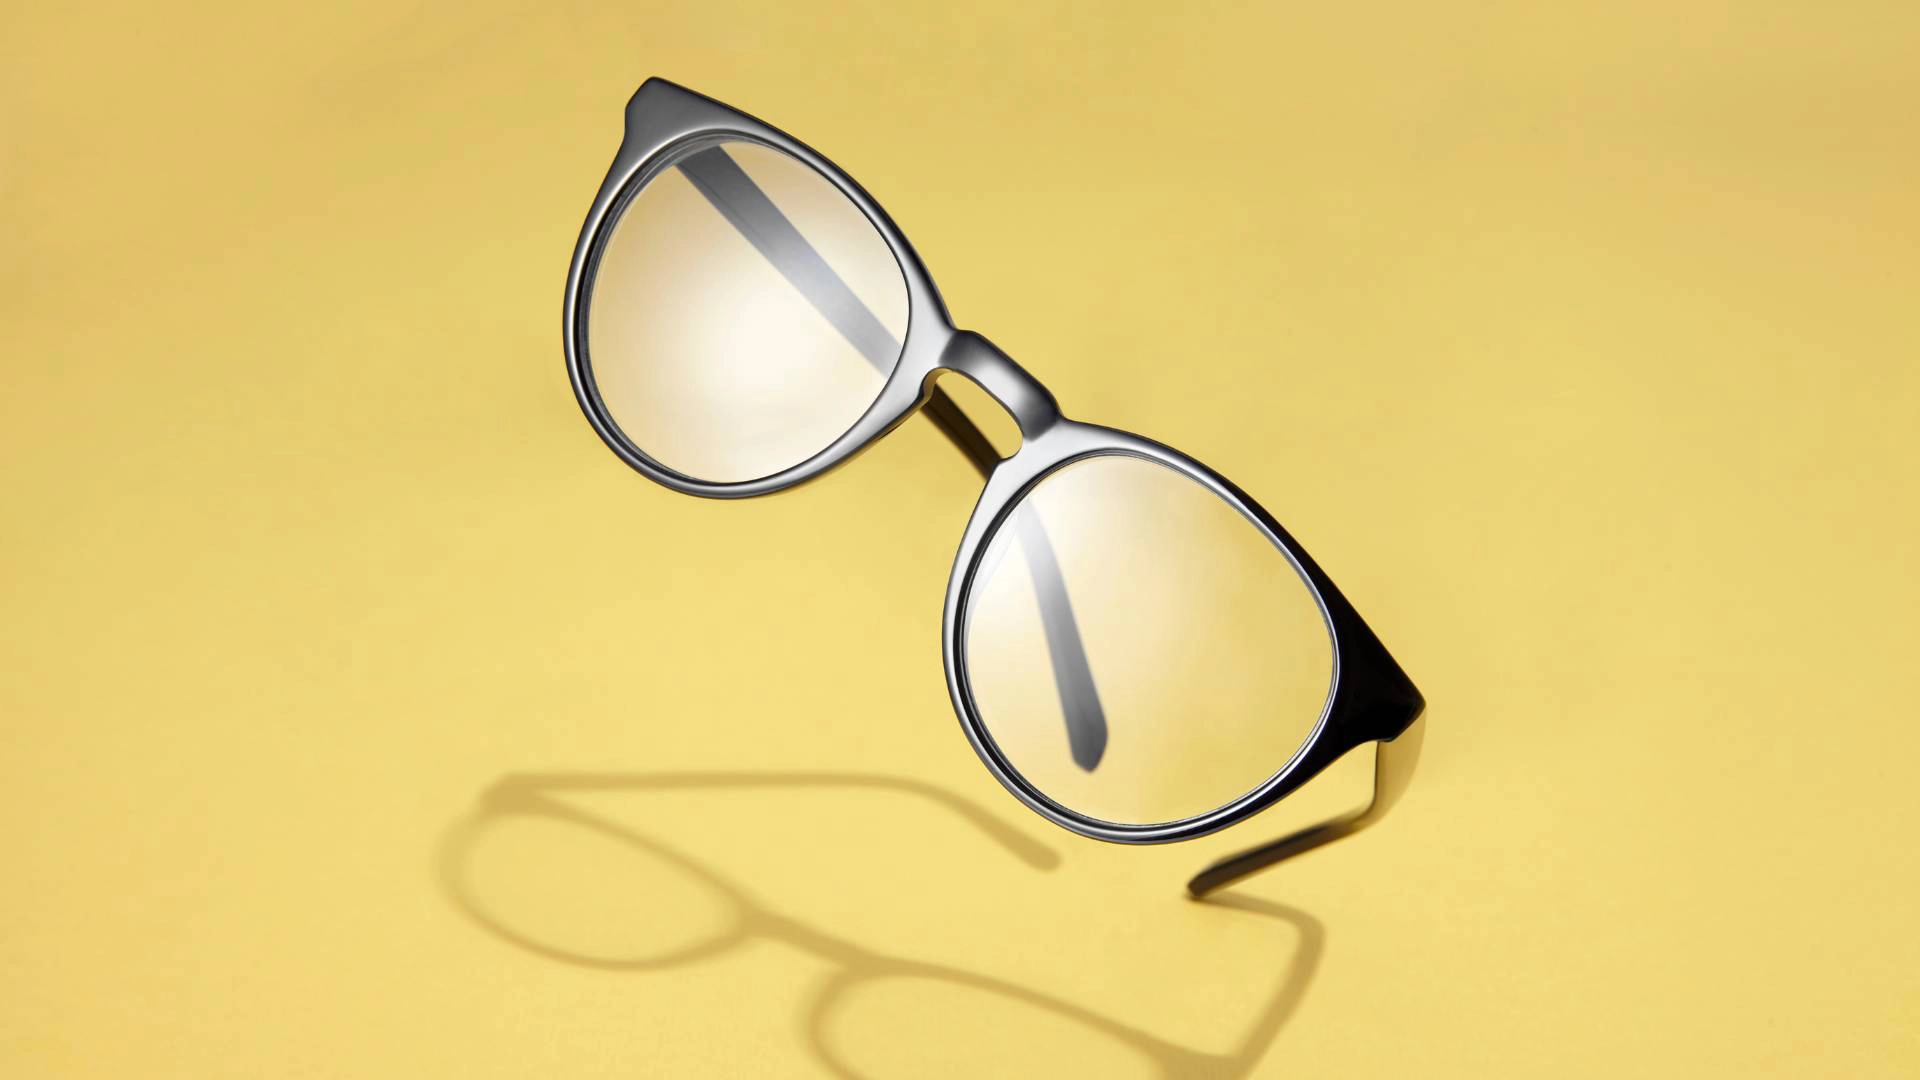
In eyeglass photography, glare is the unwanted bright light reflection from the surface of the lenses into the camera. It reduces the overall quality, contrast, and color saturation of the photo. Eyeglass photo editing effectively removes glare and improves the overall quality of your images.
Explanation of Glare:
Cause: Light (such as a camera flash, studio light, window, or overhead light) hitting at an angle that reflects directly into the camera lens.
Appearance: It can appear as bright white spots, halos around the light source, or green or purple if the glasses have an anti-reflective coating.
Effect on Photo: In addition to covering the eyes, it makes the areas around the lenses look flat and unclear, reducing detail in the photo.
11 Steps to Remove Eyeglass Glare in Photoshop
1. Duplicate the Background Layer
You create a safe backup of your original image when you duplicate the background layer. By working on a separate layer, no permanent changes are made to the original photo. You can easily compare the edited layer with the original image. If something goes wrong, you can delete the layer and start over without any loss of image quality.
You can duplicate the layer using Ctrl/Cmd + J, Layer > Duplicate Layer, or by dragging the layer onto the New Layer icon. All glare removal edits should be done on this duplicated layer for safe and professional results.
2. Add a New Layer for Color Correction
By adding a Color blend mode layer, you can correct unnatural color issues caused by glare. Sampling glare-free skin tones from nearby areas and painting on this layer restores the skin’s natural color. Since this is a non-destructive editing method, you can easily adjust opacity, refine the mask, or delete the layer to achieve a natural and smooth result.
3. Shadows/Highlights for General Brightness
The Shadows/Highlights tool is used to lighten shadow areas and reduce the intensity of bright areas (highlights) in an image. Using a selection on a duplicate layer or with a Smart Filter provides better control. The Amount slider darkens the glare, Tonal Width limits the effect to only the brightest pixels, and Radius controls blending with surrounding pixels. The Midtone Contrast slider restores contrast in the area, creating a natural and seamless result.
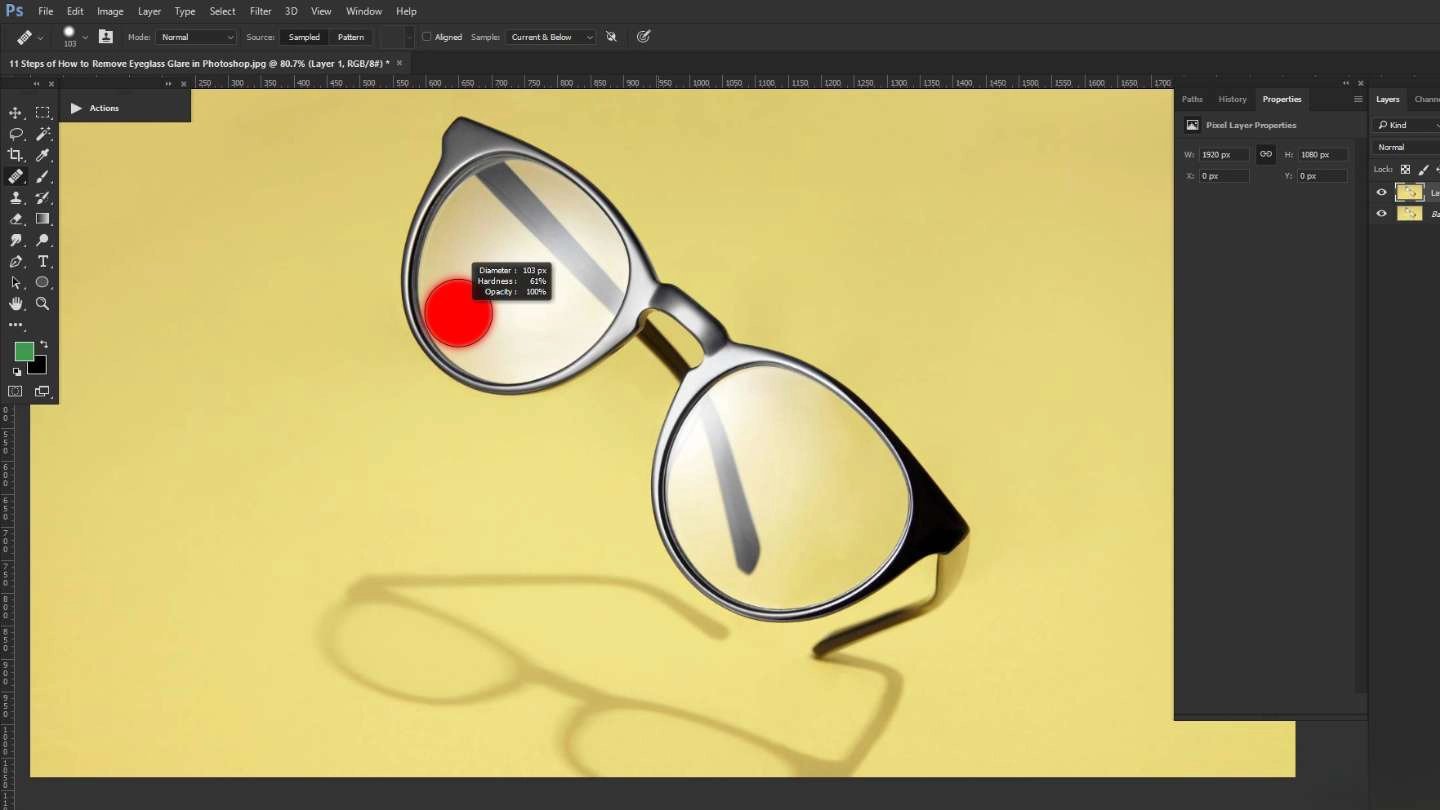
4. Sample and Paint the Glare Area
Sample and Paint the Glare Area is a Photoshop technique where you paint the natural skin color and tone over the glare area.
Sampling (Color Picking): Use the Eyedropper tool to sample colors from the non-glare skin area next to the glare. Continuously sample from different nearby spots because skin tone varies across the face.
Painting (Applying Color): On a new layer, use the Color blend mode to paint the sampled colors over the glare area. Using a soft-edged brush with low opacity and flow, blend the glare with the natural skin. This makes the photo seamless and realistic.
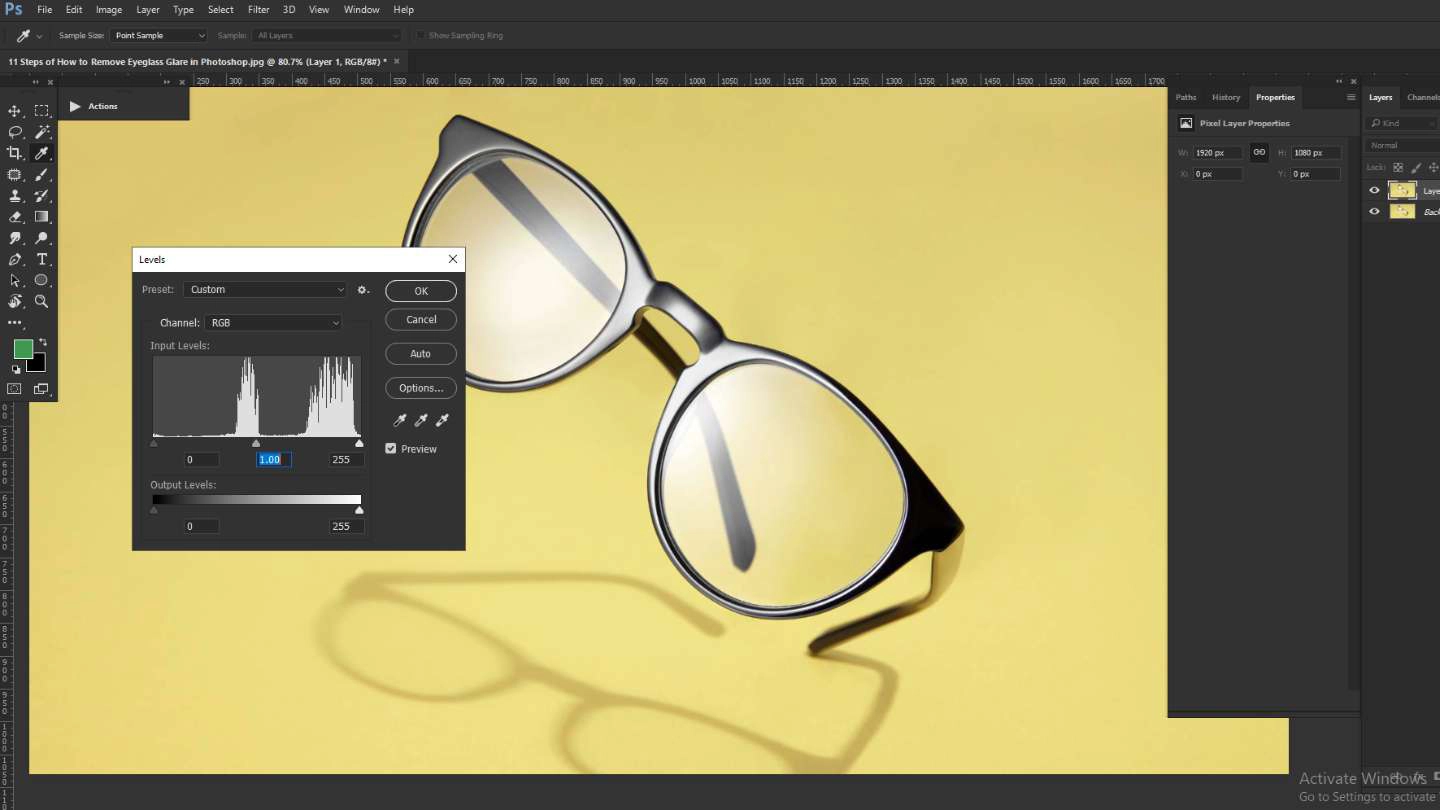
5. Add a Levels Adjustment Layer
The Levels adjustment layer can fix overexposed and unnatural pixels caused by glare on glasses. It helps darken the bright pixels and adjust shadows, midtones, and highlights. Using a layer mask, the adjustment is applied only to the glare area. Feathering the mask edges makes the result smooth. Additionally, the Levels layer restores contrast in the glare, matching the texture and depth of the image for a natural look.
6. Darken the Glare Area
The main goal is to reduce the brightness (luminosity) of glare on glasses so it blends naturally with the surrounding skin and eye details. This is done non-destructively in Photoshop using an Adjustment Layer (Levels or Curves) and a Layer Mask. First, select the glare area using a selection tool. Then, use the sliders to darken the glare so it matches the rest of the image. Feather the mask edges or use a soft brush to blend the adjustment smoothly. If needed, use additional adjustment layers or a Color blend mode layer to correct the skin or eye tones.
7. Apply the Selection as a Mask
The “Apply the Selection as a Mask” step is an important part of the non-destructive editing process for removing glare. First, the glare area is selected using a selection tool (like the Lasso Tool). Then, when a Layer Mask is created, Photoshop converts that selection into a grayscale mask.
How the mask works:
- White areas: Show the adjustments in the selected glare area.
- Black areas: Hide the adjustments in the rest of the image.
8. Refine the Edges
In eyeglass glare removal, refining the edges ensures the edited area blends naturally with the surrounding image. This step usually follows glare correction on an adjustment layer with a mask. Feathering blurs the mask edges for a gradual, seamless transition. Tools like Refine Edge or Select and Mask allow precise brushing on the mask to hide visible seams. Refining edges also helps match texture and color, making the correction appear natural, especially around fine details like hair or the glasses frame.
9. Create a Mask from the Color Layer Selection
Using a Photoshop function, the painted pixels on a Color blend mode layer are converted into a selection. The layer mask precisely applies brightness and contrast adjustments only to the glare area. On the mask, white areas reveal the adjustment, while black areas hide it. This technique blends the glare area seamlessly with the surrounding skin tones.
10. Use the Spot Healing Brush for Final Touches
The tenth step in removing eyeglass glare is to give the final touch using the Spot Healing Brush. First, select the Spot Healing Brush Tool from Photoshop’s toolbar. Keep the brush size slightly larger and set the Type to “Content-Aware.” Click or dab the brush over any remaining glare, smudges, or reflections. Check the results and repeat the process on other small imperfections until the glare is completely and seamlessly removed.
11. Flatten and Save
Once you have removed the glare and are satisfied with the results, the final step is to save your work.
Flatten the Image:
- In Photoshop, your edits are usually on separate layers (adjustment layers, color layers, masks, etc.).
- To merge all layers into a single layer, go to Layer > Flatten Image in the top menu.
- This combines all layers, making the file simpler and ready for export.
Save the Image:
- After flattening, go to File > Save As.
- Choose the format you want, such as JPEG (for general use and smaller file size) or PNG (for higher quality or transparency).
- Name the file and save it to your desired location.
Conclusion:
A structured workflow must be followed to remove eyeglass glare in Photoshop. First, duplicate the background layer, correct color and brightness, refine edges, and finally use the Spot Healing Brush. Using non-destructive techniques like adjustment layers and layer masks ensures accuracy and flexibility at every step. This method effectively removes glare, restores clarity, and enhances the overall quality of the image for professional portraits or casual photography.