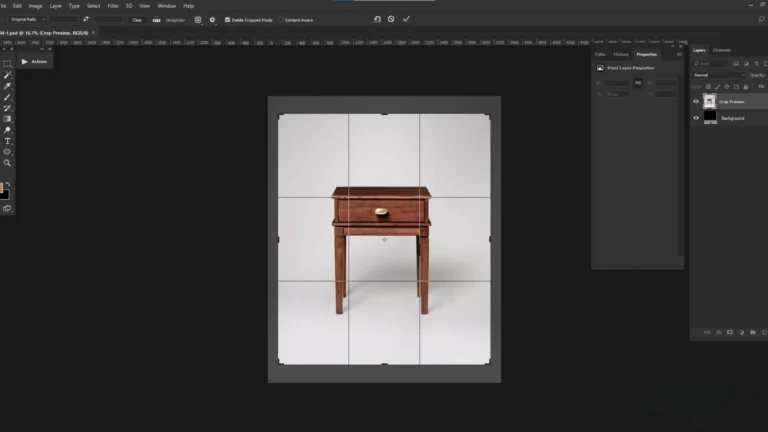
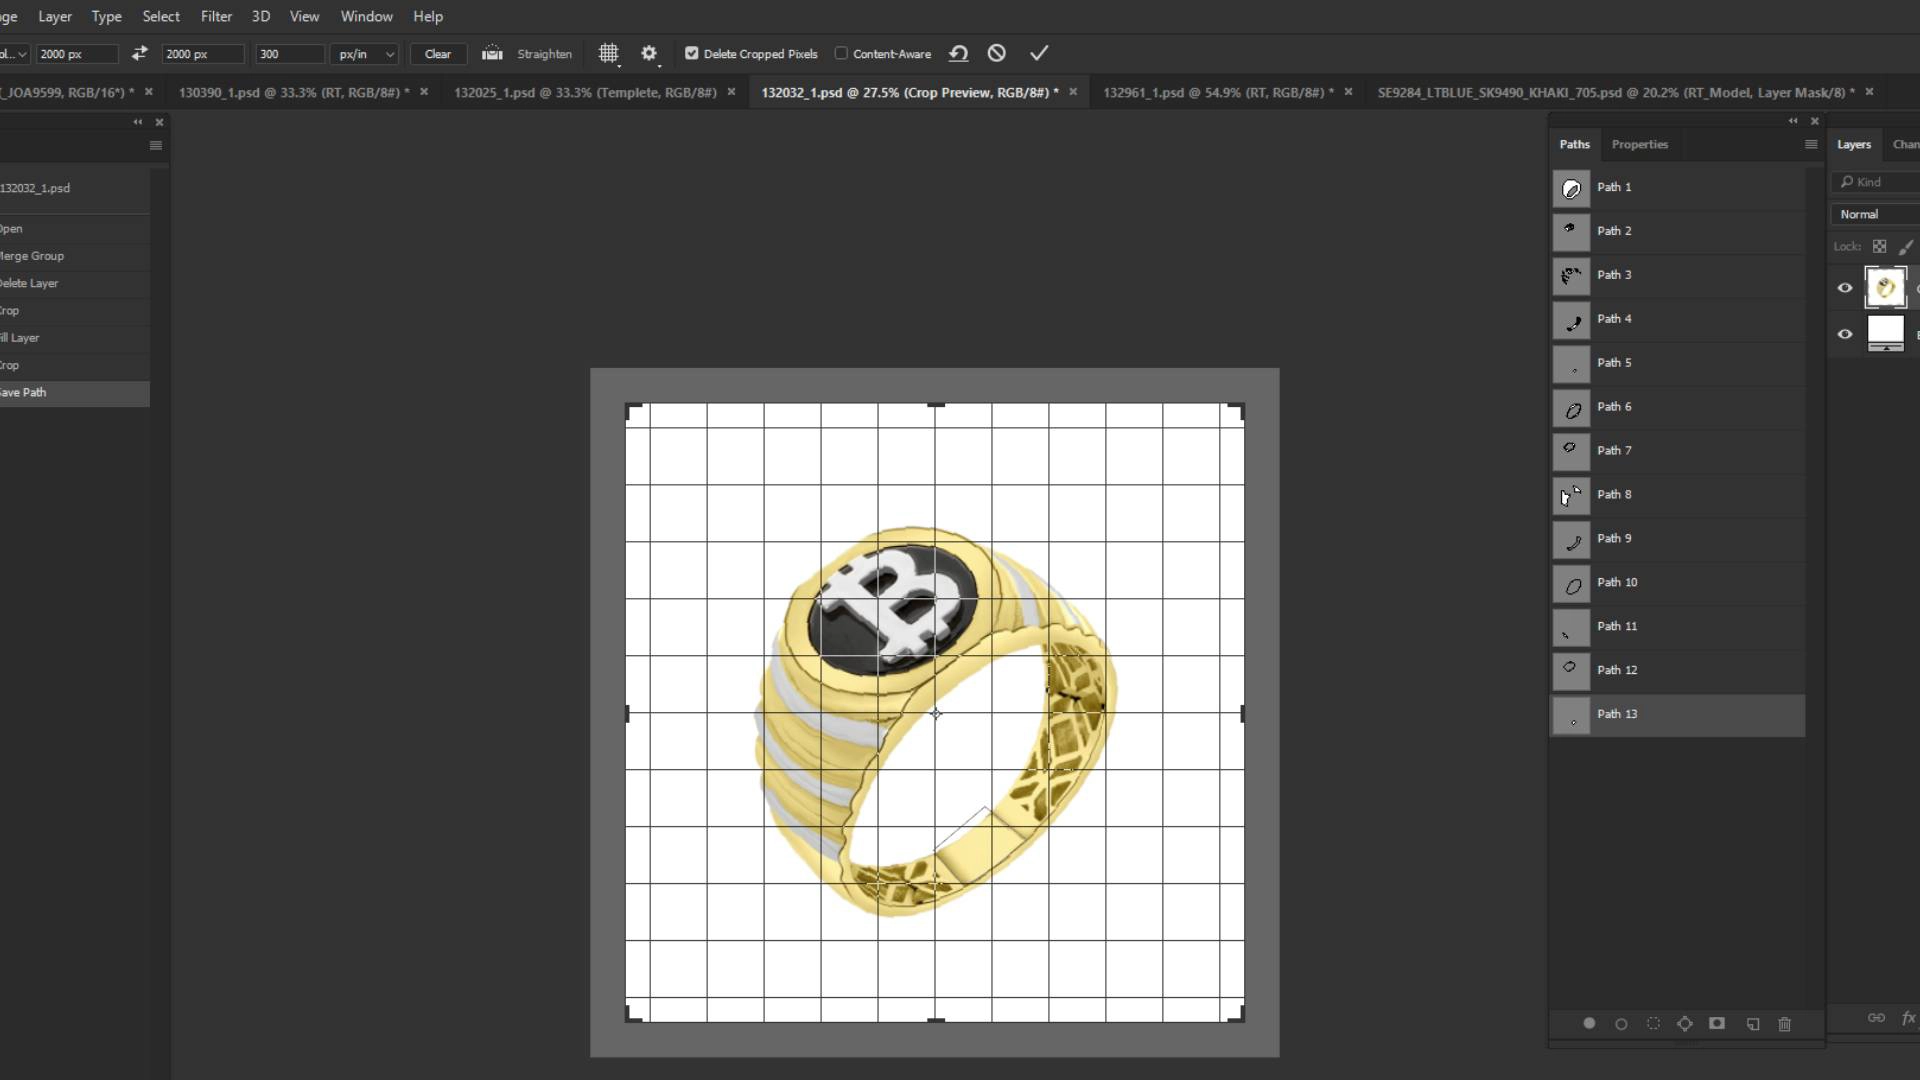
Learning how to crop a layer in Photoshop is an essential skill for photographers, designers, and digital artists. It helps you improve composition, remove unwanted areas, and keep the focus on the main subject. Photoshop cropping techniques are layer-based and support non-destructive editing. Methods like the Rectangular Marquee Tool, Frame Tool, Layer Masks, and Clipping Masks make it easy to crop a layer in Photoshop effectively.
Understand Cropping a Layer in Photoshop
To crop effectively in Photoshop, it is very important to understand how layers work. We should remember that layers function like transparent sheets stacked on top of one another. Using Photoshop tools, each layer can be edited independently, which means you can move, resize, or modify specific elements without affecting the rest of the image. Through a layer-based structure, parts of an image can be hidden instead of permanently deleted. When you crop a layer in Photoshop, the original image data remains intact, and project management becomes easier.
The standard Crop Tool usually affects the entire canvas and all visible layers at the same time. However, to crop a specific layer while keeping flexibility for future edits, you can use layer masks, clipping masks, the Frame Tool, or selection tools. These techniques allow you to define clear boundaries, hide unwanted areas, and adjust or re-crop later, ensuring better control and professional editing results.
How to Crop with Photoshop Rectangular Marquee Tool
The Rectangular Marquee Tool is one of the simplest ways to crop a layer.
- Select the Layer: Click on the layer you want to crop from the Layers panel. This ensures that changes are applied only to that specific layer.
- Select the Tool: Choose the appropriate tool from the toolbar depending on the type of cropping you need. For square or rectangular selections, select the Rectangular Marquee Tool, which is best for straight-edged crops.
- Select the Required Area: Click and drag your mouse over the part of the image you want to keep. The area outside this selection will be removed in the next steps.
- Invert the Selection: Go to Select > Inverse from the top menu or use the shortcut Ctrl+Shift+I (Windows) / Cmd+Shift+I (Mac). This selects the unwanted outer area instead of the main subject.
- Delete the Unwanted Area: Press the Delete or Backspace key on your keyboard. This removes the selected outer portion and leaves a transparent background around the cropped area.
- Deselect the Selection: Finally, go to Select > Deselect or press Ctrl+D / Cmd+D. This removes the selection border and completes the cropping process.
How Do You Crop a Layer in Photoshop Using the Frame Tool
The Frame Tool is the easiest and most beginner-friendly method for cropping layers. This tool allows you to crop a layer non-destructively by creating a shape-based frame for your content. Here’s how to do it step by step:
- Activate the Frame Tool: Press K on your keyboard or select the Frame Tool from the toolbar to get started.
- Select the Frame Shape: In the Options Bar, choose the frame shape you want. Use a rectangle for standard crops or an ellipse for circular crops. Hold Shift while drawing an ellipse to make a perfect circle.
- Draw the Frame on Your Image: Click and drag over the area you want to crop. Hold the Spacebar while dragging to move the frame around before placing it. Release the mouse to finalize the frame placement.
- Add or Place Content (If Needed): If your frame is empty, drag an image from your computer or library into the frame. Photoshop will automatically convert it to fit within the frame.
- Adjust the Crop:
- To move or resize the image inside the frame, select the layer thumbnail in the Layers panel and use the Move Tool (V) or Free Transform (Ctrl/Cmd+T).
- To change the frame’s size or shape, select the frame thumbnail and adjust the corners or use Free Transform.
- Finalize Edits (Optional): Photoshop automatically converts layers in frames to Smart Objects, so edits remain non-destructive. To finish, you can delete the frame or create a new frame around the layer using Layer > New > Frame from Layer.
Cropping a Layer in Photoshop Using Layer Mask
Layer Masks are one of the most powerful ways to crop a layer without deleting pixels. Layer masks let you “crop” a layer without deleting pixels, keeping your edits fully reversible. You can hide unwanted areas by painting black on the mask and reveal them again with white, allowing for precise adjustments at any time.
- Select the Layer: In the Layers panel, click the layer you want to crop to make it active. Only this layer will be affected by the mask.
- Add a Layer Mask: Click the Add Layer Mask icon at the bottom of the Layers panel (a rectangle with a circle inside). This creates a mask linked to your layer.
- Make a Selection: Use a selection tool such as the Rectangular Marquee Tool (M) or Elliptical Marquee Tool to mark the area you want to keep visible.
- Invert the Selection (Optional): To hide the selected area instead, go to Select > Inverse or press Shift+Ctrl+I (Windows) / Shift+Cmd+I (Mac). Now, everything outside your original selection will be affected.
- Paint on the Mask:
- Make sure the layer mask thumbnail is active (it will have a white border).
- Set the foreground color to black and paint over areas you want to hide.
- Switch to white to reveal any areas you accidentally hide, giving you full control.
- Adjust Later if Needed:
Since the pixels are not deleted, you can always refine the crop by painting black or white on the mask. This method allows precise and flexible cropping without losing image data.
Method 4: Using Clipping Mask (Shape-Based Crop)
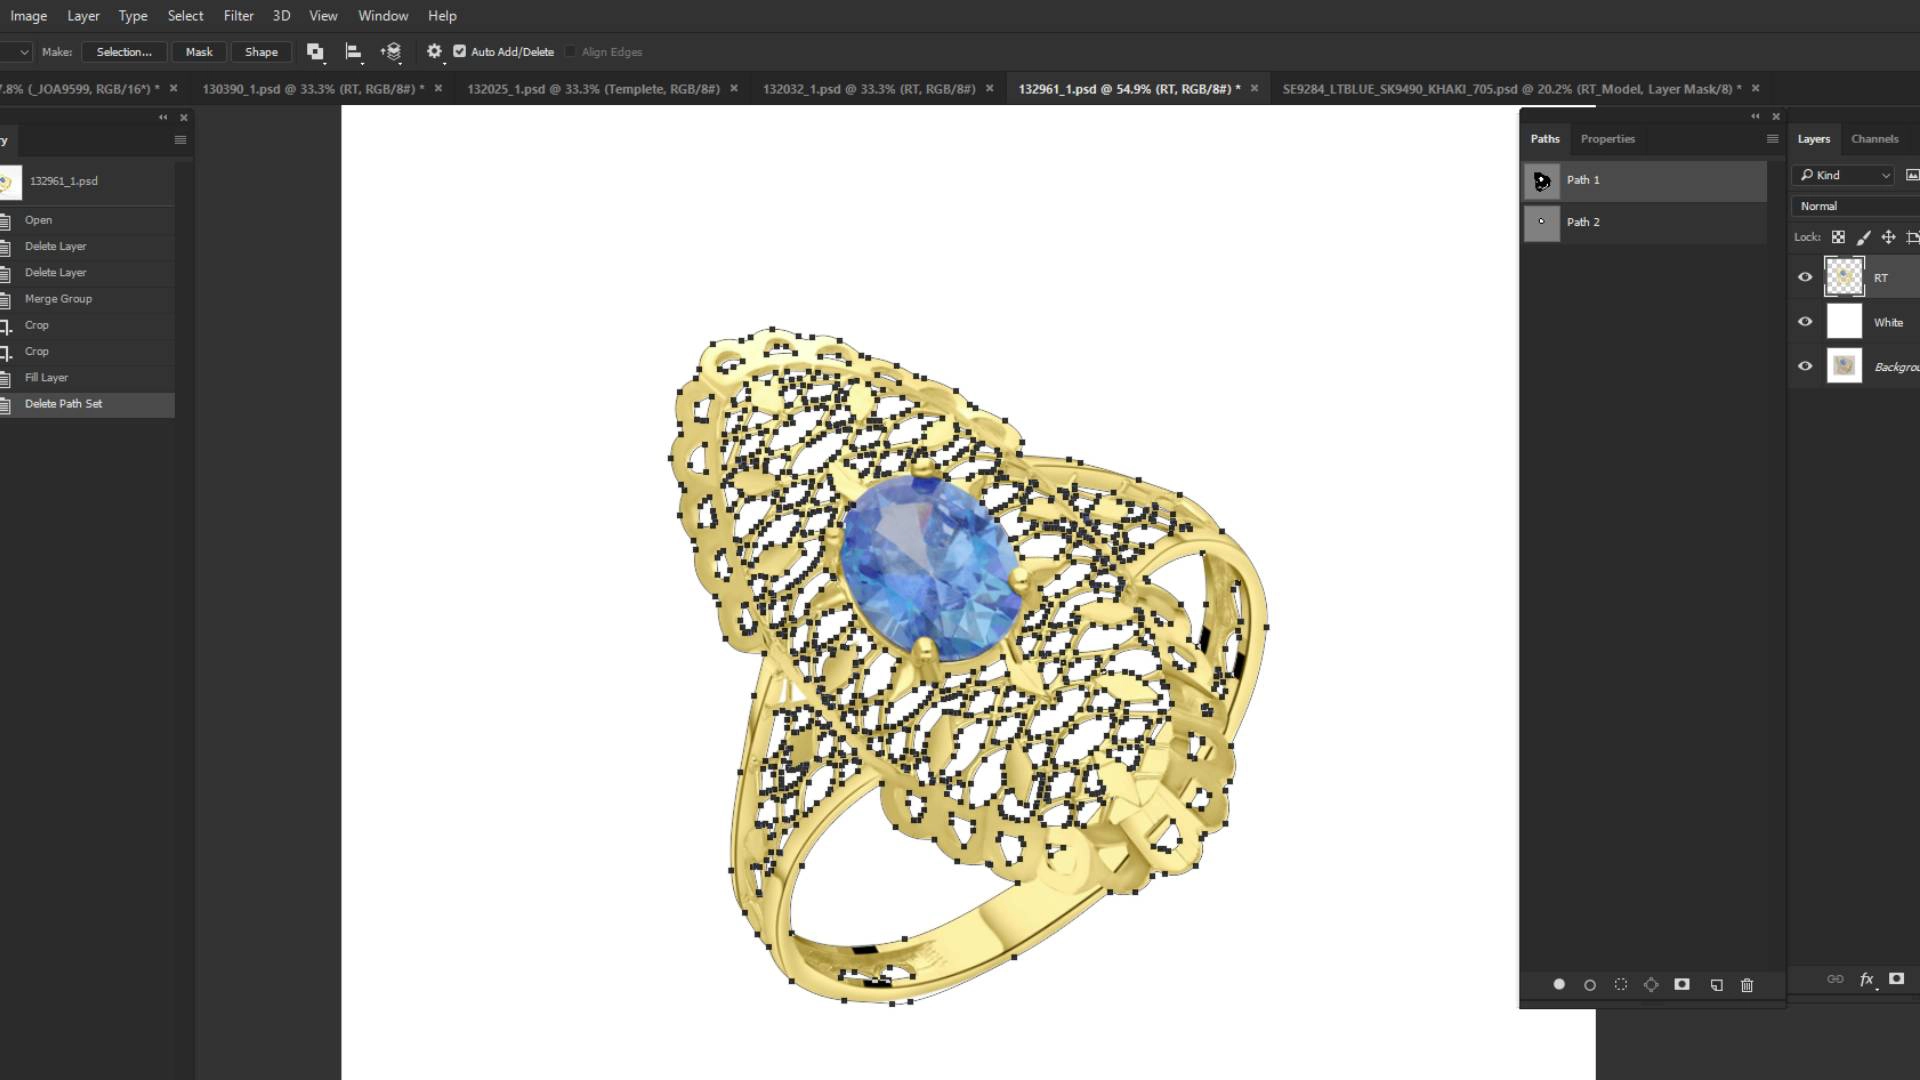
Clipping Masks allow you to crop an image into a specific shape. Clipping masks allow you to crop a layer based on the shape of another layer. This is perfect for creating custom shapes or non-rectangular crops.
- Open Your Image: Open the image you want to crop in Photoshop and make sure it’s on its own layer.
- Create a Shape Layer: Add a new layer above your image layer. You can do this by clicking the New Layer icon in the Layers panel or via Layer > New > Layer from the top menu.
- Draw the Crop Shape: Use a shape tool such as the Rectangle Tool, Ellipse Tool, or Custom Shape Tool to draw the desired shape on the new layer. This shape will define the visible area of your image.
- Create the Clipping Mask:
- Right-click the shape layer in the Layers panel and select Create Clipping Mask.
- Or, hold Alt (Windows) / Option (Mac) and click between the shape layer and the image layer in the Layers panel. A small downward arrow will appear, indicating the clipping mask is active.
- Now, the image will only show within the boundaries of the shape layer.
- Adjust the Image and Shape:
- Move the Shape: Use the Move Tool (V) to reposition the shape and change the visible portion of the image.
- Move the Image: Select the image layer and move it within the shape to adjust which part is visible.
- Edit the Shape: Use the Direct Selection Tool (A) to modify individual points on the shape for precise control.
More Advanced Ways to Crop in Adobe Photoshop
Make More Precise Crops Using Layer Edits
You can use Layer Masks for non-destructive shaping. The Frame Tool is best for container-based cropping. When these methods are combined with selection tools like the Pen Tool or Quick Selection, even complex shapes can be cropped. You can use this method for layer cropping that does not lose the original image data, giving you complete control.
Create a Blended Crop
To crop a layer in Photoshop using a blended approach, first use advanced selection tools (like AI selection, Channels, or the Pen Tool) to isolate the subject. For complex areas like hair, add a layer mask and use black/white brushes on the mask to smooth the edges. Using blend modes (like Overlay or Soft Light) helps the subject and background merge naturally. Adjustment layers (Curves, Hue/Saturation) are used to match colors and brightness with the new background. Applying the mask or flattening the image finalizes the crop, but keeping it non-destructive is always safer and more convenient.
Crop Using Complex or Geometric Shapes
Photoshop also allows cropping with complex or geometric shapes using Custom Shape Tools and vector masks. This technique is ideal for creative projects, posters, and branding designs. It gives your images a modern and visually engaging look.
Final Thoughts
Mastering how to crop a layer in Photoshop opens the door to endless creative possibilities. Advanced methods like Layer Masks, Frame Tool, or Clipping Masks give you precise control over your image. Choosing the right cropping technique helps improve composition, highlight key elements, and maintain flexibility for future adjustments.