


Product packshot photography helps show a product in a clean and simple way. Online customers depend on photos to understand the product’s shape, color, size, and details.
A good packshot can make a product look more professional. It can also help customers trust the product more. Proper lighting, a clean background, and ecommerce photo editing can make the final image clearer and more polished.
In this blog, we will discuss product packshot photography in detail. We will explain why it matters for eCommerce. We will also cover lighting, background, lenses, cameras, angles, useful tips, and pricing.
What is Product Packshot Photography?
Product packshot photography is a style of product photography where the main focus stays only on the product. The goal is to show it in a clean and simple way without distractions. In most cases, these photos use a plain background so buyers can clearly see the shape, color, and details.
This type of product image photography is widely used in online stores and ads. It helps customers understand what they are buying. A well-done packshot makes the product look more professional and easier to trust, which can improve how people respond to your listings.
Why Product Packshot Photography is Important for eCommerce
Product packshot photography is important for eCommerce because buyers cannot see or touch the product in real life. They depend on images to understand the size, color, shape, and details. If the image looks dull or unclear, many people lose interest quickly. This is why product photos can affect buying decisions.
Good ecommerce product photography helps present products in a clean and clear way. It makes product listings look more professional and easier to trust. Product retouching also plays an important role here. It helps remove dust, spots, shadows, and small flaws from the image.
When product photos look clean and consistent, buyers feel more confident while browsing. This can improve clicks, build trust, and increase conversion. Even small changes in image quality can make a noticeable difference in sales.
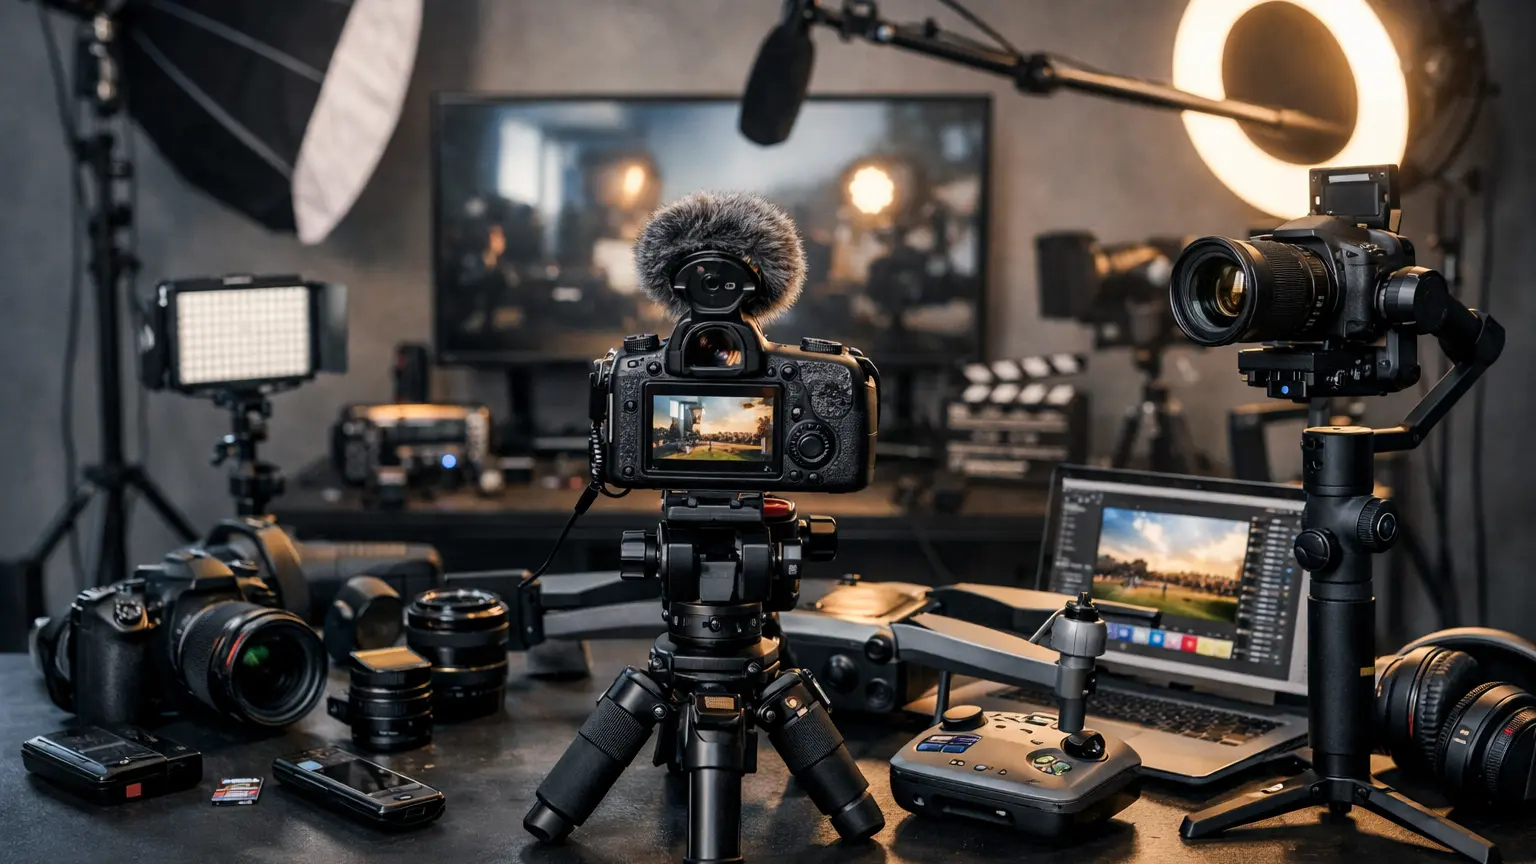
Product Packshot Photography Setup
Lighting Setup for Product Photography
Lighting is one of the most important parts of product packshot photography. Without proper product photography lighting, even a good product can look dull or unclear. Soft lighting works best in most cases because it reduces harsh shadows and keeps the image clean. Many photographers use softboxes or diffused light to get a balanced look. Natural light can also work, but it needs control. The goal is to show the product clearly without strong highlights or dark areas. Good lighting helps bring out real colors and fine details, which makes the image more appealing.
Background for Product Packshot Photography
The background plays a big role in how the product looks. In most cases, white background product photography is the best choice because it keeps the focus on the product. A clean background removes distractions and makes the image look more professional. This is why many online stores prefer simple backgrounds. However, light gray or soft tones can also work if they match the product. The key is to keep everything clean and consistent. A good background helps highlight the shape, color, and details, which makes the product easier to understand.
Best Lenses for Product Packshot Photography
A proper product photography setup helps you get clear and sharp images. Choosing the right lens is very important for product photography. The lens affects how sharp and clear your images will look. A good lens makes your product appear professional and attractive. A poor lens can blur details or distort shapes. In this guide, I will explain the best types of lenses for packshot photography.
1. Macro Lenses – Perfect for Small Details
Macro lenses are ideal for photographing small products. They let the camera focus very close to the product. This helps you capture fine details and textures. Macro lenses are perfect for items like jewelry, watches, small gadgets, or labels on bottles. The most common focal lengths are 90mm to 100mm for full-frame cameras. Using a macro lens ensures that even tiny products look sharp and professional.
2. Prime Lenses – Sharp and Clear
Prime lenses have a fixed focal length. They cannot zoom in or out, but they produce very sharp images. A 50mm prime lens shows the product in a natural perspective. This makes it look similar to how the human eye sees it. An 85mm prime lens lets you zoom in slightly. It also separates the product from the background. Prime lenses are reliable and consistent. They are an excellent choice for packshot photography.
3. Zoom Lenses – Flexible and Convenient
Zoom lenses allow photographers to change the focal length without switching lenses. They save time when shooting products of different sizes. Zoom lenses are convenient for sessions that include both small and large items, such as accessories and shoes. High-quality zoom lenses can produce very sharp images. They are a practical choice for photographers who need both flexibility and speed.
4. Avoid Wide-Angle Lenses
Wide-angle lenses, like 24mm or 35mm, are not recommended for product packshots. They can distort the shape of the product. Wide-angle lenses stretch the edges, making the product look unnatural. For most packshots, it is better to use lenses that keep the correct proportions. This keeps the product looking true to life.
Best Cameras for Packshot Product Photography
When you do packshot product photography, you need a camera that can shoot very sharp, detailed images of still objects. The right camera will help you capture texture, color, and fine details with clarity. Good lighting and a sharp lens matter a lot, but choosing a solid camera body makes the workflow easier and the results better.
1. Sony A7R V — High‑Resolution Full‑Frame Camera
The Sony A7R V is one of the best cameras for product photography if you want extremely high detail and image quality. It has a very high‑resolution full‑frame sensor and produces very detailed images. This camera helps you capture fine texture and tiny details in products like jewelry, electronics, and beauty items. It also works well with many lenses that are great for packshots. Ideal for studio work where precision matters most.
2. Canon EOS R5 — Great All‑Around Camera
The Canon EOS R5 continues to be a strong choice for product photography. It has a 45MP sensor, which gives you plenty of detail for most product shots. It also delivers good color accuracy, so the true colors of your products look accurate in photos. Excellent for studio and commercial product images. A popular choice among photographers who shoot for e‑commerce.
3. Nikon Z7 II — Sharp and Reliable
The Nikon Z7 II is another excellent camera for product packshots. It offers high resolution and sharp image quality, which helps you capture clear details and smooth textures. Its files are flexible in editing software, which makes post‑production easier.
4. Fujifilm GFX 100S — Medium Format for Ultra‑High Detail
If you want the best image quality possible, the Fujifilm GFX 100S is a top choice. It uses a medium‑format sensor, which is larger than full frame. This helps create images with stunning detail and smooth gradients, ideal for luxury product brands, catalog work, or prints.
5. Canon EOS 90D — Great DSLR Option (Budget‑Friendly)
The Canon EOS 90D is a DSLR camera that still holds up well for product photography. It has a good resolution sensor, and it performs well with macro lenses for close‑up shots. This model is a good budget option if you prefer a DSLR body over mirrorless.
What to Consider When Choosing a Camera for Packshot Product Photography
Choosing the right camera is one of the most important decisions you will make for packshot product photography. A good camera helps you capture crisp, clear images that show every detail of your products. Before you buy a camera, think about these key points.
1. Image Resolution Matters
You need a camera with a high enough resolution so your images look sharp and detailed. Higher resolution means more pixels and more detail in the final photo. For product photography, you usually want at least 20 megapixels. This gives you enough detail for online shops and print use. Cameras with 30 megapixels or more are even better because they let you crop images without losing quality.
2. Sensor Size Affects Image Quality
The size of the camera sensor has a big effect on how good your images look. Larger sensors, such as full‑frame or medium‑format sensors, capture more light and richer detail. This helps your product photos look smooth and natural. Medium‑format cameras offer the highest quality, but full‑frame cameras also deliver excellent results while being more affordable.
3. Lens Compatibility Is Important
A camera is only as good as the lenses you use with it. For packshot photography, you rely on lenses that can focus close and produce sharp detail. Make sure the camera you choose has a good selection of lenses that match your needs. Macro lenses and sharp prime lenses are especially useful for packshots. Always check that your camera brand supports these lenses.
4. Stability and Tethering Make Studio Work Easier
In a studio, you often shoot from a tripod and want to control the camera from a computer. Some cameras let you tether, meaning you can connect the camera directly to a computer and see your images instantly. This speeds up your workflow and helps you check details without looking at the small camera screen. If tethering is important to you, choose a camera that supports it.
5. Color Accuracy Helps Your Products Look True
Your camera should capture accurate colors that match what your product really looks like. This matters especially if you sell products online, where customers expect true colors. Some cameras have better color science built in, making your images look natural right out of the camera.
6. Low Noise at Narrow Apertures
For packshot photography, you often shoot with smaller apertures like f/8 or f/11 so the whole product is in focus. Cameras that handle noise well at these settings give you clean images without grain. A camera that performs well in studio lighting conditions will make your workflow easier.
7. Budget and Value
Finally, think about your budget. You can find excellent cameras for product photography at many price points. Professional full‑frame and medium‑format cameras cost more but deliver outstanding quality. Entry‑level and mid‑range cameras still produce great packshots and are easier on your budget. Choose the best camera you can afford, but make sure it meets the basic needs for resolution, sensor size, and lens support.
The Best Angles for Packshot Photography
Straight-On (Eye-Level)
This angle positions the camera directly in front of the product. It shows the product clearly and symmetrically, making logos and labels easy to see. It’s perfect for beverages, boxes, or electronics where the front design matters most.
45-Degree (Three-Quarter View)
The camera is angled slightly from the front and side, usually around 30–45°. This adds depth, making flat products appear more three-dimensional. Ideal for shoes, gadgets, or packaging where multiple sides are worth showing.
Top-Down (Flat Lay)
Here, the camera looks directly down on the product. It works best for thin items like stationery, apparel, or food. For pure packshots, keep the background neutral to avoid distractions.
Low Angle (Hero Shot)
The camera shoots slightly upward at the product. This makes items look larger, dominant, and premium. Great for bottles, tech gadgets, or luxury packaging.
Detail or Close-Up Angle
Focuses on a specific feature such as texture, label, or material. Macro lenses help capture fine details sharply. This angle is especially effective for jewelry, electronics, or textured surfaces.
Angled Overhead (Dynamic Flat Lay)
The camera is above the product but tilted slightly around 20–30°. This adds dynamism while keeping all items visible. Perfect for sets or bundles in e-commerce displays.
Product Packshot Photography Tips
Getting better results in product packshot photography does not always require complex tools. In many cases, small changes can improve your images a lot. One of the most useful product photography tips is to use proper lighting. Good lighting helps show true colors and keeps the image clear. At the same time, keeping the background clean makes sure the focus stays only on the product.
It also helps to pay attention to small details. Dust, scratches, or uneven angles can affect how the product looks. Many beginners ignore this part, but it can make a big difference. Trying simple product photography ideas, like adjusting angles or spacing, can improve the final result. Consistency is also important, especially for online stores. When all images follow the same style, the brand looks more professional and easy to trust.
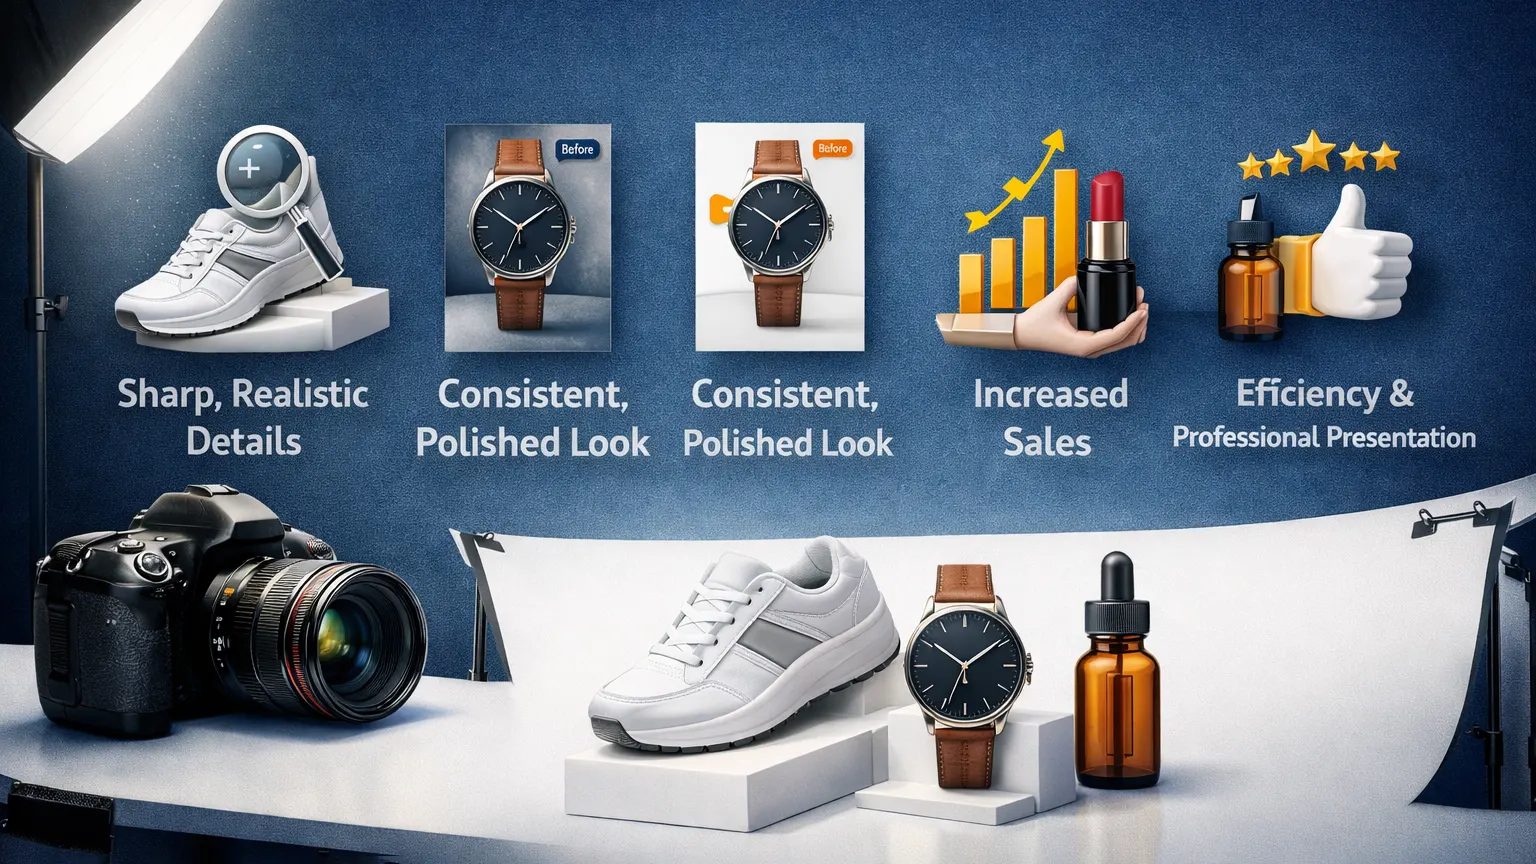
Benefits of Professional Product Packshot Photography
Working with a professional product photography service can change how your products appear online. In many cases, when people try to do everything on their own, the images do not look as clean as expected. Professionals usually know how to control lighting, angles, and small details that are easy to miss. Because of this, the final images often look sharper and more natural.
Another advantage is consistency. When all product photos follow the same style, the store looks more organized and trustworthy. This matters more than most people realize. It also saves time. Instead of spending hours on setup and editing, you can focus on other parts of your business while the images are handled properly.
How Much Does Product Packshot Photography Cost?
Product photography cost can vary quite a bit depending on what you need. In many cases, photographers charge per image, especially for simple packshot work. Basic product shots usually cost less, while more detailed work or editing can increase the price. So, the final cost often depends on how much effort goes into each image.
If you have many products, bulk pricing is often available. Many product photography services offer lower rates when you book larger projects. There are also a few factors that affect cost, such as lighting setup, background style, editing level, and delivery time. Sometimes paying a bit more gives better quality, which can help your product stand out.
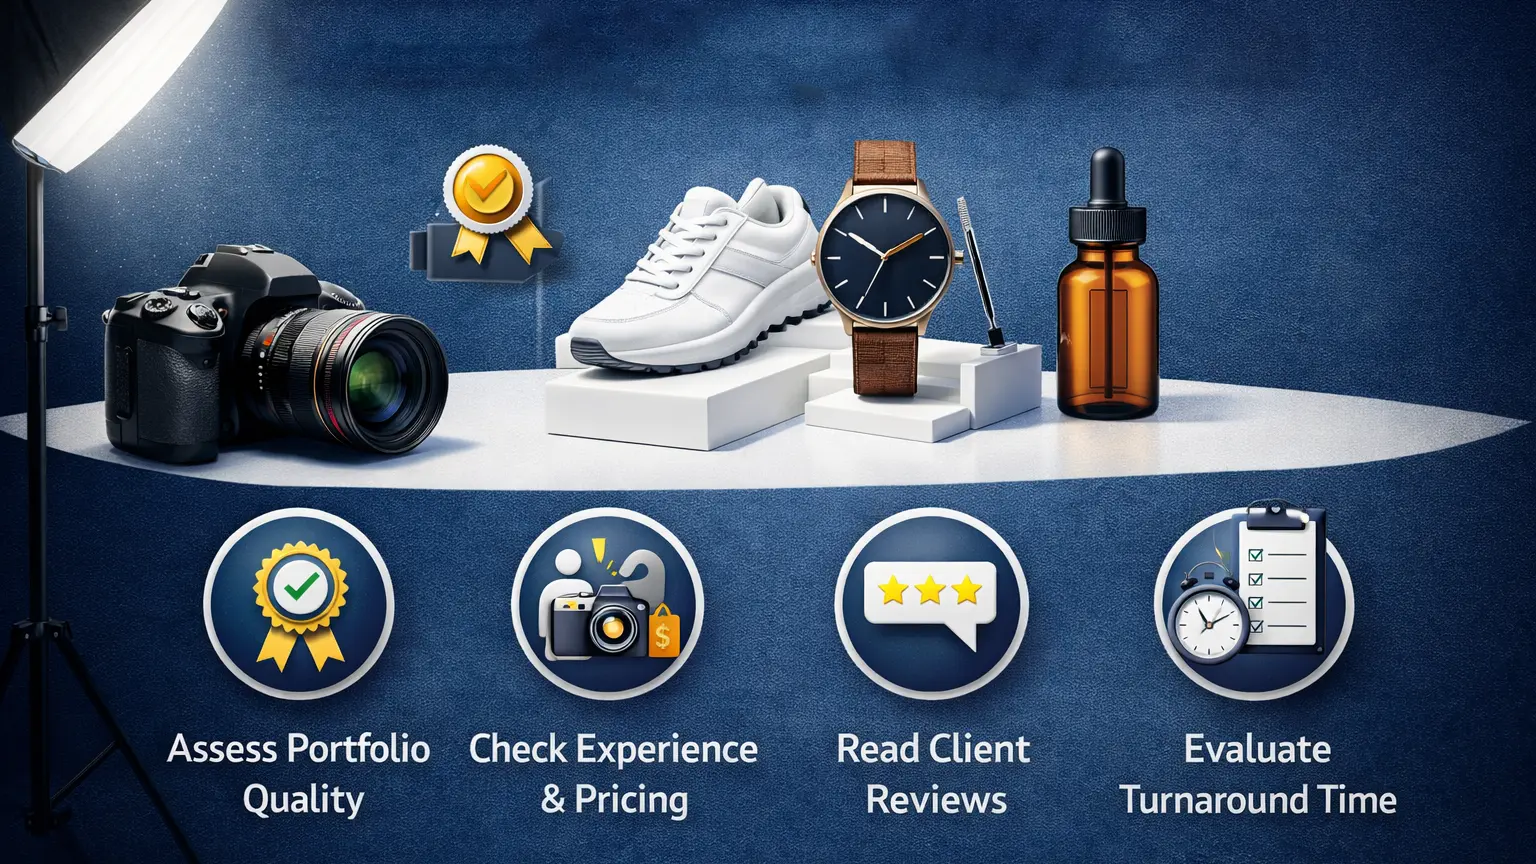
How to Choose the Best Product Photography Service
Finding the right product photography service is not always easy. There are many options, and at first, most of them look similar. One simple way to decide is to check their portfolio. It shows how they handle lighting, background, and product details. This often tells more than any written promise.
Pricing also matters, but going for the cheapest option is not always a good idea. In some cases, low cost means lower quality. It is better to look at overall value. Turnaround time is another thing to consider, especially if you work with deadlines. Good communication also makes a difference. When a service understands your needs clearly, the final result usually turns out better.
Conclusion
When it comes to selling products online, images play a bigger role than many expect. Most people look at the photo first, and only then decide if they want to know more. So if the image does not look right, they may leave without thinking twice.
That is where product packshot photography becomes useful. It helps present the product in a simple and clear way. You do not need a perfect setup in the beginning. Even small improvements in your images can slowly change how people respond. Over time, better visuals can make your store look more reliable and easier to trust.
Frequently Asked Questions
What is product packshot photography?
Product packshot photography is mainly about showing a product in a simple and clean way. Most of the time, the background stays plain so nothing distracts from the product. This helps people understand what they are looking at without confusion. You will often see this style in online stores where clarity matters more than creativity.
What is the best lighting for product photography?
Lighting can change how a product looks more than people expect. Soft light usually works better because it avoids strong shadows. Some prefer using softboxes, while others use natural light near a window. There is no single rule, but the aim is always the same — keep the product clear and natural.
How much does product photography cost?
The cost is not always fixed. It depends on how simple or complex the shoot is. A basic packshot may cost less, but detailed setups or editing can increase the price. Some services charge per image, while others give better rates for larger batches. It really comes down to what you need.
Can I do product photography at home?
Yes, and many people start this way. You do not need a full studio in the beginning. A clean surface, decent lighting, and a steady camera can already give good results. It may not look perfect at first, but with a bit of practice, things improve quickly.
Why is product photography important for eCommerce?
In online shopping, images do most of the work. People cannot touch or test the product, so they rely on what they see. If the photo looks clear and honest, it builds trust. If not, they move on. That is why good product images often make a bigger impact than expected.


