

The Orton Effect is one of those techniques that can completely change the mood of a landscape image. Done well, it adds a soft, glowing, dreamy look that pulls the viewer into the frame. Done badly, it turns everything into a blurry, low-contrast mess.
In this article, you’ll learn exactly what the Orton Effect is, when to use it, and how to create it step by step in Photoshop with full control, plus some common pitfalls to avoid.
What Is the Orton Effect?
The Orton Effect was originally created by photographer Michael Orton in the 1980s. In the film days, he used two different exposures of the same scene:
- One image: sharp and correctly focused
- The other: intentionally out of focus and often overexposed
He then blended the two slides together to create one image that looked both sharp and soft at the same time. This gave the photo a glowing, dreamy, almost painting-like feel.
In digital editing, we recreate that same idea in Photoshop using layers, blur, blend modes, and masks. The basic concept is:
Take a sharp image > create a blurred, bright version > blend them together > control where the glow appears.
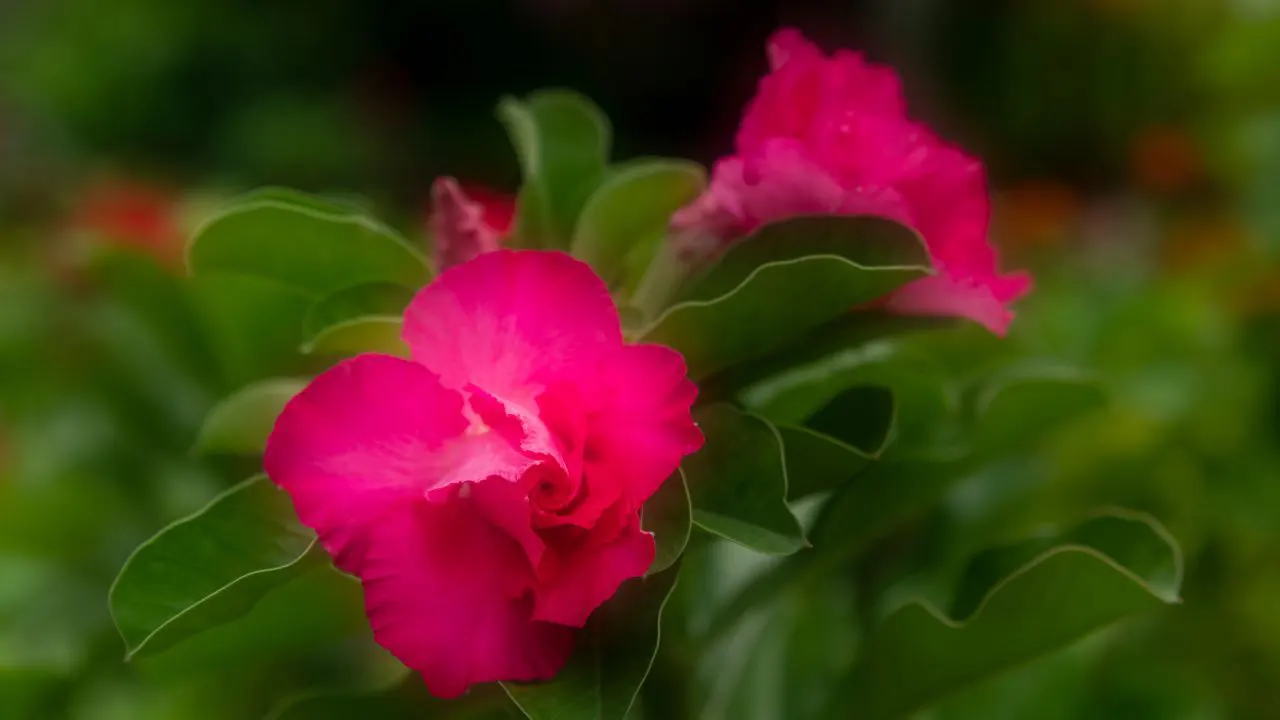
The result is a dreamy, luminous atmosphere, especially in landscapes with soft light, mist, or richly layered foliage.
When Is the Orton Effect Useful?
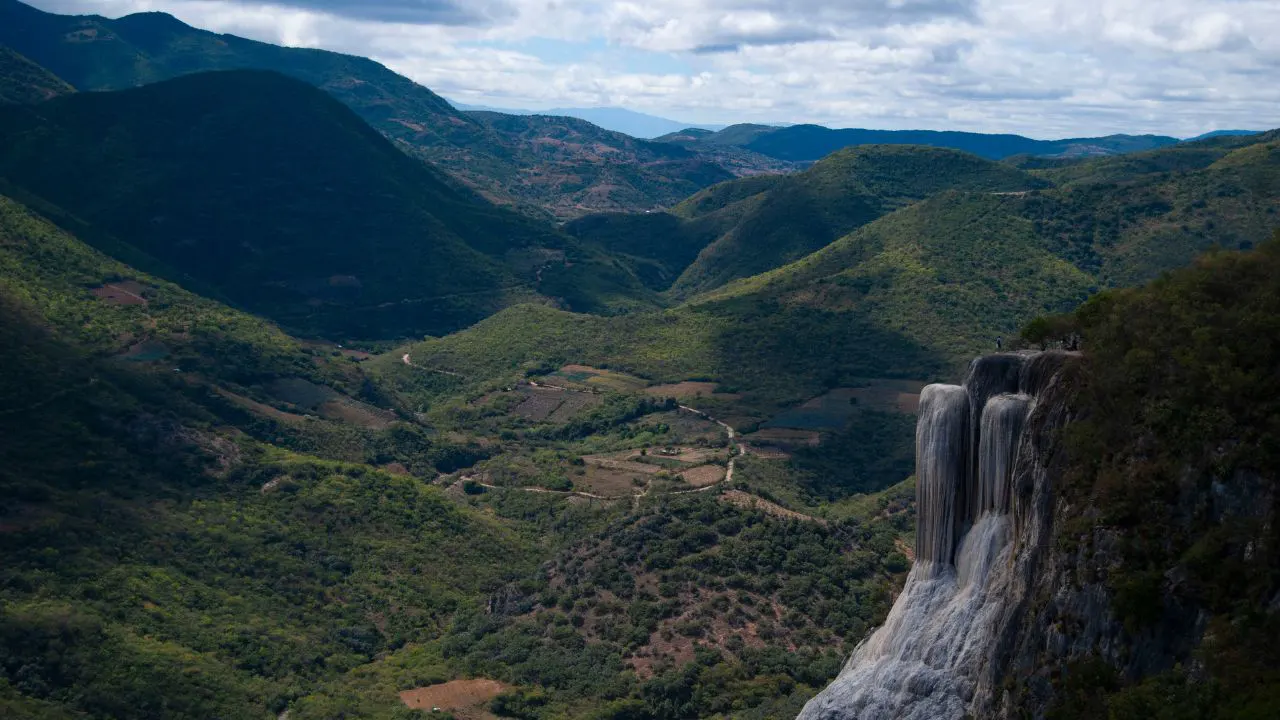
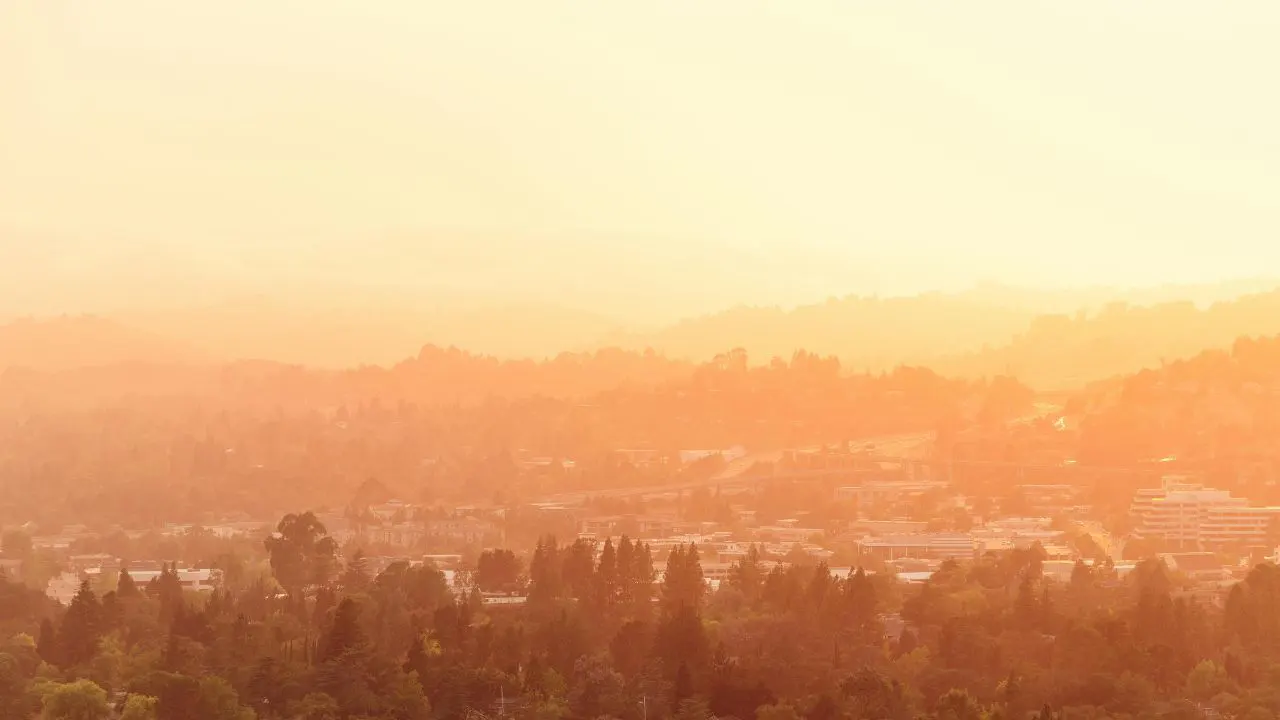
The Orton Effect isn’t right for every photo, so knowing when to use it is just as important as knowing how it works. This effect looks especially good in forests, foggy mornings, warm sunrise or sunset scenes, valleys with lots of depth, and places where waterfalls or greenery create a soft atmosphere. In these situations, the Orton Effect can add depth, make the light feel more alive, give highlights a gentle glow, and simplify busy textures in nature.
However, it usually doesn’t work well in harsh midday light, extremely contrasty scenes, city architecture with lots of sharp lines, or portraits where you want clear details in the face. If you use the Orton Effect everywhere, you can easily lose structure, contrast, and clarity. The best results happen when the effect is used carefully and only in the parts of the image that truly benefit from it.
How to Create the Orton Effect in Photoshop
Here’s a complete Orton Effect tutorial you can follow in Photoshop. You can easily adjust the settings and values to match your image and creative style.
Step 1 – Prepare Your Base Image
Start with a well-processed base image. Ideally, you’ve already done:
- Basic exposure, contrast, and color correction (in Lightroom or Camera Raw)
- White balance correction
- Lens corrections and basic noise reduction
Open this base image in Photoshop. This will be the foundation that everything else builds on.
Step 2 – Duplicate the Background Layer
To keep your original safe, work on a duplicate layer.
- In the Layers panel, select your background layer
- Press Ctrl/Cmd + J to duplicate it, or
- Drag the layer onto the “+” icon at the bottom of the Layers panel
Rename this new layer to something like “Orton Blur” so you know what it does.
Step 3 – Apply Gaussian Blur
Now you’ll create the soft, glowing base for the effect.
- Make sure the “Orton Blur” layer is selected.
- Go to Filter > Blur > Gaussian Blur.
- Choose a Radius value, typically somewhere between 20 and 40 pixels for most modern cameras.
- Lower radius = more subtle blur
- Higher radius = stronger, more diffused glow
You don’t want to recognize details anymore on this layer; it should look quite soft and blurry. That’s fine, we’re going to blend it back with the original.
Step 4 – Increase Brightness and Contrast
The classic Orton look is not just soft; it’s also bright and glowing in the highlights.
With the blurred layer still active:
- Go to Image > Adjustments > Brightness/Contrast.
- Increase Contrast significantly (e.g., +60 to +100).
- Increase Brightness gently until highlights start to “bloom” a little.
You might think it looks overdone at this stage, but that’s OK. We’re going to tone it down with blend modes and opacity.
Step 5 – Change the Blend Mode
Now we combine the blurred, brightened version with the original sharp image.
In the Layers panel:
- Change the blend mode of the “Orton Blur” layer from Normal to Soft Light.
Soft Light is usually the best starting point because it:
- Adds contrast
- Adds glow
- Feels natural and not too harsh
If you want a stronger, punchier effect, you can also experiment with Overlay or Screen, but these can get aggressive quickly and may require lower opacity.
Next, reduce the Opacity of the “Orton Blur” layer until the effect looks pleasant:
- A common range is 10%–30%
- For very subtle edits, you might end up around 15%–20%
Step 6 – Apply the Effect Mostly to Highlights
One of the biggest problems with bad orton photoshop effects is glow in the shadows, which makes the image look muddy and flat. To avoid this, we’ll limit the effect to the brighter tones.
- Open the Channels panel (Window > Channels).
- Hold Ctrl/Cmd and click on the RGB thumbnail.
This creates a selection based on highlights (a basic luminosity selection). - Go back to the Layers panel.
- With the “Orton Blur” layer selected, click the Layer Mask icon at the bottom.
Now, the Orton Effect is applied primarily to the brighter parts of the image where glow naturally belongs.
If needed, you can refine the mask by:
- Painting with a soft black brush on the mask to remove glow from unwanted areas (like foreground rocks or detailed textures).
- Painting with white to bring it back in specific areas (like misty trees or clouds).
Step 7 – Restore Details with High Pass Sharpening
The blur introduces mood, but it also reduces clarity. To keep your image from looking too soft, you can bring back some detail with a sharpening layer.
- Select your original base layer again.
- Press Ctrl/Cmd + J to duplicate it.
- Drag this new layer to the top of your layer stack.
- Go to Filter > Other > High Pass.
- Set the Radius to around 1–3 pixels, depending on resolution and how much sharpening you want.
- Click OK.
- Change the blend mode of this High Pass layer to Soft Light (or Overlay for a stronger sharpening effect).
This adds crispness and texture back into the scene, while still letting the Orton glow live underneath.
For extra control, you can also:
- Add a mask to the sharpening layer
- Paint out sharpening from sky or very smooth areas, and keep it in rocks, trees, and other detailed subjects
Step 8 – Fine-Tune and Balance the Effect
At this point, you’ve built the full Orton workflow. Now it’s time to fine-tune.
- Group your Orton-related layers (the blurred layer and its mask) into a folder (select them > Ctrl/Cmd + G).
- Adjust the Group Opacity to control the overall strength of the effect.
- Zoom out and look at the image as a whole. Does the glow filter feel natural, or is it over the top?
The best Orton Effects are often the ones viewers don’t notice as a “special effect” they just feel the mood.
Common Mistakes to Avoid
Even experienced photographers sometimes push the Orton Effect too far, which can weaken the impact of an otherwise strong image. To keep the final result clean and professional, here are some common mistakes you should avoid.
Too much blur: Using an excessive blur radius makes the entire image look out of focus and unrefined. This causes important details to disappear, making it hard for the viewer to understand where the image is supposed to be sharp.
Applying glow to shadows: Adding glow to shadow areas destroys depth and flattens the tonal structure. As a result, the photo may look muddy, dirty, or artificially foggy.
Excessive brightness: Increasing brightness too much will blow out highlights and remove delicate detail. This creates harsh, washed-out areas that distract from the overall composition.
No sharpening afterward: If you skip sharpening once the glow is added, the image may appear soft and lifeless. Important textures won’t stand out, reducing the photograph’s clarity and impact.
Very high opacity: Using high opacity makes the Orton Effect look like a heavy filter rather than a subtle enhancement. Instead of a gentle soft glow, the image becomes overly hazy and unnatural.
Conclusion
The Orton Effect Photoshop action is a powerful, creative tool for landscape photographers who want to add atmosphere, forest glow, and a painterly mood to their images. With a careful workflow, blur, brighten, blend, mask, and sharpen, you can control the effect precisely and avoid the common problems of muddiness and over-softness.
Once you’re comfortable with the basic steps, you can start customizing: different blur amounts, different blend modes, stronger masks, or selective application only in the background or mid-ground.
Used with intention and subtlety, the Orton Effect can turn a good landscape into a truly memorable, emotionally powerful image.


