

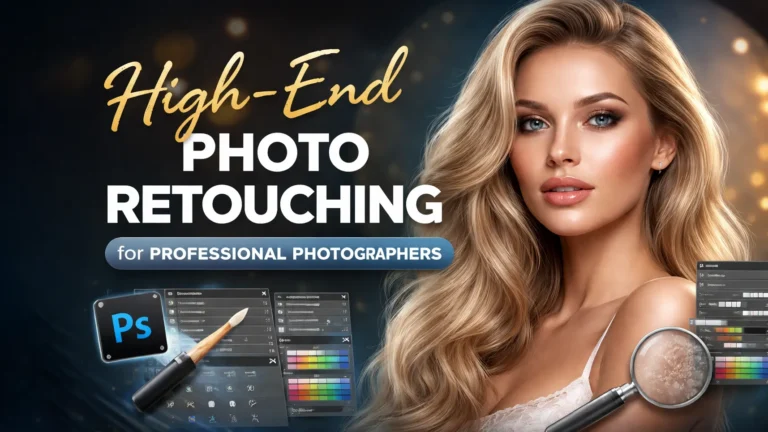
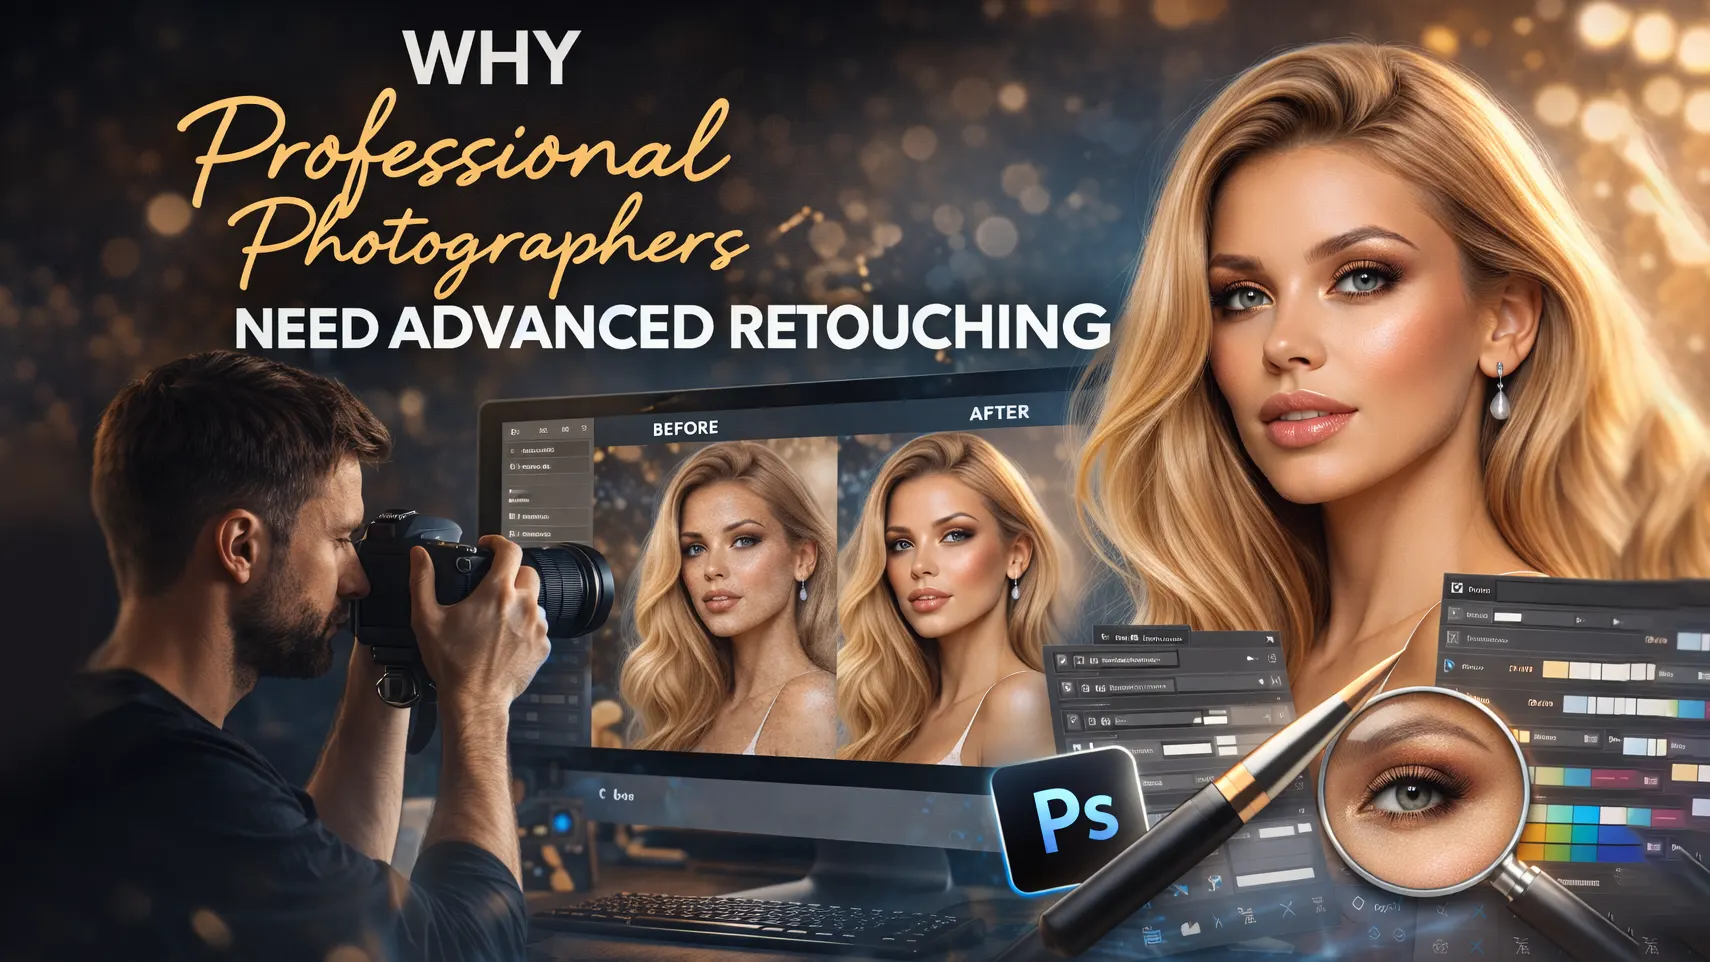
High-end photo retouching is more than basic photo editing. It is a detailed process that helps create clean, polished, and professional images. Instead of simply removing spots or smoothing skin, this method keeps natural texture while improving light, color, and overall balance. Because of this, many professional photographers use photo retouching for fashion, beauty, commercial, and portrait work.
In this article, we will explore high-end photo retouching guide like frequency separation, dodge and burn, and professional Photoshop retouching methods. We will also look at simple workflows that help you deliver high-quality results without losing a natural look. By the end, you will understand how to improve your photo retouching services and create images that truly stand out.

What Is High-End Photo Retouching?
High-end photo retouching is a professional editing process that improves an image without destroying its natural details. It goes beyond basic photo editing. Instead of applying quick filters or heavy blur, it focuses on precision, texture, and clean finishing. Because of this, it is widely used in fashion photography, beauty campaigns, commercial photo retouching, and premium portrait retouching.
Basic Editing vs High-End Retouching
Basic editing usually includes simple adjustments. For example, photographers may correct exposure, adjust white balance, crop the image, or add a preset. These steps improve the overall look. However, they do not fix detailed skin texture, uneven lighting, or small distractions.
On the other hand, high end photo retouching works at a deeper level. It involves advanced photo editing techniques like frequency separation, dodge and burn, and precise skin retouching techniques. Instead of removing texture, the editor keeps the natural skin detail. As a result, the final image looks clean but still realistic. Therefore, professional photo editing always focuses on balance rather than heavy smoothing.
What Is Non-Destructive Editing?
Non-destructive editing means you do not damage the original image file. In other words, every change stays adjustable. Editors use layers, masks, and smart objects in Photoshop retouching to keep full control.
For example, if a client requests changes later, you can easily modify the edits. Because of this flexibility, non-destructive editing is a key part of image retouching services. It also helps maintain quality, especially in high-resolution commercial images.
Why High-End Retouching Requires More Time and Skill
High-end retouching takes more time because it focuses on small details. The editor carefully adjusts light and shadow, fixes color tones, and cleans skin without losing texture. In addition, each area of the image may need separate attention.
Moreover, advanced skills are required to keep the photo natural. Over-editing can quickly ruin a professional image. This High-end photo retouching guide highlights how balance creates valuable, professional results.
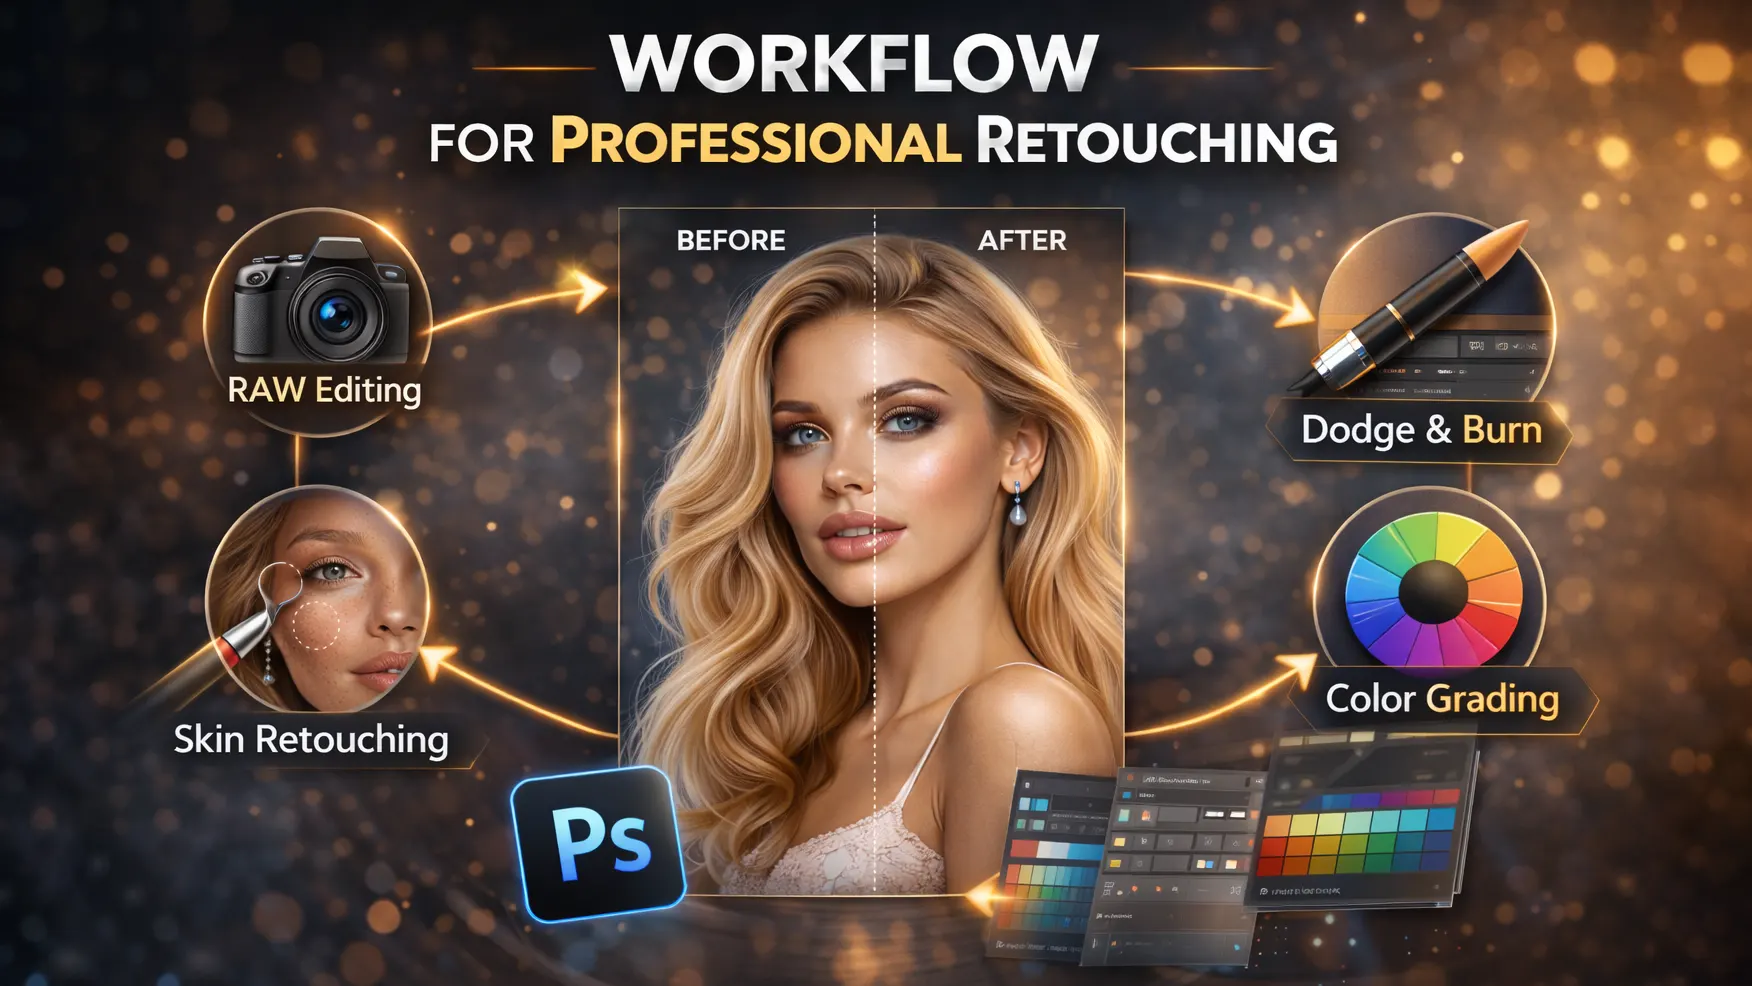
Step-by-Step High-End Photo Retouching Guide
A clear workflow helps you save time and maintain quality. Without a proper system, editing can become messy and inconsistent. Therefore, professional photographers follow a structured process for high end photo retouching. This approach ensures clean, natural, and repeatable results.
Raw Photo Preparation (Before Retouching)
Raw preparation means you fix the basic look of an image before you start retouching in Photoshop. This RAW files give you more control over color, light, and detail. At this stage, don’t try to create the final look. Just build a clean, balanced base image. Always begin with the RAW file. RAW images contain more detail and dynamic range than JPEG files. Most professionals use Lightroom or Adobe Camera Raw to prepare the image before moving to Photoshop retouching.
Next, apply basic corrections. Adjust exposure, white balance, contrast, and overall color tone. In addition, fix lens distortion or cropping if needed.
White Balance
These steps create a balanced base image. White balance controls the overall color temperature of the image. If the image looks too yellow, orange, blue, or green, skin tones will look wrong. Fix the white balance first so the skin looks clean and natural.
Exposure
Exposure controls how bright or dark the image looks. If the image is too dark, you lose details in skin, hair, and clothes. If it’s too bright, highlights lose detail. Keep the exposure balanced so you can see everything clearly.
Highlight Recovery
Highlights are the brightest parts of the image, like the forehead, nose, cheeks, or white clothing. If highlights look too bright, you lose detail in those areas. Use highlight recovery to bring back that lost detail.
Shadow Detail
Shadows are the darker areas, like under the chin, in the hair, or in the background.
Make sure shadows don’t turn fully black. You want to keep some detail. But don’t push shadows too much, or the image will look flat or noisy.
Lens Correction
Lens correction fixes problems caused by the camera lens. Sometimes the lens bends or stretches parts of the image. It can also darken the corners. Fix these issues early so the image looks natural and clean.
Chromatic Aberration
Chromatic aberration shows up as purple, green, or blue edges around high-contrast areas. You often see it around hair, glasses, jewelry, or bright backgrounds. Remove it before retouching so the image looks clean.
Basic Color Balance
Check the overall color of the image. Make sure the skin does not look too red, yellow, orange, gray, or green. Keep colors natural and balanced. You will do final color grading later.
Avoid Too Much Contrast
Do not add strong contrast at this stage. Too much contrast makes skin look rough. It also crushes shadows and blows out highlights. Keep the image soft and balanced.
Detailed of High-End Photo Retouching Guide
After basic corrections, move to detailed work in Photoshop. This stage includes skin retouching techniques, frequency separation, dodge and burn, and background cleanup. Because this step requires precision, use non-destructive editing with layers and masks. As a result, you can refine each area without damaging the original image. This is the core part of professional photo editing and image retouching services.
Cleanup and Blemish Removal
Cleanup and blemish removal means you clean small, temporary problems in the photo. Create a new empty layer, then use tools like the Healing Brush, Clone Stamp, or Remove Tool. Remove things like pimples, stray hairs, dust, lint, and small distractions. Only fix things that are temporary, not part of the person’s natural look.
Do not remove natural pores, skin texture, or the shape of the face. Do not remove moles or permanent marks unless the client asks for it. Always zoom in to work on small details, but zoom out often to check the full image. This helps you keep the photo looking natural and not over-edited.
Eye Retouching
Retouch eyes with care. Small changes can improve the image, but too much can look fake. You can enhance catchlights, iris contrast, and reduce redness or strong veins.
Do not make the whites of the eyes pure white. Keep some natural shadow and tone so the eyes still look real.
Skin Retouching Principles
Good skin retouching keeps the skin real. You should keep pores, fine lines, natural highlights, and the true shape of the face. The skin should still show texture and direction.
Avoid heavy blur, too much smoothing, or making the face look too perfect. Do not remove all under-eye detail or make the skin one flat color. The goal is clean, natural, and believable skin.
Lips, Teeth, and Makeup
For lips, fix dry areas, clean the edges, even out color, and keep natural texture. Add a little shine if needed, but do not over-smooth.
For teeth, whiten them slightly. Do not make them pure white or remove all shadows.
For makeup, clean and refine it without changing the original look too much. Fix uneven foundation, blend eyeshadow, and clean lipstick edges.
Clothing and Background Cleanup
High-end retouching includes the whole image. Clean fabric wrinkles, lint, loose threads, and background spots. Remove distractions that pull attention away from the subject.
Use soft dodge and burn for smoothing instead of heavy blur. This keeps texture and detail in clothing and background.
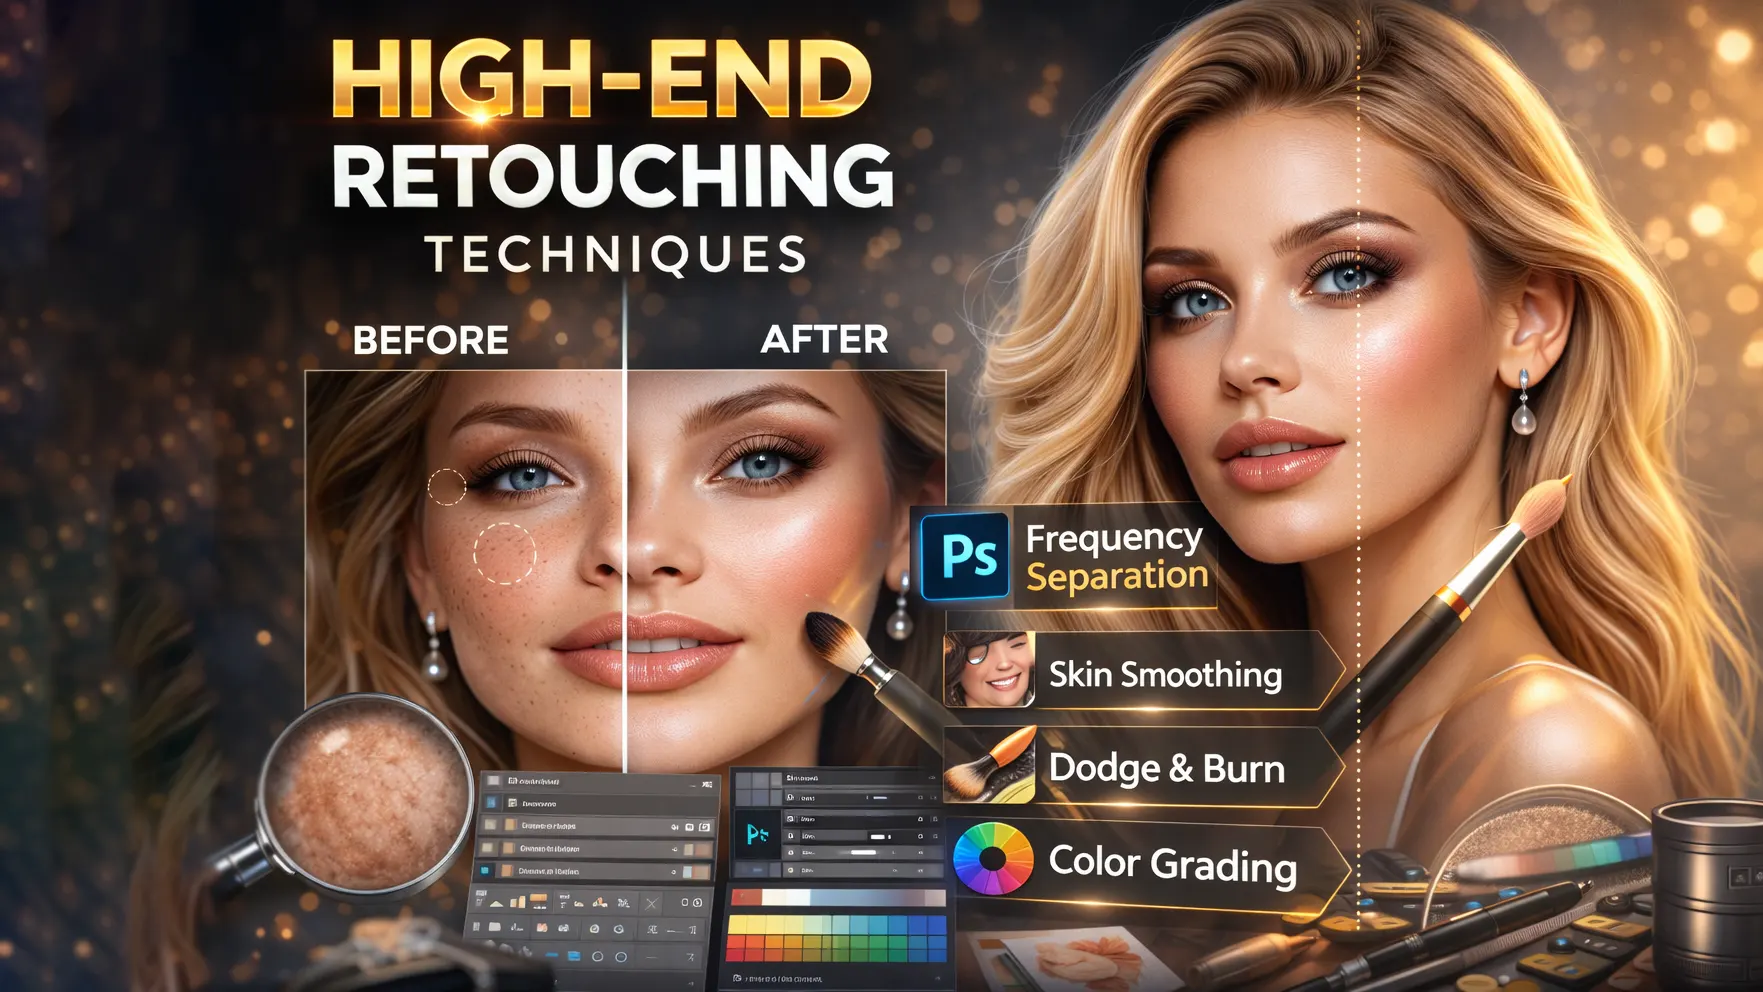
Core High-End Retouching Techniques
To deliver professional results, you must understand the high-end photo retouching guide. These methods help improve details while keeping the image natural. Moreover, they allow full control over skin, light, and color. When used correctly, they create clean and premium results for fashion photography, beauty photo retouching, and commercial photo retouching.
Frequency Separation
Frequency separation is a popular Photoshop retouching method. It separates skin texture from skin tone. As a result, you can fix splits the image into two parts: color/tone and texture/detail. This lets you fix uneven skin color without damaging the skin texture. Use it to smooth blotchy areas, fix makeup transitions, and correct color patches.
Do not use it to blur skin. Always keep the texture layer natural. If the skin starts to look waxy or plastic, reduce the effect. Therefore, professional photo editing often relies on frequency separation to maintain a natural and high-quality finish.
Dodge and Burn
Dodge and burn means you control light and shadow by hand. This is one of the most important steps in high-end photo retouching guide. Instead of blurring the skin, this method brightens and darkens small areas to balance tones. It helps you fix skin, shape the face, and improve depth without losing texture. Moreover, dodge and burn helps with subtle face sculpting by enhancing highlights and shadows. When done carefully, it adds depth and dimension without making the image look over-edited. Use a soft brush with very low flow (around 1–5%). Work slowly and build the effect over time. Good dodge and burn looks subtle and natural.
Micro Dodge and Burn
Use micro dodge and burn for small skin issues. This includes tiny shadows, small bumps, fine wrinkles, uneven pores, and under-eye texture. You fix these details one by one to make the skin look smooth but still real.
Macro Dodge and Burn
Use macro dodge and burn for bigger shaping. This includes cheekbones, jawline, nose shape, forehead, neck, shoulders, and clothing folds. This step helps guide light across the image and adds depth.
Color Correction and Grading Techniques
After cleanup and skin work, adjust the color. Use tools like Curves, Color Balance, Selective Color, and Camera Raw Filter. Keep the changes soft and controlled.
Watch the skin tone carefully. Do not let it turn too red, yellow, gray, or magenta unless you want a specific style. Good color grading supports the image without overpowering it.
Contrast and Depth
Use contrast to guide the viewer’s eye. Make the face, eyes, and key highlights stand out. Reduce contrast in areas that distract.
The subject should clearly stand out from the background. Good contrast adds depth and focus to the image.
Sharpening
Sharpen the image at the end. Focus on details like eyes, lashes, lips, hair, and jewelry. Avoid sharpening the skin too much.
Use different levels based on the output. Web images need moderate sharpening, while print may need stronger sharpening. Keep it clean and controlled.
Final Color Grading
Once retouching is complete, apply final color grading. Adjust tones to match the mood or brand style. For example, fashion photo editing may need bold contrast, while beauty photo retouching often requires soft and clean tones. Therefore, make subtle adjustments that enhance the image without overpowering it.
Final Quality Check for Professional Photo Retouching
Before export, check the image at different zoom levels. Look at the full image, then zoom in to check details. This high-end photo retouching guide helps you catch mistakes.
Watch for over-smoothing, repeated patterns, color issues, harsh edits, or fake-looking details. Flip the image horizontally to spot problems more easily.
Export Settings for Adobe Photoshop Retouching
Finally, export the image based on its purpose. Use high resolution and proper color profiles for print. On the other hand, choose optimized settings for web or social media. Correct export settings protect image quality and ensure your high end photo retouching work looks perfect on every platform.
For the web, save as JPEG in sRGB with good quality and the right size. Add light sharpening if needed.
For print, use TIFF or high-quality JPEG with the correct color profile and resolution. Avoid heavy compression.
Always save a layered PSD or TIFF file so you can edit the image again later
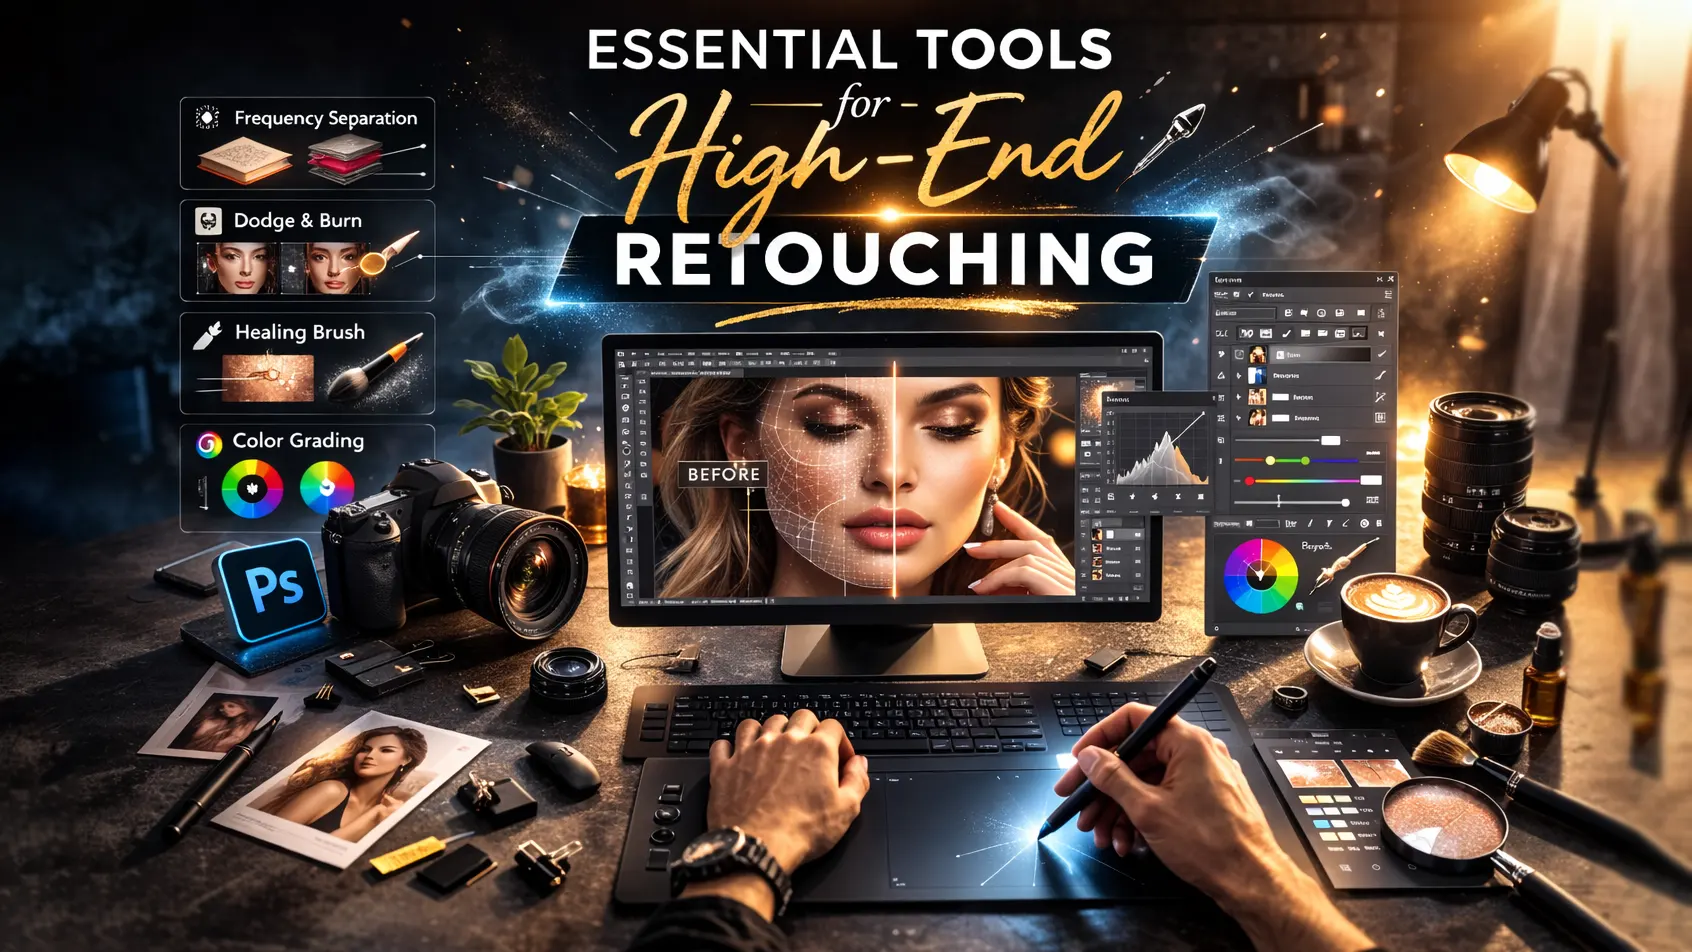
Essential Tools for High-End Retouching
To achieve professional results, you need the right tools. Although skills are important, software and hardware also play a major role. Therefore, most experts who offer high end photo retouching services rely on industry-standard tools to deliver clean and detailed work.
Adobe Photoshop
Adobe Photoshop is the most important tool for professional photo editing. It allows full control over layers, masks, and blending modes. In addition, features like frequency separation, dodge and burn, and advanced skin retouching techniques make it ideal for beauty photo retouching and commercial photo retouching. Because Photoshop supports non-destructive editing, you can make detailed changes without damaging the original image. As a result, it remains the top choice for advanced photo editing.
Lightroom
Lightroom is mainly used for basic adjustments and RAW processing. For example, photographers correct exposure, white balance, contrast, and color tone before moving to detailed retouching. Moreover, Lightroom helps manage large photo collections quickly and efficiently. Therefore, it works as a strong starting point in a professional workflow before deep Photoshop retouching begins.
Graphics Tablet (Wacom and Others)
A graphics tablet gives better precision than a regular mouse. It allows smooth hand movements, which are essential for dodge and burn and portrait retouching. In addition, pressure sensitivity helps control brush strength naturally. Because of this, many professionals use devices like Wacom tablets to improve speed and accuracy in image retouching services.
Plugins (Optional)
Plugins can save time, but they should be used carefully. Some tools help with color grading, skin cleanup, or sharpening. However, overusing plugins can make images look unnatural. Therefore, professionals use them only to support manual editing, not replace it. When combined with strong Photoshop skills, plugins can improve workflow and efficiency in high end photo retouching projects.
Common Mistakes to Avoid
Even skilled editors can make small mistakes during high end photo retouching. However, these errors can quickly reduce image quality. This high-end photo retouching guide helps you deliver clean and professional results. When you avoid these issues, your professional photo editing will look more natural and refined.
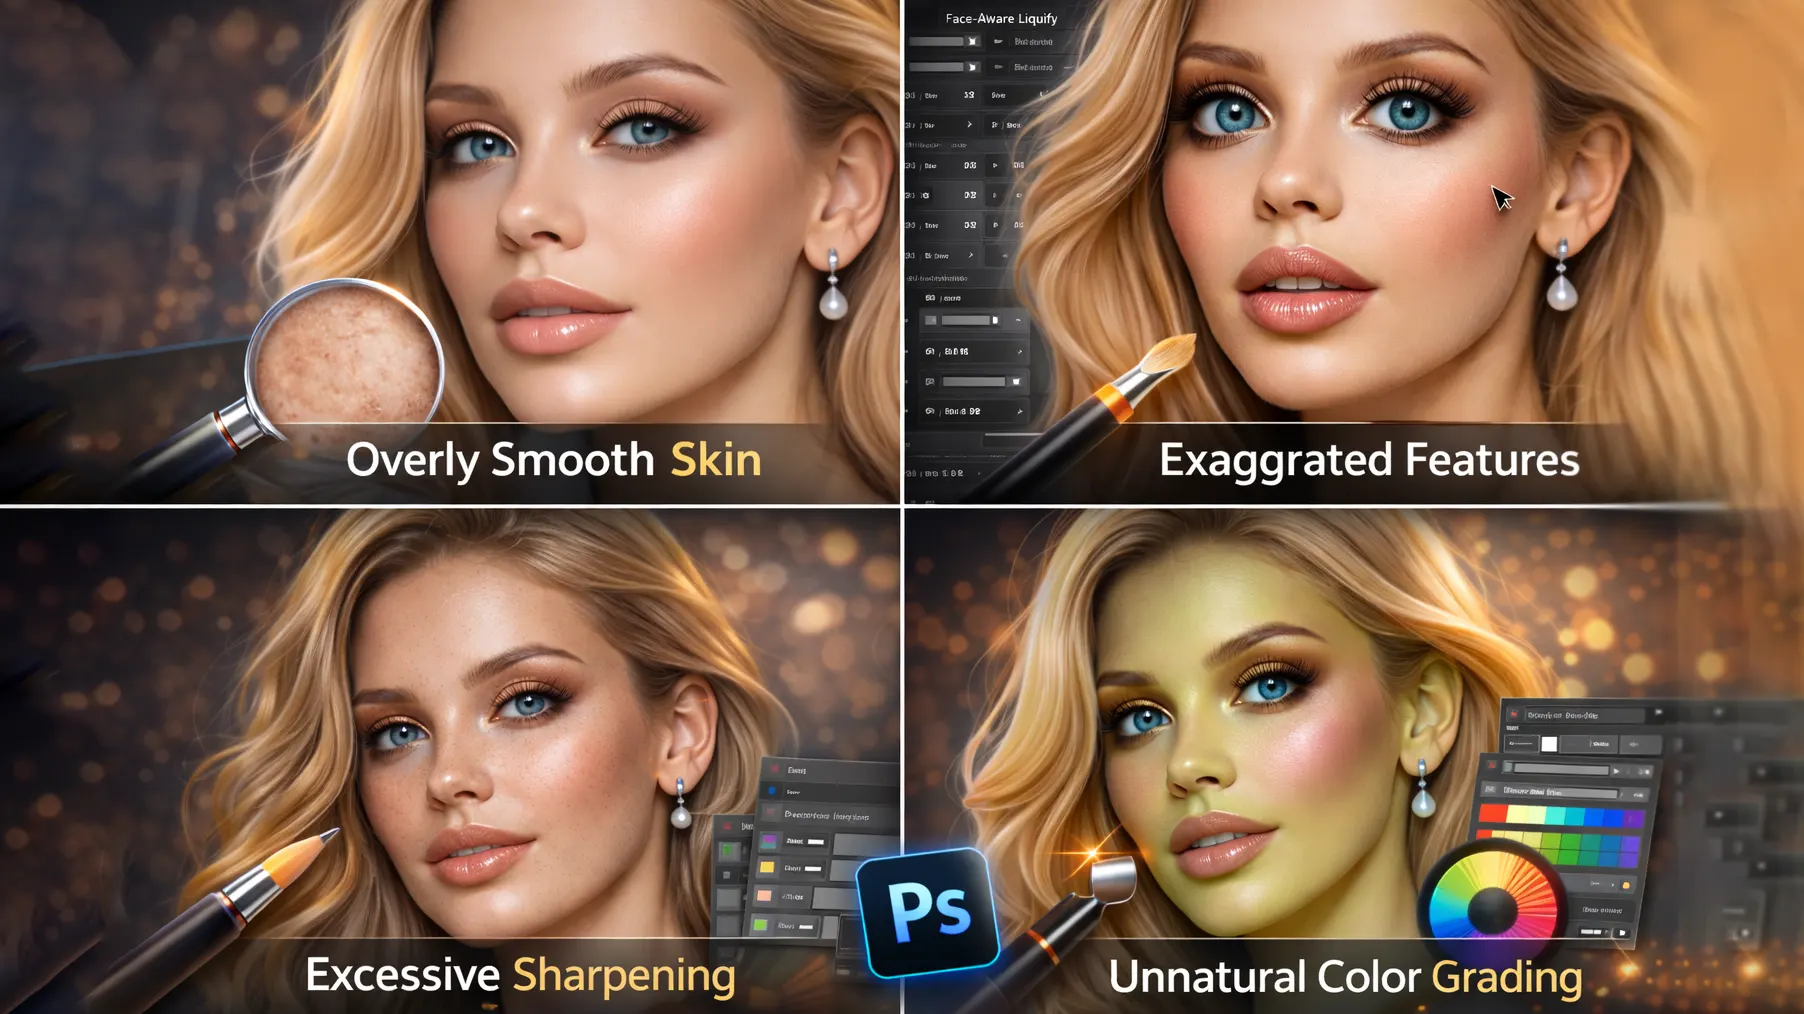
Over-Smoothing Skin
Many beginners smooth the skin too much. As a result, the face starts to look plastic and fake. Although clean skin is important, natural texture must remain visible. Instead of using heavy blur, apply careful skin retouching techniques like dodge and burn or frequency separation. This way, the skin looks polished but still realistic.
Over-Sharpening
Sharpening can enhance details, but too much sharpening creates harsh edges and noise. In addition, it can make skin texture look rough and unnatural. Therefore, apply sharpening carefully and only where needed. For example, focus on the eyes, hair, or clothing instead of the entire image. Controlled sharpening keeps portrait retouching balanced and professional.
Unrealistic Colors
Color grading adds mood and style. However, extreme tones can make the image look unnatural. Very strong orange skin or heavy blue shadows often reduce quality. Instead, adjust colors gradually and compare with the original image. Subtle color grading works best in commercial photo retouching and beauty photo retouching.
Destroying Texture
One of the biggest mistakes in high end photo retouching is removing natural texture. When pores and fine details disappear, the image loses realism. Therefore, always zoom in and check your edits closely. Use non-destructive editing and work with layers to protect details. Preserving texture ensures your advanced photo editing techniques produce premium and believable results.
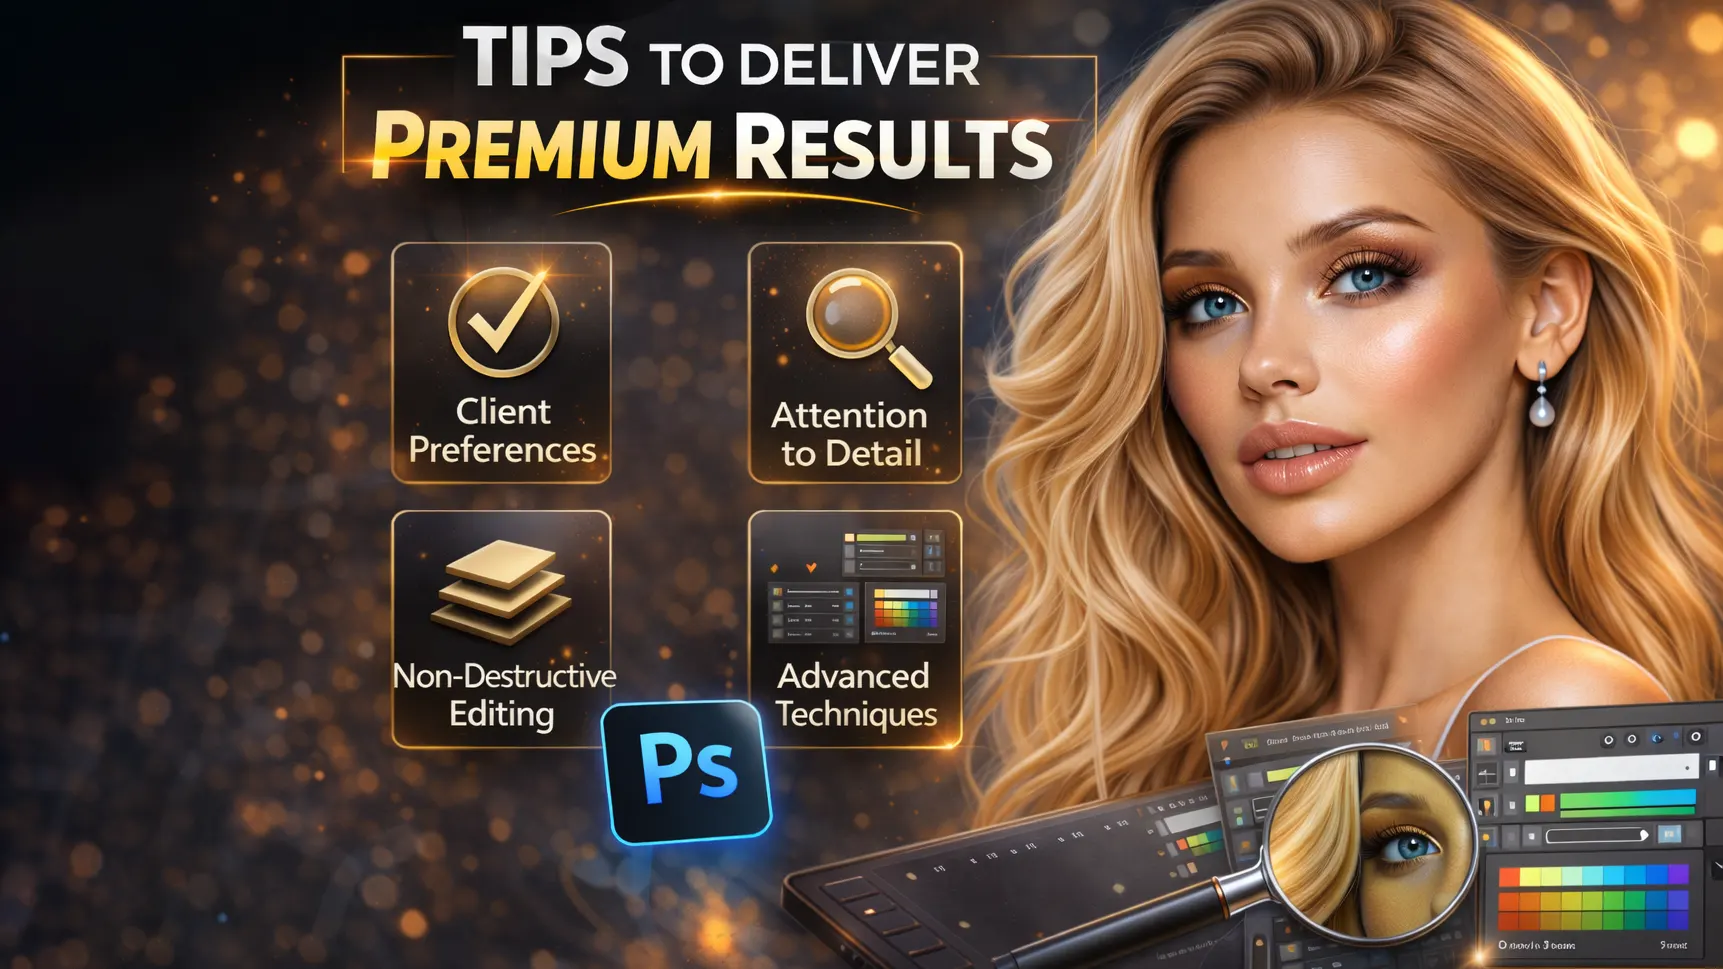
Tips to Deliver Premium Results
Creating premium images requires more than just technical skills. You also need good habits and attention to detail. Therefore, small improvements in your workflow can make a big difference in high end photo retouching. These simple tips will help you deliver clean, natural, and professional results every time.
Zoom In and Zoom Out Check
Always check your work at different zoom levels. When you zoom in, you can fix small details like blemishes, uneven tones, or rough edges. However, when you zoom out, you see the overall balance of light, color, and composition. As a result, your professional photo editing stays both detailed and natural. This habit prevents over-editing and helps maintain realism.
Take Breaks While Editing
Editing for long hours can reduce your focus. Because of this, you may miss small mistakes or overdo certain adjustments. Taking short breaks refreshes your eyes and improves judgment. When you return, you can review the image with a clear mind. Therefore, breaks are essential for consistent and high-quality image retouching services.
Compare Before and After
Always compare the edited version with the original image. This step helps you see whether the changes improve the photo or go too far. In addition, it keeps your skin retouching techniques balanced and realistic. If the difference looks too extreme, adjust your edits. Regular comparison ensures your high end photo retouching stays professional and natural.
Ask for Client Feedback
Client feedback is very important. Even if the image looks perfect to you, the client may prefer small adjustments. Therefore, share previews and ask for opinions before final delivery. This approach builds trust and improves satisfaction. In the long run, strong communication helps you grow your professional photo editing business and attract repeat clients.
Conclusion
High end photo retouching is a powerful skill for professional photographers. This high-end photo retouching guide improves image quality, keeps natural texture, and creates a premium finish.
With regular practice and the right tools, you can master advanced photo editing techniques like frequency separation and dodge and burn. As a result, your work will look more polished and professional.
In today’s competitive market, strong retouching skills give you a clear advantage. Therefore, investing time in high end photo retouching can help you attract better clients and grow your photography business.
Frequently Asked Questions (FAQ)
1. What is high end photo retouching?
High end photo retouching is an advanced editing process that improves an image while keeping natural texture and detail. Unlike basic photo editing, it uses techniques like frequency separation, dodge and burn, and precise color grading. As a result, the final image looks clean, professional, and ready for commercial use.
2. How is high end photo retouching different from basic photo editing?
Basic photo editing focuses on exposure, contrast, and simple corrections. However, high end photo retouching goes deeper. It improves skin texture, balances light and shadow, and refines small details without making the image look fake. Therefore, it is widely used in fashion photo retouching and beauty photography.
3. How much do professional photo retouching services cost in the USA?
The cost of professional photo retouching services in the USA depends on image complexity and turnaround time. Simple edits may start at $5–$15 per image. However, advanced high end photo retouching for commercial or magazine use can range from $30 to $100 or more per image. Pricing usually reflects skill level and detail work.
4. Which software is best for professional photo retouching?
Adobe Photoshop is the most popular tool for professional photo editing. It supports non-destructive editing, advanced skin retouching techniques, and detailed color grading. In addition, Lightroom is commonly used for RAW processing and basic adjustments before deep retouching begins.
5. What industries use high end photo retouching services?
Many industries rely on image retouching services. For example, fashion brands, beauty companies, eCommerce businesses, advertising agencies, and portrait photographers all use high end photo retouching. Because visual quality affects brand perception, professional editing plays a major role in marketing success.
6. How long does high end photo retouching take?
The time required depends on the level of detail. Basic professional photo editing may take 10–20 minutes per image. However, advanced commercial photo retouching can take one to several hours. Detailed skin work, dodge and burn, and precise color grading require careful attention.
7. Can high end retouching keep skin texture natural?
Yes, when done correctly, high end photo retouching keeps natural skin texture intact. Techniques like frequency separation and controlled dodge and burn help clean the skin without over-smoothing. As a result, the final image looks polished but still realistic.


