

If you sell products online, your photos do a lot of the selling for you. Affinity Photo Editing helps you create clean cutouts, realistic shadows, and natural retouching so your product images look professional. A clean cutout keeps the focus on the product, while a soft shadow makes it look real instead of “floating.” Simple retouching also removes dust, small marks, and uneven lighting without making the photo look fake. You can use it for Amazon, Shopify, Etsy, and other eCommerce stores.
How to Create Clean Cutouts in Affinity Photo
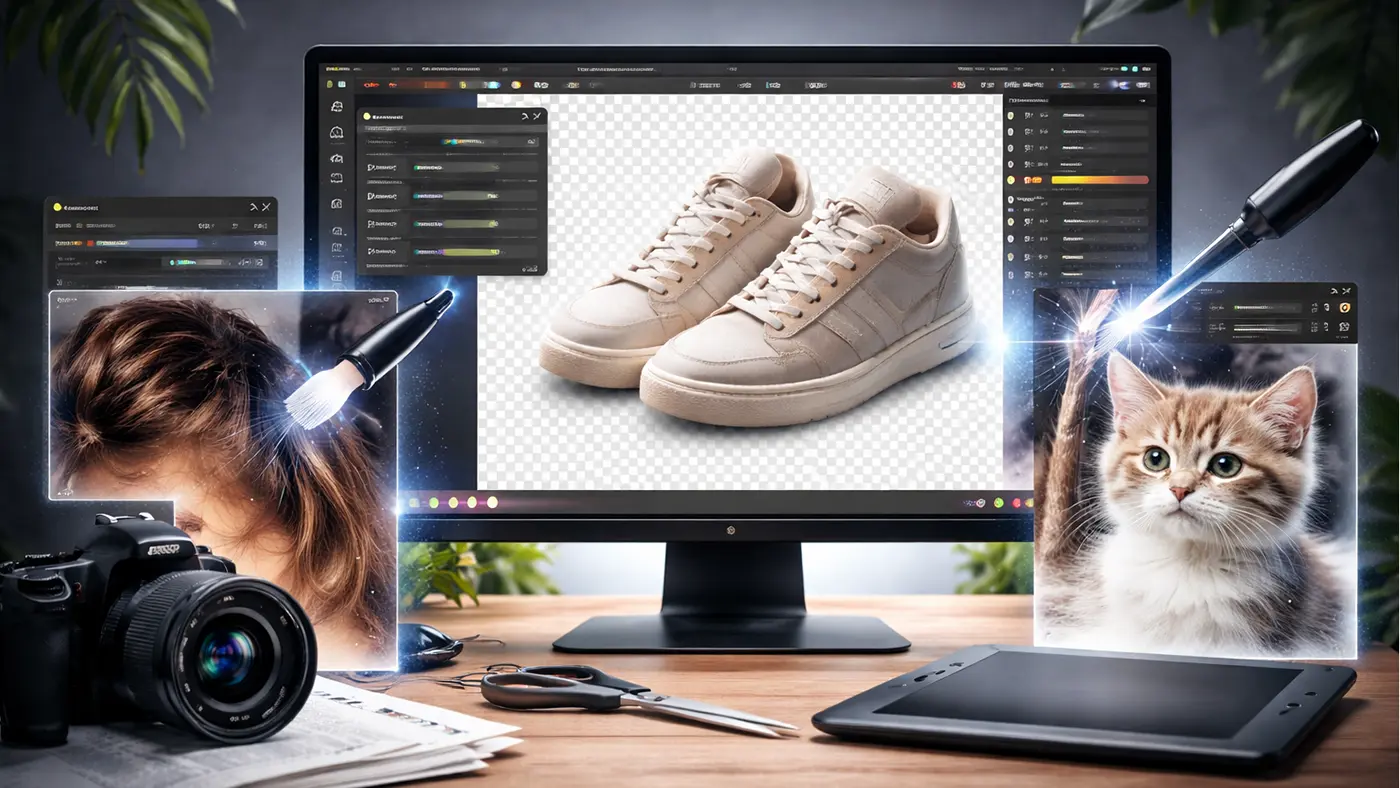
You will learn how to remove the background and keep your product edges clean using Affinity Photo Editing. Clean cutouts mean no leftover background, no “halo” lines, and no rough edges. This section shows a beginner-friendly way to select your product and improve the edges. You will also learn when to slow down and use a more careful method. The goal is a cutout that looks natural and sharp.
Step 1: Select the Subject with the Selection Brush Tool
Open your photo in Photo Persona, which is the main editing mode in Affinity Photo. Choose the Selection Brush Tool (W) from the left toolbar, then adjust the brush size depending on your subject. A larger brush is great for big areas like a shirt or box, and a smaller brush helps around corners and details. Paint over your subject, and the tool will try to “snap” to the edges as you drag. If it selects extra background, switch to Subtract mode and paint that part back out.
Step 2: Use “Refine” to Fix Edges (Hair, Fur, or Soft Details)
Once your selection looks close, click Refine… in the top toolbar to improve the edge during Affinity Photo Editing. This is the key step for a clean cutout, especially if the subject has hair, fur, or semi-transparent areas. Change the preview view to something easy to see, like Overlay (red mask) or Black and White, so you can spot mistakes quickly. Then paint over the tricky edge areas so Affinity Photo can figure out what should stay and what should be removed. This makes the cutout look smoother and more natural than a basic selection.
Step 3: Adjust the Refine Settings for a Cleaner Cutout
Inside the Refine window, keep your settings light and simple so the edges don’t look fake. Use a small amount of Smooth to reduce jagged edges while still keeping the shape sharp. Add a tiny bit of Feather to soften harsh outlines, but don’t overdo it or your product may look blurry. If you see a thin background “halo,” use Ramp slightly negative to tighten the selection and reduce that outline. For the best result, set the output to Mask and click Apply so you get a clean cutout without destroying pixels.
Step 4: Finalize the Cutout Using a Mask (Non-Destructive)
After you apply the refined output, your layer should now have a mask, and the background will be transparent. This is one of the safest ways to work in Affinity Photo Editing because you can fix mistakes later. Zoom in around the edges to check corners, curves, and thin parts like straps, hair strands, or product handles. If you see leftover background bits, click the mask and use a regular Brush (B) to clean it up. Paint with black to hide unwanted areas and white to bring back details you removed by mistake. This mask method is beginner-friendly because you can always fix things later without starting over.
Step 5: Add a New Background or Export Your Cutout
Now you can place any background you want underneath the cutout layer. For eCommerce photo editing, many sellers use a clean white background for a neat and consistent look. If you need transparency for design work, keep the background empty and export as a PNG. Always preview the edges before exporting to make sure the cutout looks clean at 100% zoom. A quick final check can turn an “okay” cutout into a professional Affinity Photo Editing result.
How to Add Natural Shadows (So Products Don’t Look Flat)
You will learn how to add shadows that look real and not “fake.” Shadows help the product feel grounded instead of floating. The key is keeping shadows soft and consistent across your images. This section also explains the difference between a natural shadow and a simple drop shadow. Your Affinity Photo Editing results can look more high-end with a few simple steps.
Method 1: The Manual “Duplicate & Distort” Technique
This method looks the most realistic because you control the shadow shape by hand. It works best when you want a shadow that matches the light direction and the ground. It also helps you avoid the “fake” look that some quick effects can create. If you’re editing eCommerce product photos, this is the method you’ll use most often.
- Duplicate the subject layer: Select your product layer and duplicate it (Ctrl+J on Windows / Cmd+J on Mac). This creates a copy you will turn into the shadow.
- Move the shadow layer below the original: Drag the duplicated layer under the real product layer in the Layers panel. This makes the shadow appear behind and under the product.
- Turn the copied layer into a shadow color: Make the copied layer solid dark gray or near-black so it looks like a shadow. You can do this with a Color Overlay in the FX panel, or by using a simple color/threshold method to remove details and keep only the shape.
- Position the shadow in the right direction: Use the Move Tool (V) to slide the shadow so it falls in the same direction as your light source. If your light is coming from the left, the shadow should stretch to the right.
- Distort the shadow to “lay it down” on the ground: Skew and pull the shadow so it looks like it’s sitting on the surface, not standing upright. Hold Ctrl/Cmd while dragging handles to reshape it so it matches the ground angle.
Soften the edges with a blur: Apply a light Gaussian Blur so the shadow edge is not hard and sharp. Keep the blur stronger farther away from the product, and softer near the product. - Lower opacity and set the blend mode: Reduce the shadow layer opacity so it looks natural (often around 50–80%). Set the blend mode to Multiply so the shadow blends into the surface instead of looking pasted on.
- Fade the shadow for a natural finish: Use a soft eraser or a mask to fade the shadow as it gets farther from the product. Real shadows are usually darker near the object and lighter as they go out.
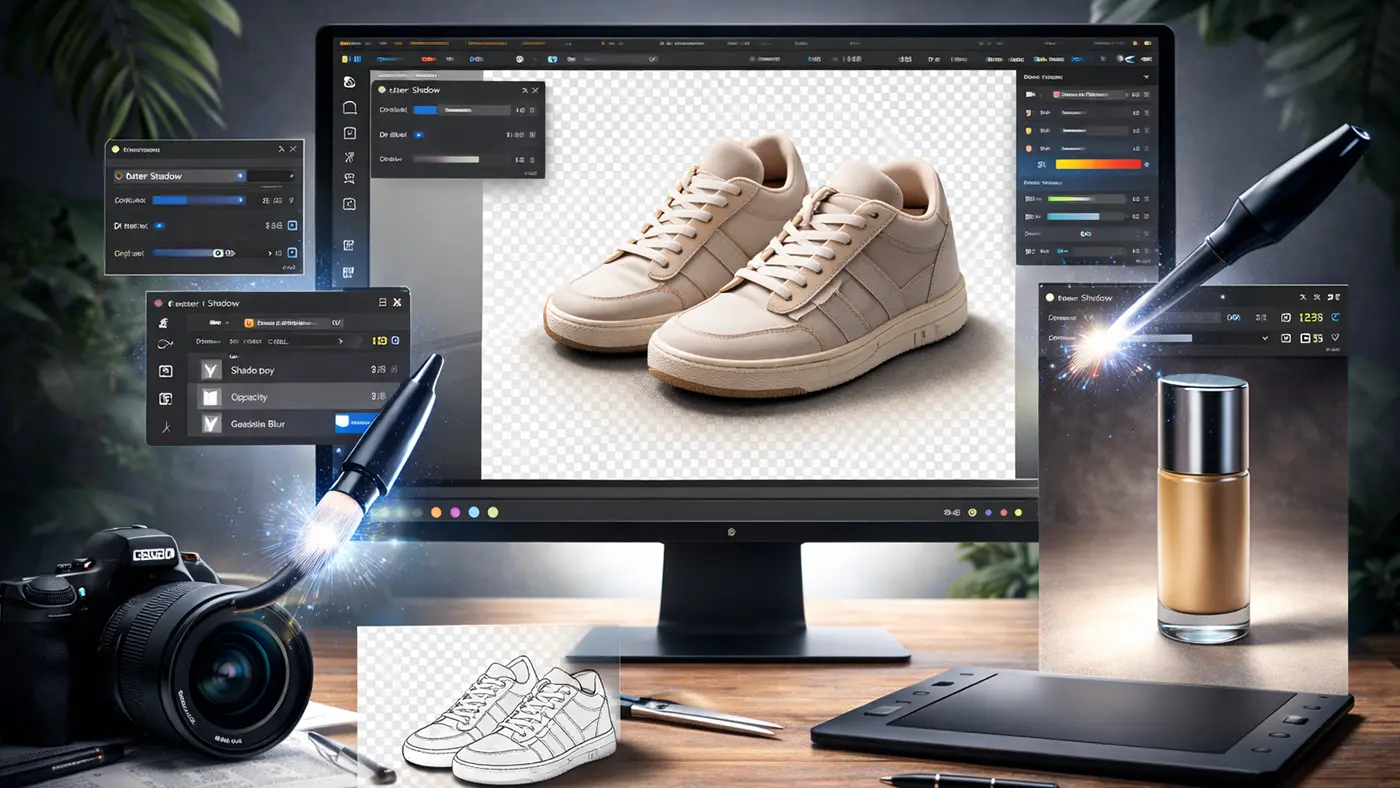
Method 2: The FX “Outer Shadow” Quick Method (Fast but Less Real)
This method is great when you need a quick shadow and the photo is very simple. It’s easy because you don’t need to reshape the shadow by hand. But for realistic product photos, it may not match the ground angle or look as natural. Use this option when speed matters more than perfect realism.
- Open Layer Effects (FX): Select the product layer, then click the FX icon in the Layers panel. Choose Outer Shadow to turn the effect on.
- Match the light direction and softness: Adjust the angle so the shadow goes the same way as the light. Increase the radius to soften the shadow, and adjust the offset to control distance.
- Use a natural shadow color (not pure black): Pure black often looks fake, especially on white backgrounds. Pick a dark gray or sample a darker tone from the background surface for a more realistic look.
Key Tips for Shadows That Look Real (Not Fake)
Natural shadows look best when they match the photo’s light, surface, and distance. A small change in color or softness can make a big difference. Also, most real shadows are not one single shape—they usually have a darker part close to the object and a softer part farther away. Use these tips to make your Affinity Photo Editing results look clean and professional.
- Add a “contact shadow” under the product: This is a small, darker shadow right where the product touches the ground. It helps the product feel planted instead of floating.
- Match the shadow length to the light height: If the light is low, the shadow should be longer and thinner. If the light is high, the shadow should be shorter and closer to the product.
- Avoid pure black shadows: Most shadows pick up color from the surface and the light around them. Use dark gray, dark brown, or sample a darker color from the background for a more natural look.
- Use perspective when needed: If the ground plane is at an angle, your shadow should follow that angle too. A perspective warp or Live Perspective-style adjustment can help the shadow sit correctly on the surface.
Simple Retouching (Clean, But Still Real)
You will learn how to fix small problems without making the product look fake with Affinity Photo Editing. Photo retouching is great for removing dust, scratches, tiny marks, and distractions. You will also learn how to handle lighting problems so the product looks clean and clear. The goal is a natural product photo that still looks honest. This helps customers feel confident in what they see.
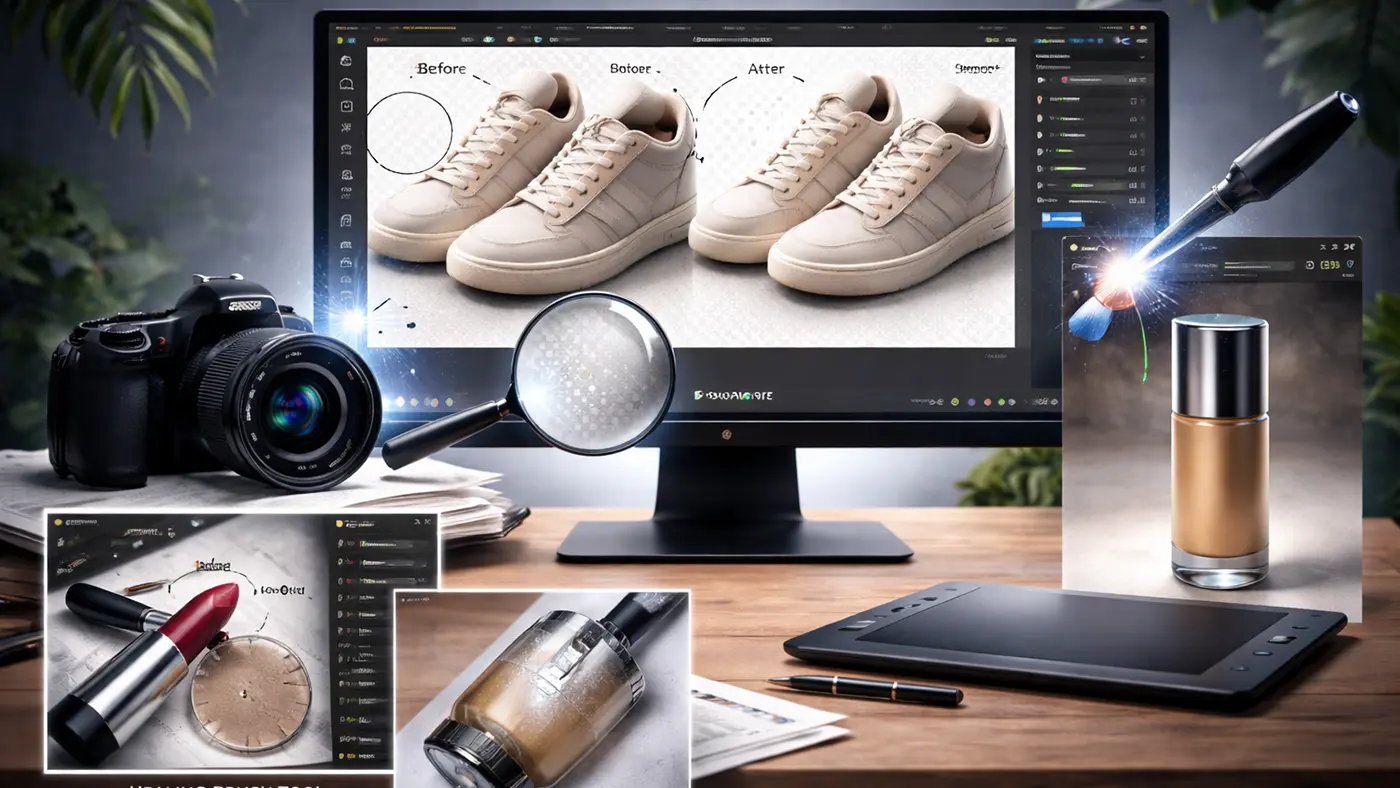
Remove Dust and Small Marks
Most product photos have tiny dust spots that show up on close zoom. These small marks can make the product look used or low quality. Simple cleanup makes the product look fresh and store-ready. Focus on obvious distractions, not tiny details that don’t matter. This keeps your editing fast and natural.
Fix Uneven Lighting and Glare
Sometimes the photo has a bright glare or a dark patch that looks distracting. Small lighting fixes can make the product look more balanced. The key is not to overdo it—keep it realistic. If the product looks too smooth or too bright, it can feel fake. A gentle touch usually looks best.
Keep Colors Accurate
Color matters a lot because buyers expect the product to match what they see online. If your edit makes colors too strong, customers may feel misled. Try to keep colors natural and consistent across products. This is important for clothing, cosmetics, and home items. Accurate color builds trust and reduces returns with Affinity Photo Editing.
Export Settings for eCommerce (PNG, JPG, White Background)
You will learn how to export your final image so it looks sharp online. Many beginners lose quality at the export step. This section explains when to use PNG and when to use JPG. You’ll also learn how to keep your background clean and your file size reasonable. A good export makes your Affinity Photo Editing work look its best.
When to Export as Png
PNG is best when you need a transparent background. It keeps clean edges and looks great for web design and layered use. PNG files can be bigger, so only use them when you need transparency. If your platform requires a white background only, PNG may not be necessary. Still, PNG is a great choice for clean cutouts.
When to Export as JPG
JPG is best for product photos on a solid background, like pure white. It creates smaller file sizes that load faster on websites. Choose a high-quality setting so the product looks sharp. If the quality is too low, edges can look messy. A clean JPG is often perfect for most product listings.
Keep Size and Sharpness Balanced
A huge image may look great, but it can slow your store down. A very small image loads fast, but can look blurry. Try to pick a size that works well for your product pages and zoom features. Make sure your product looks crisp, especially around edges. Always preview the exported file before uploading.
Common Mistakes (And Easy Fixes)
You will learn the most common problems people face when editing product photos in Affinity Photo. These mistakes can make your images look cheap, even if your product is great. The good news is that most fixes are simple. This section helps you spot problems quickly and correct them. A few small changes can improve your final result a lot.
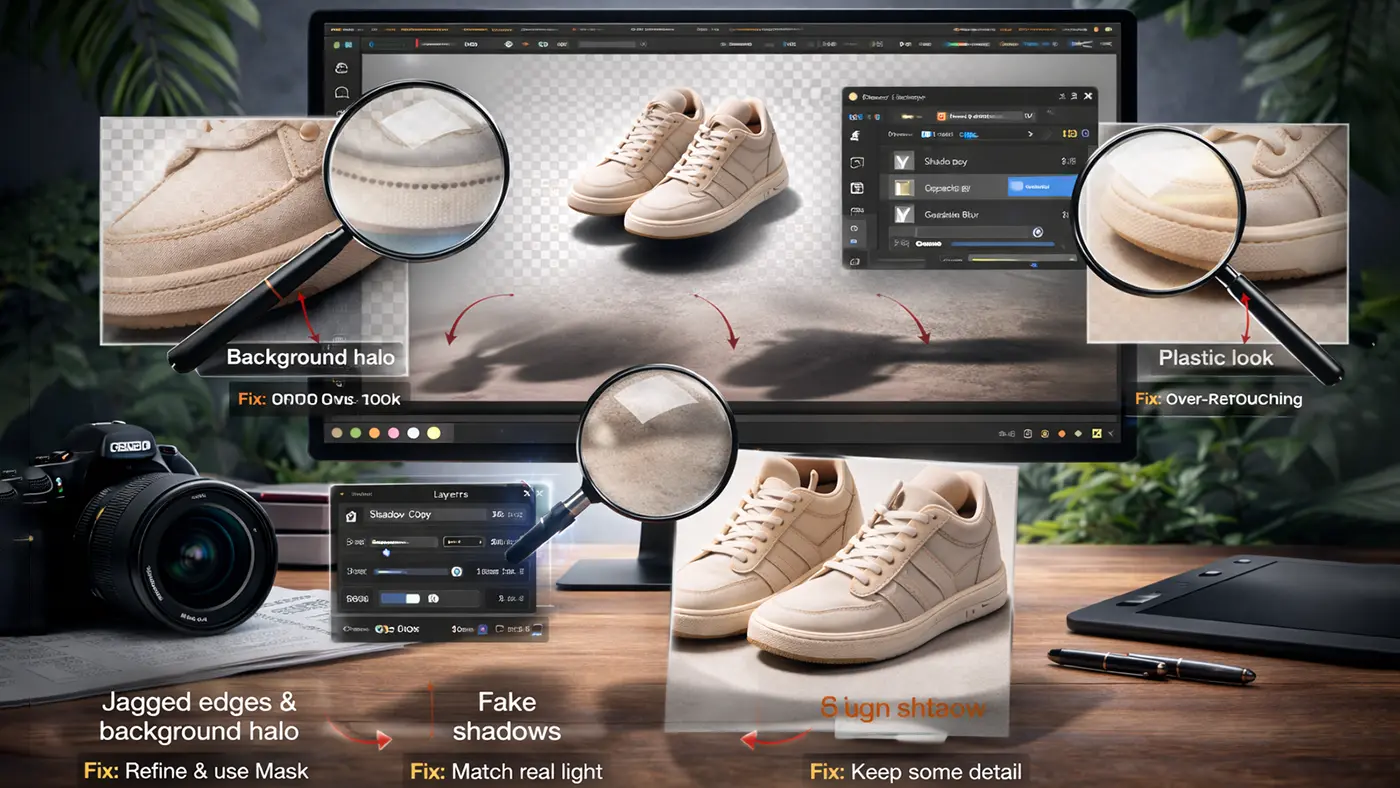
Jagged Edges and Leftover Background
Rough edges happen when the cutout is not refined enough. Leftover background often shows as a thin line around the product. Zoom in and check the edges before exporting. Use a mask so you can fix small areas easily. Clean edges are the biggest “quality signal” in product editing.
Shadows That Look Fake
A fake shadow is usually too dark, too sharp, or in the wrong direction. Make shadows softer and lighter so they look natural. Always compare your shadow to how real light works in the photo. If your product looks like it’s floating, the shadow is probably too weak. If it looks pasted on, the shadow is too strong in Affinity Photo Editing.
Over-Retouching That Removes Real Detail
Too much smoothing can remove texture and make the product look plastic. Customers still want to see real detail, especially for fabric, leather, and handmade items. Keep retouching focused on distractions like dust or scratches. If you’re not sure, do less and check again. Natural edits usually look better.
Conclusion
With the right workflow, Affinity Photo editing can help you create clean cutouts, natural shadows, and realistic retouching for eCommerce images. Focus on sharp edges, soft shadows that match the light, and small cleanups that keep the product looking real. Export in the right format so your images stay crisp online—PNG for transparency and JPG for white backgrounds. The more you practice, the faster and more consistent your results will be. And if you ever have too many images to edit, outsourcing can be a smart way to keep quality high and save time.
Frequently Asked Questions (FAQ)
Is Affinity Photo Editing Good For Product Photo Editing?
Yes, Affinity Photo is good for product photo editing. You can make clean cutouts, fix small marks, and adjust colors. It also helps you create natural shadows. For most eCommerce work, it is a solid choice.
What’s The Easiest Way To Remove A Background In Affinity Photo?
Use the Selection Brush Tool to select the product. Then click Refine to improve the edges. Output the result to a Mask, not delete. A mask is safer because you can fix it later.
Why Do I See A White Outline (Halo) After A Cutout In Affinity Photo?
A white halo appears when the edge still has background color. This happens more with bright or white backgrounds. Fix it by cleaning the mask edge with a soft brush. You can also tighten the selection a little to remove the extra edge.
How Do I Make The Cutout Edges Smoother In Affinity Photo?
Use Refine with a low smooth value and a very small feather. Do not use too much feather, or the edge will look blurry. After refining, zoom in and check the edge. Touch up the mask with a soft brush for a clean finish.
Should I Delete The Background Or Use A Mask In Affinity Photo?
Use a mask instead of deleting the background. A mask keeps your original image safe. If you make a mistake, you can fix it easily. Deleting is risky because you may lose important edge details.
How Do I Fix Jagged Edges In Affinity Photo?
First, zoom in and look at the cutout edge closely. Use Refine again and adjust the edge slowly. Then paint the mask with a soft brush to smooth rough areas. Small edits give the best results.
What’s The Best Shadow Method In Affinity Photo?
The Duplicate & Distort method usually looks most real. It follows the product shape and matches the angle better. You can blur it slightly and lower the opacity. This creates a natural shadow without looking fake.
Why Do My Shadows Look Fake In Affinity Photo?
Fake shadows are often too dark or too sharp. Sometimes the shadow direction is wrong compared to the light in the photo. Make the shadow softer and lighter. Also, match the angle and size with the real light source.
Should I Use Pure Black Shadows In Affinity Photo?
No, pure black shadows look unnatural. Real shadows usually have some softness and color from the environment. Use dark gray instead of black. You can also sample a dark tone from the surface under the product.
What Is A Contact Shadow In Affinity Photo?
A contact shadow is the small dark shadow right under the product. It helps the product look grounded on the surface. It is usually darker near the product and fades out quickly. This shadow makes the image feel more realistic.
Can I Use FX Outer Shadow In Affinity Photo?
Yes, you can use FX Outer Shadow for quick edits. It works well when you need fast results. But it can look fake if it is too strong or too sharp. Manual shadows usually look more natural for product images.
How Do I Keep Shadows Consistent Across A Catalog?
Pick one shadow style and use it for all images. Keep the same direction, softness, and strength every time. Save your settings or use one reference image to match. Consistent shadows make your store look professional.
What Is The Most Common Retouching In Affinity Photo?
The most common retouching is removing dust, scratches, and small marks. These tiny issues can distract buyers. Cleaning them makes the product look new and clear. Always zoom in to check small areas.
How Do I Avoid Over-Retouching In Affinity Photo?
Do not remove the real texture that makes the product look natural. Only fix clear problems like dust, spots, or scratches. Keep the shape and details realistic. Always compare before and after to avoid over-editing.
How Do I Fix Uneven Lighting In Affinity Photo?
Use small, gentle adjustments instead of heavy edits. Try basic tools like curves, levels, or brightness/contrast slowly. Check the image often so it does not look fake. A natural look is better for product photos.
How Do I Keep Colors Accurate In Affinity Photo?
Avoid strong saturation and heavy color changes. Try to match the real product color as closely as possible. Keep the same color style across all product photos. Always compare with a reference image if you have one.
Should I Export Png Or Jpg In Affinity Photo?
Use PNG when you need a transparent background. Use JPG for white background product images because it is lighter in size. PNG files are usually bigger, but keep transparency. JPG cannot keep transparency.
Why Does My Exported File Look Blurry After Editing?
This happens when you export too small or use too much compression. Export at a larger size and higher quality. Als,o check if the image was resized during editing. A sharp export needs enough pixels and good settings.
What Export Size Is Best For Affinity Photo For Ecommerce?
Choose a size that looks sharp on your website and supports zoom. Many stores use 1500px to 3000px on the longest side. Do not make the file too heavy, or it will slow your site. Try a balance of sharpness and speed.
When Should I Outsource Instead Of Doing Affinity Photo Editing Myself?
Outsource when you have many images and less time. It also helps if you need perfect, consistent results for a catalog. A team can handle bulk work faster and more evenly. This lets you focus on your business instead of editing.


