

When it comes to image editing, one of the simplest yet most powerful tools in Adobe Photoshop is the crop tool. Knowing how to use the Adobe Photoshop crop function can transform an image’s composition, improve focus, and remove distracting elements, making it ideal for photographers, graphic designers, and anyone looking to enhance visuals. In this guide, I’ll walk you through the ins and outs of the Adobe Photoshop crop tool, with practical insights that come from personal experience as a designer. Let’s dive into the steps and best practices to master this essential tool.
Why Use the Adobe Photoshop Crop Tool?
The Photoshop Crop Tool is used to refine composition, adjust size, and improve focus in a simple, controlled way.
Here’s the importance of the Adobe Photoshop crop tool.
- Adjust the aspect ratio to fit different platforms or formats: Adjusting the aspect ratio allows you to resize images to match the exact requirements of different platforms. This ensures the image displays correctly without distortion. Photoshop’s crop tool maintains consistent composition, such as square formats for social media or standard ratios for print, etc.
- Remove unwanted areas or objects: Cropping helps eliminate distracting backgrounds or unnecessary elements from an image. This makes the subject appear cleaner and more professional.
- Improve composition by adjusting alignment: Proper alignment through cropping corrects uneven framing and visual imbalance. It ensures the subject is well-positioned within the frame.
- Create a sense of focus by emphasizing key elements: Attention can be focused on the most important parts by trimming the extra empty space in the image.
Now, let’s get into the step-by-step process of using the Adobe Photoshop crop tool.
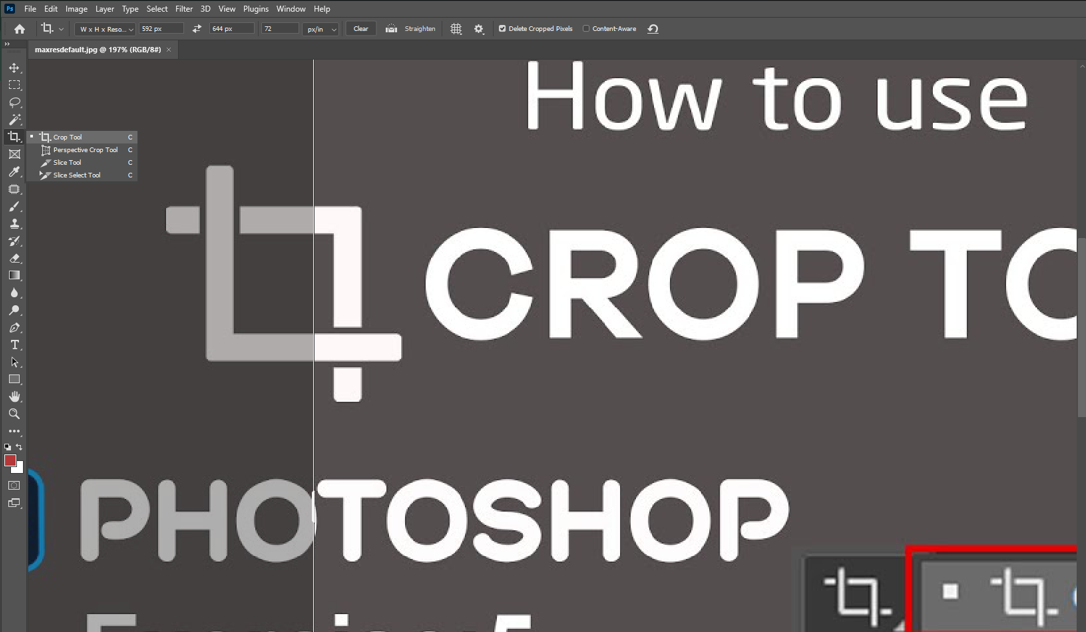
Step 1: Opening the Adobe Photoshop Crop Tool
To open the Crop Tool, press the C key, select it from the toolbar, or use Image > Crop after making a selection.
-
Activate the Tool: Select the Crop Tool using the keyboard shortcut, toolbar icon, or menu command.
-
Adjust the Frame: Drag the corner or edge handles around your image to set the crop boundaries.
-
Reposition the Image: Click and drag inside the crop frame to move the image as needed.
-
Apply the Crop: Press Enter/Return or click the checkmark in the Options Bar to finalize the crop.
Step 2: Understanding Aspect Ratios and Constraints
One of the first things you’ll notice when you activate the Adobe Photoshop crop tool is the option to adjust aspect ratios. By default, the crop frame will match your image’s original aspect ratio, but Photoshop offers several preset ratios. These options include:
- Original Ratio – Retains the current aspect ratio of your image
- 1:1 (Square) – Perfect for Instagram posts or profile pictures
- 16:9 – Widely used for widescreen displays or videos
- Custom – Allows you to set your desired ratio manually
Choosing an appropriate aspect ratio ensures that your images look balanced and fit the platform requirements. For example, I often use the 4:5 ratio when cropping images for social media because it fills the screen well and maintains a strong focal point. Exploring aspect ratios with the Adobe Photoshop crop tool is one of the best ways to make your images adaptable for different contexts.
Step 3: Adjusting the Crop Frame
-
Activate the Crop Tool: Select the crop tool in your editor or scanner software to start cropping. This prepares the image for resizing and repositioning.
-
Resize the Frame: Click and drag the corners or edges to expand or contract the crop area. This allows you to focus on your subject while removing unwanted parts.
-
Reposition the Frame: Click and drag inside the crop box to move the entire frame over the image. This ensures the main subject is properly centered or aligned.
-
Change Aspect Ratio (Optional): Use the aspect ratio icon to lock the frame to shapes like 16:9, 4:3, or square. You can also choose “Free” for manual adjustments.
-
Fine-Tune (Advanced): Some software lets you enter exact dimensions or adjust the image within the frame. This ensures precise control over size and composition.
-
Apply Crop: Click “Apply,” “OK,” or “Save Copy” to finalize your changes. Many tools allow non-destructive cropping, so you can readjust later without losing original pixels.
Step 4: Straightening with Adobe Photoshop Crop Tool
-
Select the Crop Tool: Press C or choose the Crop Tool from the toolbar to start editing. This activates the cropping and straightening options.
-
Use the Straighten Tool (Recommended): Click the level/spirit icon in the Options Bar. Draw a line along a horizon or edge that should be straight to rotate the image automatically.
-
Rotate the Crop Boundary (Alternative): Hover just outside a corner of the crop box until the cursor changes to a curved arrow. Drag to rotate the image using the grid lines as guides manually.
-
Apply the Crop: Press Enter/Return or click the checkmark in the Options Bar to finalize the straightening.
-
Fill Empty Corners (Optional): Enable Content-Aware in the Options Bar to automatically fill gaps created by rotation. This keeps the image complete without blank areas.
Step 5: Cropping Without Deleting Pixels (Non-Destructive Cropping)
-
Select the Crop Tool: Press C to activate the Crop Tool. This prepares your image for cropping without immediately deleting pixels.
-
Uncheck “Delete Cropped Pixels”: In the Options Bar, make sure this box is unchecked. This hides the areas outside the crop instead of permanently removing them.
-
Apply the Crop: Drag the corner handles to set the crop area and press Enter/Return. The hidden pixels remain recoverable.
-
Reveal Hidden Pixels: To restore hidden areas, select the Crop Tool again and drag the handles outward, or go to Image > Reveal All.
-
Alternative – Layer Mask Method: Duplicate your layer, select the desired area with the Marquee Tool, and add a layer mask. Invert and paint on the mask to hide or reveal parts non-destructively, giving maximum control over cropping adjustments.
Step 6: Applying the Adobe Photoshop Crop
-
Open Image & Select Crop Tool: Open your image in Photoshop and select the Crop Tool from the toolbar or press C. This activates the crop interface for framing your image.
-
Set Crop Area: Drag the corners or edges of the crop border to define the area you want to keep. You can also click and drag inside the border to reposition the image or the crop box.
-
Use Options Bar for Precision: Set specific dimensions (Width x Height) or choose an aspect ratio like 16:9. This ensures the crop fits the intended output, whether for print, web, or social media.
-
Straighten (Optional): Drag just outside a corner of the crop box to rotate the image and straighten horizons or vertical lines.
-
Apply the Crop: Press Enter/Return or click the checkmark in the Options Bar to finalize the crop.
-
Save Your Work: Use File > Save As for a new file or File > Export > Save for Web (Legacy) to optimize images for web use.
Advanced Tips for Perfecting Your Adobe Photoshop Crop
1. Using the Crop Overlay Options
In Adobe Photoshop, you can choose different overlay options that guide your composition. The overlay options (found in the toolbar at the top) include:
- Rule of Thirds—Divides the image into a 3×3 grid to align elements.
- Golden Ratio—A more advanced guideline that follows natural lines for composition.
- Grid—Provides a grid overlay, useful for precise alignment.
Experimenting with these overlays in the Adobe Photoshop crop tool can help you develop a keen eye for layout and positioning.
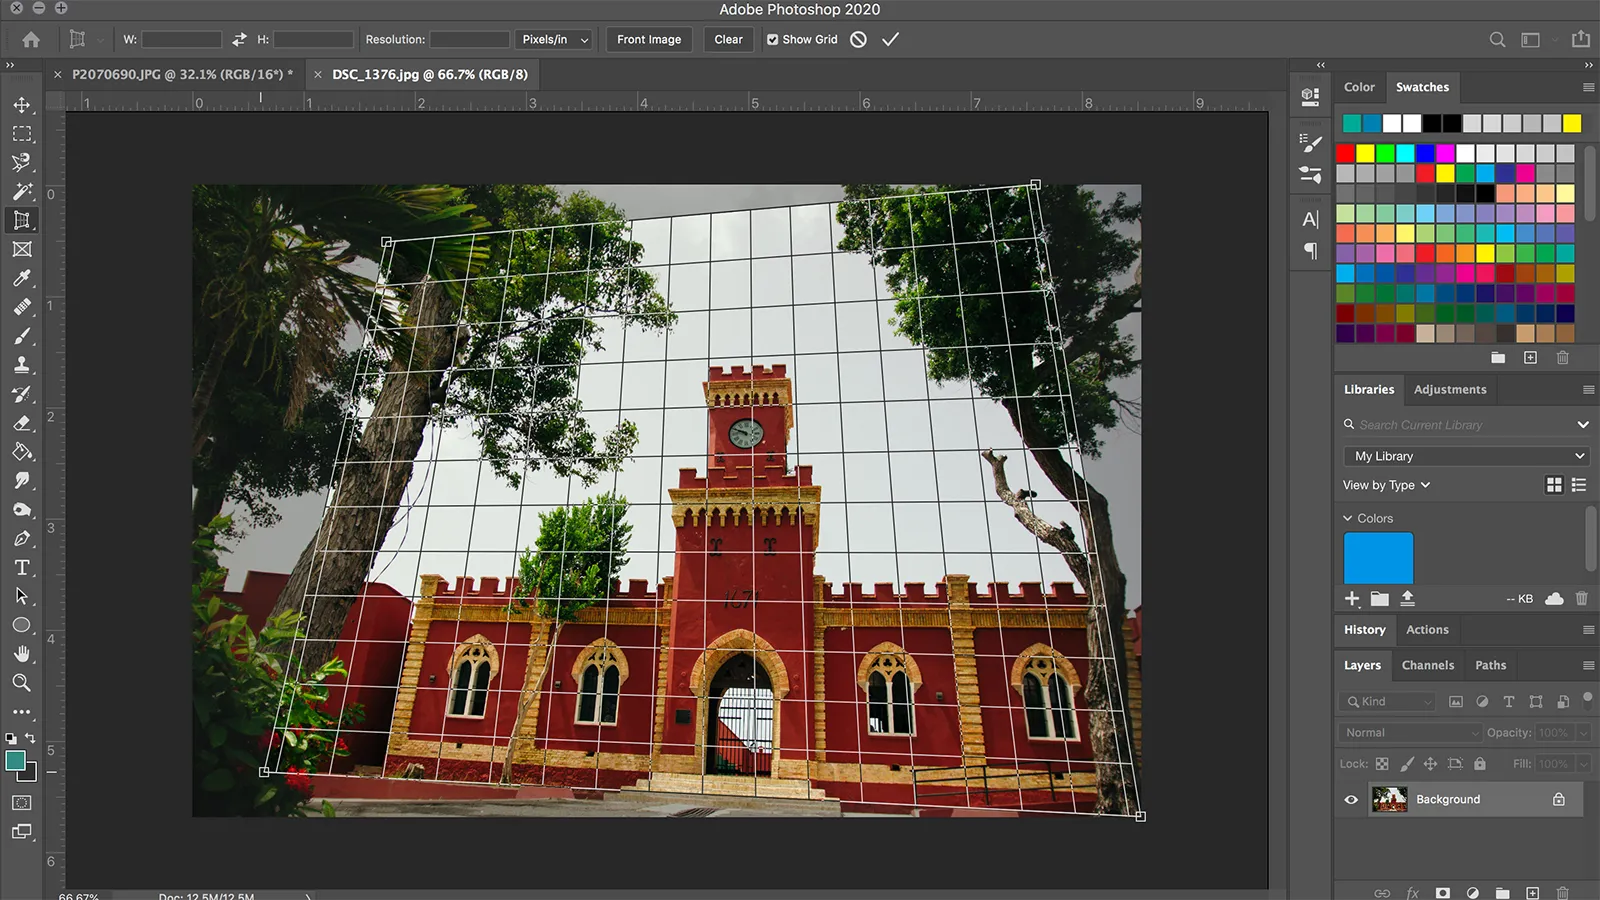
2. Using Perspective Crop
The Adobe Photoshop crop tool also includes a Perspective Crop option, which allows you to crop images at angles. This is particularly useful for images of buildings or objects taken from non-straight angles. By dragging the corners of the crop frame to match the image’s perspective, you can straighten it out, giving a professional finish. Perspective cropping is an often-overlooked feature that can add depth and realism, and it’s one of the features that I personally find valuable in Adobe Photoshop crop.
3. Quickly Reverting the Crop
If you’ve applied a crop and want to revert to the original, simply go to “Edit” > “Undo,” or press “Ctrl+Z” (Command+Z on Mac). With non-destructive cropping, you can go back to the Adobe Photoshop crop tool, and it will remember the previous crop area, making it easy to adjust or restore your initial image.
4. Using Adobe Photoshop Crop for Image Rotations and Resizing
Adobe Photoshop crop isn’t only about cutting edges; it also allows you to rotate or resize images. By adjusting the width and height manually, you can ensure your image fits specific dimensions, like banner ads or thumbnails. Plus, the rotation function within the crop tool allows for custom tilts and can be beneficial for social media images that need specific orientations.

Common Mistakes to Avoid When Using Adobe Photoshop Crop
The Adobe Photoshop crop tool is straightforward, but there are a few common mistakes users might encounter:
- Overcropping: Cropping too tightly can remove essential elements, making an image feel cramped. Try to keep a balanced composition.
- Not Checking Image Resolution: Every crop affects resolution, so if you’re planning to print or use the image for a large display, ensure the final resolution is adequate.
- Ignoring Aspect Ratio: If you crop without considering the aspect ratio, your image may not fit where you intend to place it, especially on social media.
Real-World Applications of Adobe Photoshop Crop Tool
Whether I’m working on social media content, product images, or even landscape photos, Adobe Photoshop crop has proven essential. With this tool, I can quickly frame the most appealing part of an image, eliminate distractions, and create a polished final product. For product photos, the crop tool allows me to center the subject precisely, making it more visually appealing to the audience. For landscape photos, I often use the 16:9 aspect ratio to give images a cinematic touch.
Wrapping Up: Adobe Photoshop Crop – A Tool for All Levels
Mastering the Adobe Photoshop crop tool is a fundamental skill for any designer. This tool isn’t about just resizing or trimming edges; it’s about storytelling through visuals, creating harmony, and drawing attention to the subject. With just a few clicks, you can enhance any image and ensure it aligns with your design goals. So, whether you’re a beginner or an experienced designer, make the most of the Adobe Photoshop crop tool to perfect your edits, and watch your images come to life!


