

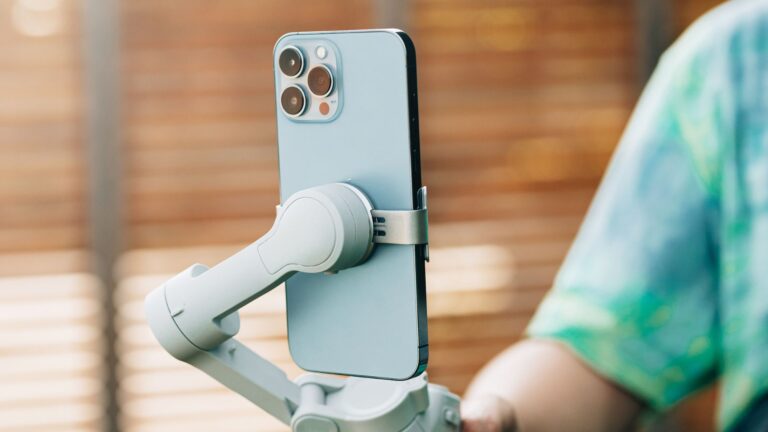
Capturing high-quality jewelry images can be a highly creative process with an iPhone. A photographer needs to use natural light, a tripod or stand, a macro lens, a lightbox, a reflector or white card, and essential cleaning tools. The proper use of the right techniques and tools showcases the fine details and beauty of your pieces. You can easily learn here how to photograph jewelry with an iPhone and create stunning images. You need to retouch jewelry images to make them look perfect, polished, and visually appealing, after capturing the photos.
We will guide you step-by-step on how to photograph jewelry with iPhone and unlock the secrets to professional-looking photos.

Why iPhone Photography is Perfect for Jewelry
The iPhones have advanced camera features such as high-quality sensors, high resolution, and powerful editing tools. The iPhone has come a long way in terms of its camera capabilities. iPhones are portable and easy to use for beginners and professionals for capturing sharp and detailed jewelry photos. Photographing jewelry with an iPhone is an affordable solution compared to using professional cameras, studio setups, and lenses. You can tap the screen to focus and adjust the exposure to keep your shot sharp and well-lit. Advanced iPhones offer AI-enhanced processing along with ProRAW support for greater image control.
You should understand the key features, tools, and techniques, as well as the complete process of how to photograph jewelry with an iPhone.
Preparing Your Jewelry for Photography
It’s essential to prepare and present the jewelry pieces before taking photos of jewelry with iPhone. You make sure that the jewelry pieces look shiny and polished. A microfiber cloth can help you get rid of dirt, dust, and fingerprints on your jewelry. A photographer should use gloves or a soft cloth to prevent fingerprints and smudges on the jewelry. You can use soft and diffused light to avoid harsh shadows. Before learning how to photograph jewelry with an iPhone, you need to prepare the right setup and address lighting properly. Arrange a clean background for the jewelry to highlight its design and reduce shadows. You need to adjust the focus, exposure, and white balance settings on your iPhone’s camera after all of this.
Setting Up the Perfect Lighting
A perfect jewelry lighting setup is one of the most important aspects of learning how to photograph jewelry with an iPhone. Lighting can make or break a jewelry photo. Perfect lighting can highlight the jewelry’s sparkle and details without harsh shadows. On the other hand, direct sunlight or overexposed lighting can wash out details, create glare, and produce unwanted reflections.
Natural light is often the best option when photographing jewelry with iphone. Put your jewelry near a window so that it can get soft, diffused light. Don’t let direct sunlight hit you, because it can create shadows and reflections look bad. A plain white curtain or piece of paper can help spread out the light and make it look softer and more even when you take pictures inside.
You can also use artificial light if there isn’t any natural light or if the weather is cloudy. The most important thing is to use soft, diffuse light that doesn’t cast harsh shadows or make the jewelry look flat. You could think about getting a lightbox, which is a small, portable box with soft lighting built in that works well for taking pictures of jewelry.
When you set up your lights, make sure that the jewelry is lit from more than one angle so that it doesn’t cast unflattering shadows. You might have to try out different positions to find the light that looks best on your piece.
Choosing the Right Background for Photographing Jewelry
The background of your jewelry photo can have a big effect on how the final picture looks. If the background is messy or distracting, it will draw attention away from the jewelry itself. So, when you want to know how to photograph jewelry with an iPhone, think about using a simple, clean background.
A clean, simple, and neutral-colored background, like white, gray, or black, enhances the beauty and design of jewelry. These colors make the jewelry stand out without taking attention away from it. Adding textures like fabric or wood to your photos can also make them look more three-dimensional. Just make sure the background doesn’t take away from the jewelry.
A plain white or neutral background can help bring out the details in a piece of jewelry that has a lot of them. You can try different background colors to make the jewelry amazing if it has bright colors or gemstones. These jewelry background ideas will help you create clean, eye-catching photos for customers.
Camera Settings on the iPhone
The right camera settings are an essential part of how to photograph jewelry with an iPhone. Proper settings help control focus, exposure, white balance, and detail. The iPhone’s camera app is meant to be easy to use and understand, but you will need to change a few settings to get the best jewelry image.
The first thing to think about is focus. Jewelry often has small, detailed parts that need to be in sharp focus. To make sure the jewelry is in focus, tap the screen where you want to draw attention to it. This tap will tell the iPhone to change the focus and exposure. If the piece is complicated, you might have to change the focus several times.
Exposure is the next important setting. The iPhone adjusts exposure automatically, but you may need to correct it manually. After you tap to focus on your jewelry, you can do this by swiping up or down on the screen. A little less exposure can help keep the jewelry’s details and textures.
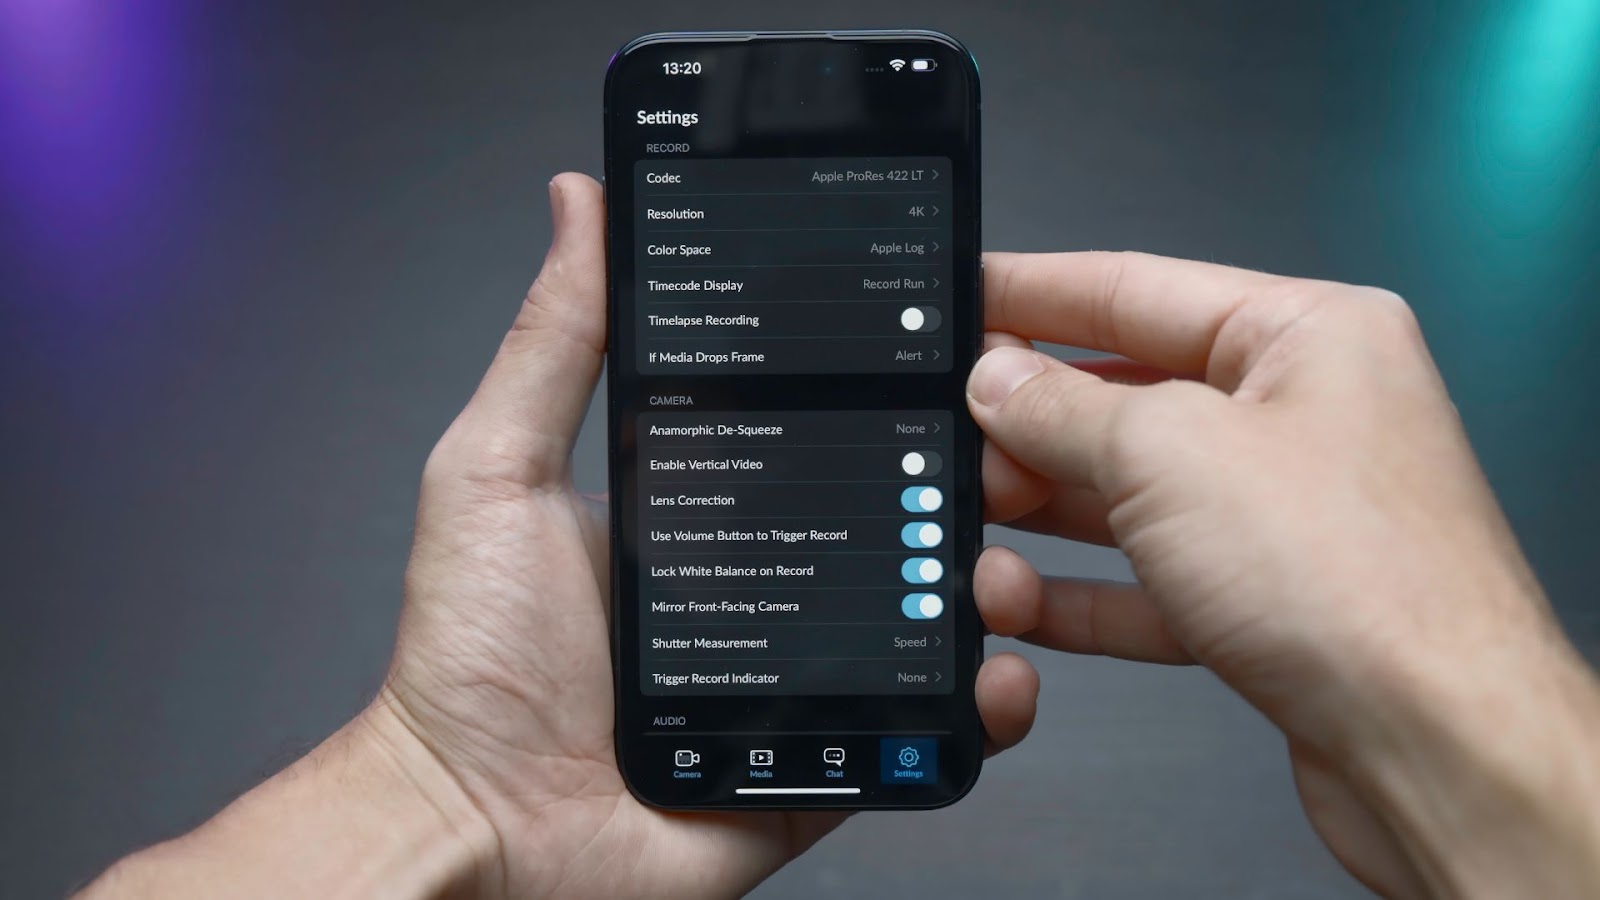
You can turn on the iPhone’s “Pro Camera” mode (available on some models or through third-party apps). For professional results, you can manually change the ISO, shutter speed, and white balance in this mode to get more control over the picture. Macro Mode is needed for capturing fine details on jewelry
You should also make sure that the iPhone’s HDR (High Dynamic Range) feature is turned on. HDR helps bring out more detail in both the bright and dark areas of a photo. This is especially helpful when taking pictures of jewelry with shiny surfaces.

Composition Tips for Stunning Jewelry Photos
When you learn how to photograph jewelry with iphone, composition is very important. Perfect framing can help bring out the jewelry’s beauty and one-of-a-kindness.
Think about the angle you want to use to photograph jewelry with iPhone first. Different angles can bring out different features. Photographing jewelry with an iPhone from the side can show off its band and design. Shooting from above can draw attention to the stone or the setting. Try taking pictures of the jewelry from different angles to see which one shows it off the best.
The “rule of thirds” is another important tip for composing. You cut your picture into three equal parts, both horizontally and vertically, to use this method. Put the jewelry along these lines or at their intersections to make the composition look more balanced and interesting.
Arrange multiple jewelry pieces thoughtfully when photographing jewelry with iPhone. Arrange them so that they lead the viewer’s eye through the picture. When taking pictures of jewelry, remember that less is often more, so don’t fill the frame too much.
Editing Jewelry Photos on Your iPhone
The final step is editing jewelry photos to enhance the image quality. The iPhone’s built-in editing tools allow you to adjust brightness, contrast, sharpness, and color balance.
Exposure correcting is essential to adjust the brightness or darkness of a jewelry photo. Enhance the contrast to make the jewelry pop and sharpen the image to bring out fine details, but avoid over-sharpening. Next, adjust the white balance to ensure the colors appear true to life. Use temperature and tint settings to correct any color inaccuracies.
iPhones also offer filters that can enhance your photos, but apply them subtly. The goal is to keep the jewelry looking realistic, so avoid heavy filters that may distort natural colors and textures.

Avoid Common Mistakes in Photographing Jewelry iPhone
Some common mistakes to avoid are not using the right lighting, not focusing correctly, and not doing post-processing. Instead of using the flash, use soft, natural, or diffused light to keep glare and reflections to a minimum. To focus and change the brightness, tap the jewelry. To lock focus and exposure, hold down the AE/AF Lock button. For the most control over editing, turn on ProRAW in Settings > Camera > Formats. Digital zoom can help get rid of shadows you don’t want, but you shouldn’t use it too much because it can lower the quality.
Try taking pictures from different angles, like flat lay or 45 degrees, to add depth. Use a diffuser or reflector to soften reflections, and be careful of them. Fine-tune exposure, contrast, and sharpness with editing apps like Lightroom Mobile.
Conclusion
Photographing jewelry with an iPhone can produce stunning, professional-quality images. You need to combine proper preparation, lighting, composition, and camera settings. A photographer should clean and arrange the jewelry, use soft light, choose a simple background, and adjust focus and exposure. Experimenting with angles and post-processing while avoiding common mistakes. With practice, your iPhone can be a powerful, affordable tool for stunning jewelry photography. These jewelry photography tips will help you achieve stunning and professional-looking jewelry photos.


