

If you want better shadows in your designs, you can use one of the best Photoshop shadow plugins available today. In this guide, I will show you how to install Shadowify Photoshop quickly and correctly. The steps are simple and easy to follow.
Many designers look for a shadowify free download, but always make sure you download from a safe and trusted source. Now let’s get started.
System Requirements
Before you start the installation, make sure your system meets these basic requirements. This helps prevent errors during setup.
- Adobe Photoshop CC 2019 or later
- Windows or macOS
- At least 4GB of RAM
- Internet connection (if activation is required)
Most modern computers can run Photoshop shadow plugins without issues. Always check that your Photoshop version matches the plugin version before you begin the plugin download process.
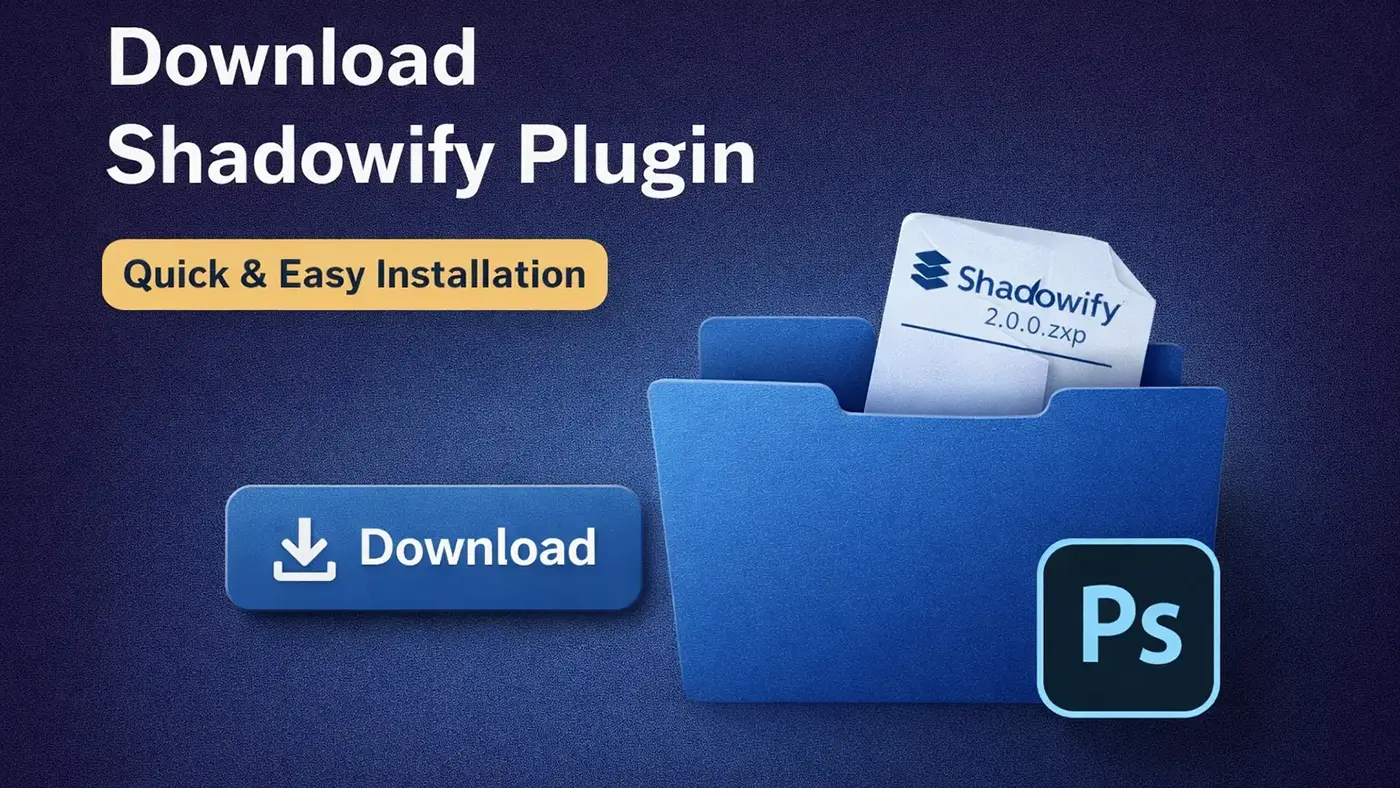
Download Shadowify Plugin
Before you install the plugin, you need the correct file. Always use the official Shadowify download page to avoid errors or harmful files.
First, visit the official website that offers the Shadowify Photoshop plugin. Look for the download button on the homepage. Choose your system version, either Windows or Mac. Click the button and save the file to your computer. The download usually takes only a few minutes.
If the website offers a trial or a free download, check the details before you install it. Make sure your Photoshop version supports the plugin. Most modern Photoshop shadow plugins work with Photoshop CC and newer versions.
After the file finishes downloading, open your Downloads folder. If the file comes in a ZIP format, right-click it and extract the files. You should now see the installer file inside the folder. Keep this folder open because you will use it in the next step.
Install Shadowify in Photoshop
Now you are ready to install Shadowify Photoshop on your computer. The process is simple and takes only a few minutes.
Automatic Installation
If your download includes an installer file, double-click it. Follow the instructions on the screen. Click “Next,” accept the terms, and choose your Photoshop location if prompted. Then click “Install.”
The installer will automatically place the Shadowify Photoshop plugin into the correct folder. Once it finishes, close the installer.
Manual Installation
If there is no installer file, you can install it manually. Copy the plugin file. Then open your Photoshop Plug-ins folder:
Windows: C:\Program Files\Adobe\Adobe Photoshop\Plug-ins
Mac: /Applications/Adobe Photoshop/Plug-ins
Paste the file into the Plug-ins folder. After that, restart Photoshop. Do not skip this step. Photoshop must reload to detect new Photoshop shadow plugins.
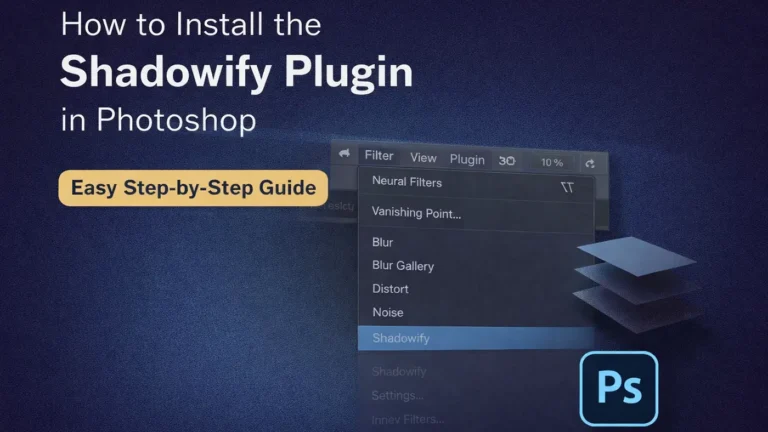
When Photoshop opens, go to the Filter menu or Extensions panel. Look for Shadowify Photoshop in the list. Click it to confirm it opens correctly.
Activate and Start Using Shadowify
Once you install the plugin, you may need to activate it. Some versions require a license key, especially if you did not use the Shadowify free download trial version.
Activate the Plugin (If Required)
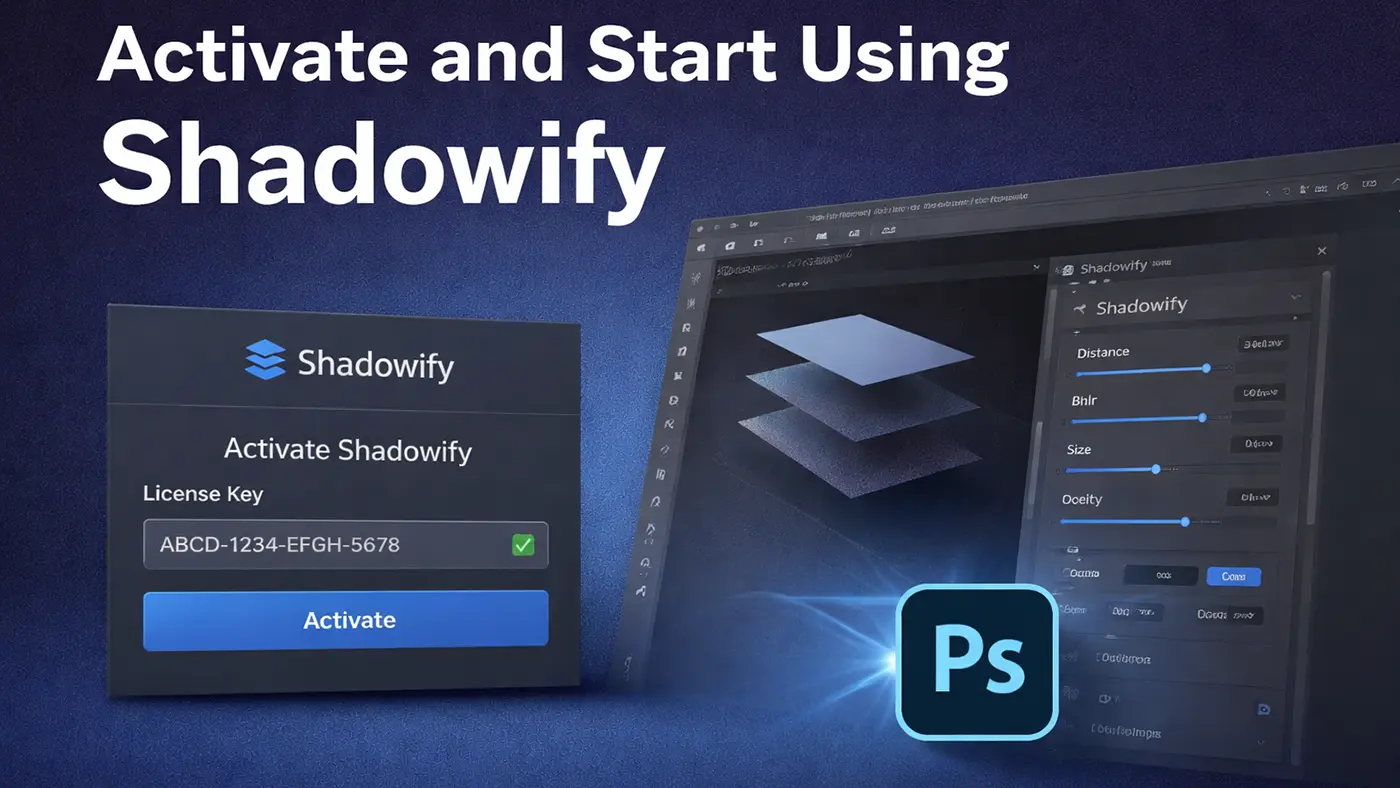
Open Photoshop and load any image. Go to the Filter menu and select the Shadowify Photoshop plugin. If the system asks for a license key, enter the key you received after purchase. Click Activate and wait for confirmation.
If you use a trial version from the official Shadowify download page, follow the trial activation steps on the screen. Make sure your internet connection works during activation.
Verify Installation
After activation, test the plugin on a sample design. Apply a shadow effect and adjust the settings. Most Photoshop shadow plugins offer simple sliders for distance, blur, and opacity. Try different settings to see how they change your design.
Now you are ready to use Shadowify Photoshop in your real projects. With the right setup, you can create clean and realistic shadows in just a few clicks.
Troubleshooting (Optional Section)
Can’t find Shadowify in Photoshop? Don’t panic. This is a common issue, and it’s usually easy to fix.
First, close Photoshop fully. Wait a few seconds, then open it again. Sometimes Photoshop just needs a fresh restart to load new plugins.
Next, double-check the version you installed. Make sure it matches your Photoshop version. A mismatch can stop the plugin from showing up.
If that doesn’t work, remove the plugin file and install it again using the correct Shadowify download file. A clean reinstall often fixes hidden errors.
Also, open your Plug-ins folder and confirm the file is actually inside the correct location. If it’s not there, Photoshop won’t detect it.
Most of the time, one of these quick fixes solves the problem.
Conclusion
Shadowify is simple to install and easy to use. Once you finish the setup, you can start creating natural, professional shadows in seconds.
Download the correct version, follow the steps carefully, and you’ll be ready to use Shadowify in your projects without any hassle.
FAQs (Frequently Asked Questions)
1. Is Shadowify Compatible With All Photoshop Versions?
Shadowify works best with newer versions of Photoshop, especially CC 2019 and up. If you’re using an older version, it might not load correctly. It’s always a good idea to double-check the version details before installing. That small step can save you from a lot of frustration later.
2. Is There a Shadowify Free Download Available?
You may come across trial versions online. Still, it’s smarter to check the official website first. Some third-party sites don’t offer safe files. When in doubt, stick with a trusted source to avoid security issues.
3. How Do I Install the Shadowify Photoshop Plugin?
Start by downloading the correct file from the official site. After that, either run the installer or move the file into your Photoshop Plug-ins folder. Once you restart Photoshop, the plugin should show up. The whole process only takes a few minutes.
4. Where Can I Find Shadowify After Installation?
After installing, open Photoshop and look under the Filter menu. In some cases, you might see it in the Extensions section instead. If it doesn’t appear right away, close Photoshop and reopen it. A restart often fixes it.
5. Why Is Shadowify Not Showing Up in Photoshop?
This usually happens when the file is placed in the wrong folder. Sometimes the version doesn’t match your Photoshop setup. Check the Plug-ins folder carefully and confirm the file is there. If needed, reinstall it and try again.
6. Do I Need to Restart Photoshop After Installing?
Yes, you do. Photoshop won’t recognize new plugins until you restart the program. It only takes a moment, but it’s an important step. Skipping it can make it seem like the plugin didn’t install.
7. Does Shadowify Work on Both Windows and Mac?
Yes, it supports both systems. Just make sure you download the correct version for your operating system. Installing the wrong one can cause problems. Always double-check before clicking download.
8. Will Shadowify Slow Down Photoshop?
On a modern computer, it shouldn’t. Shadowify is lightweight and runs smoothly in most cases. If Photoshop feels slow, the issue is usually low RAM or too many apps running in the background. Closing extra programs can help.
9. Do I Need Internet Access to Use Shadowify?
You may need internet access during activation. After that, you can usually use it offline without any problems. Just make sure your connection is stable during setup. That helps avoid activation errors.
10. Is Shadowify Beginner-Friendly?
Yes, it’s designed to be simple. The controls are easy to understand, even if you’re new to Photoshop. You can adjust shadow distance, blur, and opacity using sliders. Most people pick it up quickly.


