

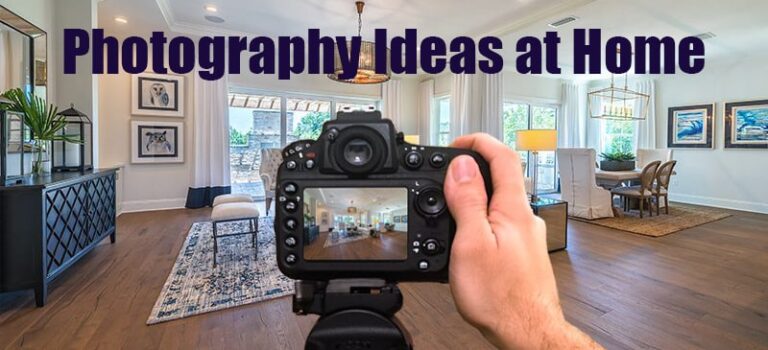
Do you want to take better photo at home? Interior photography may seem simple at first, but creating a beautiful and professional-looking photo is not always easy. A room is a three-dimensional space, but a photo turns it into a two-dimensional image. That is why composition, lighting, angle, and styling are very important.
Whether you are photographing your home, a designed space, or a property for marketing, the right techniques can make a big difference. Here are five useful interior photography tips that can help you capture better home photos.
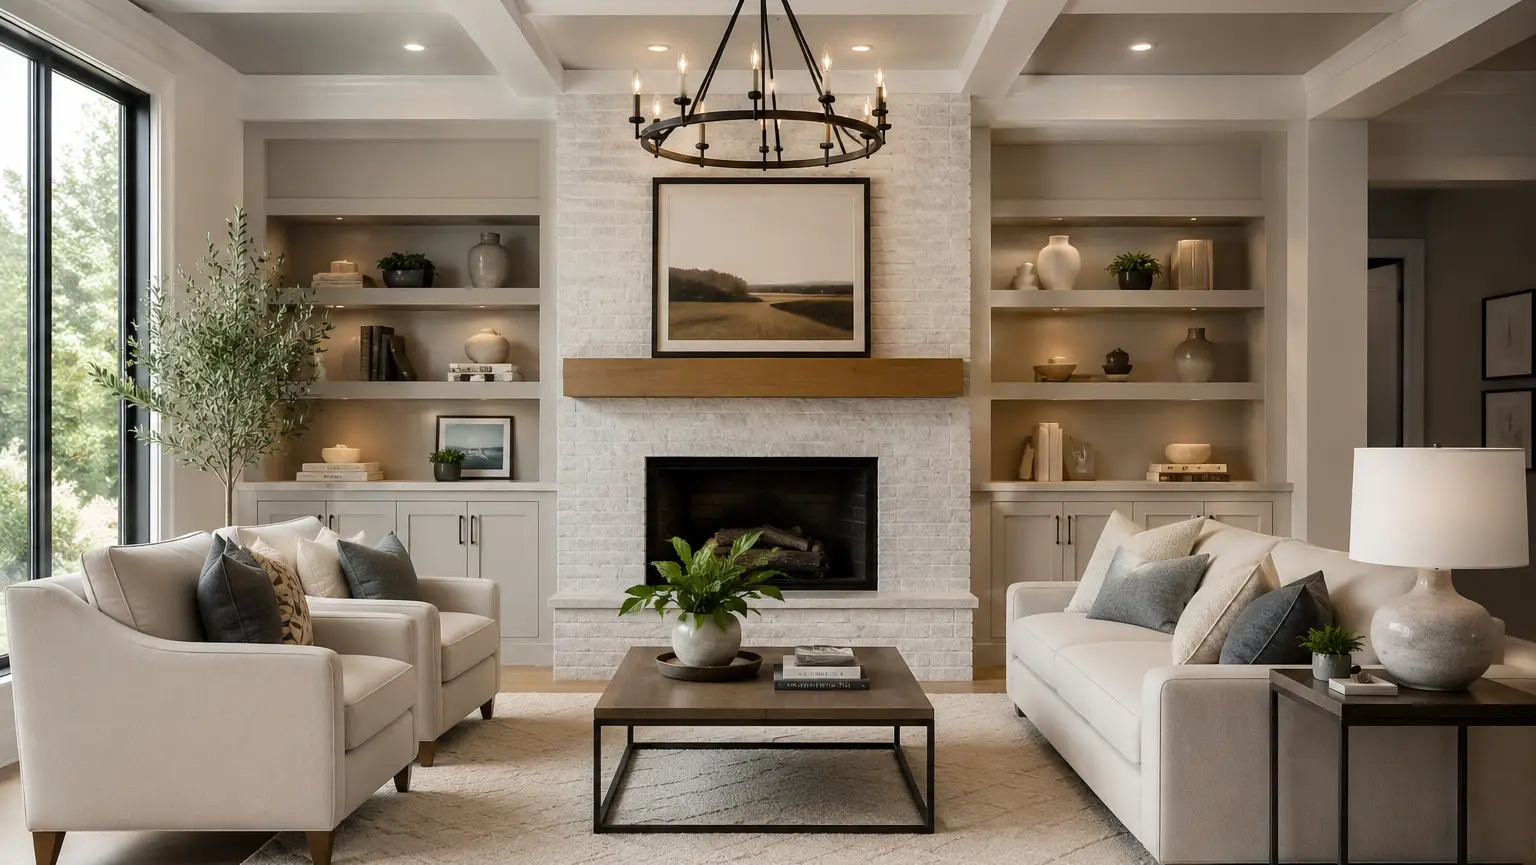
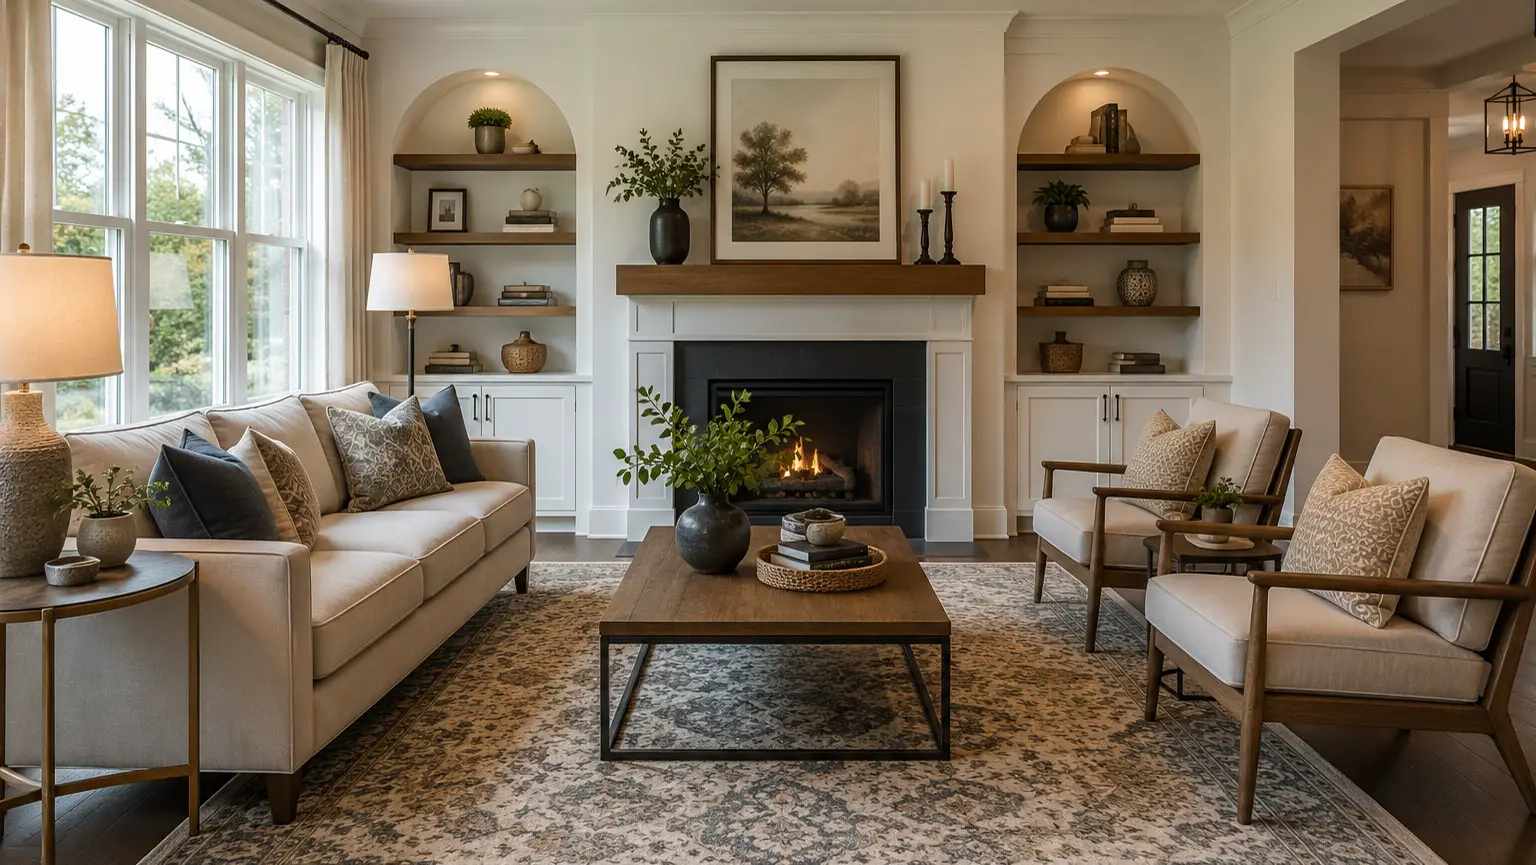
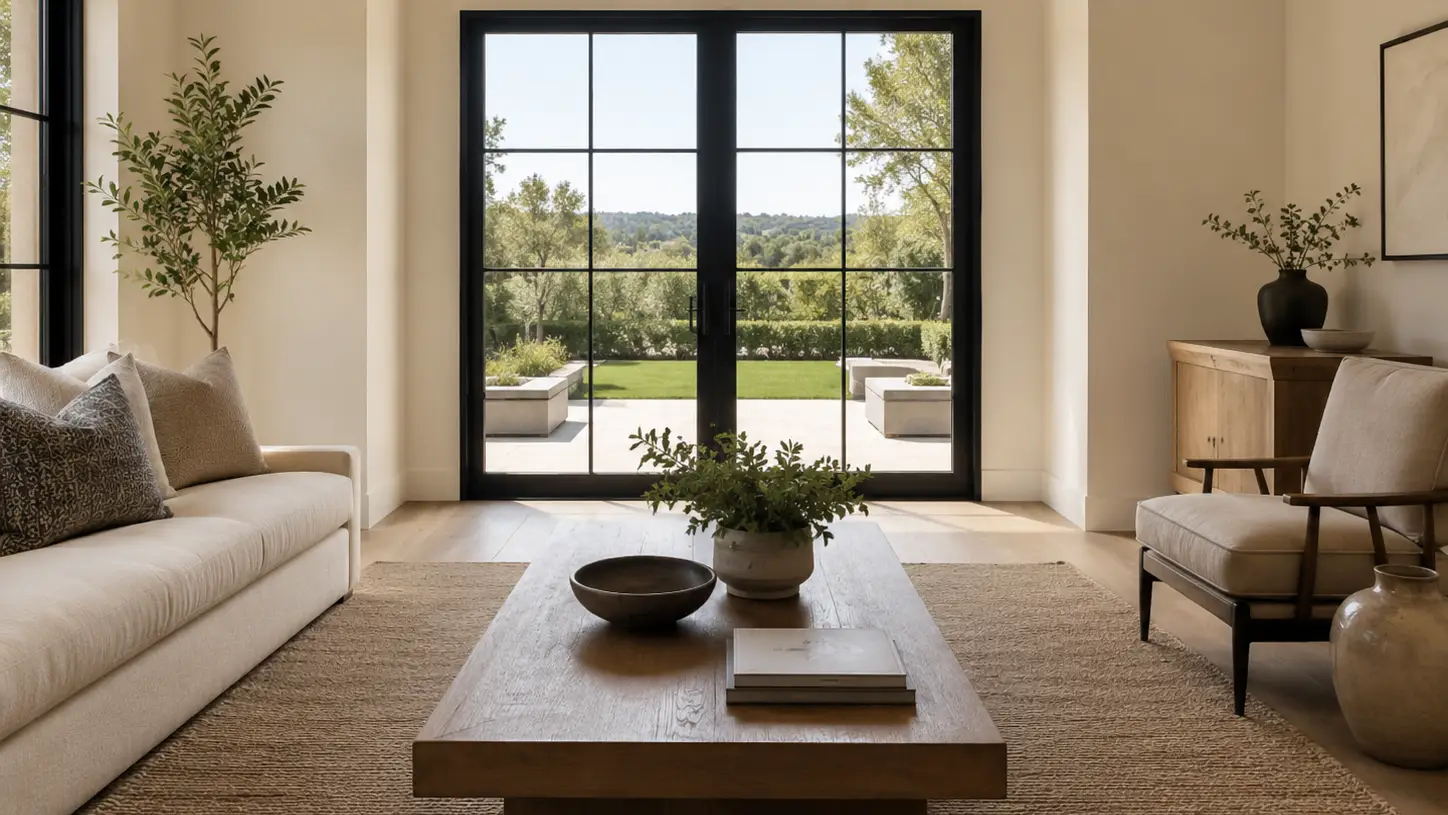
1. Choose a Centerpiece in the Room
One of the biggest mistakes in interior photography is trying to include too many focal points in one photo. When there are too many objects competing for attention, the image can look crowded and confusing. The viewer may not know where to look first.
A good home photo usually has one main focal point. This could be a bed, a fireplace, a window, a sofa, a dining table, or a beautiful set of doors. Choosing one main focus helps make the photo cleaner, stronger, and easier to understand.
There is a big difference between simply documenting a room and creating a photo with a clear visual focus. Instead of trying to show everything at once, build your composition around one important feature.
For example, if the focus is on exterior doors, the furniture around them can help guide the viewer’s eye toward the back of the image.
https://www.youtube.com/watch?v=cJo_otU3JqM
2. Move Things Around Before Shooting
Interior photography is not only about taking a picture of a room exactly as it is. Sometimes, you need to move furniture or objects to make the photo look better through the camera.
Objects that are too close to the camera can appear distorted, stretched, or awkward. Large furniture pieces may also block important parts of the room. Before taking the final photo, look carefully through the camera and see what is helping or hurting the composition.
Try removing some items and then placing them back one by one. This will help you understand what the camera sees and what makes the photo look more balanced.
Remember, a photo is not the same as seeing the room in real life. A photo only shows the camera’s view, so the room may need small adjustments to look natural and attractive in the final image.
For example, in a kitchen photo, removing the table may help the camera capture a cleaner and more balanced view. If the table stays in place, parts of the chairs may be blocked or the table may appear awkwardly at the bottom of the frame.
https://www.youtube.com/watch?v=Dkt5r4vxqVw
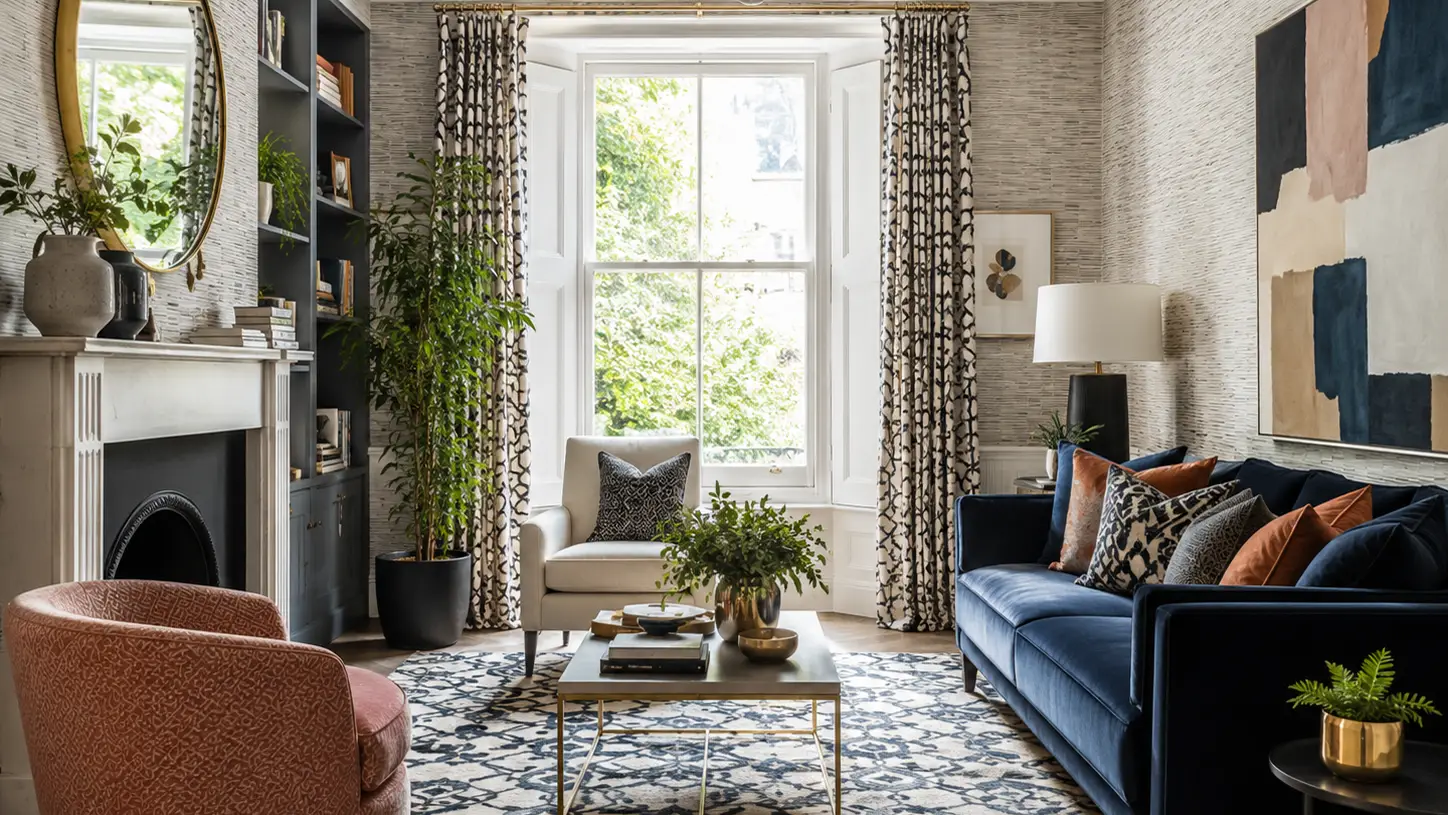
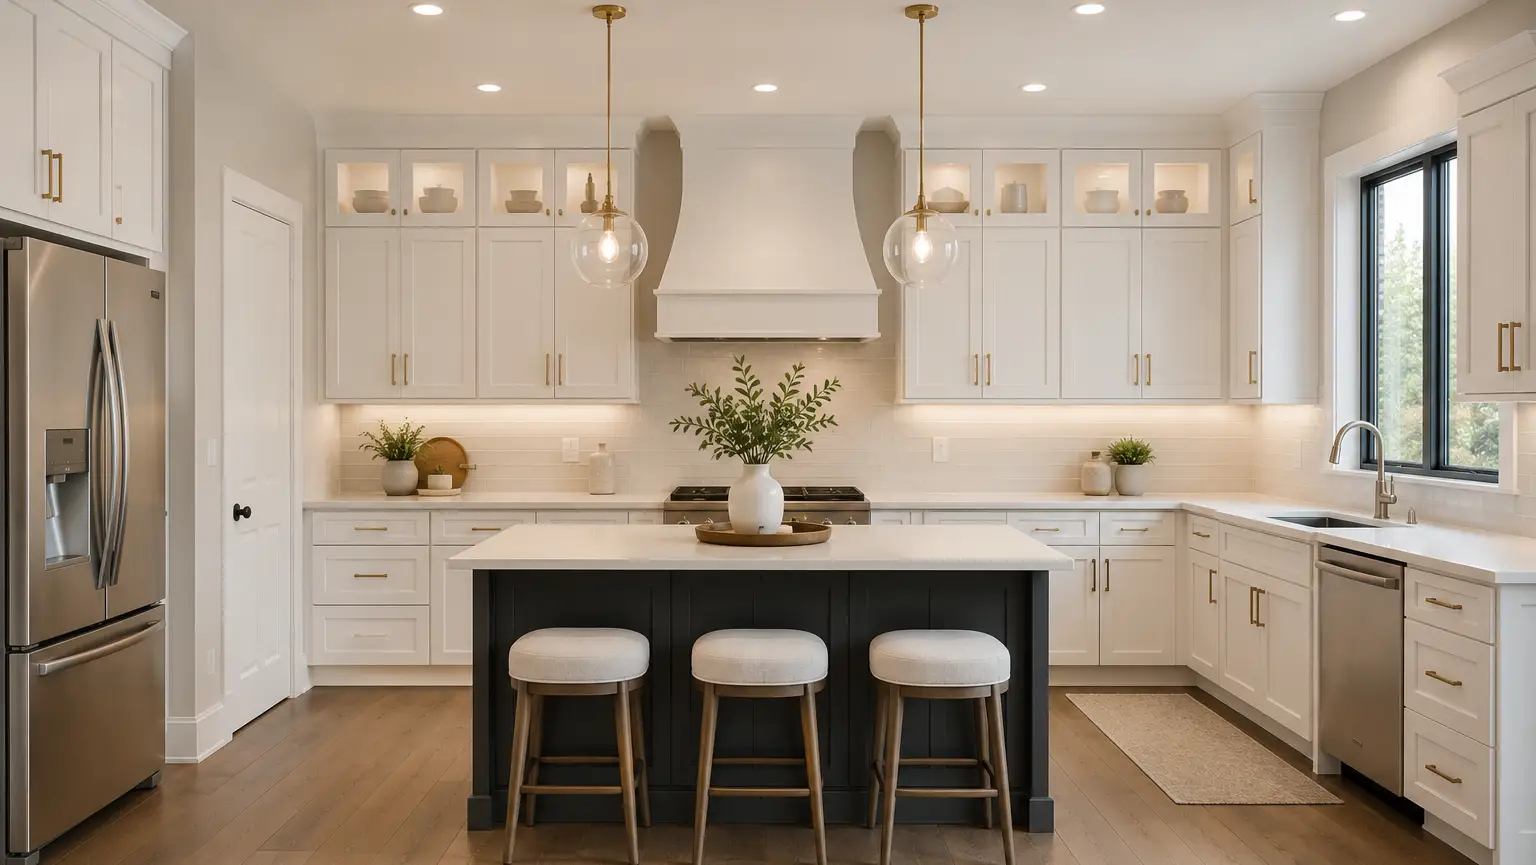
3. Use Patterns to Add Visual Interest
Patterns can make interior photos more attractive and professional. Patterned walls, rugs, tiles, curtains, cushions, or fabrics can add depth, style, and character to a photo.
Art directors and photo editors often use patterns to improve the graphic quality of an image. A patterned background can help solid objects stand out clearly. At the same time, solid objects can help balance a space that has strong patterns.
Patterns are also popular in modern interior design, so using them can make your photos feel fresh and stylish.
When taking interior photos, pay attention to floor patterns, ceiling details, wall textures, and fabric designs. These elements can help frame the subject and guide the viewer’s attention toward the most important part of the image.
4. Add Directional Lighting
Lighting is one of the most important parts of interior photography. Good lighting can make a room feel warm, natural, and realistic. Poor lighting can make the same room look flat and uninteresting.
Today, many interior photographers prefer using natural light as much as possible. Natural light creates soft highlights and shadows, which help add depth and mood to the photo.
A common problem at home photos is flat lighting. When light fills every shadow evenly, the room may lose dimension. Instead, try to use directional light. Directional lighting creates natural shadows, contrast, and focus.
Natural light coming from a window, for example, can make cabinets, floors, furniture, and walls look more realistic. The shadows help the viewer understand the shape and depth of the room.
Natural light is difficult to imitate perfectly. That is why using real window light can often make interior photos look more natural and professional.
https://www.youtube.com/watch?v=nr1NzO4q-q4
5. Shoot at Eye Level
One of the best angles for interior photography is eye level. This means taking photos from a height that feels natural to the human eye.
Standing, sitting, or kneeling can all create good shooting angles, depending on the room and the subject. These positions help the image feel comfortable, realistic, and easy to connect with.
Shooting from a very high or very low angle can make the room look unnatural. For example, if you climb a ladder to take a photo, the room may look unusual because people do not normally see the space from that height.
When the camera angle becomes too noticeable, it can distract from the actual subject of the photo. Keeping the camera at eye level helps the room feel natural, balanced, and livable.
6. Keep the Space Clean and Simple
A clean space always looks better in interior photography. Before taking photos, remove unnecessary items such as wires, extra decorations, papers, small clutter, or anything that distracts from the main subject.
The goal is not to make the room look empty, but to make it look organized and visually balanced. A clean room allows the design, furniture, lighting, and space to stand out clearly.
Simple styling can make your interior photos look more professional. Keep only the items that add beauty, balance, or meaning to the composition.
7. Use a Tripod for Sharp Photos
Using a tripod is very helpful in interior photography. Indoor spaces often have lower light, so the camera may need a slower shutter speed. If you hold the camera by hand, the photo can become blurry.
A tripod keeps the camera steady and helps you capture sharp, clean, and professional-looking images. It also helps maintain straight lines and consistent framing.
This is especially useful when photographing bedrooms, living rooms, kitchens, or real estate interiors where clarity and detail are important.
8. Pay Attention to Vertical Lines
Straight vertical lines are very important in interior photography. Walls, doors, windows, cabinets, and furniture edges should look straight and balanced in the photo.
If the camera is tilted up or down too much, vertical lines may bend or lean. This can make the image look unprofessional.
To avoid this, keep your camera level and try to shoot from a balanced position. Straight lines make the room look more natural, clean, and visually pleasing.
9. Show the Best Features of the Room
Every room has something special. It could be a large window, a beautiful sofa, stylish lighting, wooden flooring, modern cabinets, or a unique wall design.
Before taking the photo, decide which feature you want to highlight. Then compose the image in a way that makes that feature stand out.
This helps the viewer quickly understand what makes the space attractive. Highlighting the best features also makes the photo more useful for interior design portfolios, real estate listings, and home decor content.
10. Edit the Photo Naturally
Photo editing is an important part of interior photography, but it should look natural. Adjust brightness, contrast, color balance, and sharpness carefully.
Avoid over-editing the image. Too much saturation, unrealistic lighting, or strong filters can make the room look fake. The goal is to improve the photo while keeping the space realistic.
Natural editing helps the room look clean, bright, and professional without losing its original character.
Conclusion
Interior photography is more than just taking a picture of a room. It requires careful planning, composition, lighting, and styling. By choosing one clear centerpiece, moving objects when needed, using patterns, adding directional lighting, and shooting at eye level, you can create stronger and more professional-looking home photos.
With practice, these interior photography tips can help you capture beautiful images that feel natural, balanced, and visually appealing.


