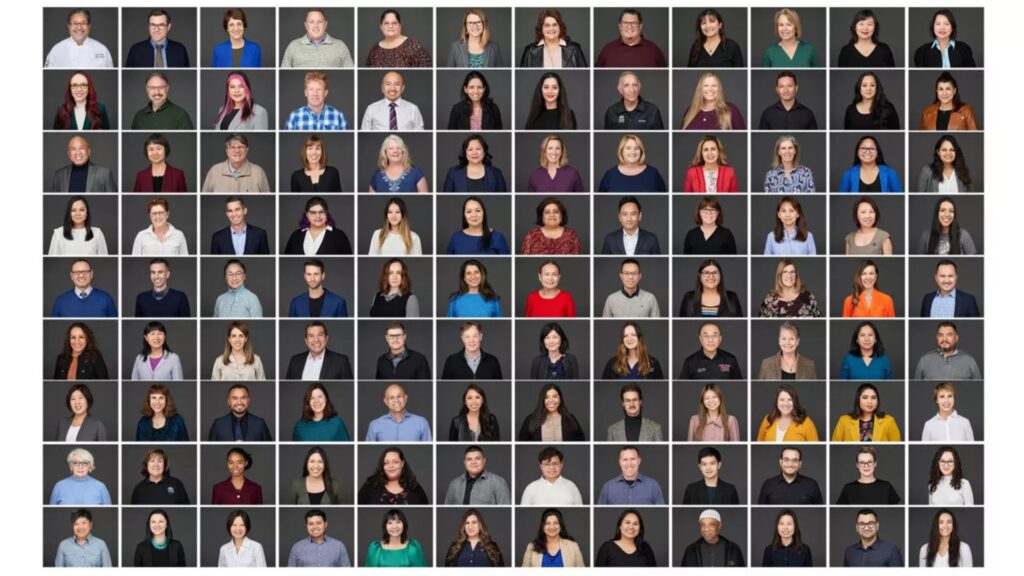
Retouching headshots is a crucial skill for photographers and graphic designers alike, especially in a professional setting. Whether it’s for corporate profiles, modeling portfolios, or personal branding, headshots need to strike a balance between authenticity and refinement. Photoshop offers an extensive set of tools to enhance headshots, transforming them from ordinary photos to polished, professional images.
This article will walk you through the process of retouching headshots in Photoshop, from basic fixes to professional-level finishes, ensuring your images are both striking and realistic.
Start with High-Resolution Images
Before diving into any editing, always start with high-resolution images. A high-quality image provides the necessary detail for fine-tuning and ensures your final product looks sharp, even after multiple edits. RAW files are recommended because they store more data than JPEGs, allowing for better manipulation of exposure, color, and detail.
Adjust Exposure and White Balance
One of the first steps in headshot retouching is to correct exposure and white balance. Even well-lit photos may need minor adjustments to match the lighting conditions or the client’s preferences.
- Exposure: Use the Camera Raw Filter to make exposure corrections. Adjust the highlights, shadows, and overall exposure to balance the lighting in the photo. This step is crucial for ensuring that the subject’s face is well-lit and free of harsh shadows.
- White Balance: A common issue in photography is incorrect white balance, which can make skin tones appear too warm or too cool. In the Camera Raw Filter, adjust the white balance slider until the skin tones look natural.
Clean Up Blemishes with the Spot Healing Brush
Once the lighting and color are balanced, the next step is to address any skin imperfections. The Spot Healing Brush Tool is excellent for quickly removing small blemishes, pimples, or stray hairs.
- Select the Spot Healing Brush Tool (J) and set the brush size slightly larger than the blemish.
- Simply click on the imperfection, and Photoshop will automatically sample nearby pixels to blend the area seamlessly.
For larger imperfections or tricky areas like shadows under the eyes, you may need to use the Clone Stamp Tool for more controlled healing.
Smooth Skin Using Frequency Separation
The key to professional headshot retouching lies in maintaining natural skin texture while still smoothing out imperfections. This is where frequency separation comes in. It separates the texture of the skin from the color, allowing you to work on each independently.
Here’s how to use frequency separation:
- Duplicate your image twice. Name the first copy “Low Frequency” and the second “High Frequency.”
- Apply a Gaussian Blur to the Low Frequency layer (around 5-7 pixels) to blur out the skin tones but retain the overall structure.
- On the High Frequency layer, apply a High Pass filter to retain the skin texture.
- Use the Clone Stamp Tool or Healing Brush Tool on the Low Frequency layer to smooth out uneven tones while preserving the natural skin texture on the High Frequency layer.
This technique ensures that skin remains lifelike without looking overly airbrushed.
Brighten the Eyes for a More Engaging Look
The eyes are the focal point of any headshot, and enhancing them can make a subject look more lively and engaging. However, it’s important to avoid over-brightening, as this can lead to an unnatural, alien-like appearance.
- Use the Dodge Tool to gently brighten the whites of the eyes. Set the exposure to around 10-20% for subtle adjustments.
- To enhance the irises, create a new layer and set the blending mode to Soft Light. Use a soft white brush with low opacity (10-15%) to paint over the irises. This brightens the eyes without washing out the color.
Make sure to keep these changes subtle. The goal is to enhance the natural beauty of the eyes without making them look artificially vibrant.
Soften Shadows and Highlights with Dodge & Burn
Dodge & Burn is a classic technique used to manipulate light and shadow. This is particularly useful in headshot retouching to soften harsh shadows or add definition to the face.
- Create a new layer, fill it with 50% gray, and set the blending mode to Soft Light. Use the Dodge Tool to lighten areas like the forehead, cheekbones, and chin. Use the Burn Tool to darken areas like the jawline or around the eyes for added depth.
This method gives you control over the light and shadow on the face, creating a more dimensional and polished look.
Refine Facial Features with the Liquify Tool
The Liquify tool is often associated with drastic changes, but when used carefully, it can be an excellent tool for subtle enhancements. For headshot retouching, Liquify can be used to make small adjustments that improve the overall composition without altering the subject’s natural appearance.
- Use the Forward Warp Tool to slightly refine facial features like the jawline, cheekbones, or nose. Keep brush pressure low to make gentle adjustments.
Liquify can also be used to fix any asymmetry caused by camera angles or posture, helping to create a balanced, symmetrical look.
Sharpen the Image for Added Definition
After all the retouching work is done, sharpening the image will bring out fine details and make the headshot look crisp and professional.
- Use the Unsharp Mask filter to sharpen the image. Set the Amount to around 100%, the Radius to 1-1.5 pixels, and adjust the Threshold to prevent sharpening noise.
This final step ensures that the subject’s face is clear and defined, making the headshot stand out without looking grainy or over-edited.
Use Layer Masks for Non-Destructive Editing
Throughout the editing process, it’s essential to work non-destructively. Layer masks allow you to hide or reveal parts of an adjustment without permanently altering the original image.
- Create a layer mask on any adjustment layer (such as brightness, curves, or hue/saturation).
- Use a soft black brush to hide parts of the adjustment and a white brush to reveal them.
This technique provides flexibility, allowing you to make changes without the need to undo or start over, giving you more control over the final image.
Final Touches: Color Grading and Vignetting
The final step in professional headshot retouching involves color grading and adding a vignette to draw attention to the subject.
- Color Grading: Use the Curves or Color Balance adjustment layer to fine-tune the color tones. For a warm, approachable headshot, you might add more reds and yellows. For a cooler, corporate look, focus on blues and greens.
- Vignette: Add a subtle vignette by going to Filter > Lens Correction and adjusting the vignette sliders. This darkens the edges of the photo, naturally drawing attention to the subject’s face.
Conclusion
Retouching headshots in Photoshop requires a delicate balance between enhancing the subject’s natural features and maintaining authenticity. By mastering the basics like exposure correction, blemish removal, and skin retouching, and progressing to advanced techniques like frequency separation, dodge & burn, and color grading, you can create professional, polished headshots that stand out. Whether you’re retouching for corporate profiles, acting headshots, or personal branding, these techniques will ensure your work looks refined, yet real.
FAQs
What is the most important step in headshot retouching?
The most important step is maintaining the subject’s natural appearance while enhancing their best features. This means using techniques like frequency separation and dodge & burn subtly to improve the photo without over-editing.
How can I smooth skin without making it look fake?
Using frequency separation is the best way to smooth skin while keeping its natural texture. This method allows you to edit the skin tone and texture separately, ensuring a polished yet realistic look.
Should I always use the Liquify tool when retouching headshots?
The Liquify tool should be used sparingly. It’s great for minor adjustments like fixing posture or refining facial features, but it’s important to avoid making drastic changes that could alter the subject’s natural appearance.
What’s the best way to brighten the eyes in a headshot?
The best way to brighten eyes is by using a combination of the Dodge Tool and a Soft Light layer with a soft brush. This allows you to enhance the brightness subtly, without making the eyes look too artificial.
How can I ensure my edits are non-destructive?
Always use adjustment layers and layer masks in Photoshop. These allow you to make edits without permanently altering the original image, providing more flexibility and control over the final result.
Experience Perfection: Claim Your Free Trial Today!
Get a firsthand look at our exceptional services with a no-obligation free trial—start transforming your visuals today!


