


Your Shopify store is the digital storefront of your business, and just like a physical store, first impressions matter. In the world of eCommerce, high-quality, well-sized images play a crucial role in capturing attention, conveying product details, and building trust with your customers. When photos are improperly sized or pixelated, it can lead to a lackluster shopping experience, reducing the likelihood of conversions. But worry not! Resizing your Shopify photos correctly ensures they look polished, load quickly, and provide a seamless user experience. In this guide, we’ll walk you through the importance of resizing images for your Shopify store and provide practical tips to help you present your products in the best light.

Why Image Size Matters for Shopify
Understanding the importance of image size for your Shopify store is essential. Here are several reasons why properly sized images can make or break your online business.
Enhancing Visual Appeal
Images are one of the most powerful tools for engaging potential customers online. High-quality, properly sized images look sharp, professional, and attractive, which can significantly enhance the overall aesthetic of your store. When images are too large, they can appear distorted or take longer to load, which can frustrate visitors. Conversely, images that are too small may look pixelated and fail to showcase the details of your products effectively.
Improving Page Load Speed
Page load speed is a critical factor that affects user experience and search engine rankings. Large image files can significantly slow down your site, leading to a higher bounce rate. Studies show that 53% of users abandon a website if it takes longer than three seconds to load. By resizing your images to the appropriate dimensions and optimizing them for web use, you can reduce file sizes, improve load times, and keep potential customers engaged.
Boosting SEO Performance
Search engines, like Google, take page load speed and mobile-friendliness into account when ranking websites. Properly resized images can contribute to faster page load speeds, which, in turn, can improve your Shopify store’s SEO performance. Moreover, clear, optimized images help search engines understand what your content is about, potentially boosting your visibility in search results.
Understanding Shopify Image Requirements
To ensure your photos look their best on Shopify, it’s important to follow the platform’s image guidelines. Shopify supports various image formats, including JPEG, PNG, GIF, and WEBP. Each format has its own advantages and is suited for different types of images.
Recommended Image Sizes for Shopify
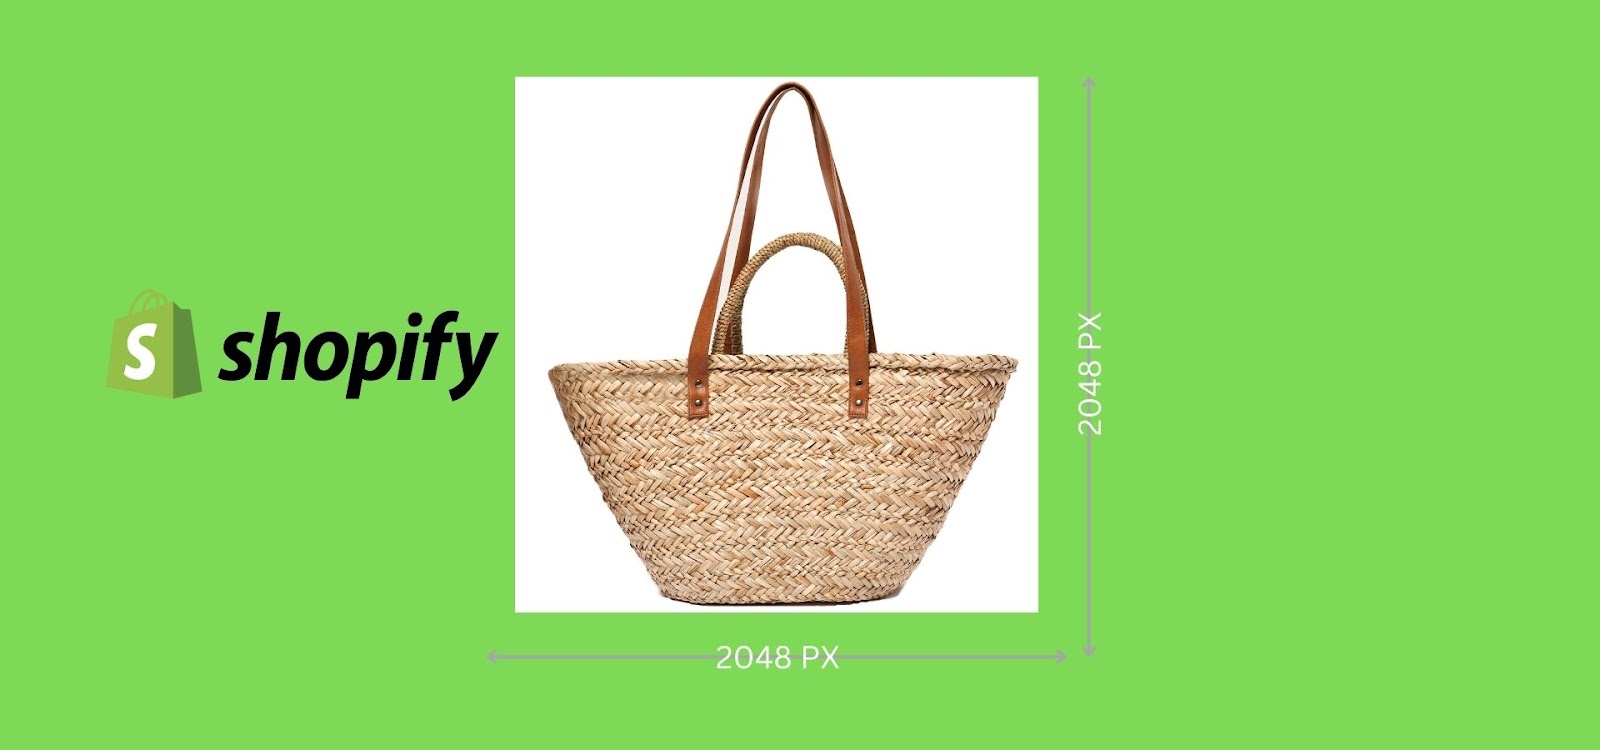
- Product Images: For product images, Shopify recommends a minimum size of 2048×2048 pixels. This size allows for high-resolution photos that showcase product details clearly and offer a zoom-in feature for customers. However, larger images can slow down your site, so it’s crucial to balance quality with performance.
- Collection Images: Collection images are used to represent groups of products. Shopify suggests a size of 1024×1024 pixels. This size ensures a crisp, clear display without taking up too much bandwidth.
- Banner or Slideshow Images: The recommended dimensions for banner or slideshow images are 1200×600 pixels. This size provides a good balance between quality and load time while ensuring the images look good on both desktop and mobile devices.
- Logo Images: Logo images should ideally be 450×250 pixels to maintain clarity and professionalism across your store.
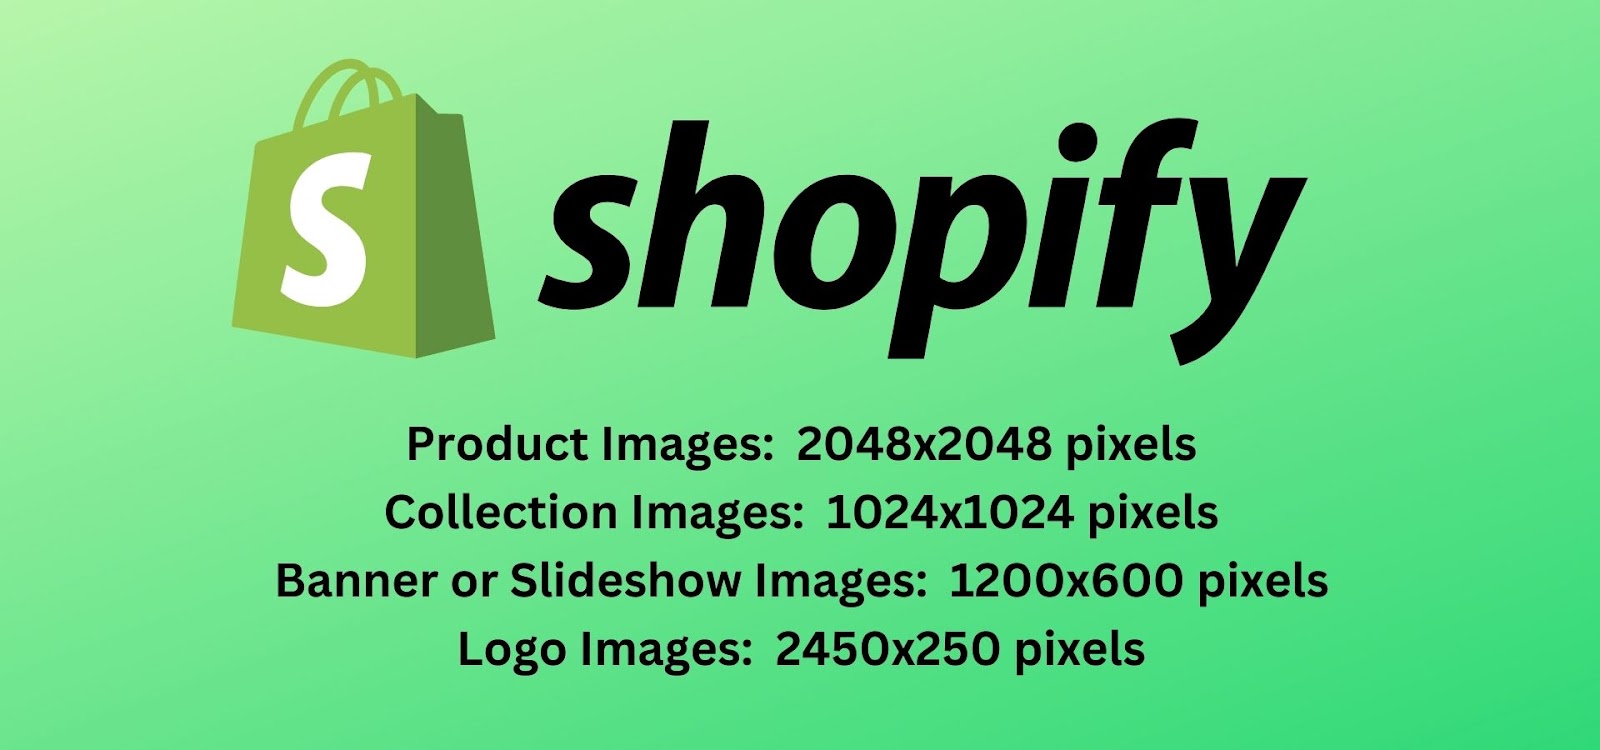
Image Formats and When to Use Them
- JPEG: Best for photographs or images with lots of color and detail. JPEGs are compressed, so they have smaller file sizes, which is beneficial for page speed.
- PNG: Ideal for images with transparency or when you need a high-quality graphic, such as a logo. PNG files are larger, so use them sparingly.
- GIF: Suitable for animated images but should be used minimally due to their large file size.
- WEBP: This is a modern image format that provides superior lossless and lossy compression for images on the web. Using WEBP can significantly reduce file size without compromising quality, but ensure your audience’s browsers support it.
How to Resize Images for Shopify
Resizing images for Shopify involves a few simple steps, which you can perform using various tools available online and offline. Here’s a step-by-step guide:
Using Online Tools
Online tools like Canva, Fotor, and Adobe Express offer easy-to-use platforms for resizing images. These tools provide pre-set templates for various Shopify image sizes, allowing you to quickly resize images without needing advanced editing skills.
- Upload your image: Start by uploading your image to the tool.
- Select the dimensions: Choose the desired dimensions (e.g., 2048×2048 pixels for product images).
- Adjust the crop if necessary: Ensure that your image is centered and important elements are not cut off.
- Download and save: Save the resized image in the desired format (usually JPEG for product images).
Utilizing Photo Editing Software
For those who prefer more control over the image resizing process, software like Adobe Photoshop or GIMP is ideal. These programs allow you to manually set dimensions and resolution, ensuring your images meet Shopify’s guidelines precisely.
- Open your image in the software: Start by opening the image file you want to resize.
- Select the ‘Image Size’ option: This will allow you to enter the specific dimensions needed.
- Adjust the resolution: For web use, a resolution of 72 DPI (dots per inch) is standard.
- Save and export: Save the resized image in the appropriate format for Shopify.
Using Shopify’s Built-In Image Editor
Shopify also has a built-in image editor that allows you to perform basic edits, including resizing, cropping, and adjusting brightness or contrast. This tool is particularly useful for quick edits on the go.
- Go to your Shopify admin panel: Navigate to the product or page where the image is uploaded.
- Click on the image to open the editor: Select the edit option to access resizing tools.
- Adjust the dimensions as needed: Use the cropping tool to maintain the aspect ratio and resize the image.
- Save changes: Ensure to save your edits before exiting the editor.
Best Practices for Resizing Shopify Images
To get the best results, consider the following best practices when resizing images for your Shopify store:
Maintain Image Consistency
Consistency in image sizes and styles is key to creating a professional-looking store. Ensure that all product images have a similar size, aspect ratio, and background color. This uniformity helps create a cohesive visual experience that enhances your brand’s identity and makes browsing more enjoyable for customers.
Optimize for Mobile Devices
With a growing number of shoppers using mobile devices, it’s crucial to optimize your images for both desktop and mobile views. Shopify themes are typically responsive, but it’s still important to check how your images look on different screen sizes. Make sure the key elements of your product photos are visible and that no vital parts are cropped out on smaller screens.
Balance Quality and File Size
While high-resolution images are important for showcasing product details, they should not come at the expense of site speed. Use image compression tools to reduce file sizes without sacrificing too much quality. Tools like TinyPNG or JPEG-Optimizer can help you compress images to ensure faster loading times while maintaining visual appeal.
Use Descriptive File Names and Alt Text
Search engines cannot ‘see’ images but rely on file names and alt text to understand what the images depict. Use descriptive file names and include relevant keywords to improve your SEO. For example, instead of using a generic file name like “IMG1234.jpg,” use “women-red-leather-handbag.jpg.” Similarly, add alt text to each image, describing what it shows and incorporating relevant keywords.
Common Mistakes to Avoid When Resizing Images for Shopify
Even with the best intentions, mistakes can happen when resizing images. Here are some common pitfalls to avoid:
Over-Compressing Images
Over-compression can lead to blurred images and a loss of detail, which can negatively impact the perceived quality of your products. Ensure you find a balance between reducing file size and maintaining image clarity. Test your images at different compression levels to find the sweet spot.
Ignoring Aspect Ratios
Different image types on Shopify (like product images, banners, and thumbnails) have different aspect ratios. Ignoring these can lead to awkward cropping, where important parts of your images might get cut off. Always check the aspect ratio and crop images accordingly.
Neglecting Image Consistency
A lack of consistency in image sizes and styles can make your Shopify store look unprofessional. Always maintain a consistent image style across your store, including similar lighting, backgrounds, and dimensions, to create a more cohesive shopping experience.
Troubleshooting Common Image Resizing Issues
If you encounter problems while resizing images for Shopify, here are some tips to resolve common issues:
- Blurry Images: If your images are appearing blurry, check the resolution. Make sure you are not resizing images to be larger than their original size, as this can cause pixelation.
- Slow Load Times: If your site loads slowly, consider compressing your images further or using a different image format that offers better compression.
- Cropping Issues: Ensure that your images are correctly sized and that important elements are centered and not cut off by Shopify’s automatic cropping.
Conclusion
Resizing your Shopify photos is more than just a technical task—it’s a critical part of your eCommerce strategy. Properly sized and optimized images not only enhance the aesthetic appeal of your store but also improve user experience, boost SEO performance, and increase conversion rates. By following the guidelines and best practices outlined in this guide, you can ensure that your Shopify store presents your products in the best possible light, enticing customers to stay longer, explore more, and, ultimately, make a purchase. Remember, every detail counts in eCommerce, and that includes the size and quality of your images. So take the time to resize your images correctly—you won’t regret it!
FAQs
What is the ideal size for Shopify product images?
The ideal size for Shopify product images is 2048×2048 pixels. This size provides high-quality visuals that allow customers to zoom in and see product details clearly.
Can I use the same image size for all Shopify images?
While you can use a standard size for consistency, different sections of Shopify (like product pages, collections, and banners) have different size recommendations to ensure optimal display and performance.
How can I resize images without losing quality?
Use tools like Adobe Photoshop or online editors like Canva that allow you to set specific dimensions while maintaining the original quality. Additionally, start with high-resolution images and resize downwards.
Why do my images look blurry on Shopify?
Images can appear blurry if they are not sized correctly or if they have been overly compressed. Ensure that your images are high resolution and that you follow Shopify’s recommended image sizes.
What’s the best file format for Shopify images?
JPEG is the best format for Shopify product images due to its balance between quality and file size. PNG is ideal for images that require transparency or high-quality graphics, while WEBP offers good compression without significant quality loss.


