

Product photography is more important than ever in today’s visually-driven marketplace. High-quality images can make or break a sale, influencing how potential customers perceive your products. Whether you’re an entrepreneur looking to showcase your products online, a budding photographer eager to refine your skills, or someone simply exploring a new hobby, this guide is tailored to help you navigate the world of product photography. By following this step-by-step workflow, you’ll be well-equipped to capture stunning images that highlight your products’ best features.
Understanding the Basics
Before diving into the technical aspects, it’s crucial to grasp what product photography truly entails. At its core, product photography is about showcasing items in the best possible light (literally and figuratively) to attract and convert potential customers. Unlike other forms of photography, the focus here is on the product itself—its details, textures, and overall appeal.
Starting out, you don’t need to invest in top-of-the-line gear. There are plenty of budget-friendly options that can still deliver professional-quality results. For beginners, essential equipment includes a reliable camera, good lighting, appropriate backgrounds, and stabilizers like tripods. When it comes to cameras, you don’t have to splurge on the latest DSLR. Many mirrorless cameras or even smartphones with good cameras can do the trick. Lighting is equally important; natural light is great, but artificial lighting like softboxes and LED lights will give you more control over your shoot. Backgrounds should be simple, often a plain white surface, to keep the focus on the product. A tripod is crucial to keep your shots steady, especially when using slower shutter speeds.
Planning Your Shoot
Once you’ve gathered your equipment, it’s time to plan your shoot. Start by defining your objectives. What is the purpose of these photos? Are they for an online store, social media, or a print catalog? Each platform may have different requirements and standards. Once your goals are clear, conduct research to gather inspiration. Look at what successful brands and photographers are doing—this will help you create a vision for your shoot.
Creating a shot list is a practical step that ensures you cover all necessary angles and details. This list acts as a blueprint for your session, helping you stay organized and focused. Also, don’t forget to prepare your products beforehand—clean and polish them so they look their best in front of the camera.
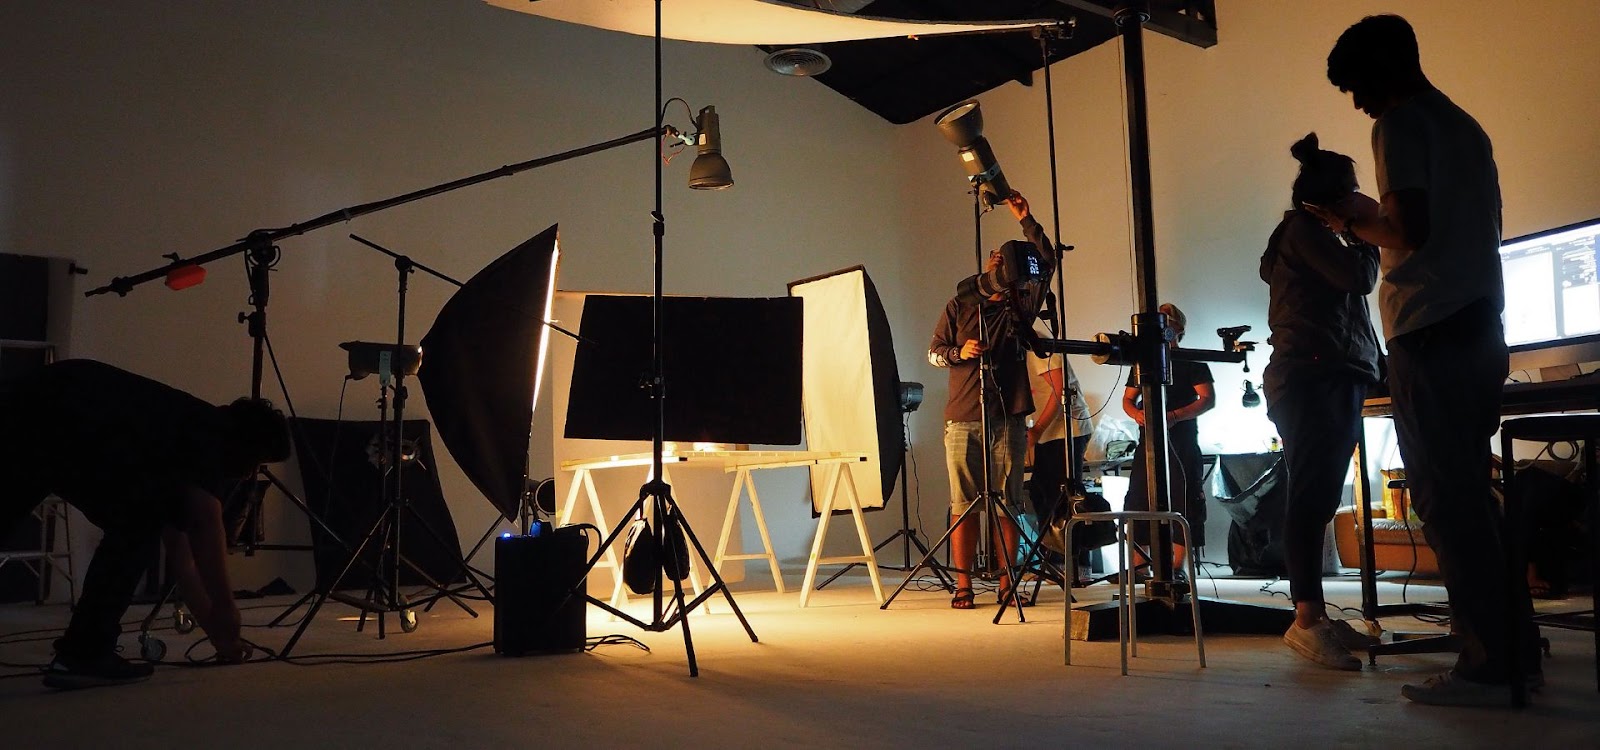
Setting Up Your Studio
The next step is to set up your studio. You don’t need a professional space; a small area in your home can work perfectly fine. Choose a space with ample natural light or room to set up artificial lighting. Your lighting setup is crucial, and the choice between natural and artificial light depends on the look you’re aiming for. Natural light offers a soft and flattering effect, but it can be inconsistent. Artificial lighting, on the other hand, provides more control and consistency. Using tools like softboxes can diffuse the light, reducing harsh shadows and giving your products a more even illumination. Reflectors can also be used to bounce light back onto the product, filling in any shadows.
Backgrounds are another critical element. The background should complement your product without overpowering it. While white or black backgrounds are classic choices, don’t be afraid to get creative with different colors or textures. If you’re on a budget, DIY backgrounds using foam boards, fabric, or wallpaper can add a unique touch to your photos.

Camera Settings for Product Photography
With your studio set up, it’s time to focus on your camera settings. Understanding the exposure triangle—aperture, shutter speed, and ISO—is vital. Aperture controls the depth of field, allowing you to blur the background while keeping the product sharp. Shutter speed affects how motion is captured, and ISO determines the camera’s sensitivity to light.
Choosing the right lens is another important decision. A macro lens is ideal for capturing small details, while a 50mm or 85mm lens works well for general product photography. White balance is key to ensuring that colors appear natural; most cameras have presets for different lighting conditions, but you can also adjust this manually. Finally, consider shooting in RAW format rather than JPEG. RAW files offer more flexibility in post-processing, allowing for adjustments in exposure, white balance, and more without losing quality.
Composing the Perfect Shot
Composition is where your creativity truly comes into play. The rule of thirds is a fundamental technique that involves dividing your frame into nine equal parts and placing the subject along these lines or at their intersections. This creates a balanced and visually appealing image. Symmetry is another compositional tool that can create harmony and order in your photos.
Negative space, the empty area around your subject, can help draw attention to the product and make your images appear clean and professional. Focus and depth of field are also important; a shallow depth of field, achieved by using a wide aperture, can make your product stand out by blurring the background. Lastly, consider adding props to your scene. Props can enhance your product and tell a story, but they should always complement the product rather than distract from it.
Shooting Techniques for Different Products
Different types of products require different shooting techniques. Reflective products, such as glass or metal, can be challenging due to their tendency to reflect everything around them. Using diffused lighting and shooting from various angles can help minimize unwanted reflections. Textured products, on the other hand, benefit from side lighting, which emphasizes the texture and adds depth to the image. Transparent products, like glassware, require careful lighting to avoid losing the product against the background. For small products, a macro lens is often necessary to capture fine details, while larger products may require wider shots to capture the full item.
Post-Processing Your Images
Post-processing is an essential part of product photography. It allows you to fine-tune your images and correct any issues that may have arisen during the shoot. Basic editing techniques include cropping and straightening your images, as well as adjusting exposure and contrast to make the product pop.
Advanced editing might involve color correction, background removal, and retouching imperfections. Color correction ensures that the colors in your photos are true to life, which is especially important if the images are for e-commerce. Background removal is often necessary for product listings, where a clean, white background is required. Retouching can help remove any blemishes or dust that you might have missed during the shoot.
Optimizing Images for Different Platforms
Once your images are edited, the next step is to optimize them for the platforms where they will be used. Different platforms have different requirements in terms of file formats and sizes. For example, e-commerce platforms typically require high-resolution images, while social media might favor smaller, more compressed files. It’s also important to consider SEO for product images, especially for online stores. Using descriptive file names and alt text can help improve your images’ search engine ranking, making them more discoverable.
Common Mistakes to Avoid
As you venture into product photography, it’s important to be aware of common mistakes. One of the biggest pitfalls is overcomplicating the setup. Keep things simple—your goal is to highlight the product, not the background or props. Ignoring lighting is another common mistake. Without proper lighting, even the best camera won’t be able to capture your product in its best light. Skipping post-processing is also a mistake; even the most well-shot images can benefit from some editing. Finally, strive for consistency in your images. Inconsistent image quality can make your product range look disjointed and unprofessional.
Tips for Consistency in Product Photography
Consistency is key in product photography, especially if you’re shooting a range of products. Creating a style guide that outlines your preferred settings, lighting setups, and editing techniques can help maintain a uniform look across your images. Batch shooting, or photographing multiple products in one session, can also help ensure consistency. Using presets during editing can streamline the process, applying the same adjustments to all images. Lastly, regularly updating your portfolio with new images keeps your work fresh and reflects your evolving style.
Tools and Software for Product Photography
To further refine your skills and streamline your workflow, there are numerous tools and software available. Editing software like Adobe Photoshop and Lightroom are industry standards for post-processing, offering a wide range of features for both basic and advanced editing. Online resources and apps can provide inspiration and additional tools for color correction, retouching, and more.
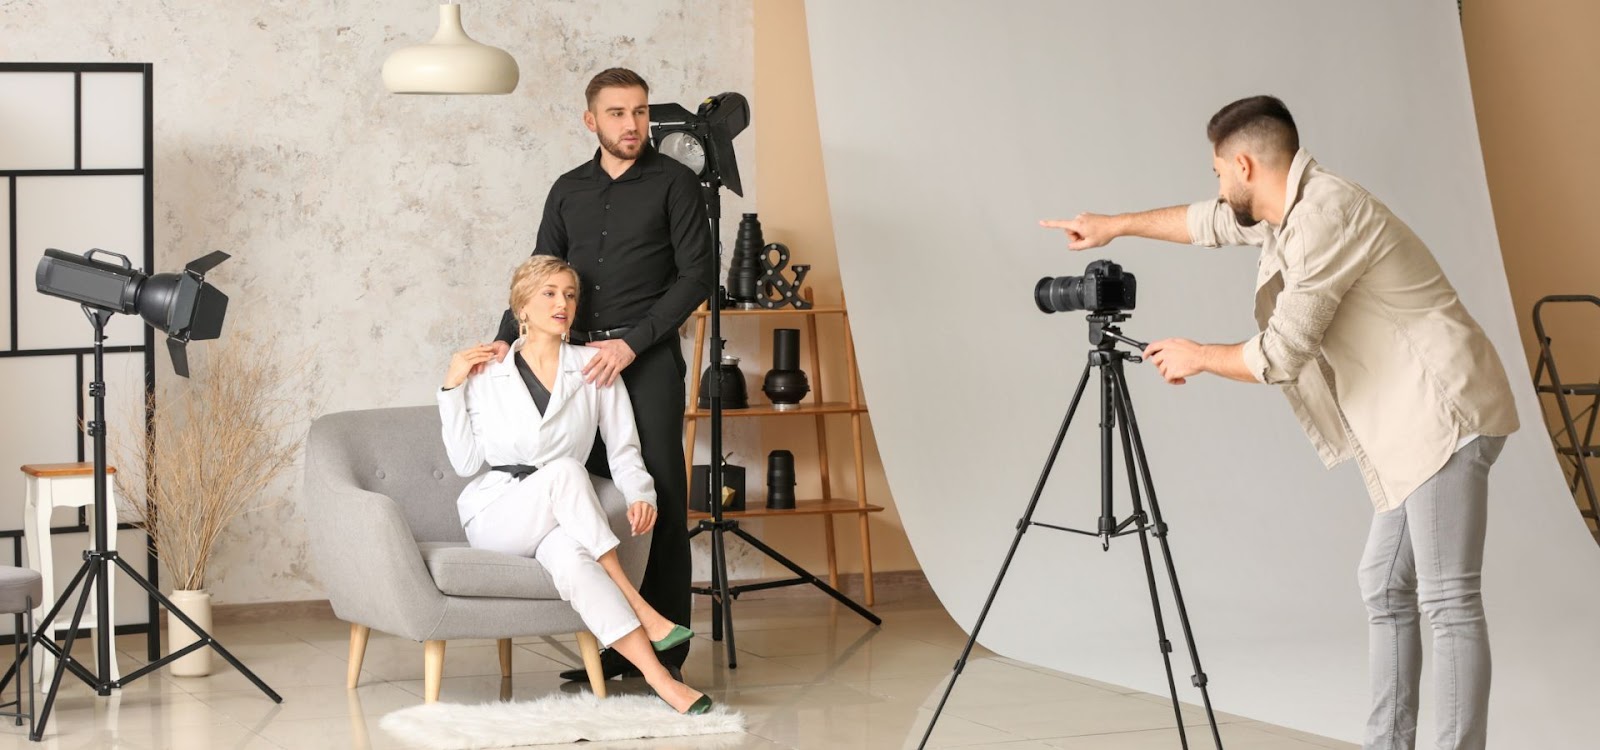
Working with Models or Hands
If your products are best showcased with models or hand models, there are additional considerations. When working with models, communication is key to ensuring they understand the look you’re going for. Hand models, in particular, require careful positioning to avoid distracting from the product. Posing and positioning techniques are crucial to highlighting the product effectively while maintaining a natural and appealing look.
Building a Portfolio as a Beginner
As you gain experience, building a portfolio becomes essential, especially if you want to pursue product photography professionally. Start by selecting your best work that showcases a range of products and styles. Creating a portfolio website is a great way to display your images and attract potential clients. Sharing your work on social media can also help you reach a wider audience and connect with other photographers. Networking within the photography community can open doors to new opportunities and collaborations.
Conclusion
Product photography can seem daunting at first, but with the right guidance and practice, it becomes a rewarding and creative process. By understanding the basics, planning your shoots, mastering your camera settings, and refining your post-processing skills, you can produce stunning images that highlight your products and engage your audience. Don’t be afraid to experiment and develop your own style—every photographer starts somewhere, and with dedication, you’ll see improvement with every shot.
FAQs
What Camera is Best for Product Photography?
The best camera for product photography depends on your needs and budget. While high-end DSLRs offer great versatility and image quality, beginners can achieve excellent results with mirrorless cameras or even smartphones with advanced camera features. The key is to choose a camera that allows manual control over settings like aperture, shutter speed, and ISO.
How Can I Improve My Lighting Setup?
Improving your lighting setup can drastically enhance your product photos. Start by experimenting with natural light, which is soft and flattering. If you need more control, consider investing in artificial lighting like softboxes or LED lights. Using diffusers and reflectors can help soften shadows and create a more even light across your product.
Do I Need Expensive Equipment to Start?
No, you don’t need expensive equipment to start with product photography. Many beginners start with budget-friendly cameras and lighting setups. The key is to understand your equipment and how to use it effectively. As you gain experience, you can gradually upgrade your gear.
How Long Should a Product Shoot Take?
The duration of a product shoot can vary depending on the complexity of the products and the number of shots required. A basic shoot for a few items might take a couple of hours, while a more detailed session involving multiple products, angles, and setups could take a full day or more. Planning and preparation can help streamline the process and reduce the time needed.
What Are the Best Practices for Storing My Images?
To ensure your images are safe and accessible, store them in multiple locations. Use external hard drives, cloud storage, or both to back up your files. Organize your images into folders with clear labels, and consider saving them in both high-resolution formats for editing and smaller, optimized formats for web use. Regularly review and update your storage practices to avoid losing important files


