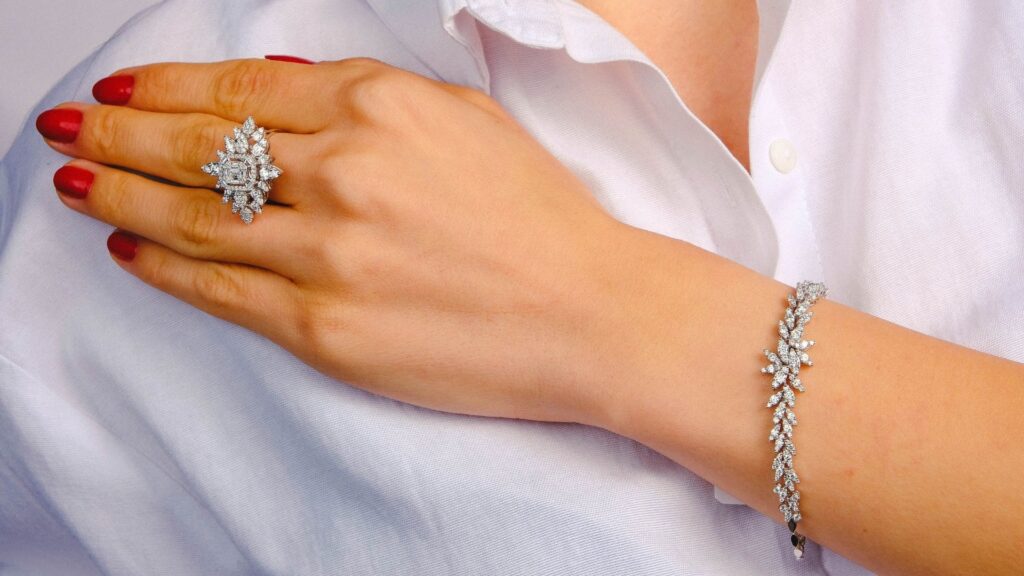
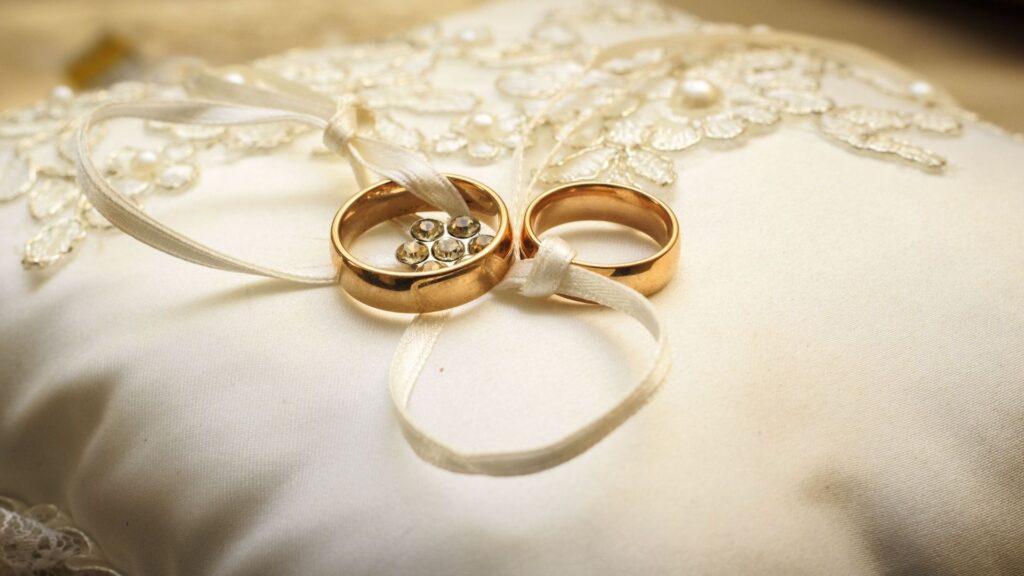
Jewelry photography is an art that requires an exceptional level of detail and precision. Capturing the brilliance of a diamond, the luster of a gold necklace, or the intricate designs of a silver ring involves more than just good lighting and a high-quality camera. One of the most crucial aspects of creating stunning jewelry photographs is the retouching process, particularly focusing on the tones. This comprehensive guide delves into the intricacies of jewelry retouching tones, offering photographers a detailed roadmap to enhance their images and make their jewelry pieces shine.
Understanding Jewelry Retouching
Before diving into the specifics of retouching tones, it’s essential to understand what jewelry retouching entails. Jewelry retouching is the process of enhancing jewelry photographs to make them look as appealing and realistic as possible. This process involves several steps, including cleaning up the image, correcting colors, enhancing details, and adjusting the overall tones.
Importance of Tones in Jewelry Photography
Tones play a pivotal role in jewelry photography. They help in defining the mood of the image, highlighting the details, and making the jewelry appear more vibrant and appealing. The right use of tones can turn a dull image into a stunning masterpiece. Here are some reasons why tones are critical in jewelry retouching:
- Highlighting Details: Jewelry pieces often have intricate designs that need to be highlighted. Proper use of tones can bring out these details, making the jewelry look more appealing.
- Enhancing Brilliance: Tones can enhance the brilliance of gemstones and metals, making them look more attractive.
- Setting the Mood: Different tones can set different moods for the image. For instance, warm tones can create a luxurious and inviting feel, while cool tones can give a sophisticated and modern look.
- Correcting Colors: Tones play a crucial role in correcting colors and ensuring that the jewelry looks as close to real life as possible.

Steps for Jewelry Retouching Tones
1. Image Preparation
Before you start retouching the tones, it’s crucial to prepare your image. This involves cleaning up the image, removing any dust, scratches, or imperfections, and ensuring that the jewelry is well-lit and in focus. Here’s how you can do it:
- Clean Up: Use tools like the healing brush or clone stamp in Photoshop to remove any dust, scratches, or blemishes. This will give you a clean base to work on.
- Adjust Lighting: Ensure that the lighting is even and well-balanced. You can use the curves or levels adjustment layers in Photoshop to correct any lighting issues.
- Sharpen the Image: Use the sharpening tools to enhance the details of the jewelry. Be careful not to overdo it, as too much sharpening can make the image look unnatural.
2. Color Correction
Once your image is prepared, the next step is to correct the colors. This involves adjusting the white balance, enhancing the colors of the gemstones and metals, and ensuring that the overall color tone is consistent and natural. Here’s how you can do it:
- White Balance: Use the white balance tool to ensure that the colors are accurate. This is particularly important for jewelry photography, as incorrect white balance can make the jewelry look dull and unappealing.
- Enhance Gemstone Colors: Use selective color adjustments to enhance the colors of the gemstones. Be careful not to over-saturate, as this can make the colors look unnatural.
- Adjust Metal Colors: Metals like gold, silver, and platinum have distinct colors that need to be accurately represented. Use hue/saturation adjustments to ensure that the metal colors are accurate and vibrant.
3. Tone Adjustments
Now that the colors are corrected, it’s time to focus on the tones. This involves adjusting the shadows, highlights, and midtones to create a balanced and appealing image. Here’s how you can do it:
- Shadows: Use the curves or levels adjustment layers to enhance the shadows. Be careful not to make the shadows too dark, as this can hide the details of the jewelry.
- Highlights: Adjust the highlights to bring out the brilliance of the gemstones and metals. Again, be careful not to overdo it, as too much highlight can make the image look washed out.
- Midtones: Use the midtone adjustments to ensure that the overall tone of the image is balanced. This will help in creating a natural and appealing look.
4. Fine-Tuning Tones
Once the basic tone adjustments are done, it’s time to fine-tune the tones. This involves making small adjustments to ensure that the tones are perfect. Here’s how you can do it:
- Dodge and Burn: Use the dodge and burn tools to enhance the highlights and shadows. This will help in bringing out the details and creating a more dynamic image.
- Color Grading: Use color grading to add a final touch to the image. This involves adjusting the overall color tone to create a specific mood or look.
- Final Adjustments: Make any final adjustments to the tones to ensure that the image looks perfect. This might involve making small changes to the shadows, highlights, or midtones.

Advanced Techniques for Jewelry Retouching Tones
For those looking to take their jewelry retouching to the next level, here are some advanced techniques that can help:
1. Frequency Separation
Frequency separation is a powerful technique that allows you to separate the high-frequency details from the low-frequency tones. This can be particularly useful for retouching jewelry, as it allows you to enhance the details without affecting the overall tone of the image. Here’s how you can do it:
- Create Two Layers: Duplicate your image and create two layers. One layer will be for the high-frequency details, and the other for the low-frequency tones.
- Apply Gaussian Blur: Apply a Gaussian blur to the low-frequency layer. This will help in separating the tones from the details.
- Subtract Details: Use the high-pass filter on the high-frequency layer to extract the details.
- Blend Layers: Use the blend modes to combine the two layers. This will allow you to retouch the details and tones separately.
2. High Dynamic Range (HDR) Imaging
HDR imaging is another advanced technique that can be used to enhance the tones in jewelry photography. This involves taking multiple exposures of the same image and combining them to create a single image with a higher dynamic range. Here’s how you can do it:
- Take Multiple Exposures: Take multiple exposures of the same image at different exposure levels. This will help in capturing the details in both the shadows and highlights.
- Combine Exposures: Use HDR software to combine the exposures into a single image. This will create an image with a higher dynamic range.
- Adjust Tones: Use tone mapping to adjust the tones in the HDR image. This will help in creating a balanced and appealing image.
3. Luminosity Masking
Luminosity masking is a technique that allows you to create masks based on the luminosity of the image. This can be particularly useful for making precise tone adjustments. Here’s how you can do it:
- Create Luminosity Masks: Use Photoshop to create masks based on the luminosity of the image. This will allow you to make precise adjustments to the shadows, highlights, and midtones.
- Adjust Tones: Use the luminosity masks to adjust the tones in the image. This will help in creating a balanced and appealing image.
- Fine-Tune Adjustments: Use the masks to make any final adjustments to the tones. This will help in creating a perfect image.

Common Challenges in Jewelry Retouching Tones and How to Overcome Them
Retouching tones in jewelry photography can be challenging. Here are some common challenges and how to overcome them:
1. Over-Saturation
Over-saturation is a common issue in jewelry retouching. It can make the colors look unnatural and unappealing. Here’s how you can avoid it:
- Use Selective Color Adjustments: Use selective color adjustments to enhance the colors without over-saturating.
- Monitor Saturation Levels: Keep an eye on the saturation levels and make sure that they are within a natural range.
- Use Soft Light: Use soft light to enhance the colors without over-saturating.
2. Uneven Lighting
Uneven lighting can create shadows and highlights that are difficult to correct. Here’s how you can overcome it:
- Use Even Lighting: Ensure that the lighting is even when taking the photograph. This will make the retouching process easier.
- Use Adjustment Layers: Use adjustment layers to correct any uneven lighting.
- Blend Modes: Use blend modes to blend the shadows and highlights.
3. Loss of Detail
Loss of detail is another common issue in jewelry retouching. It can make the jewelry look dull and unappealing. Here’s how you can avoid it:
- Use High-Quality Images: Start with high-quality images that have good detail.
- Use Sharpening Tools: Use sharpening tools to enhance the details.
- Avoid Over-Editing: Be careful not to over-edit, as this can lead to loss of detail.
Conclusion
Jewelry retouching tones is an art that requires patience, precision, and attention to detail. By understanding the importance of tones and following the steps outlined in this guide, photographers can enhance their jewelry images and make their pieces shine. Whether you’re a beginner or an experienced photographer, mastering the art of jewelry retouching tones can take your photography to the next level and help you create stunning images that captivate your audience.


