

Retouching jewelry photos can be a daunting task, but with the right tools and techniques, you can turn a good photo into a stunning one. Photoshop offers a plethora of features designed to help you enhance every aspect of your jewelry images. Whether you’re a professional photographer or just getting started, mastering these hacks jewelry retouching in photoshop will give your jewelry photos a polished, professional look.

Getting Started with Jewelry Retouching
Setting Up Your Workspace
Before diving into the retouching process, ensure your workspace is optimized. Customize your panels in Photoshop to have quick access for jewelry retouching in photoshop to the tools you’ll use frequently, like the Healing Brush, Clone Stamp, and Adjustment Layers.
Importing Your Images
Start by importing your high-resolution jewelry images into Photoshop. Make sure the images are in RAW format to retain as much detail as possible, giving you more flexibility during jewelry retouching in photoshop the editing process.
Basic Corrections
Adjusting Exposure and Contrast
Jewelry photos often need adjustments in exposure and contrast to make them pop. Use the Levels or Curves adjustment layers to fine-tune the brightness and contrast, ensuring your jewelry stands out.
Correcting White Balance
A correct white balance is crucial for jewelry photos. Use the White Balance tool in Camera Raw to neutralize any color casts and ensure the colors of the metal and gemstones are true to life for jewelry retouching in photoshop.
Cleaning Up the Image
Removing Dust and Scratches
Jewelry tends to attract dust and scratches, which can be distracting. Use the Spot Healing Brush or the Clone Stamp tool to clean up these imperfections without affecting the surrounding details.
Healing Brush Tool Basics
The Healing Brush Tool is perfect for larger areas that need retouching. Sample a clean area close to the imperfection and brush over the area you want to clean up. This tool blends the sampled area seamlessly.
Enhancing Colors and Textures
Using the Hue/Saturation Tool
Adjusting the Hue and Saturation can significantly enhance the appearance of gemstones and metals. Increase saturation to make colors more vibrant, but be cautious not to overdo jewelry retouching in photoshop.
Adjusting Vibrance
Vibrance adjustment is more subtle than saturation and can help enhance the colors without making them look too artificial. This is particularly useful for jewelry retouching in photoshop enhancing gemstones.
Refining the Metal
Smoothing and Polishing Metals
To make the metal look smooth and polished, use the Smudge Tool gently over the metal parts. You can also use the Blur Tool to soften any harsh reflections for jewelry retouching in photoshop.
Highlighting and Shadows
Adding highlights and shadows can give the metal a more three-dimensional look. Use jewelry retouching in photoshop Dodge and Burn tools to enhance these areas, making the jewelry look more realistic.
Perfecting the Gemstones
Enhancing Gemstone Clarity
To make gemstones look clearer and more appealing, use jewelry retouching in Photoshop with the Sharpen Tool on them. Be careful to use it lightly to avoid introducing noise.
Adding Sparkle and Shine
To add sparkle, create a new layer and use a small, soft brush with white color. Add small dots of light on the jewelry retouching in photoshop gemstone facets, then apply a Gaussian Blur to make the sparkles look natural.
Working with Reflections
Removing Unwanted Reflections
Unwanted reflections can detract from the beauty of the jewelry. Use the Clone Stamp Tool to carefully remove these reflections without affecting the overall appearance of the piece.
Creating Natural-Looking Reflections
For natural-looking reflections, use a soft brush and lower the opacity. Brush over the areas where the reflection should be subtle to create a more realistic effect.
Detailing with Brushes
Using Custom Brushes for Details
Custom brushes can be incredibly useful for adding fine details. Create or download brushes that mimic textures and patterns found in jewelry to enhance the overall look.
Creating a Realistic Finish
A realistic finish can be achieved by using various brushes to add texture and depth. Experiment with different brush settings to see what works best for your specific piece of jewelry.
Adjusting Shadows and Highlights
Balancing Light and Dark Areas
Balancing the light and dark areas of your image is crucial for a natural look. Use the Levels or Curves adjustment layers to ensure that neither highlights nor shadows are too overpowering.
Enhancing Depth and Dimension
To add depth and dimension, use the Dodge and Burn tools to selectively lighten and darken areas. This technique can make your jewelry look more three-dimensional and lifelike.
Sharpening the Final Image
Applying Smart Sharpen Filter
The Smart Sharpen filter allows you to sharpen the image without introducing too much noise. Adjust the Amount and Radius to sharpen the jewelry while keeping it looking natural.
Using High Pass Filter for Detail
Another effective sharpening method is the High Pass Filter. Apply the filter, then set the layer blending mode to Overlay. This technique enhances the fine details without affecting the overall contrast.
Final Touches
Adding a Vignette
Adding a vignette can draw attention to the jewelry. Use the Lens Correction filter or create a vignette manually by darkening the edges of the image.
Checking for Consistency
Before finishing, zoom in and check for any inconsistencies or areas that need further retouching. Ensure that the colors, lighting, and details are consistent throughout the image.
Exporting Your Image
Choosing the Right Format
Choose the appropriate format for your final image. JPEG is suitable for web use, while TIFF or PNG is better for prints due to their higher quality.
Saving for Web vs. Print
When saving for the web, optimize the image to reduce file size without compromising quality. For print, ensure you save at the highest resolution possible to maintain detail.
Conclusion
Jewelry retouching in Photoshop can transform your images from ordinary to extraordinary. By following these hacks, you’ll be able to enhance every aspect of your jewelry photos, making them shine. Remember, practice makes perfect, so keep experimenting with these techniques to find what works best for you.
Don’t Have Time? Let Image Expert India Handle It
While learning jewelry retouching in Photoshop can be rewarding, it’s also time-consuming and requires a high level of precision — especially if you’re editing in bulk or working with high-end jewelry. If you want flawless, professional results without spending hours in Photoshop, Image Expert India offers specialized jewelry retouching services tailored to your needs.
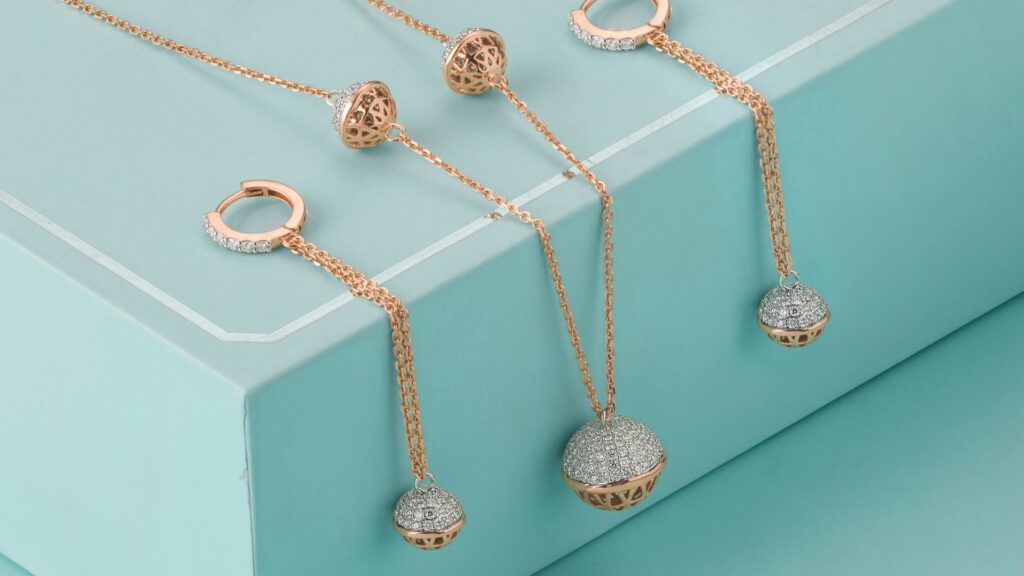
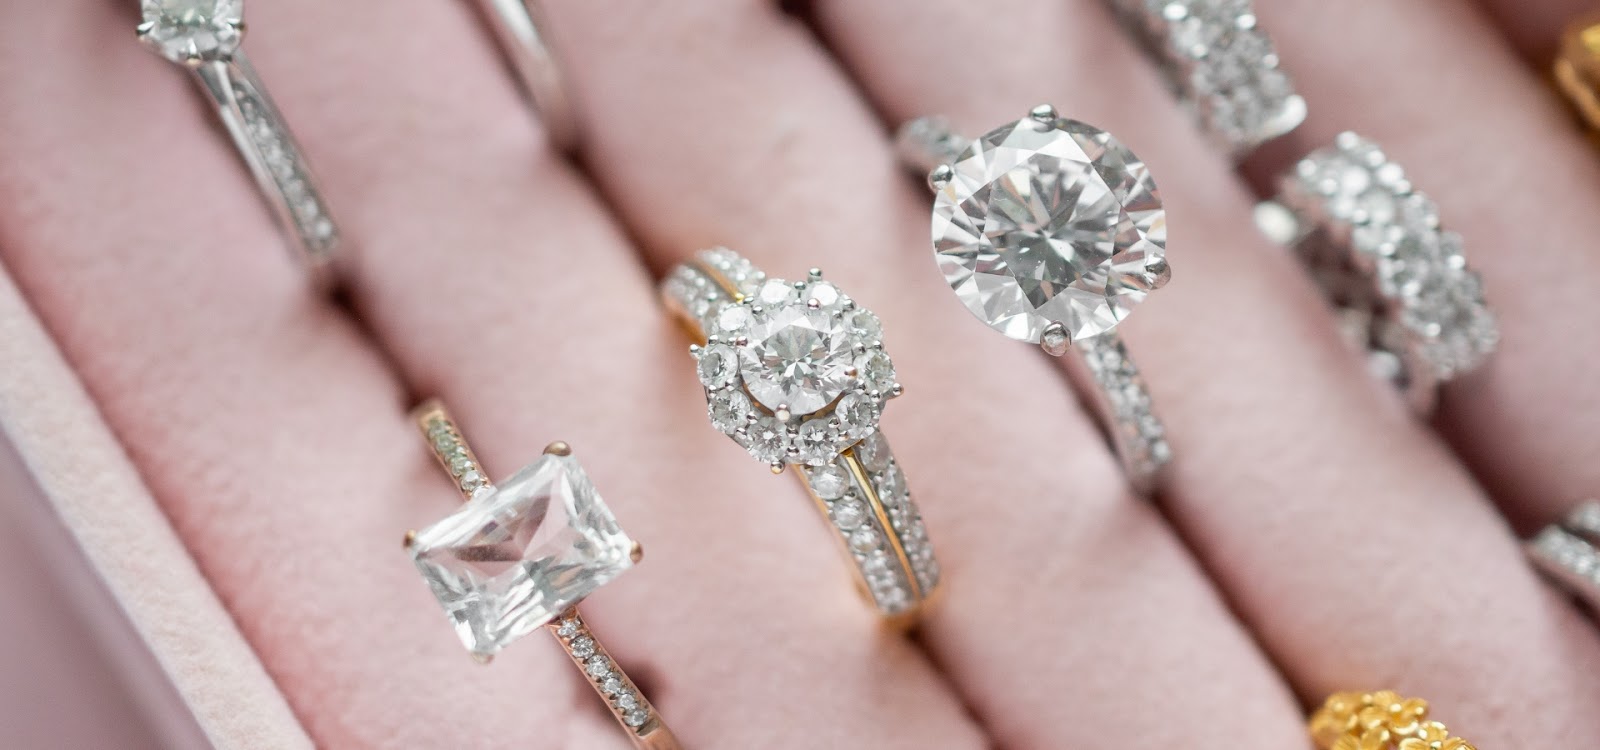
From removing tiny dust particles and correcting metal tones to enhancing gemstone brilliance and perfecting reflections, their experienced editors handle everything with great attention to detail. The team works with clients across the globe, ensuring fast delivery, consistent quality, and competitive pricing for all types of jewelry — rings, necklaces, bracelets, and more.
Whether you’re a photographer, e-commerce seller, or jewelry brand, outsourcing to Image Expert India can save time and elevate the quality of your product images.
FAQs
What is the best way to remove reflections from jewelry in Photoshop?
The Clone Stamp Tool is your best friend for removing unwanted reflections. Carefully sample an area close to the reflection and paint over it to create a seamless look.
How can I make gemstones look more vibrant?
Use the Hue/Saturation adjustment layer to increase the saturation of the gemstones. Additionally, adjusting the vibrance can enhance colors subtly without making them look too artificial.
What are some tips for retouching metal surfaces?
For metal surfaces, use the Smudge Tool and Blur Tool to smooth out imperfections. Adding highlights and shadows with the Dodge and Burn tools can also enhance the metal’s appearance.
How do I ensure my final image is sharp and detailed?
Apply the Smart Sharpen filter or use the High Pass Filter method to sharpen your image. Both techniques will help enhance details without introducing excessive noise.
What are the best export settings for high-quality jewelry images?
For web use, save your image as a JPEG with optimized settings to reduce file size. For print, use TIFF or PNG formats to maintain the highest quality and detail.


