

Jewelry model photography is a specialized niche that combines the artistry of portrait photography with the meticulous detail of product photography. Capturing the allure of jewelry on a model can elevate the perceived value of the pieces, showcase their elegance, and attract potential buyers. High-quality images can significantly impact a brand’s marketing strategy and consumer engagement.
Overview of the Article
This comprehensive guide provides detailed tips and ideas for mastering jewelry model photography. It covers everything from pre-photoshoot preparation to post-processing and marketing your photos. Whether you’re a beginner or an experienced photographer, these insights will help you create stunning images that highlight the beauty of both the jewelry and the model.
Pre-Photoshoot Preparation
Research and Inspiration
Before diving into a jewelry photoshoot, invest time in research. Look at high-end jewelry magazines, websites, and social media platforms like Pinterest and Instagram for inspiration. Analyze the styles, compositions, and lighting techniques used by successful photographers. Create a mood board to visualize your concepts and ensure consistency throughout the shoot.
Selecting the Right Jewelry
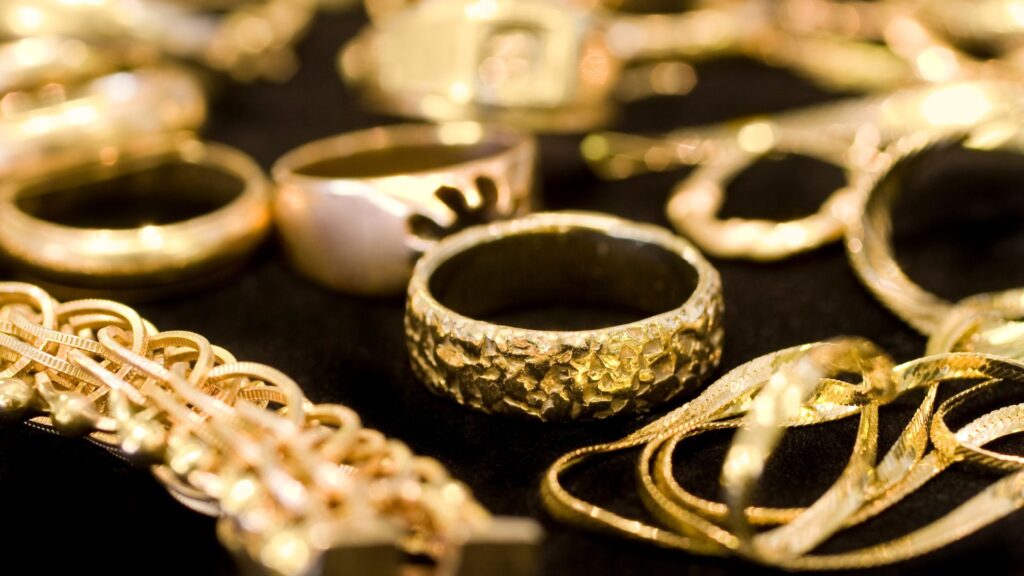
Choosing the right pieces for your photoshoot is crucial. Consider the type of jewelry (e.g., rings, necklaces, earrings) and its style (e.g., modern, vintage, bohemian). Select items that align with your shoot’s theme and concept. Ensure the jewelry is in pristine condition, clean, and polished to enhance its appearance in photographs.
Choosing the Perfect Model
The model plays a pivotal role in jewelry photography. Choose someone whose features complement the jewelry. Look for models with elegant hands for rings and bracelets or a graceful neckline for necklaces. Ensure the model’s skin tone and style match the jewelry’s aesthetic.
Setting a Theme or Concept
A cohesive theme or concept can elevate your jewelry photoshoot. Whether it’s a luxurious evening gala, a beachside bohemian vibe, or a minimalist modern look, a clear concept helps guide your creative decisions. Coordinate the model’s wardrobe, makeup, and hairstyle to match the theme.

Equipment and Settings
Camera Selection
A high-quality camera is essential for capturing the intricate details of jewelry. DSLRs and mirrorless cameras are ideal due to their versatility and image quality. Ensure your camera has a good resolution to capture the fine details and textures of the jewelry.
Lens Choices
Macro lenses are excellent for jewelry photography as they allow you to capture close-up shots with sharp detail. Consider using a 50mm or 100mm macro lens for versatility. Prime lenses are also a good option for their superior image quality and sharpness.
Lighting Equipment
Proper lighting is critical in jewelry photography. Invest in softboxes, reflectors, and diffusers to control the light and eliminate harsh shadows. Ring lights can also be effective in creating uniform lighting and adding a sparkle to the jewelry.
Background and Props
Choose backgrounds and props that complement the jewelry without overpowering it. Neutral-colored backgrounds like white, black, or grey work well. Use props like elegant fabric, textured surfaces, or natural elements to add interest to the composition.
Lighting Techniques
Natural Light vs. Artificial Light
Both natural and artificial light have their advantages. Natural light provides a soft, flattering glow and is ideal for lifestyle shots. Artificial light, such as softboxes and LEDs, allows for greater control and consistency, especially in studio settings.
Using Softboxes and Reflectors
Softboxes diffuse the light, creating soft, even lighting that reduces harsh shadows and highlights. Reflectors can bounce light back onto the jewelry, filling in shadows and adding depth. Experiment with different reflector colors (white, silver, gold) to see how they affect the jewelry’s appearance.
Creating Shadows and Highlights
Shadows and highlights add dimension and realism to your photos. Position your lights to create soft shadows that enhance the texture and shape of the jewelry. Avoid placing lights directly in front of the jewelry, as this can create flat, lifeless images.
Avoiding Reflections and Glare
Jewelry is often reflective, which can lead to unwanted glare. Use diffused lighting and position your lights at angles that minimize reflections. Polarizing filters on your camera lens can also help reduce glare.

Model Preparation
Skin Care and Makeup Tips
Ensure the model’s skin looks flawless, as close-up shots will highlight any imperfections. Use a high-definition foundation to create a smooth base. Keep makeup natural and understated to let the jewelry shine. Highlighting and contouring can enhance the model’s features without drawing attention away from the jewelry.
Hairstyling for Jewelry Photography
Hairstyles should complement the jewelry and not overshadow it. For earrings and necklaces, opt for updos or side-swept styles that showcase the jewelry. For bracelets and rings, ensure the hair does not cover the hands or wrists.
Outfit Selection to Complement Jewelry
The model’s outfit should enhance the jewelry without competing with it. Simple, solid-colored clothing works best. Avoid patterns and prints that can distract from the jewelry. The outfit should match the overall theme of the shoot.
Posing Techniques
Guide your model to pose in ways that highlight the jewelry. For rings, focus on elegant hand gestures. For necklaces and earrings, ensure the model’s face and neck are visible. Use poses that look natural and comfortable to avoid a stiff appearance.
Jewelry Styling Tips
Cleaning and Polishing Jewelry
Clean and polish the jewelry thoroughly before the shoot. Use a soft cloth and appropriate cleaning solutions to remove fingerprints, smudges, and tarnish. Sparkling, clean jewelry photographs much better and reduces the need for extensive post-processing.
Arranging Multiple Pieces
When photographing multiple pieces, arrange them in a way that looks cohesive and balanced. Group items by style, color, or material. Avoid overcrowding the frame; each piece should have enough space to stand out.
Using Hands and Body for Emphasis
Utilize the model’s hands and body to emphasize the jewelry. Hands can be gracefully positioned to highlight rings and bracelets. The neck and ears should be showcased for necklaces and earrings. Ensure the model’s skin tone complements the jewelry.
Highlighting Key Features
Focus on the unique features of each jewelry piece. Use close-up shots to capture intricate details, such as gemstone cuts, settings, and engravings. Highlight the craftsmanship and quality of the materials.
Camera Settings and Techniques
Aperture and Depth of Field
A wide aperture (low f-number) creates a shallow depth of field, blurring the background and making the jewelry stand out. Use an aperture between f/2.8 and f/5.6 for a balanced look. Adjust the aperture based on the type of shot and the desired focus.
Shutter Speed and Motion
Jewelry photography typically requires a steady hand or a tripod to avoid motion blur. Use a fast shutter speed to capture sharp images, especially in low light. A shutter speed of 1/125 or faster is recommended.
ISO Settings for Optimal Quality
Keep the ISO setting as low as possible to avoid noise and grain in your images. An ISO range of 100-400 is ideal for jewelry photography. Use higher ISO settings only if necessary and ensure the lighting conditions are adequate.
Focus Techniques
Manual focus allows for precise control, especially in macro photography. Use focus peaking or live view to ensure the jewelry is in sharp focus. Pay special attention to the areas you want to highlight, such as gemstones or intricate details.
Compositional Elements
Rule of Thirds
The rule of thirds is a fundamental compositional technique. Imagine dividing your frame into a 3×3 grid and place the jewelry along these lines or at their intersections. This creates a balanced and visually appealing composition.
Leading Lines
Use leading lines to draw the viewer’s eye toward the jewelry. Lines can be created by the model’s body, the arrangement of the jewelry, or props. Ensure the lines guide the viewer’s attention directly to the main subject.
Framing and Cropping
Frame the jewelry within the composition to add context and interest. Use elements like the model’s hands, face, or props to create a natural frame around the jewelry. Crop the image to remove distractions and focus on the key elements.
Negative Space
Negative space is the empty area around the subject. Use negative space to create a minimalist and elegant look. It helps to draw attention to the jewelry and prevents the composition from becoming too cluttered.
Post-Processing and Editing
Basic Editing Software
Software like Adobe Photoshop and Lightroom are essential for post-processing. They offer tools for color correction, retouching, and enhancing details. Familiarize yourself with their basic functions to improve your photos.
Color Correction and Balancing
Ensure the colors in your photos are accurate and balanced. Adjust the white balance to correct any color casts. Use the color correction tools to make the jewelry’s colors pop and appear true to life.
Retouching and Removing Imperfections
Retouch the model’s skin to remove blemishes and imperfections. Use the healing brush and clone stamp tools to clean up any marks or scratches on the jewelry. Be careful not to overdo it; the result should look natural.
Enhancing Jewelry Sparkle
Use tools like the dodge and burn to enhance the highlights and shadows, making the jewelry sparkle. Adjust the clarity and sharpness to bring out the intricate details. Add a slight vignette to focus attention on the jewelry.
Special Effects and Creativity
Using Filters and Overlays
Filters and overlays can add creative effects to your photos. Use them sparingly to enhance the mood without overpowering the jewelry. Experiment with different styles to see what works best for your concept.
Incorporating Motion and Blurs
Adding a sense of motion can bring your photos to life. Use slow shutter speeds or intentional camera movement to create motion blur. This technique can add a dynamic feel to your images and highlight the model’s movements.
Adding Textures and Backgrounds
Textures and backgrounds can add depth and interest to your photos. Experiment with different materials like fabric, wood, or metal as backgrounds. Add subtle textures in post-processing to enhance the visual appeal.
Creative Angles and Perspectives
Shoot from various angles and perspectives to create unique compositions. Try low angles, high angles, and close-ups to find the most flattering view of the jewelry. Use unconventional angles to add a fresh and creative touch to your photos.
Common Mistakes and How to Avoid Them
Overcomplicating the Scene
Keep your scenes simple and focused. Avoid adding too many elements that can distract from the jewelry. Less is often more in jewelry photography, where the jewelry itself should be the star.
Ignoring the Details
Pay attention to every detail, from the model’s grooming to the condition of the jewelry. Small imperfections can be magnified in close-up shots. Double-check everything before you start shooting.
Mismanaging Light and Shadow
Poor lighting can ruin a great photo. Ensure your lighting setup enhances the jewelry and the model. Avoid harsh shadows and overexposed highlights. Experiment with different lighting techniques to find the best results.
Overediting Photos
While post-processing is important, overediting can make your photos look unnatural. Keep your edits subtle and focused on enhancing the jewelry. Aim for a polished but realistic look.
Marketing and Sharing Your Photos
Building a Portfolio
A professional portfolio showcases your best work and attracts potential clients. Include a variety of shots that highlight different types of jewelry and styles. Organize your portfolio in a visually appealing and easy-to-navigate manner.
Utilizing Social Media
Social media platforms like Instagram, Facebook, and Pinterest are great for sharing your work and reaching a wider audience. Use relevant hashtags, engage with your followers, and collaborate with influencers to increase visibility.
Collaborating with Brands and Influencers
Partner with jewelry brands and influencers to expand your reach. Offer your photography services in exchange for exposure and networking opportunities. These collaborations can lead to more significant projects and a larger client base.
Selling Your Photography
Consider selling your photos through stock photography websites, online marketplaces, or directly to clients. Create an online store or portfolio website to showcase and sell your work. Licensing your photos can provide a steady stream of income.
Expert Insights
Interviews with Professional Photographers
Gain insights from experienced jewelry photographers. Interviews can provide valuable tips, tricks, and techniques that you can apply to your own work. Learn from their successes and mistakes to improve your photography skills.
Tips from Industry Experts
Seek advice from experts in the jewelry and photography industries. Their insights can help you understand market trends, client expectations, and industry standards. Stay updated with the latest techniques and technologies.
Case Studies of Successful Shoots
Analyze case studies of successful jewelry photoshoots. Understand the planning, execution, and post-processing techniques used. Learn how different elements come together to create stunning images.
Conclusion
Summary of Key Points
Jewelry model photography is an art that requires attention to detail, creativity, and technical skill. From pre-shoot preparations to post-processing, every step is crucial in creating captivating images that highlight the beauty of the jewelry.
Final Thoughts and Encouragement
With practice and dedication, you can master the art of jewelry model photography. Experiment with different techniques, learn from experts, and continually refine your skills. Your efforts will result in stunning photos that captivate viewers and showcase the elegance of the jewelry.
FAQs
Common Questions About Jewelry Photography
Q: What is the best lighting for jewelry photography? A: Soft, diffused lighting is ideal for jewelry photography. It reduces harsh shadows and reflections, highlighting the jewelry’s details.
Q: How can I make the jewelry sparkle in photos? A: Use diffused lighting and reflectors to enhance the jewelry’s sparkle. Post-processing techniques like dodging and burning can also help.
Q: What camera settings should I use for jewelry photography? A: Use a low ISO for minimal noise, a wide aperture for a shallow depth of field, and a fast shutter speed to avoid motion blur.
Troubleshooting Tips
Q: My photos look too dark. What can I do? A: Increase the lighting intensity, adjust your camera’s exposure settings, or use a wider aperture to allow more light into the lens.
Q: How do I reduce reflections on shiny jewelry? A: Position your lights at angles that minimize reflections, use diffused lighting, and consider using a polarizing filter on your camera lens.
Additional Resources
- Books: “Jewelry Photography: The Pro’s Guide to Creating Stunning Images” by Martine Benand.
- Online Courses: Photography Masterclass: A Complete Guide to Photography on Udemy.
- Websites: Digital Photography School, PetaPixel.


