

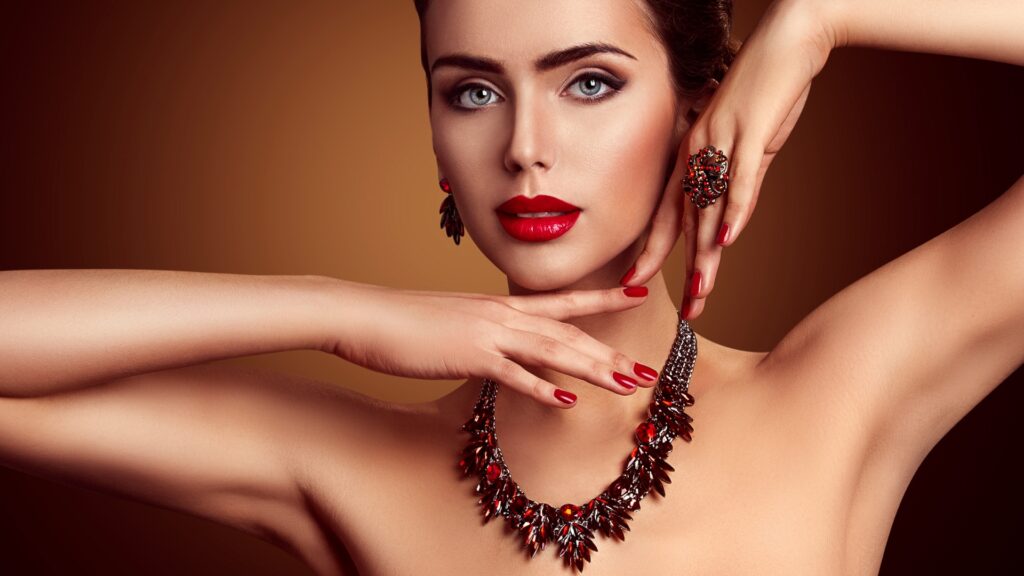
Jewelry photography can be challenging, but perfecting your jewelry editing techniques can make all the difference. From making diamonds sparkle to ensuring the gold glows just right, editing can transform an image into a masterpiece. Let’s dive into the essential techniques for perfect jewelry editing.
Understanding the Basics
Importance of High-Quality Images
Starting with high-quality images is crucial. The better your initial photo, the easier the jewelry editing process will be. Use a good camera and a macro lens to capture intricate details.
Essential Tools and Software
Investing in the right tools is essential. Adobe Photoshop and Lightroom are popular choices among professionals due to their powerful jewelry editing capabilities. Additionally, consider plugins that can enhance your workflow.
Preparing Your Workspace
Optimal Lighting Setup
Good lighting can drastically reduce your editing time. Use soft, diffused lighting to minimize harsh shadows and reflections. A lightbox can be an excellent investment for consistent results.
Choosing the Right Background
A clean, neutral background ensures the focus remains on the jewelry. White or black backgrounds are commonly used, but experimenting with other colors can sometimes yield beautiful results.
Cleaning and Polishing Jewelry
Physical Cleaning Techniques
Before taking photos, ensure your jewelry is clean. Use a soft cloth and a gentle cleaning solution to remove fingerprints, dust, and smudges.
Digital Cleaning Methods
In the digital realm, tools like the Healing Brush and Clone Stamp in Photoshop can help remove any remaining imperfections. Zoom in to catch even the smallest flaws.
Correcting Colors
Color Balance Adjustment
Jewelry pieces must display true-to-life colors. Adjust the white balance to ensure the colors are accurate, especially if you’re shooting under artificial light.
Saturation and Hue Correction
Enhance the vibrancy of the gemstones without making them look unnatural. Adjust the saturation and hue to make sure the colors pop.
Enhancing Details
Sharpening Techniques
Use sharpening tools to bring out the fine details in your jewelry. Be cautious not to overdo it, as too much sharpening can create an unnatural look.
Enhancing Texture and Clarity
Adjust the clarity and texture to highlight the intricate details of your jewelry. This step can make your pieces look more lifelike and appealing.
Removing Imperfections
Spot Healing and Cloning
These tools are perfect for removing small imperfections. Use the Spot Healing Brush for minor issues and the Clone Stamp for more significant corrections in jewelry editing.
Removing Dust and Scratches
Even the smallest dust particles can be distracting. Zoom in and carefully remove any visible dust or scratches to ensure a polished look of jewelry editing.
Adjusting Shadows and Highlights
Creating Depth and Dimension
Adjust the shadows and highlights to create a sense of depth. This technique can make your jewelry appear more three-dimensional and appealing.
Controlling Reflections
Jewelry often reflects its surroundings, which can be distracting. Use tools to minimize unwanted reflections and enhance the overall look for jewelry editing.
Using Masks and Layers
Non-Destructive Editing
Using masks and layers allows you to make adjustments without permanently altering the original image. This technique is invaluable for fine-tuning your jewelry editings.
Layer Masks for Precision
Layer masks enable you to edit specific parts of your image with precision. This method is especially useful for isolating areas like gemstones or intricate details.
Adding Shine and Sparkle
Highlighting Gemstones
Gemstones should look vibrant and eye-catching. Use highlights to emphasize their natural sparkle and draw attention to their beauty.
Creating Light Effects
Add light effects to enhance the shine of your jewelry. Lens flares and light streaks can add a magical touch when used sparingly.
Background Removal
Techniques for Clean Backgrounds
Removing the background can make your jewelry stand out. Use tools like the Magic Wand or Quick Selection Tool for an initial cutout, then refine the edges for a clean look.
Using Pen Tool for Precision
The Pen Tool offers the most precision for background removal. It’s time-consuming but worth the effort for a professional finish.
Adding Drop Shadows
Natural Looking Shadows
Drop shadows can add depth and realism to your images. Ensure they match the lighting direction and intensity of your original photo.
Creating Realistic Depth
Adjust the opacity and blur of your shadows to make them look natural. This step can significantly enhance the overall appeal of your image.
Final Touches
Consistency in Editing
Ensure that all your jewelry edited images have a consistent look. This consistency is especially important for collections or catalog images.
Reviewing for Quality Control
Always review your images before finalizing. Look for any missed imperfections or areas that need further adjustment.
Exporting Your Images
Best Practices for File Formats
Choose the right file format based on your needs. JPEG is great for web use, while TIFF is preferred for print due to its high quality.
Optimizing for Web and Print
Optimize your images to ensure they load quickly online and look sharp in print. Adjust the resolution and compression settings accordingly.
Conclusion
Perfect jewelry editing is an art that requires practice and attention to detail. By following these techniques, you can transform your jewelry photos into stunning works of art. Keep experimenting, stay patient, and you’ll see your skills improve over time.
FAQs
How long does jewelry editing take?
The time required for jewelry editing varies based on the complexity of the piece and the level of detail needed. On average, it can take anywhere from 30 minutes to several hours per image.
What software is best for jewelry editing?
Adobe Photoshop and Lightroom are the most popular choices due to their extensive range of tools and features tailored for photo editing.
Can I edit jewelry photos on my phone?
While it’s possible to edit jewelry photos on a smartphone using apps like Snapseed or Lightroom Mobile, for professional results, desktop software is recommended.
How do I make gemstones look more vibrant?
To make gemstones look more vibrant, focus on adjusting the saturation, brightness, and contrast. Highlighting and sharpening can also enhance their natural sparkle.
What should I avoid when editing jewelry photos?
Avoid over-editing, which can make the jewelry look unnatural. Additionally, steer clear of using overly complex backgrounds that can distract from the jewelry itself.


