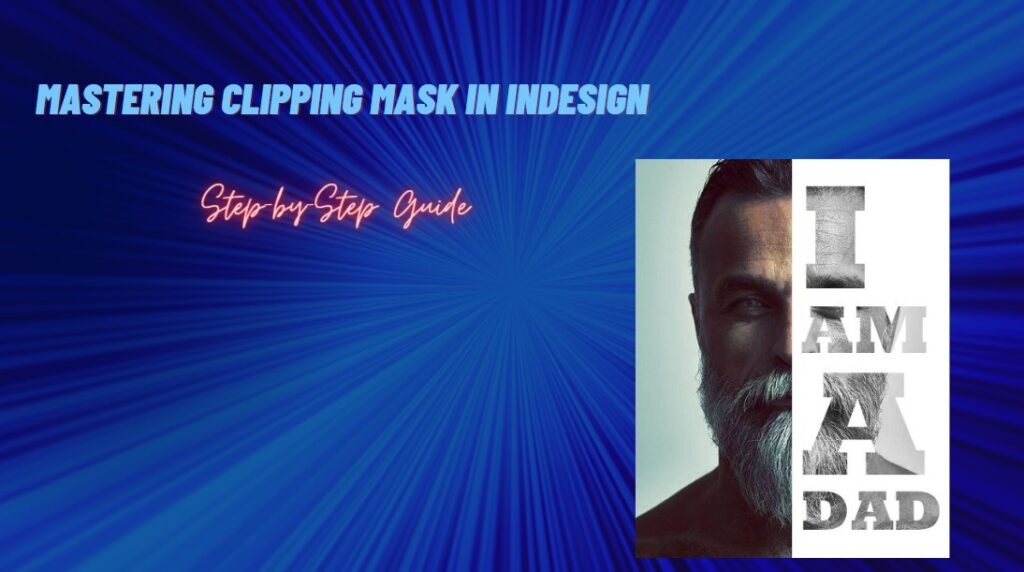
Introduction to Clipping Mask in InDesign
As a graphic designer or layout artist, you might have come across the term “clipping mask” while working with Adobe InDesign. Clipping Mask is one of the most useful tools in InDesign that enables you to mask images, text, and shapes into different shapes and objects. It is a powerful feature that can help you create stunning effects and layouts.
In this article, I will guide you through everything you need to know about Clipping Mask in InDesign. I will explain what it is, the benefits of using it, and how to create a Clipping Mask step-by-step. I will also share some tips and tricks, advanced techniques, and common issues and solutions for Clipping Mask in InDesign. By the end of this article, you will be able to master Clipping Mask in InDesign and use it effectively in your designs.
What is Clipping Mask in InDesign?
Clipping Mask is a masking technique in InDesign that allows you to mask an object or image into a shape or another object. It is similar to a stencil, where the shape or object acts as a barrier, and only the portion of the image or object that falls within the shape or object is visible. Clipping Mask is a non-destructive technique, which means that the original image or object remains intact, and you can edit or modify it anytime.
To create a Clipping Mask in InDesign, you need two objects: the object you want to mask and the object you want to use as a mask. The masking object is usually a shape, text frame, or another object. You can create a Clipping Mask by selecting both objects, right-clicking, and selecting “Make Clipping Mask” from the context menu. You can also use the keyboard shortcut “Ctrl+7” or “Cmd+7” on Mac.
Benefits of using Clipping Mask in InDesign

Clipping Mask is a versatile and powerful tool that offers several benefits to designers and layout artists. Here are some of the benefits of using Clipping Mask in InDesign:
- Control image or object visibility: Clipping Mask allows you to control the visibility of an image or object by masking it into a shape or object. You can use this feature to create unique shapes, designs, and layouts that are not possible with other techniques.
- Non-destructive editing: Clipping Mask is a non-destructive technique, which means that the original image or object remains untouched. You can edit or modify the image or object anytime without affecting the mask.
- Reusability: You can reuse the masking object for multiple images or objects, saving time and effort. You can also modify the masking object and update all the images or objects that use it.
- Easy to create and modify: Creating a Clipping Mask in InDesign is easy and straightforward. You can also modify the masking object or the masked image or object anytime.
How to create Clipping Mask in InDesign – Step-by-Step Guide
Now that you know what a Clipping Mask is and its benefits, let’s dive into the process of creating a Clipping Mask in InDesign. Here is a step-by-step guide to creating a Clipping Mask:
- Open Adobe InDesign and create a new document.
- Import the image or object you want to mask into the document. You can do this by selecting “File > Place” from the menu or by dragging and dropping the image or object into the document.
- Create the masking object. You can use any shape, text frame, or object as a masking object. Draw the shape or object using the shape tool or select an existing object.
- Position the masking object over the image or object you want to mask.
- Select both the image or object and the masking object. You can do this by clicking on the image or object and holding down the Shift key while clicking on the masking object.
- Right-click on the selection and select “Make Clipping Mask” from the context menu. You can also use the keyboard shortcut “Ctrl+7” or “Cmd+7” on Mac.
- The image or object is now masked into the shape or object.
Tips and Tricks for using Clipping Mask in InDesign
Here are some tips and tricks that can help you use Clipping Mask more effectively in InDesign:
- Use the “Fit Content Proportionally” option: When you place an image or object into a masking object, it may not fit perfectly. You can use the “Fit Content Proportionally” option to scale the image or object proportionally to fit inside the masking object. You can find this option under the “Object > Fitting” menu.
- Use the Direct Selection tool: The Direct Selection tool allows you to select and modify individual anchor points and segments of a shape or object. You can use this tool to tweak the masking object and the masked image or object.
- Use the Pathfinder panel: The Pathfinder panel offers several tools and options for creating complex shapes and objects. You can use the Pathfinder panel to create unique shapes and objects for Clipping Mask.
- Use the Transparency panel: The Transparency panel allows you to adjust the opacity and blending modes of the masked image or object. You can use this panel to create interesting visual effects and overlays.
- Use the Layers panel: The Layers panel allows you to organize and manage the objects and layers in your document. You can use this panel to organize your Clipping Mask objects and layers.
Advanced techniques for Clipping Mask in InDesign
Here are some advanced techniques that can take your Clipping Mask skills to the next level:
- Create a mask from multiple objects: You can create a Clipping Mask from multiple objects by selecting all the objects and using the “Make Clipping Mask” option. This technique can create interesting shapes and patterns.
- Use text as a mask: You can use text as a mask for images or objects. To do this, create a text frame and type the text you want to use as a mask. Then, select both the text frame and the image or object and use the “Make Clipping Mask” option.
- Use gradient masks: You can use gradient fills as masks for images or objects. To do this, create a shape with a gradient fill and place it over the image or object. Then, select both the shape and the image or object and use the “Make Clipping Mask” option.
- Use nested Clipping Masks: You can create nested Clipping Masks by masking an object within another masking object. This technique can create complex and layered designs.
Comparison of Clipping Mask and other masking techniques in InDesign
In addition to Clipping Mask, InDesign offers other masking techniques, such as Opacity Mask, Alpha Mask, and Image Mask. Here is a comparison of Clipping Mask and other masking techniques in InDesign:
- Clipping Mask: Clipping Mask is a non-destructive masking technique that allows you to mask an image or object into a shape or another object. It is easy to create and modify and offers several benefits, such as control over visibility and reusability.
- Opacity Mask: Opacity Mask is a masking technique that allows you to control the opacity of an image or object by masking it into a shape or object. It is a destructive technique, which means that the original image or object is modified.
- Alpha Mask: Alpha Mask is a masking technique that allows you to control the transparency of an image or object by masking it into a shape or object. It is a destructive technique, which means that the original image or object is modified.
- Image Mask: Image Mask is a masking technique that allows you to mask an image into a shape or object. It is a destructive technique, which means that the original image is modified.
Common issues and solutions for Clipping Mask in InDesign
Here are some common issues and solutions that you may encounter while using Clipping Mask in InDesign:
- Masking object not aligned: If the masking object is not aligned properly, the masked image or object may not be visible or may appear distorted. To fix this, align the masking object properly with the image or object.
- Masking object too small: If the masking object is too small, the masked image or object may not be visible or may appear cropped. To fix this, resize the masking object to fit the image or object.
- Masking object too complex: If the masking object is too complex, it may slow down the performance of InDesign or cause errors. To fix this, simplify the masking object or use a different masking technique.
- Masking object not selected: If you forget to select both the image or object and the masking object before creating a Clipping Mask, the Clipping Mask may not be created. To fix this, select both the image or object and the masking object and try again.
Resources for learning Clipping Mask in InDesign
Here are some resources that can help you learn more about Clipping Mask in InDesign:
- Adobe Help Center: The Adobe Help Center offers comprehensive documentation and tutorials on InDesign and its features, including Clipping Mask.
- InDesign Secrets: InDesign Secrets is a blog that offers tips, tricks, and tutorials on InDesign and its features, including Clipping Mask.
- com: Lynda.com offers online courses on various design and software topics, including InDesign and Clipping Mask.
- YouTube: YouTube offers a vast collection of video tutorials on InDesign and Clipping Mask, created by professionals and experts in the field.

Conclusion
Clipping Mask is a powerful and versatile masking technique in InDesign that can help you create stunning designs and layouts. It offers several benefits, such as control over visibility, non-destructive editing, and re usability. By following the step-by-step guide, tips and tricks, and advanced techniques in this article, you can master Clipping Mask in InDesign and use it effectively in your designs. Remember to experiment and explore different possibilities with Clipping Mask to unleash your creativity.


