

Adobe Illustrator is a powerful design tool, widely used by graphic designers, illustrators, and artists for creating vector-based artwork. One of the most common tasks in Illustrator is changing the color of an image, whether it’s an illustration or a photograph. Whether you’re working on a logo, illustration, or any other graphic, knowing how to Illustrator change color of image effectively can elevate your designs and make them more visually appealing.
This guide will walk you through various methods for changing the color of an image in Illustrator. By the end of this article, you’ll have a clear understanding of how to manipulate colors, adapt them to your needs, and create stunning visual effects. So, let’s dive into the process of Illustrator change color of image.
Understanding the Basics of Illustrator Image Editing
Before learning how to Illustrator change color of image, it’s essential to understand how Illustrator works with images. Illustrator is primarily designed to create and edit vector graphics, which are made up of paths and points. These graphics can be scaled up or down without losing quality. However, Illustrator can also work with raster images (like photos), and in these cases, the software allows you to manipulate aspects such as color, contrast, and brightness.
When you import a raster image into Illustrator, you are essentially working with a pixel-based image. To change the color of the image, you will need to either adjust the entire image or isolate specific elements within it, depending on your goal.
Changing the Color of a Vector Image
If you’re working with vector images, changing the color is straightforward. Vector graphics are made up of paths that can be filled with any color you choose. This flexibility makes Illustrator a great tool for working with logos, illustrations, and other types of vector art.
To Illustrator change color of image in a vector format, select the object or group of objects you want to edit. Once selected, you can open the “Color Picker” tool or use the swatches panel to choose a new color. You can also use gradient fills to create more complex color changes, including a smooth transition between multiple colors.
For more advanced designs, you may use the “Live Paint” tool to color parts of your vector image. This is especially useful for illustrations where different areas are separated by paths, and you want to quickly add color to specific sections.
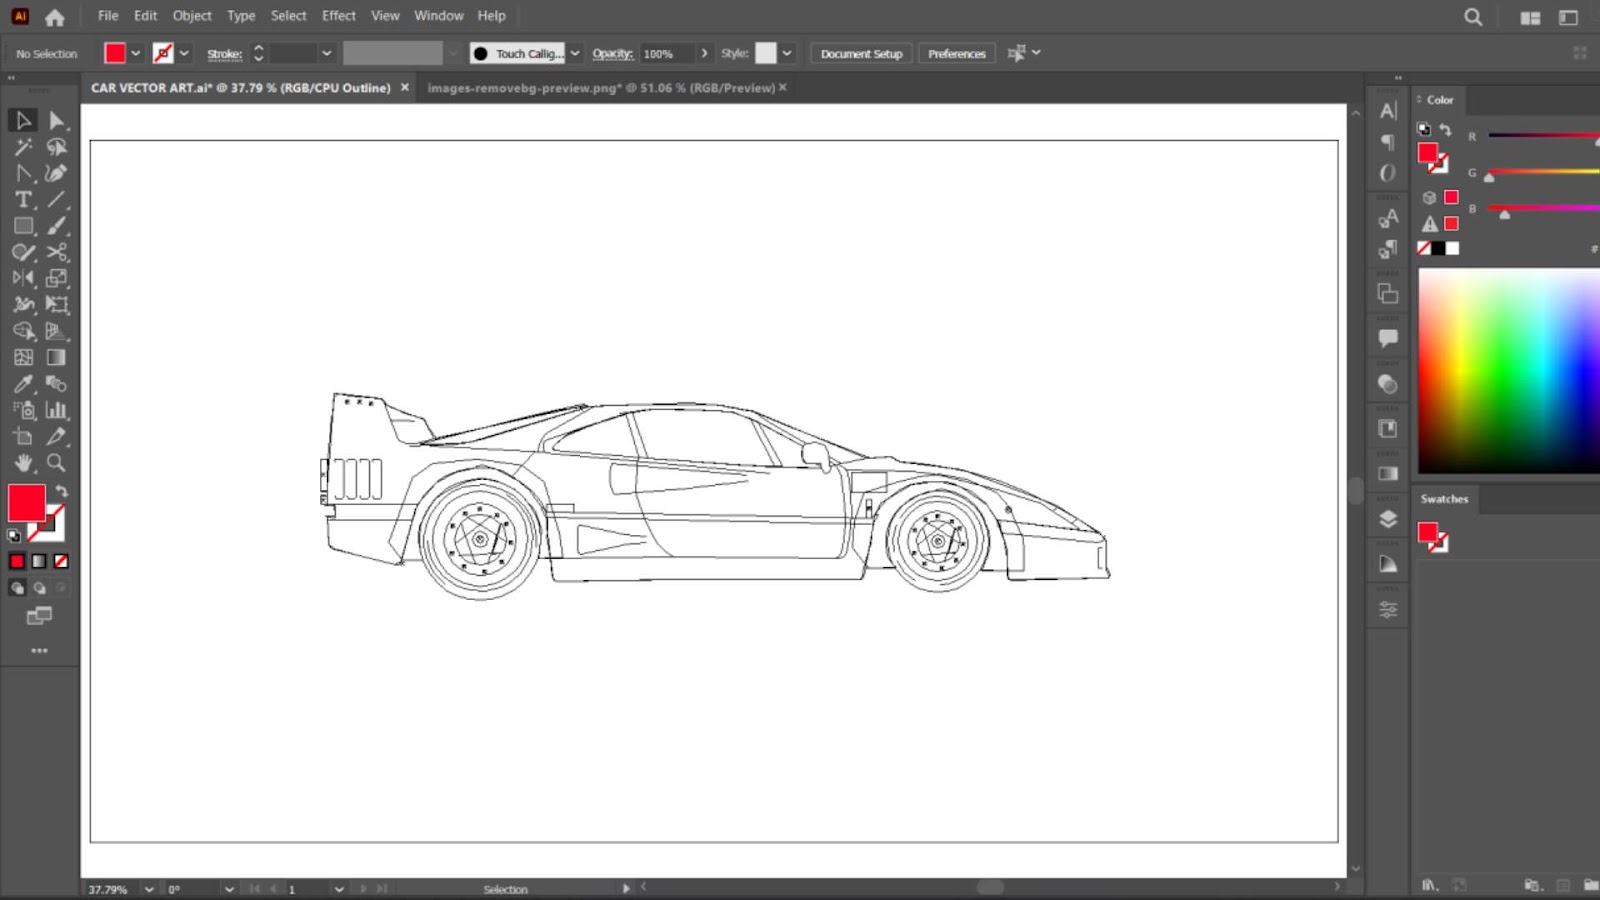
If you are working with an imported vector graphic, you can use Illustrator’s “Image Trace” feature to convert raster images into vector paths. Once the image is traced, you can change the color of the resulting vector objects as easily as you would with any vector-based design.
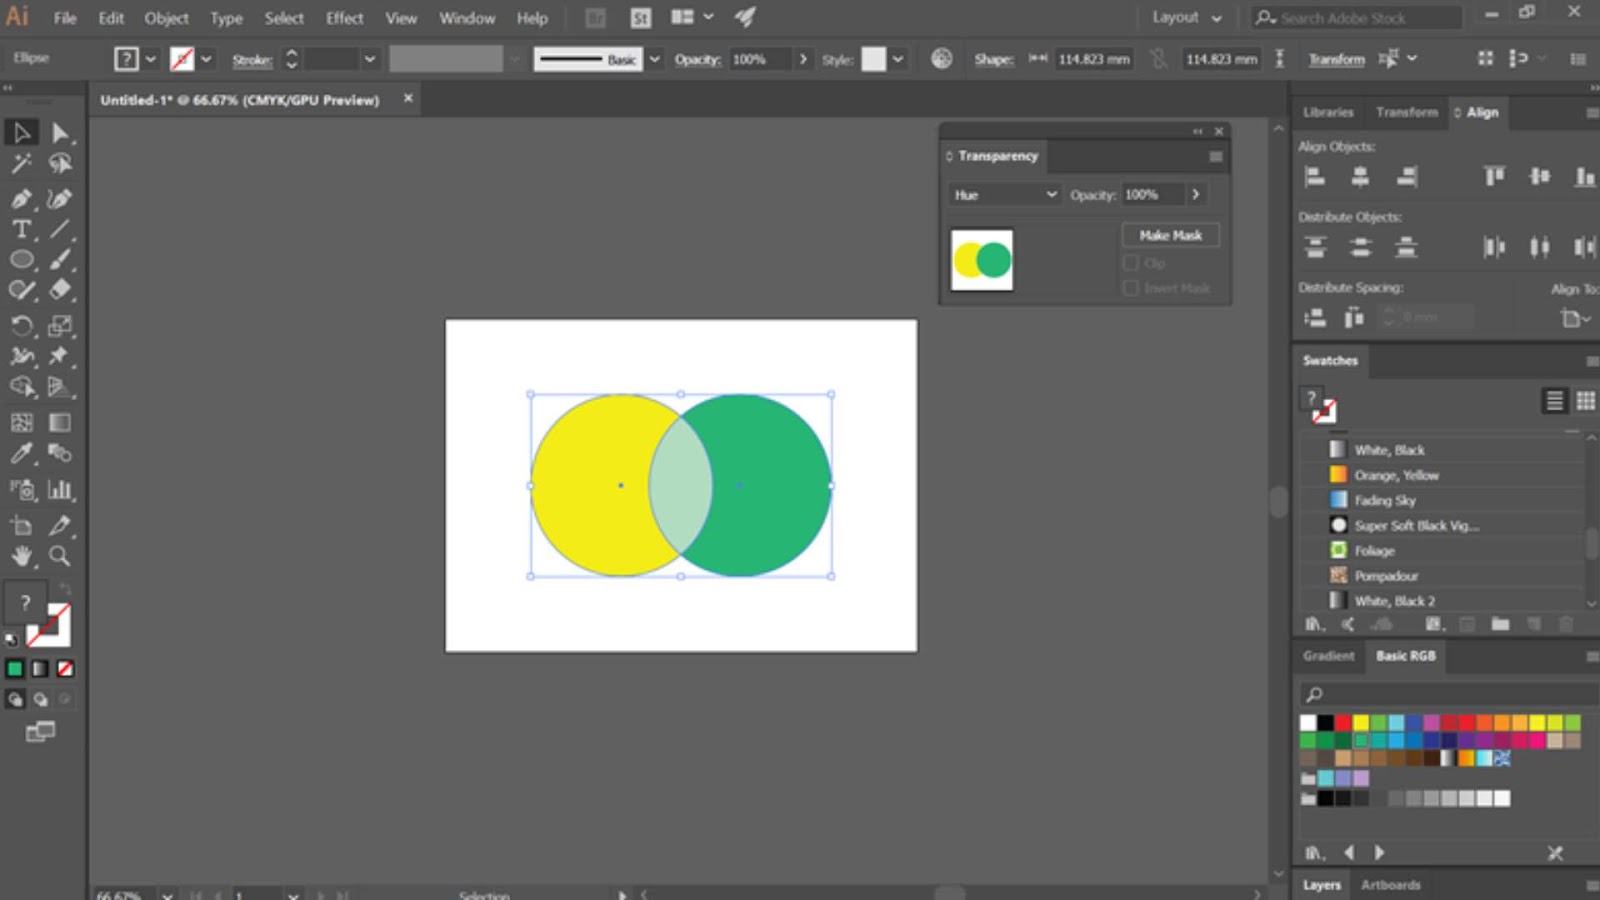
Illustrator Change Color of Image Using the Recolor Artwork Tool
One of the most powerful features in Illustrator for changing colors is the “Recolor Artwork” tool. This feature allows you to adjust the colors of your entire illustration, even if it’s a complex design with multiple elements. It’s an excellent tool for designers who want to quickly experiment with different color schemes without manually selecting and changing each individual object.
To use the “Recolor Artwork” tool, select the entire artwork or a specific group of elements. Then, open the “Recolor Artwork” panel by going to the top menu bar and selecting “Edit” > “Edit Colors” > “Recolor Artwork.” In the panel, you’ll see a range of color options, including preset color schemes and sliders for adjusting individual colors.
You can use this tool to swap out colors globally, adjust the hue of certain color groups, or experiment with different color harmonies to find the best combination. This is one of the best methods for Illustrator change color of image when you want to change the color palette of an entire design in one go.

Using the Color Balance Tools for Fine-Tuning
In some cases, you may want to make more subtle adjustments to the color of an image. This is where Illustrator’s color balance tools come in handy. The “Adjust Color” panel in Illustrator allows you to fine-tune the individual color channels (red, green, blue, cyan, magenta, and yellow) for a more controlled and precise color change.
To access these tools, select the object or image you want to modify and navigate to the “Color” or “Color Balance” panel. From here, you can adjust the sliders to change the balance of colors in the selected area. This technique is particularly useful when you need to tweak specific hues without affecting the overall color scheme of the image.
For example, if you have an image with too much red, you can use the color balance tools to shift the colors towards green or blue, making the image more neutral. These fine adjustments can help achieve the perfect color balance, especially when working on detailed illustrations or designs.
Changing Colors of Raster Images in Illustrator
If you’re working with raster images (such as photos) in Illustrator, changing colors can be a bit more complex, as raster images consist of pixels rather than vector paths. However, Illustrator provides several tools to help you manipulate raster images and change their color.
One of the easiest ways to Illustrator change color of image in a raster file is by using the “Color” panel. This allows you to adjust the overall hue of the image by changing its color settings. You can also use the “Adjust Color” options under the “Edit” menu to apply effects like hue shift, saturation increase, or desaturation.
For more advanced editing, you can use Illustrator’s “Live Trace” function to convert the raster image into vector artwork, as mentioned earlier. After converting the image, you’ll be able to manipulate individual elements within the image and change the color of each part as you would with a vector graphic.
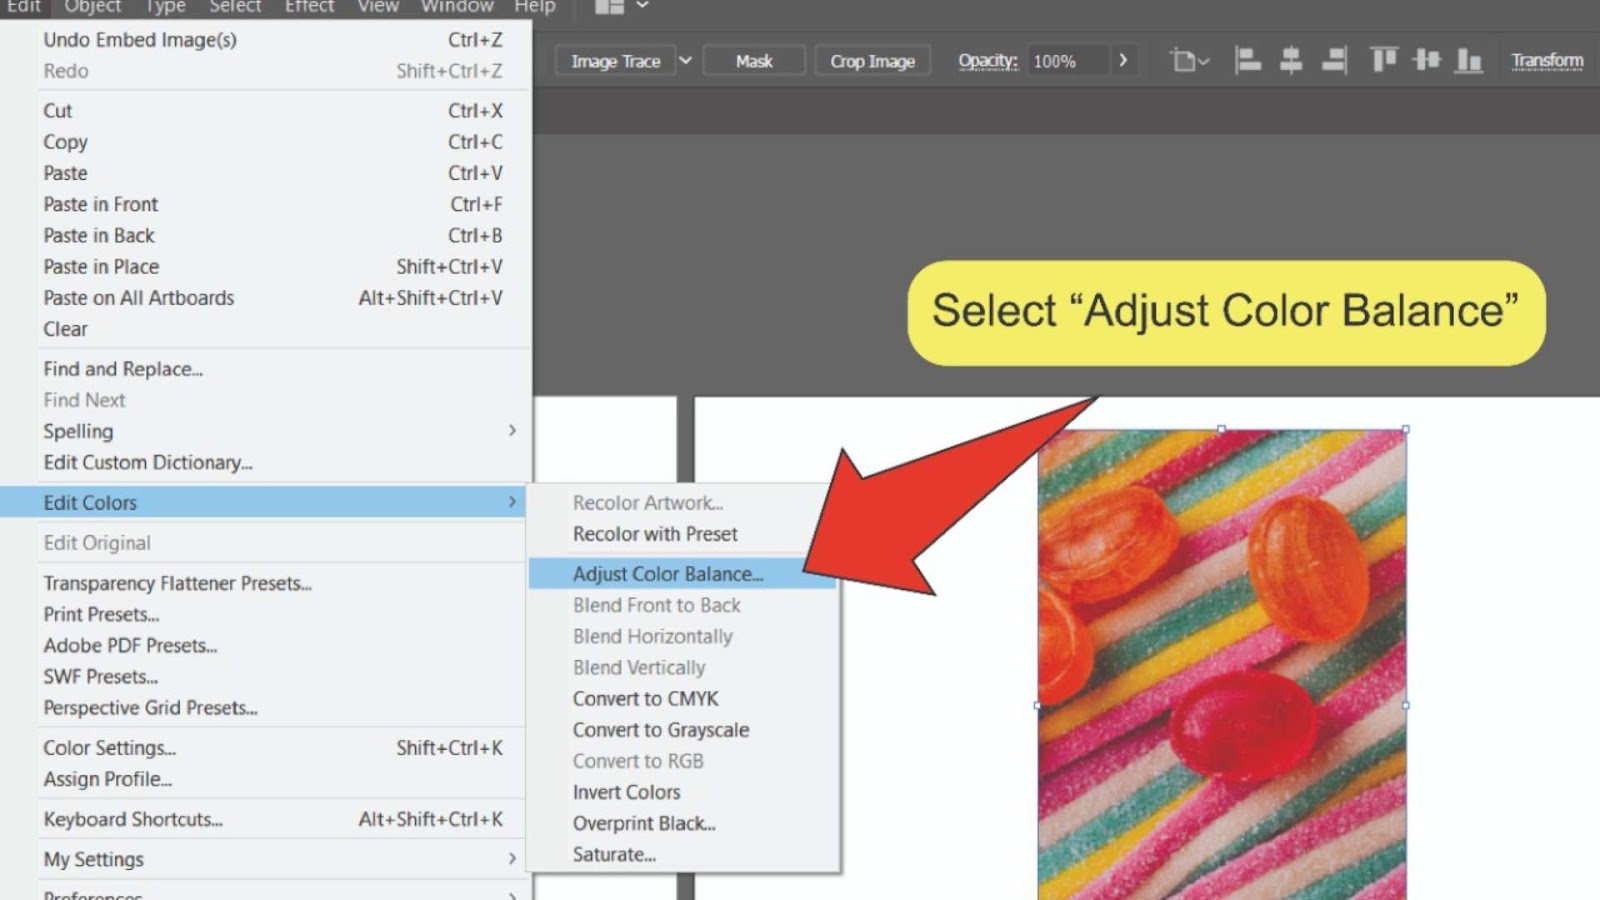
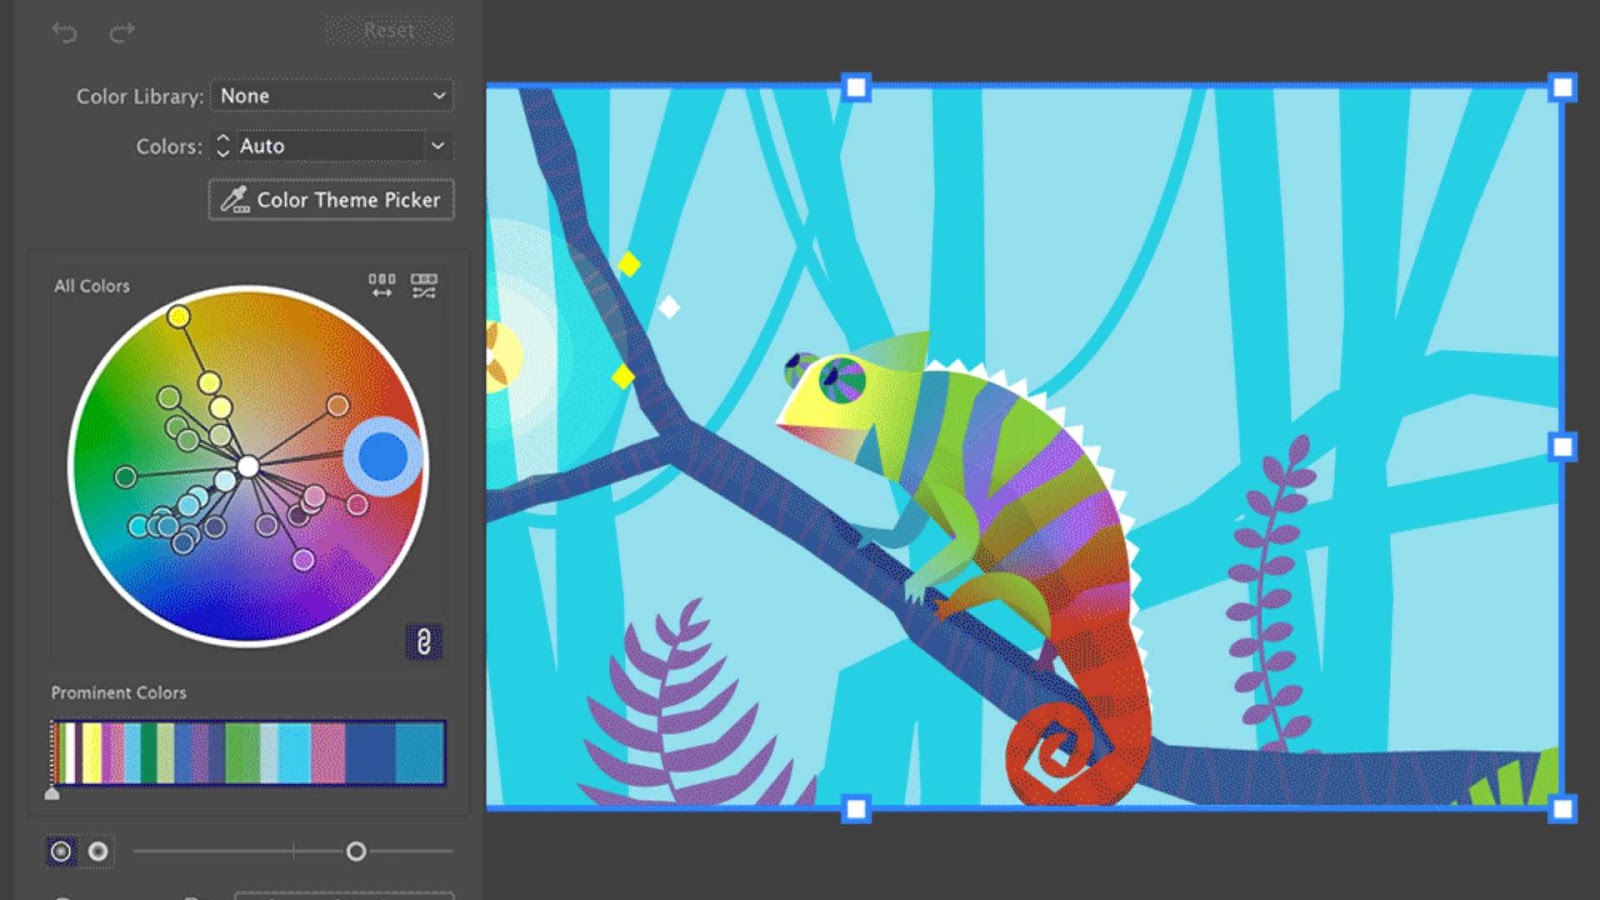
Illustrator Change Color of Image with the “Hue/Saturation” Adjustment Layer
If you’re familiar with other Adobe software, you might know that Photoshop offers a “Hue/Saturation” adjustment layer to change the colors of an image. Illustrator also has similar functionality, though it’s slightly more limited.
To change the color of an image using the “Hue/Saturation” adjustment layer, first, select the image you want to adjust. Then, go to the “Edit” menu and choose “Edit Colors” > “Adjust Colors.” This will open up the adjustment dialog, where you can modify the saturation and hue of the image to shift the colors to your desired tones.
You can use this method to quickly alter the colors of an image without affecting its other attributes, such as contrast or brightness. This is particularly helpful when you want to change the dominant color in a photo, such as turning a bright red object into a green one or changing the overall mood of an image.
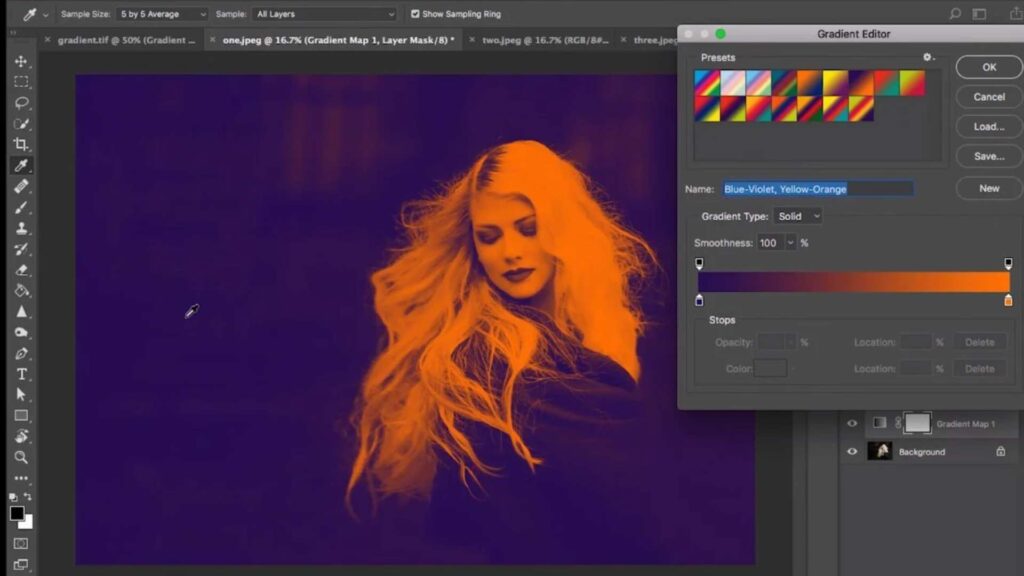
Using the “Gradient Map” for Color Changes
Another creative method for Illustrator change color of image is to use the “Gradient Map” feature. This tool allows you to apply a gradient over an image, changing its overall color scheme. By mapping the colors of your image to a gradient, you can create artistic effects and dramatic color shifts that are difficult to achieve through traditional color adjustments.
To use the “Gradient Map,” first select your image and then open the “Gradient” panel from the menu. Next, choose a gradient or create a custom one to apply over the image. Illustrator will then map the image’s tonal values to the colors in the gradient, changing the color palette of the entire image.
This technique works especially well when you want to add a more stylized, artistic touch to your image. For example, you could use a gradient map to give a photo a vintage look or turn a simple illustration into a colorful piece of art.
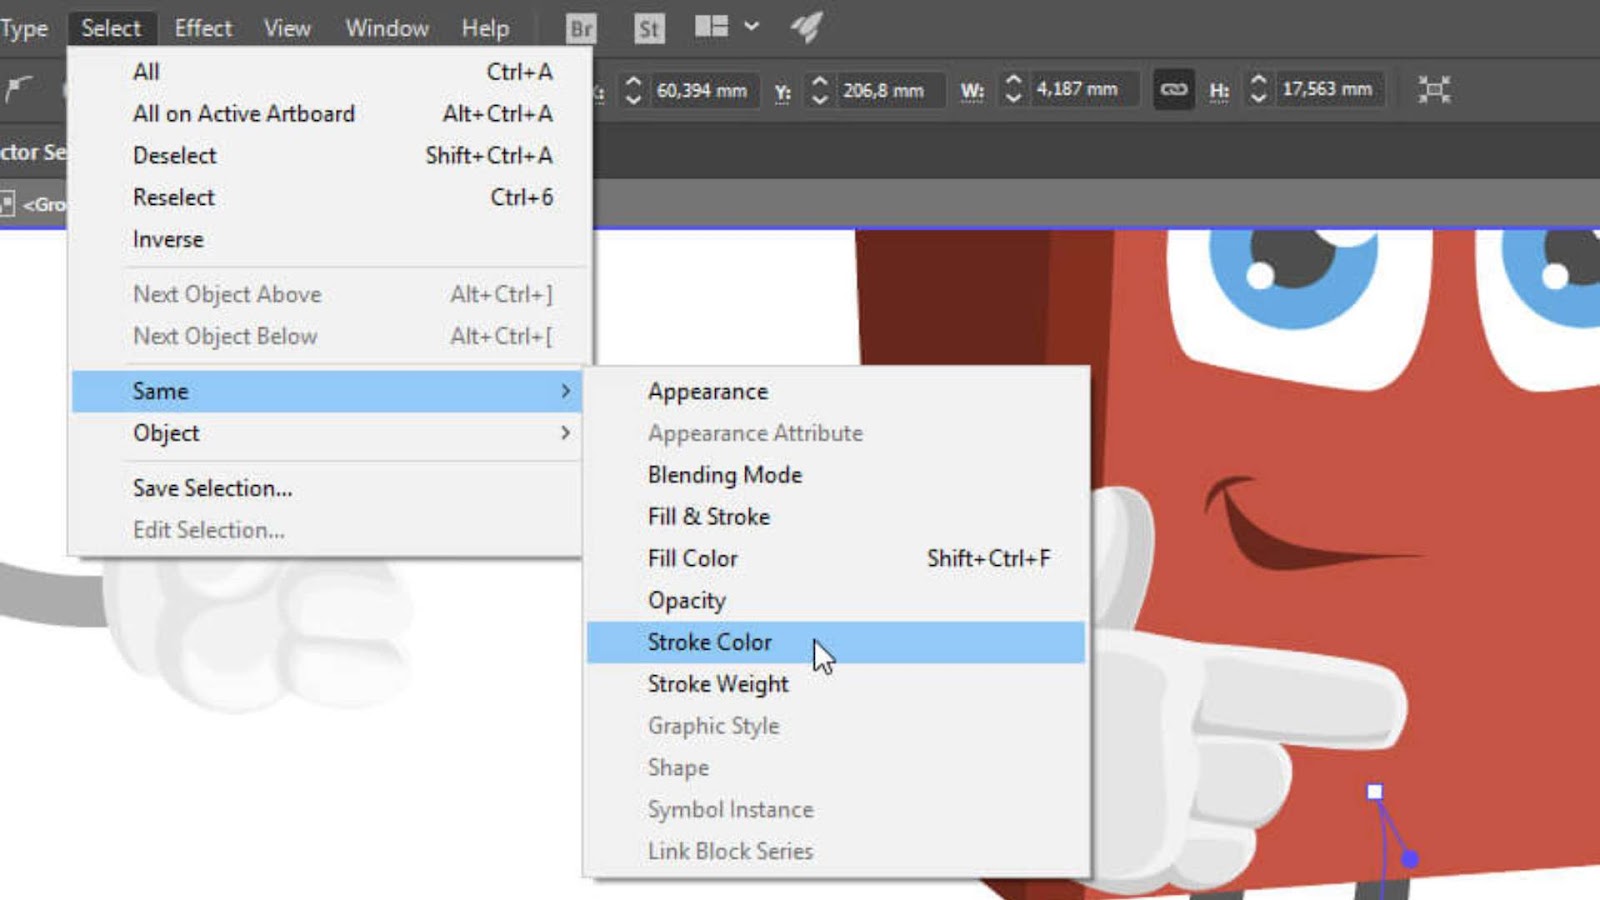
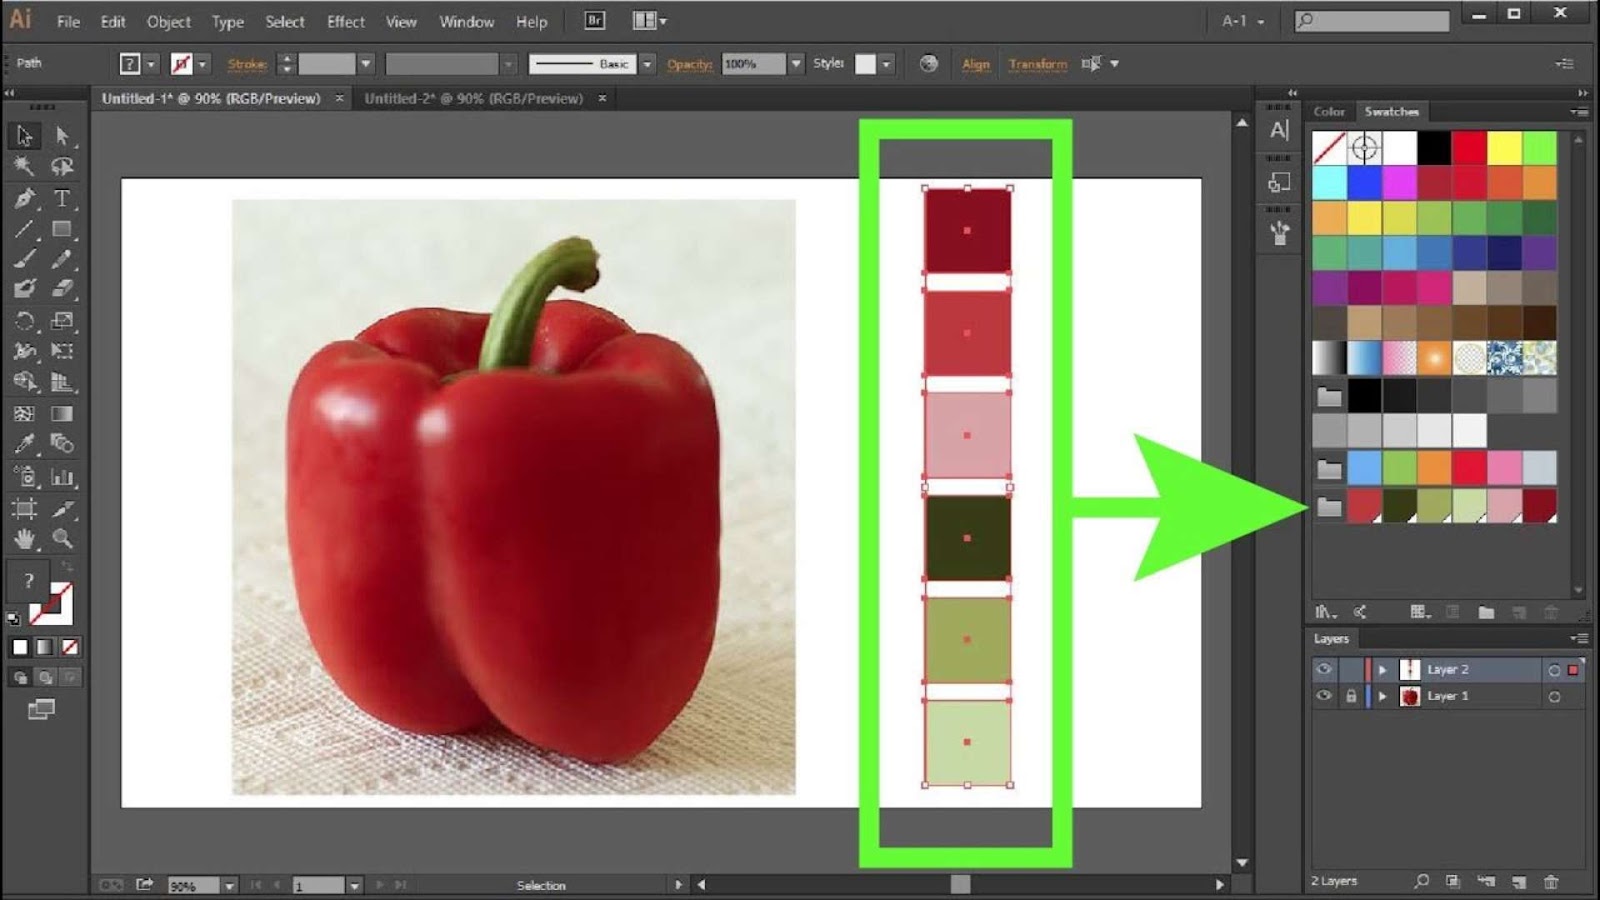
Working with Color Palettes and Swatches
When learning how to Illustrator change color of image, it’s essential to be familiar with the color swatches and palettes available in the software. Illustrator has a built-in color library that offers a wide range of color options, including Pantone colors, web-safe colors, and other color systems used by designers.
To access the swatches panel, go to the “Window” menu and select “Swatches.” From here, you can choose predefined colors or create your own custom swatches. You can then apply these colors to different elements in your image by selecting the object and clicking on the desired color from the swatch panel.
Working with swatches helps ensure that your color choices are consistent throughout your design. It’s an efficient way to keep your colors organized and easily accessible, especially when you’re working on large-scale projects or when you need to stick to specific branding colors.
Conclusion: Mastering the Illustrator Change Color of Image Process
Illustrator is a versatile and powerful tool when it comes to changing the color of an image. Whether you’re working with vector artwork, raster images, or both, Illustrator offers a wide range of tools and techniques to help you adjust colors to your liking.
By understanding the different methods available for Illustrator change color of image, such as using the Recolor Artwork tool, color balance tools, and gradient maps, you can create stunning, customized designs with ease. Experimenting with these tools will allow you to discover new and creative ways to manipulate color, making your artwork more dynamic and visually appealing.
Whether you’re a beginner or an experienced designer, mastering the art of changing colors in Illustrator can greatly enhance your workflow and design skills. With the right knowledge and practice, you’ll be able to transform any image into a colorful masterpiece, tailored to your vision.


