

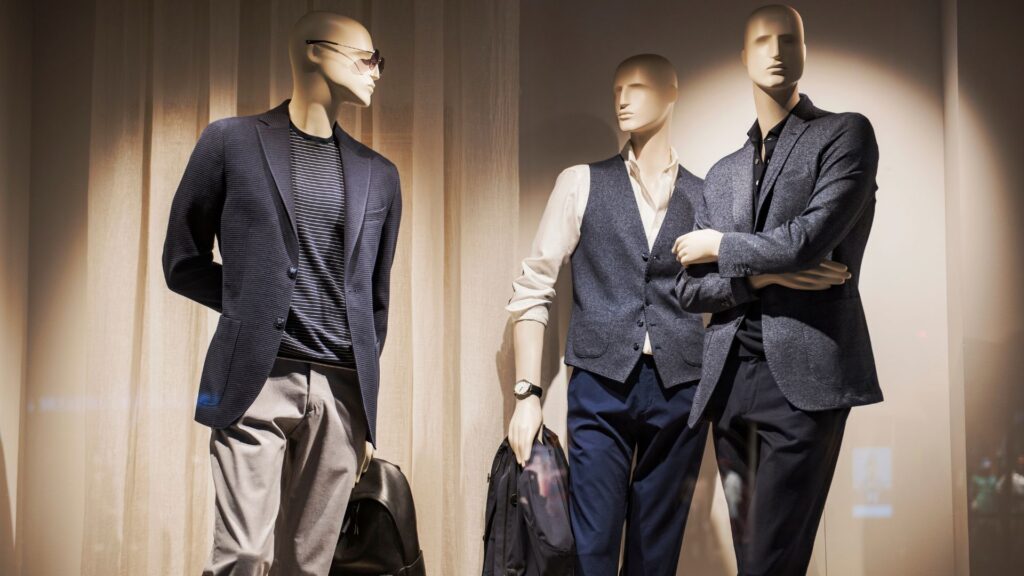
Ghost Mannequin Retouching is an essential technique in the world of fashion photography, particularly for e-commerce. It involves the meticulous process of removing the mannequin from product images and perfecting the garment’s appearance to present it as if worn by an invisible model. This technique ensures that clothing items are showcased in a clean, polished, and professional manner, allowing customers to see the garment’s true fit, design, and details without any obstructions. In this comprehensive guide, we’ll explore the importance of Ghost Mannequin Retouching, provide a step-by-step process for achieving flawless results, and share best practices to elevate your product images.
What is Ghost Mannequin Retouching?
Ghost Mannequin Retouching is a post-production technique used in fashion photography to create images where the mannequin is digitally removed from the photo, leaving the garment looking as if it is being worn by an invisible person. This technique is widely used to present clothing items in a way that highlights their fit, design, and structure without any visible support. By focusing on Ghost Mannequin Retouching, fashion brands can showcase their products in a more professional and appealing manner, helping potential customers get a better sense of how the garment will look in real life.
Why is Ghost Mannequin Retouching Important?
In the highly competitive world of e-commerce, the visual presentation of products can make or break a sale. Ghost Mannequin Retouching plays a crucial role in this process by providing a clean and polished look for garments. By removing the mannequin, this technique ensures that the focus remains solely on the product, allowing customers to see the garment’s details, fit, and structure without any distractions. This clean presentation helps in building customer trust and confidence, making it easier for them to make informed purchasing decisions. In essence, Ghost Mannequin Retouching enhances the overall shopping experience and boosts the effectiveness of online product listings.
Step-by-Step Guide to Ghost Mannequin Retouching
1. Prepare the Garment and Mannequin
To achieve effective Ghost Mannequin Retouching, start by preparing the garment and mannequin. Ensure that the garment is free from wrinkles and is fitted properly on the mannequin, particularly around the neckline and other key areas. This preparation is crucial because it ensures that the garment looks its best before photography. Take multiple photos from different angles, including the front, back, and any inner details such as labels or seams. These images will be used in the retouching process to create a seamless and professional final product.
2. Photograph the Garment
When photographing the garment for Ghost Mannequin Retouching, it’s essential to capture clear, high-quality images. Use a tripod to keep the camera steady and maintain consistent angles and lighting throughout the shoot. Capture separate shots of the inside of the garment, especially the inner neckline and any internal details that need to be visible in the final image. Proper lighting is key to avoiding harsh shadows and highlights, which can complicate the editing process. By taking multiple, well-lit photos, you ensure that the retouching process will produce a polished and professional result.
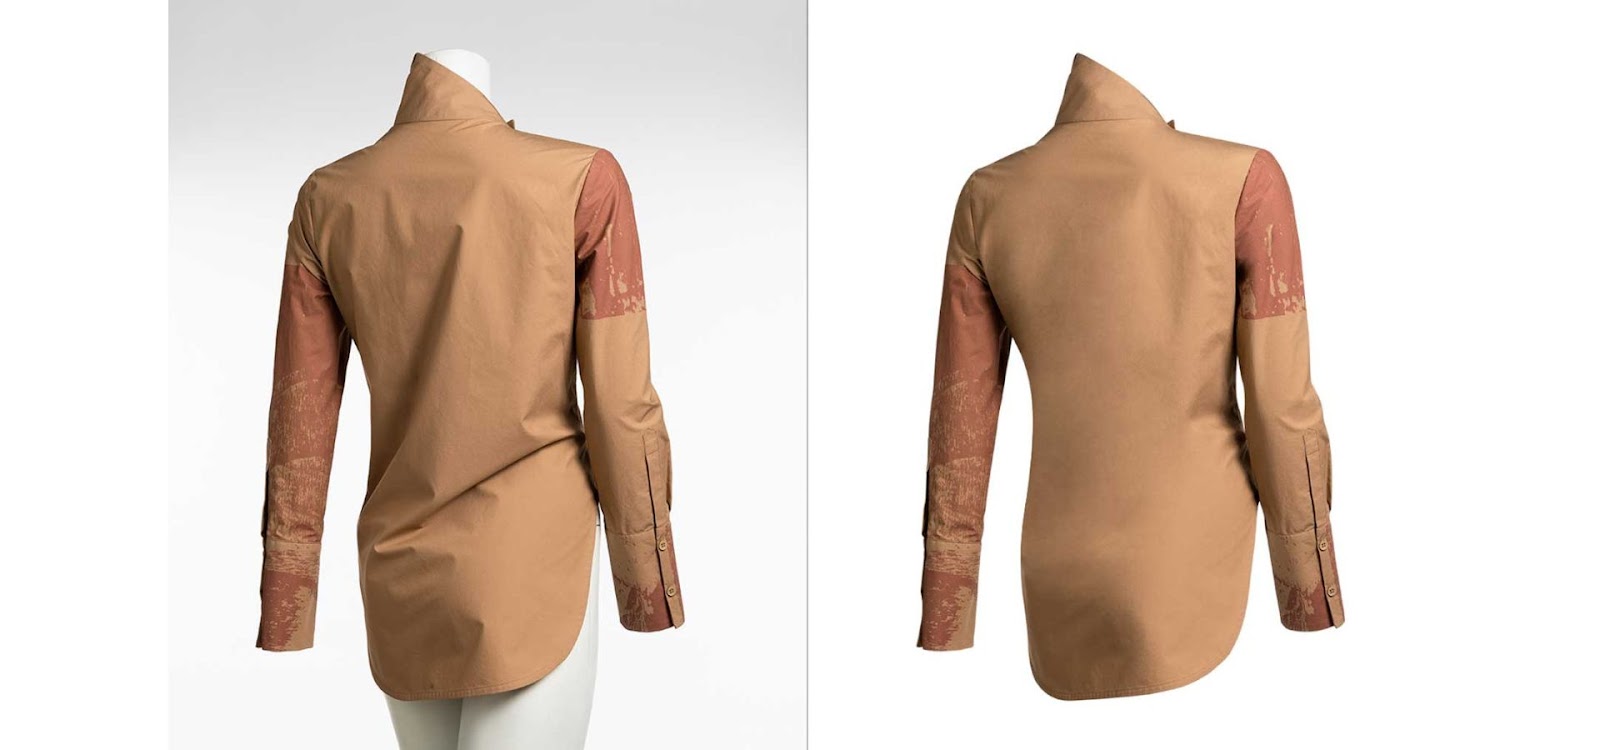
3. Remove the Mannequin in Editing Software
The core of Ghost Mannequin Retouching involves using photo editing software to remove the mannequin from the images. Software like Adobe Photoshop is ideal for this task due to its advanced editing tools. Begin by importing the photos into Photoshop and isolating the mannequin from the garment. Use tools such as the pen tool, lasso tool, and layer masks to carefully remove the mannequin while preserving the garment’s natural shape and appearance. This step requires precision and attention to detail to ensure that the final image looks seamless and realistic.
4. Align and Composite the Images
After removing the mannequin, the next step in Ghost Mannequin Retouching is to align and composite the various images. This involves combining the front, back, and inner detail shots to create a complete view of the garment. Align the images carefully to ensure a smooth and continuous appearance. Adjust colors, shadows, and highlights as needed to create a cohesive look that maintains the garment’s natural appearance. This step is crucial for achieving a high-quality, professional image that effectively showcases the product.
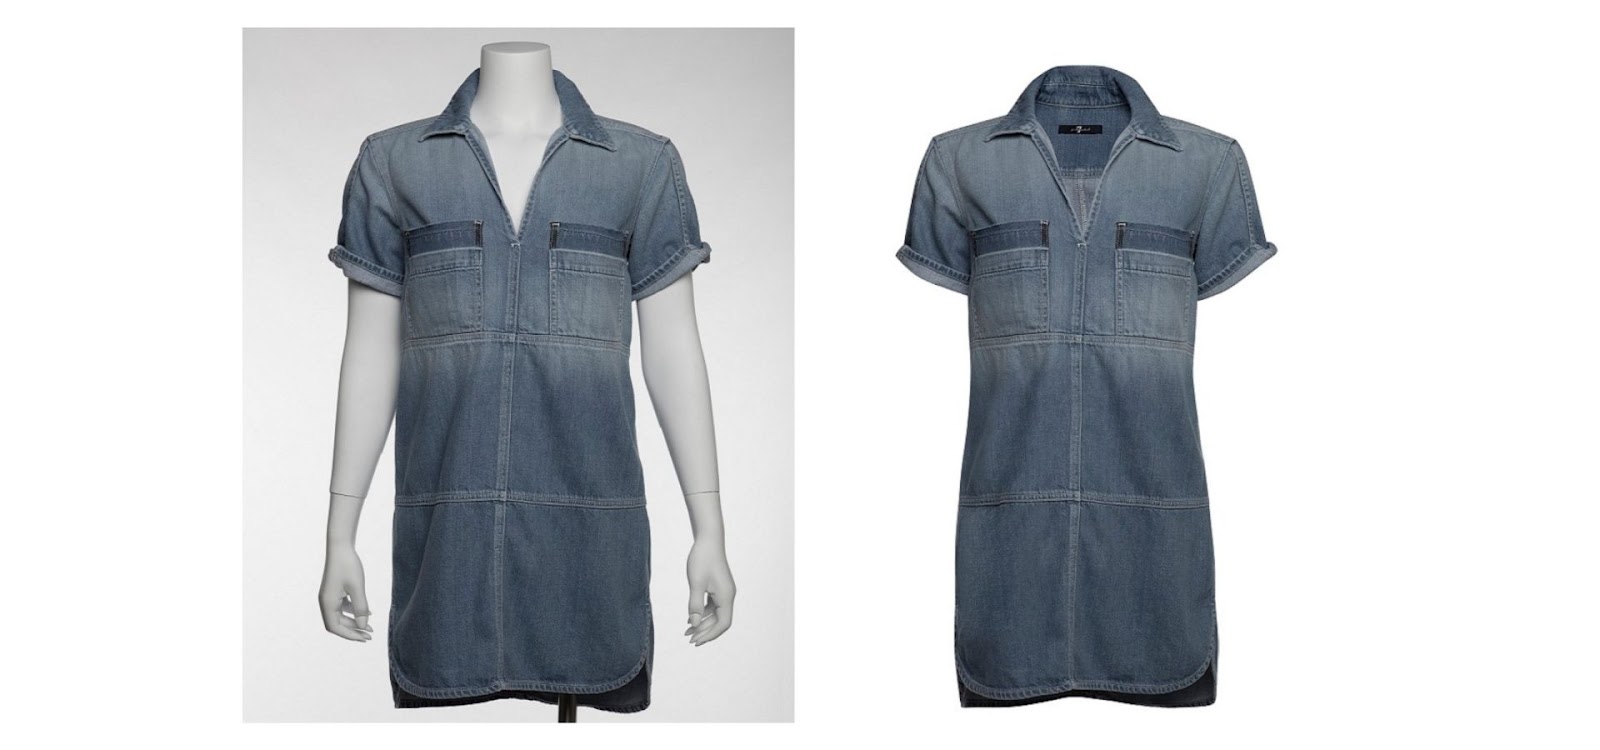
5. Refine and Finalize the Image
Once the images are composited, refine and finalize the result to ensure a polished look. This involves smoothing any rough edges, correcting any imperfections, and ensuring perfect symmetry. Use tools like the healing brush and clone stamp to address any remaining issues and enhance the overall appearance of the garment. The goal of Ghost Mannequin Retouching is to create a flawless final image that highlights the garment’s features and presents it in the best possible light.
Best Practices for Effective Ghost Mannequin Retouching
Use High-Resolution Images
To achieve the best results in Ghost Mannequin Retouching, always use high-resolution images. High-resolution photos provide more detail, making it easier to remove the mannequin and refine the garment’s appearance. Clear, detailed images ensure that the final product is sharp and professional, enhancing the overall visual appeal.
Ensure Consistent Lighting
Consistent lighting is essential for a successful Ghost Mannequin Retouching process. Even lighting helps avoid harsh shadows and highlights that can complicate the editing process. By maintaining consistent lighting throughout the photo shoot, you ensure a uniform look across all images, making the final composite more natural and realistic.
Take Multiple Angles
Taking multiple angles of the garment provides greater flexibility during the editing process. It allows you to capture all necessary details and ensures that the final image accurately represents the product from all perspectives. This thorough approach is crucial for creating a comprehensive and professional-looking final product.
Common Challenges in Ghost Mannequin Retouching
Uneven Edges and Misalignment
Uneven edges and misalignment are common challenges in Ghost Mannequin Retouching. These issues can arise if the garment and mannequin are not perfectly aligned in the photos. To address this, carefully align and blend the images during the editing process, ensuring that the final result looks seamless and well-structured.
Inconsistent Lighting
Inconsistent lighting between different shots can create discrepancies in the final composite image. To overcome this challenge, ensure that all photos are taken under the same lighting conditions and make necessary adjustments during the editing process to achieve a uniform look.
Detail Loss
Removing the mannequin can sometimes lead to the loss of garment details, particularly around the neckline and seams. To minimize detail loss, take high-quality photos with a focus on capturing all garment aspects, and use editing tools to restore any missing details.
Tools and Software for Ghost Mannequin Retouching
Adobe Photoshop
Adobe Photoshop is the leading tool for Ghost Mannequin Retouching due to its advanced features and capabilities. Its tools, including layer masks, the pen tool, and content-aware fill, allow for precise editing and seamless removal of mannequins. Photoshop’s robust features make it ideal for creating high-quality, professional images.
GIMP
For those seeking a free alternative, GIMP offers basic editing capabilities suitable for Ghost Mannequin Retouching. While it may not have all the advanced features of Photoshop, GIMP provides essential tools for removing mannequins and achieving clean, professional results.
Conclusion
Ghost Mannequin Retouching is a vital technique for transforming product images and presenting them in the best possible light. By carefully removing the mannequin and refining the garment’s appearance, you can create stunning, high-quality images that showcase the product’s fit, design, and details. Mastering Ghost Mannequin Retouching not only enhances the visual appeal of your product listings but also boosts customer confidence and drives sales. Whether you’re an e-commerce brand or a photographer, this technique is essential for achieving professional and effective product imagery.
FAQs
What is Ghost Mannequin Retouching?
Ghost Mannequin Retouching is a photo editing technique used to create images where the mannequin is digitally removed, leaving the garment looking as if it is being worn by an invisible model. This method highlights the garment’s design, fit, and details without any visible support, providing a clean and professional look for e-commerce and fashion photography.
Why is Ghost Mannequin Retouching important for e-commerce?
Ghost Mannequin Retouching is crucial for e-commerce because it offers a clear, unobstructed view of the garment. This technique helps potential customers see the fit, design, and details of the clothing more accurately, enhancing the overall shopping experience and increasing the likelihood of a purchase. High-quality, retouched images build customer trust and confidence in the product.
What are the key steps in Ghost Mannequin Retouching?
The key steps in Ghost Mannequin Retouching include preparing the garment and mannequin, photographing the garment from multiple angles, removing the mannequin using photo editing software, aligning and compositing the images, and finally refining and finalizing the image to ensure a polished look. Each step is essential for achieving a seamless and professional final product.
What challenges might I encounter with Ghost Mannequin Retouching?
Common challenges in Ghost Mannequin Retouching include uneven edges and misalignment, inconsistent lighting between photos, and detail loss around areas like the neckline. To overcome these challenges, ensure consistent lighting, align images carefully, and use advanced editing tools to restore any missing details for a flawless result.
What software is best for Ghost Mannequin Retouching?
Adobe Photoshop is the preferred software for Ghost Mannequin Retouching due to its advanced features, such as layer masks, the pen tool, and content-aware fill, which allow for precise and seamless editing. For those seeking a free alternative, GIMP offers basic editing capabilities suitable for this technique, though it may lack some advanced features found in Photoshop.


