

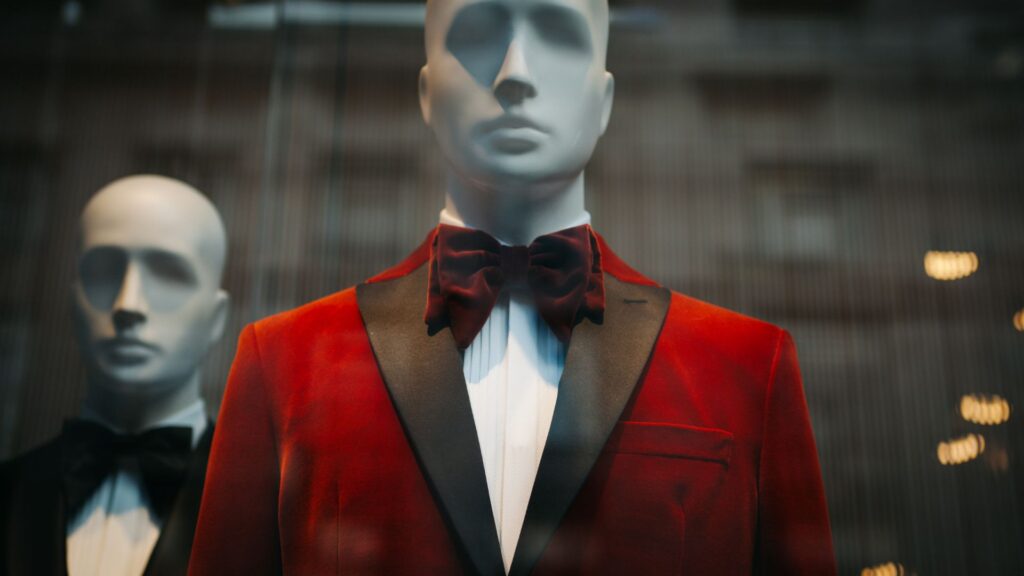
In the competitive realm of fashion photography, standing out requires not just creativity but also technical skill. Ghost Mannequin Photography, also known as invisible mannequin photography, is a transformative technique that allows you to present your garments in the most compelling way. By making it look like the clothing is being worn by an invisible mannequin, you can highlight the garment’s structure, design, and fit without distractions. This technique is especially vital for online retail and catalogs, where high-quality visuals are crucial for attracting and retaining customers. In this detailed guide, we will delve into the process of mastering Ghost Mannequin Photography and provide you with a step-by-step tutorial on editing your images using GIMP, a versatile and powerful photo editing software.

Understanding Ghost Mannequin Photography
What Is Ghost Mannequin Photography?
Ghost Mannequin Photography is a specialized technique used to create images where clothing appears to be worn by an invisible mannequin. This method involves carefully removing the mannequin or model from the photograph while preserving the garment’s shape and structure. The result is a clean, polished image that showcases the product’s details and fit without any obstructions. Ghost Mannequin Photography is ideal for e-commerce platforms and fashion catalogs where clarity and professionalism are key.
Why Use Ghost Mannequin Photography?
The primary advantage of Ghost Mannequin Photography is its ability to offer a clear and unobstructed view of your garment. This technique is particularly important for online retailers who need to provide potential buyers with an accurate representation of their products. By eliminating the mannequin or model from the image, you highlight the garment’s design, texture, and fit in a way that is both visually appealing and informative. This approach not only enhances the product’s presentation but also improves customer satisfaction by providing a more accurate depiction of what they are purchasing.
Preparing Your Photos for Editing
Taking High-Quality Photos
To achieve exceptional results with Ghost Mannequin Photography, you must start with high-quality photos. Begin by setting up a well-lit environment to capture clear and detailed images. Here are some tips to ensure you get the best photos for your Ghost Mannequin Photography:
- Use Adequate Lighting: Proper lighting is crucial for capturing clear and detailed images. Utilize natural light when possible, or invest in professional lighting setups to avoid shadows and highlight the garment’s features effectively.
- Capture Multiple Angles: Take photos of the garment from different angles, including front, side, and back views. This provides a comprehensive view of the product and is essential for creating a seamless ghost mannequin image.
- Choose a Consistent Background: Use a plain, neutral background for your photos to simplify the editing process. A white or light gray background is ideal as it helps the garment stand out and makes the editing work easier.
Organizing Your Images
Before diving into the editing process, organize your photos efficiently. Create folders based on the type of shots or angles, and label them clearly. This organization will streamline your workflow and help you locate and work with the images more easily. Proper organization is crucial for maintaining efficiency and ensuring that each image is edited consistently.
Step-by-Step Guide to Ghost Mannequin Photography Editing in GIMP
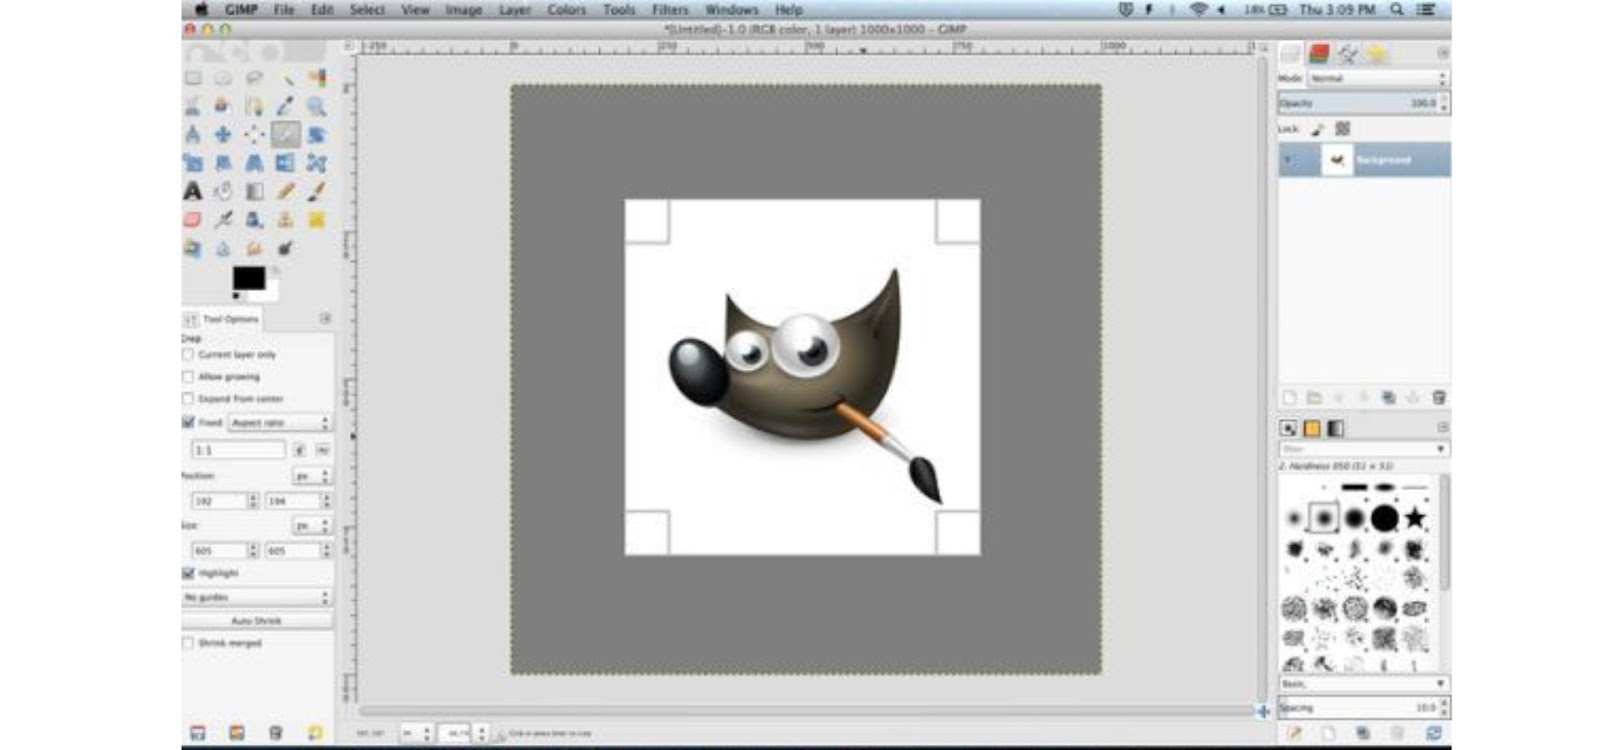
Step 1: Open Your Images in GIMP
- Launch GIMP and open the images you want to edit by going to File > Open. Select the images from your organized folders.
- If you have multiple shots of the garment, arrange them into layers within your GIMP project. This layering will help you combine the images seamlessly during the editing process.
Step 2: Create a New Project
- Start a new project by navigating to File > New. Set the project dimensions to match your product images or adjust them according to your requirements.
- Copy and paste your images into this new project as separate layers. Position the layers so that they align correctly, allowing for a smooth blending process.
Step 3: Remove the Mannequin
- Select the Mannequin Area: Use GIMP’s Free Select Tool (Lasso Tool) or Foreground Select Tool to outline the mannequin in your images. Carefully trace around the mannequin to ensure you capture all relevant parts.
- Delete the Mannequin: Once the mannequin is selected, press Delete to remove it from the image. You may need to refine the edges using the Eraser Tool or Layer Mask to clean up any residual areas and ensure a smooth transition.
Step 4: Blend the Garment
- Combine Images: Use the Move Tool to position the different images of the garment so they align seamlessly. This will help you create a comprehensive view of the product.
- Create a Composite: Use a Layer Mask to blend the edges where images overlap. Paint with black on the layer mask to hide areas and with white to reveal them, creating a smooth and natural transition between layers.
Step 5: Refine the Edges
- Use the Clone Tool or Healing Tool: To fix any imperfections or irregularities in the image, use the Clone Tool or Healing Tool to blend and refine the edges where the mannequin was removed. This step is crucial for achieving a polished and professional look.
- Adjust Colors and Lighting: Enhance the image by adjusting the brightness, contrast, and color balance using Colors > Levels or Colors > Curves. Ensure that the lighting is consistent across the garment to maintain a cohesive appearance.
Step 6: Final Touches
- Add Shadows and Highlights: Create a new layer to add subtle shadows and highlights to enhance the garment’s appearance. Use a soft brush to paint shadows and highlights where necessary to add depth and dimension.
- Save Your Work: Once you are satisfied with the editing, save your final image by going to File > Export As. Choose the appropriate file format (JPEG, PNG) and ensure the resolution meets your needs.

Tips for Successful Ghost Mannequin Photography and Editing
Invest in Quality Equipment
Investing in high-quality photography equipment, including a good camera and proper lighting, is essential for achieving the best results in Ghost Mannequin Photography. High-quality equipment ensures that your images are clear, detailed, and ready for professional editing.
Maintain Consistency
Consistency is key when it comes to Ghost Mannequin Photography. Use the same photography setup, lighting conditions, and editing techniques for all your product images. This consistency helps create a cohesive look across your catalog and enhances your brand’s visual identity.
Regularly Update Your Skills
Stay updated with the latest trends and features in GIMP and other photo editing tools. Regularly update your skills to keep up with advancements in photo editing techniques and ensure your product images remain top-notch.
Seek Feedback
Seeking feedback from colleagues or clients can provide valuable insights into your editing work. Constructive feedback helps you refine your techniques and improve the quality of your Ghost Mannequin Photography, leading to better results and enhanced customer satisfaction.
Conclusion
Mastering Ghost Mannequin Photography and editing is a powerful way to elevate your product images and enhance your brand’s visual appeal. By following this step-by-step guide and utilizing GIMP’s editing capabilities, you can create stunning, professional images that showcase your garments in their best light. From capturing high-quality photos to perfecting the editing process, attention to detail and consistent practices are crucial for achieving exceptional results. Embrace the art of Ghost Mannequin Photography and watch as your product images transform into compelling visuals that captivate and engage your audience.
FAQs
What is Ghost Mannequin Photography, and why is it important?
Ghost Mannequin Photography involves creating images where clothing appears to be worn by an invisible mannequin. It is important because it provides a clear, distraction-free view of the garment, showcasing its fit and design in a professional manner, which is crucial for attracting customers and driving sales.
Can I use GIMP for Ghost Mannequin Photography editing?
Yes, GIMP is an excellent tool for Ghost Mannequin Photography editing. It offers a range of features and tools that allow you to remove the mannequin, blend images, and enhance the final product photos effectively.
What are the key steps in editing Ghost Mannequin Photography images with GIMP?
The key steps include opening your images in GIMP, creating a new project, removing the mannequin, blending the garment images, refining edges, and adding final touches such as shadows and highlights. Each step is essential for achieving a polished and professional final image.
How can I ensure the best results with Ghost Mannequin Photography?
To ensure the best results, invest in quality photography equipment, take well-lit and detailed photos, and maintain consistency in your editing style. Regularly update your skills and seek feedback to refine your techniques and improve your images.
Are there any tips for maintaining consistency in Ghost Mannequin Photography?
Yes, maintaining consistency involves using the same photography setup, lighting, and editing techniques for all your product images. This consistency helps create a cohesive look across your catalog and reinforces your brand’s visual identity.


