

Jewelry photography is a delicate art. The right photo can make a piece look stunningly irresistible, while a poor one can dull even the most exquisite designs. Photo editing plays a crucial role in this process, transforming raw images into captivating visual stories. Let’s dive into the pro secrets of editing jewelry photos to make your pieces shine.
Understanding the Basics of Jewelry Photography
Before we get to the editing part, it’s essential to capture your jewelry in the best possible light. Literally.
Importance of Good Lighting
Good lighting is the cornerstone of any great jewelry photo. Natural light is fantastic, but a controlled setup with softbox lighting can create consistent and brilliant results.
Choosing the Right Background
A clean, neutral background ensures that the focus remains on the jewelry. White or black backgrounds are common choices, but sometimes a soft gradient can add an elegant touch.
Utilizing Proper Camera Settings
Use a macro lens to capture fine details and set your camera to a low ISO to avoid noise. A small aperture (high f-stop) will increase the depth of field, keeping your entire piece in sharp focus.
Essential Tools for Editing Jewelry Photos
You need the right tools to transform your raw shots into polished images.
Photo Editing Software
Adobe Photoshop and Lightroom are industry standards, offering powerful features for detailed editing. GIMP and Affinity Photo are excellent alternatives if you’re on a budget.
Necessary Hardware for Optimal Editing
A high-resolution monitor with accurate color calibration is crucial. A graphics tablet can also make detailed edits easier and more precise.
Preparing Your Workspace for Editing Jewelry Photos
Creating a conducive editing environment helps maintain focus and efficiency.
Setting Up a Comfortable Editing Environment
Ensure your workspace is well-lit and free of distractions. A comfortable chair and desk setup can make long editing sessions more bearable.
Organizing Your Files
Keep your files organized with a clear folder structure. Create separate folders for raw images, edited photos, and final exports to streamline your workflow.
Step-by-Step Guide to Editing Jewelry Photos
Let’s get into the nitty-gritty of editing.
Importing and Organizing Editing Jewelry Photos
Start by importing your photos into your chosen editing software. Organize them into folders based on the type of jewelry or the date of the shoot.
Cropping and Straightening
Crop your images to highlight the jewelry and remove any unnecessary background elements. Straighten the image to ensure your jewelry is aligned correctly.
Adjusting Exposure and Contrast
Enhance the exposure to brighten the image without losing details. Adjust the contrast to add depth and make the jewelry stand out.
Color Correction
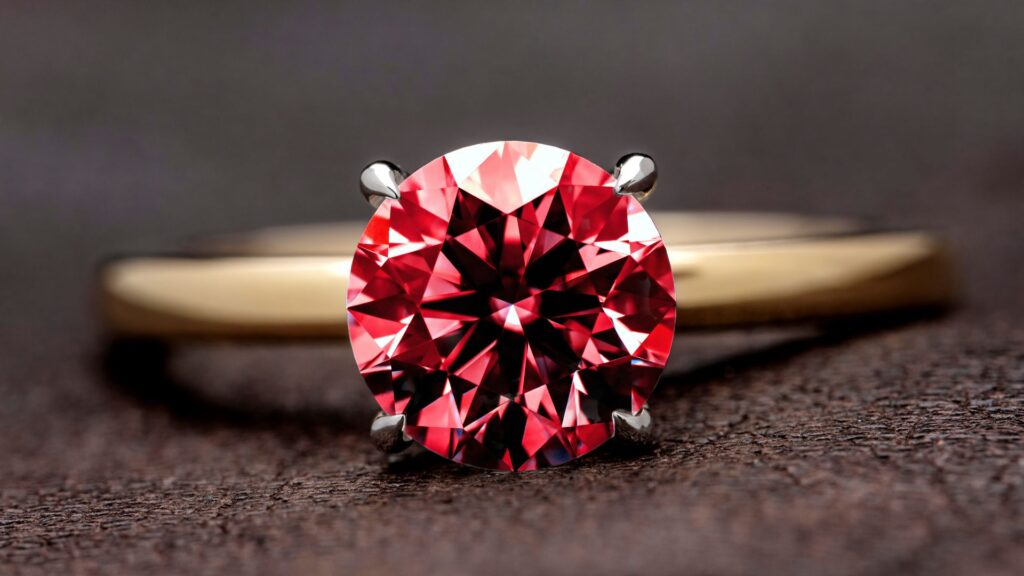
Balancing whites is essential to ensure your jewelry’s true colors are represented. Adjust the color temperature to remove any unwanted tints, and enhance gemstone colors to make them pop.
Retouching and Cleaning Up Editing Jewelry Photos
Remove any blemishes, dust, or fingerprints visible on the jewelry. Use the clone stamp or healing brush tools to smooth surfaces and create a flawless look.
Sharpening the Image
Sharpening enhances the fine details of the jewelry. Be careful not to over-sharpen, which can introduce noise and make the image look unnatural.
Adding Finishing Touches
Add subtle highlights to emphasize the jewelry’s sparkle. Reflections and shadows can add depth and realism, while filters and effects can give a unique artistic touch.
Advanced Editing Techniques
For those looking to take their editing skills to the next level, here are some advanced techniques.
Focus Stacking
Combine multiple shots taken at different focus points to create an image with maximum sharpness and detail throughout.
Using Layers and Masks
Layers and masks in Photoshop allow for non-destructive editing. You can make adjustments and easily revert to the original image if needed.
High Dynamic Range (HDR) Editing
HDR involves combining multiple images taken at different exposures to capture a greater range of light and detail. This technique is particularly useful for jewelry with both bright and dark elements.
Saving and Exporting Your Photos
Once you’ve finished editing, it’s time to save and export your images.
Choosing the Right File Format
Save your master file in a lossless format like TIFF for future edits. Export in JPEG for web use or high-resolution PNG for print.
Export Settings for Web vs. Print
Adjust your export settings based on the intended use. For the web, keep the resolution at 72 DPI to reduce file size. For print, use a higher resolution of 300 DPI to ensure quality.
Conclusion
Editing jewelry photos is both an art and a science. By following these steps, you can enhance your photos to showcase your jewelry in the best possible light. Practice, experiment, and don’t be afraid to push your creative boundaries.
FAQs
What software is best for editing jewelry photos?
Adobe Photoshop and Lightroom are the top choices, but GIMP and Affinity Photo are great alternatives.
How can I make gemstones look more vibrant in photos?
Enhance the color saturation and use selective color adjustments to make gemstones pop without altering the rest of the image.
What are the common mistakes to avoid in jewelry photo editing?
Avoid over-sharpening, over-saturating colors, and using inconsistent lighting. Always aim for a natural, polished look.
How can I achieve a professional look in my jewelry photos?
Focus on clean, detailed shots with balanced lighting. Use advanced techniques like focus stacking and HDR to capture all details.
Is it necessary to use a high-end camera for jewelry photography?
While a high-end camera helps, good lighting, proper settings, and excellent editing can achieve professional results even with a mid-range camera.


