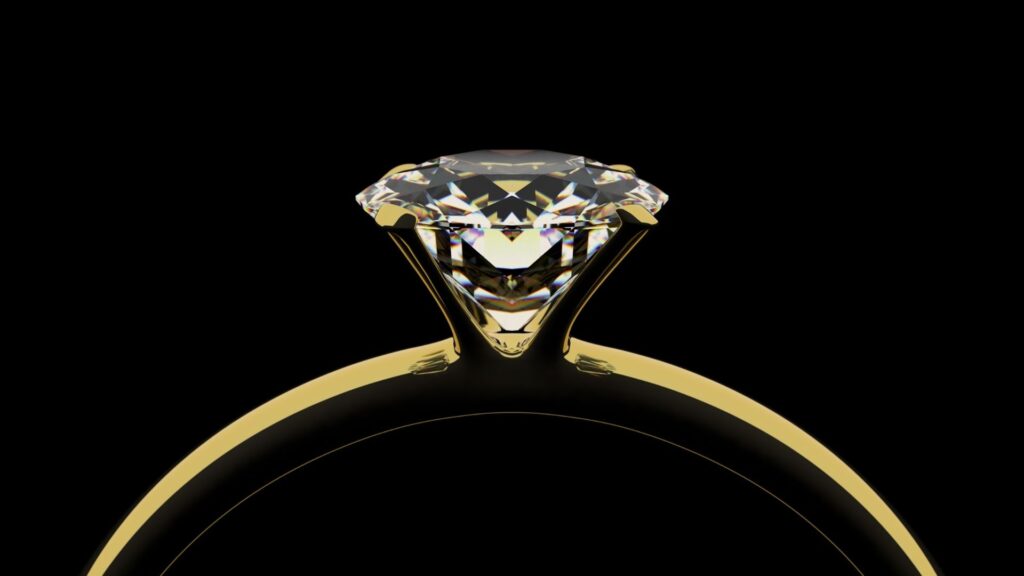
Jewelry retouching is a specialized field of photo editing that requires meticulous attention to detail to ensure that the final product is both stunning and true to life. One of the most challenging aspects of this work is cleaning up dust and scratches that can detract from the beauty of the jewelry. This article will explore the best practices for effectively cleaning up dust and scratches in jewelry retouching, providing a comprehensive guide to achieving flawless results.
Understanding the Importance of Jewelry Retouching
Before diving into the techniques, it’s crucial to understand why jewelry retouching is so important. High-quality images are essential for marketing jewelry, whether for online stores, print catalogs, or advertising campaigns. Dust and scratches can significantly diminish the appeal of the jewelry, making it appear less valuable or cared for. Therefore, meticulous retouching is necessary to present the jewelry in its best light, enhancing its appeal and ensuring it catches the eye of potential buyers.
Preparing for Jewelry Retouching
1. Proper Cleaning and Handling
The first step in minimizing the need for extensive retouching is to ensure that the jewelry is as clean as possible before photographing. Use a soft cloth and appropriate cleaning solutions to remove fingerprints, dust, and other debris. Handling jewelry with gloves can also help prevent transferring oils and dirt from your hands.
2. High-Quality Photography
High-resolution images provide more detail, making it easier to identify and remove dust and scratches during the retouching process. Use proper lighting techniques to minimize shadows and reflections, and consider using a macro lens to capture the fine details of the jewelry.
Tools and Software for Jewelry Retouching
Several tools and software can assist in cleaning up dust and scratches from jewelry images. Adobe Photoshop is the most widely used software for this purpose, offering a range of tools specifically designed for photo retouching. Other options include Lightroom and specialized plugins designed for jewelry retouching.

Best Practices for Cleaning Up Dust and Scratches
1. Using the Healing Brush Tool
The Healing Brush Tool in Photoshop is one of the most effective tools for removing dust and scratches. It works by sampling the surrounding pixels and blending them with the area being retouched.
Steps to Use the Healing Brush Tool:
- Select the Healing Brush Tool from the toolbar.
- Choose a soft brush with a size slightly larger than the dust or scratch you want to remove.
- Alt-click (Option-click on Mac) to sample a clean area near the dust or scratch.
- Click or drag over the dust or scratch to replace it with the sampled pixels.
2. Using the Spot Healing Brush Tool
The Spot Healing Brush Tool is another excellent tool for quick fixes. Unlike the Healing Brush Tool, it automatically samples the surrounding pixels, making it faster for small dust particles and minor scratches.
Steps to Use the Spot Healing Brush Tool:
- Select the Spot Healing Brush Tool from the toolbar.
- Choose a soft brush with an appropriate size.
- Simply click on the dust or scratch to remove it.
3. Using the Clone Stamp Tool
The Clone Stamp Tool provides more control by allowing you to manually sample and paint over the area with dust or scratches.
Steps to Use the Clone Stamp Tool:
- Select the Clone Stamp Tool from the toolbar.
- Choose a soft brush with a size appropriate for the area you are retouching.
- Alt-click (Option-click on Mac) to sample a clean area.
- Paint over the dust or scratch to replace it with the sampled pixels.
4. Using Frequency Separation
Frequency Separation is an advanced technique that separates an image into high and low-frequency layers, allowing you to retouch fine details and larger areas separately.
Steps to Use Frequency Separation:
- Duplicate your image layer twice.
- Apply a Gaussian Blur to the lower layer (low frequency) to blur out fine details.
- Set the top layer (high frequency) to Linear Light blending mode.
- Use the Healing Brush Tool on the high-frequency layer to remove dust and scratches without affecting the texture.
5. Using the Patch Tool
The Patch Tool is useful for larger areas with scratches or dust. It allows you to select an area and replace it with another part of the image.
Steps to Use the Patch Tool:
- Select the Patch Tool from the toolbar.
- Draw a selection around the dust or scratch.
- Drag the selection to a clean area to replace it.

6. Using the Dust & Scratches Filter
Photoshop’s Dust & Scratches filter can quickly reduce the appearance of dust and scratches across the entire image.
Steps to Use the Dust & Scratches Filter:
- Duplicate your image layer.
- Go to Filter > Noise > Dust & Scratches.
- Adjust the Radius and Threshold sliders until the dust and scratches are minimized without losing too much detail.
Additional Tips for Effective Jewelry Retouching
1. Working Non-Destructively
Always work on duplicate layers or use adjustment layers to ensure you can revert to the original image if needed. This non-destructive workflow allows you to experiment with different techniques without permanently altering the original image.
2. Zooming In and Out
Zoom in to closely inspect the details and ensure that you are accurately removing dust and scratches. Regularly zoom out to check the overall effect and ensure that your retouching looks natural.
3. Maintaining Texture and Detail
Be careful not to over-retouch, as this can result in a loss of texture and detail, making the jewelry look unnatural. Use the lowest opacity settings for tools like the Healing Brush and Clone Stamp to gradually build up your retouching.
4. Blending Modes and Opacity
Experiment with different blending modes and opacity settings for your retouching tools to achieve more natural results. For example, using the Clone Stamp Tool in Lighten mode can help blend out dark scratches without affecting the surrounding highlights.
5. Using Masks
Layer masks are invaluable for retouching, allowing you to selectively apply adjustments and corrections. Use masks to target specific areas without affecting the rest of the image.
6. Professional Plugins and Filters
Consider using professional retouching plugins and filters designed for jewelry photography. These tools can streamline the retouching process and provide more precise control over dust and scratch removal.
Case Study: Retouching a Diamond Ring
Step-by-Step Guide
- Initial Assessment: Open the high-resolution image of the diamond ring and zoom in to identify all visible dust and scratches.
- Cleaning with the Spot Healing Brush: Use the Spot Healing Brush Tool to quickly remove small dust particles on the metal band and setting.
- Detailed Retouching with the Healing Brush: Switch to the Healing Brush Tool for larger scratches, sampling clean areas close to the defects for seamless blending.
- Enhancing the Diamond: Use Frequency Separation to retouch the diamond, ensuring its facets remain sharp while removing any imperfections.
- Final Touches with the Clone Stamp: Use the Clone Stamp Tool at a low opacity to smooth out any remaining imperfections, paying special attention to maintaining the natural texture of the metal.
- Review and Adjust: Zoom out to review the entire image, making any final adjustments to ensure the ring looks pristine and the retouching is invisible.
Conclusion
Cleaning up dust and scratches in jewelry retouching is a critical skill that requires a combination of the right tools, techniques, and attention to detail. By following the best practices outlined in this article, you can achieve flawless retouching that enhances the beauty of jewelry and ensures it looks its best for marketing and display purposes. Remember to work non-destructively, maintain the natural texture and detail, and use a combination of tools to achieve the best results. With practice and patience, you can master the art of jewelry retouching and produce stunning images that captivate and impress.


