

Mastering shadows in Photoshop is essential for creating realistic and compelling images. Shadows add depth, dimension, and a professional touch to your work. In this comprehensive guide, we will explore the intricacies of drop shadows, natural shadows, and reflection shadows in Photoshop, helping you elevate your design skills to the next level.
Understanding Shadows in Photoshop
Shadows are crucial in creating the illusion of depth in a two-dimensional image. They help in defining the shape and position of objects within a scene. Photoshop offers various tools and techniques to create different types of shadows. Let’s delve into the specifics of each shadow type.
Drop Shadows
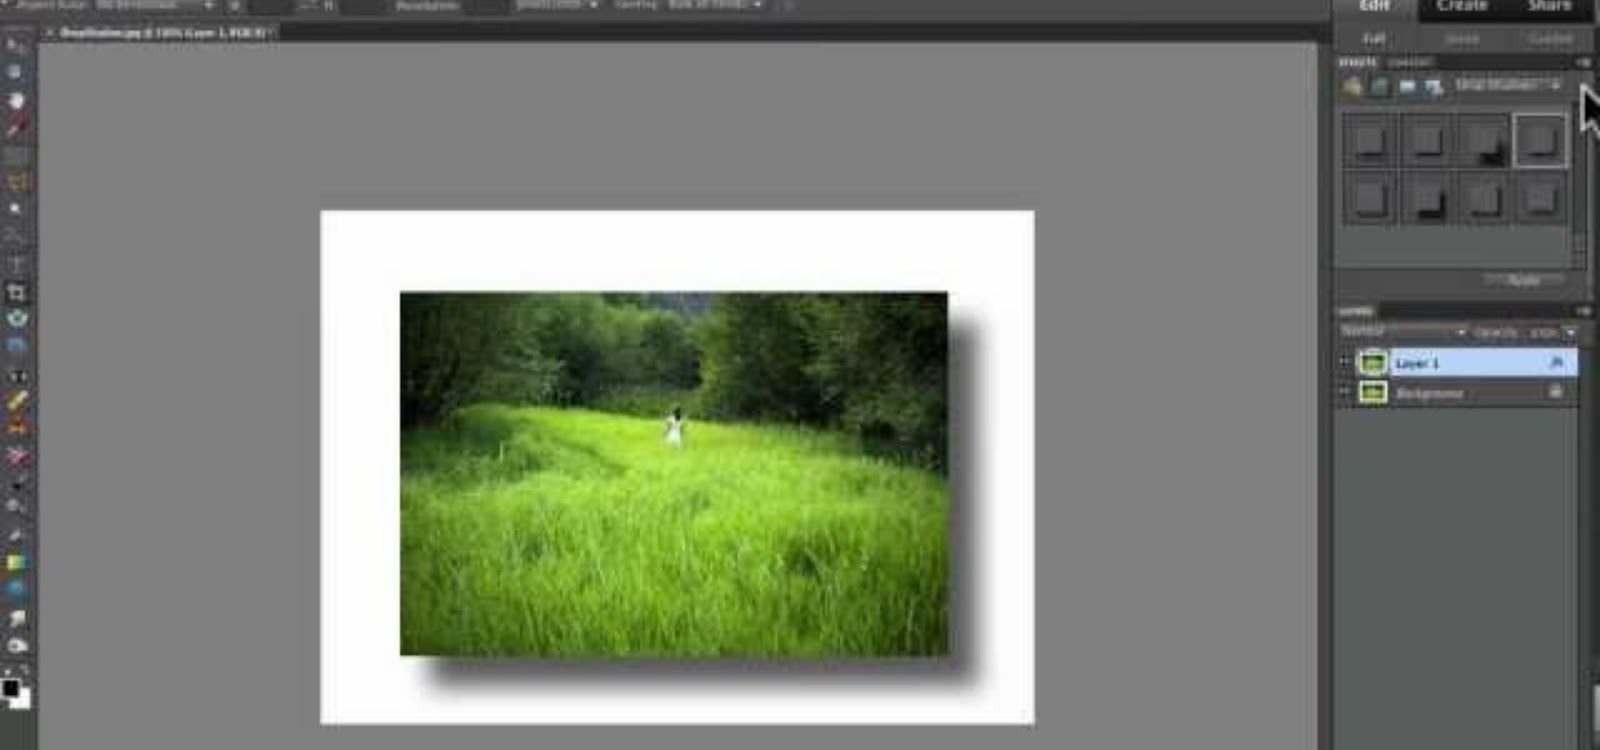
Drop shadows are one of the most commonly used effects in Photoshop. They simulate the shadow that an object casts onto a surface beneath it, adding a sense of depth and realism. Creating effective drop shadows involves understanding and manipulating several parameters to achieve the desired look.
Creating a Basic Drop Shadow
Creating a drop shadow in Photoshop involves several steps to ensure it looks natural and effective.
- Select the Layer: Choose the layer you want to apply the drop shadow to. This could be text, an image, or any other object in your composition.
- Open Layer Styles: Double-click on the layer or go to Layer > Layer Style > Drop Shadow. This opens the Layer Style dialog box where you can customize the drop shadow.
- Adjust the Settings:
- Blend Mode: Typically set to Multiply. This blending mode allows the shadow to interact with the colors beneath it, creating a more realistic effect.
- Opacity: Adjust this slider to control the darkness of the shadow. Higher opacity makes the shadow darker, while lower opacity makes it lighter.
- Angle: Determines the direction of the light source and, consequently, the direction of the shadow. This setting should be consistent with other shadows in your composition to maintain realism.
- Distance: Controls how far the shadow is cast from the object. Increasing the distance moves the shadow further away, while decreasing it brings the shadow closer.
- Spread: Affects the spread of the shadow. Higher spread values make the shadow edges harder, while lower values create softer edges.
- Size: Adjusts the blur of the shadow edges. A higher size value creates a softer, more diffused shadow, while a lower size value results in a sharper shadow.
Advanced Drop Shadow Techniques
To create more complex and realistic shadows, you can employ advanced techniques that go beyond the basic settings.
- Multiple Drop Shadows: Using multiple drop shadows can add complexity to the lighting in your image. This technique is particularly useful when simulating multiple light sources. You can add additional drop shadows by clicking the + button next to the Drop Shadow effect in the Layer Style dialog box.
- Layer Masks: Applying a layer mask to the shadow can help you selectively hide or reveal parts of the shadow. This is useful for creating shadows that interact realistically with other elements in your composition, such as having part of the shadow obscured by another object.
- Gradient Shadows: Using gradients within your drop shadow can create a shadow that fades out gradually, adding to the realism. This can be done by applying a gradient to the shadow’s layer mask.
Practical Applications of Drop Shadows
Drop shadows are versatile and can be used in various contexts to enhance your design:
- Text Effects: Adding drop shadows to text can make it stand out against the background and create a more dynamic visual effect. This is especially useful in graphic design and digital art.
- UI/UX Design: Drop shadows are commonly used in user interface design to create a sense of depth and hierarchy. Buttons, cards, and other interactive elements often use drop shadows to appear clickable and layered.
- Product Photography: In product photography, drop shadows can help to ground the product and create a more natural look. This technique is frequently used in e-commerce to make products appear more appealing.
Tips for Perfecting Drop Shadows
Creating effective drop shadows requires attention to detail and a good understanding of how light and shadows work. Here are some tips to help you perfect your drop shadows:
- Consistency: Ensure all shadows in your composition are consistent with the light source. Inconsistent shadows can break the illusion of depth and realism.
- Realism: Study real-world shadows to understand how light and shadows interact. Observing how shadows behave in different lighting conditions can inform your approach in Photoshop.
- Layer Organization: Keep your layers well-organized for easier adjustments. Naming your layers and grouping related elements can save you time and effort during the editing process.
Common Mistakes to Avoid
When creating drop shadows, it’s important to be aware of common mistakes that can detract from the overall quality of your work:
- Overly Harsh Shadows: Avoid making shadows too dark or too sharp. Realistic shadows usually have softer edges and lower opacity.
- Incorrect Angles: Ensure the angle of your shadows matches the light source. Inconsistent angles can make the shadow look unnatural.
- Ignoring Background: Consider how shadows interact with different backgrounds. A shadow that looks good on one background might not work as well on another.
Natural Shadows
Natural shadows emulate the way light interacts with objects in real life. Unlike drop shadows, which can be more rigid and stylized, natural shadows are softer, more diffuse, and blend seamlessly with the environment. They are essential for achieving a realistic look, especially in product photography, landscape composition, and any scenario where a genuine representation of light and shadow is crucial.
Creating Natural Shadows
Creating natural shadows in Photoshop involves several steps and techniques to ensure they blend seamlessly with the rest of your composition.
- Duplicate the Object Layer: Start by duplicating the layer of the object for which you want to create the shadow. This duplicate will be transformed into the shadow.
- How to Duplicate: Right-click on the layer in the Layers panel and select Duplicate Layer, or use the shortcut Ctrl+J (Cmd+J on Mac).
- Transform the Duplicate: Use Ctrl+T (Cmd+T on Mac) to enter Free Transform mode. Distort the duplicated layer to simulate the shape and position of the natural shadow.
- Distortion: Stretch and skew the duplicate layer to align with the expected shadow’s shape and direction, taking into account the light source’s position.
- Add Blur: Apply Gaussian Blur to soften the edges of the shadow, making it look more natural. This step is crucial because real-world shadows usually have blurred edges rather than sharp lines.
- Applying Blur: Go to Filter > Blur > Gaussian Blur and adjust the Radius slider to control the amount of blur.
- Adjust Opacity: Lower the opacity of the shadow layer to make it more subtle. Realistic shadows are often semi-transparent and blend with the background.
- How to Adjust: In the Layers panel, use the Opacity slider to reduce the shadow’s visibility until it matches the natural look.
- Layer Mask: Apply a layer mask to the shadow layer to refine its edges and blend it seamlessly with the background. This allows for more precise control over which parts of the shadow are visible.
- Using Layer Mask: Click the Add Layer Mask button in the Layers panel, and then use a soft brush with low opacity to paint on the mask and adjust the shadow’s visibility.
Refining Natural Shadows
Once you’ve created the basic shadow, further refinements can enhance its realism and integration into the scene.
- Feathering: Use the feathering tool to soften the shadow’s edges even more. Feathering creates a smooth transition between the shadow and the background.
- How to Feather: Select the shadow layer, then go to Select > Modify > Feather and adjust the feather radius as needed.
- Color Matching: Adjust the shadow’s color to match the ambient light in the scene. Shadows aren’t always pure black; they often take on subtle hues from the surrounding environment.
- Adjusting Color: Use Image > Adjustments > Hue/Saturation or Image > Adjustments > Color Balance to modify the color of the shadow layer.
- Warping: Use the Warp tool to fine-tune the shadow’s shape and position. This is especially useful for adjusting the shadow to conform to irregular surfaces or perspectives.
- Applying Warp: Go to Edit > Transform > Warp and manipulate the control points to adjust the shadow’s form.
Practical Applications of Natural Shadows
Natural shadows are used in various scenarios to enhance realism and depth:
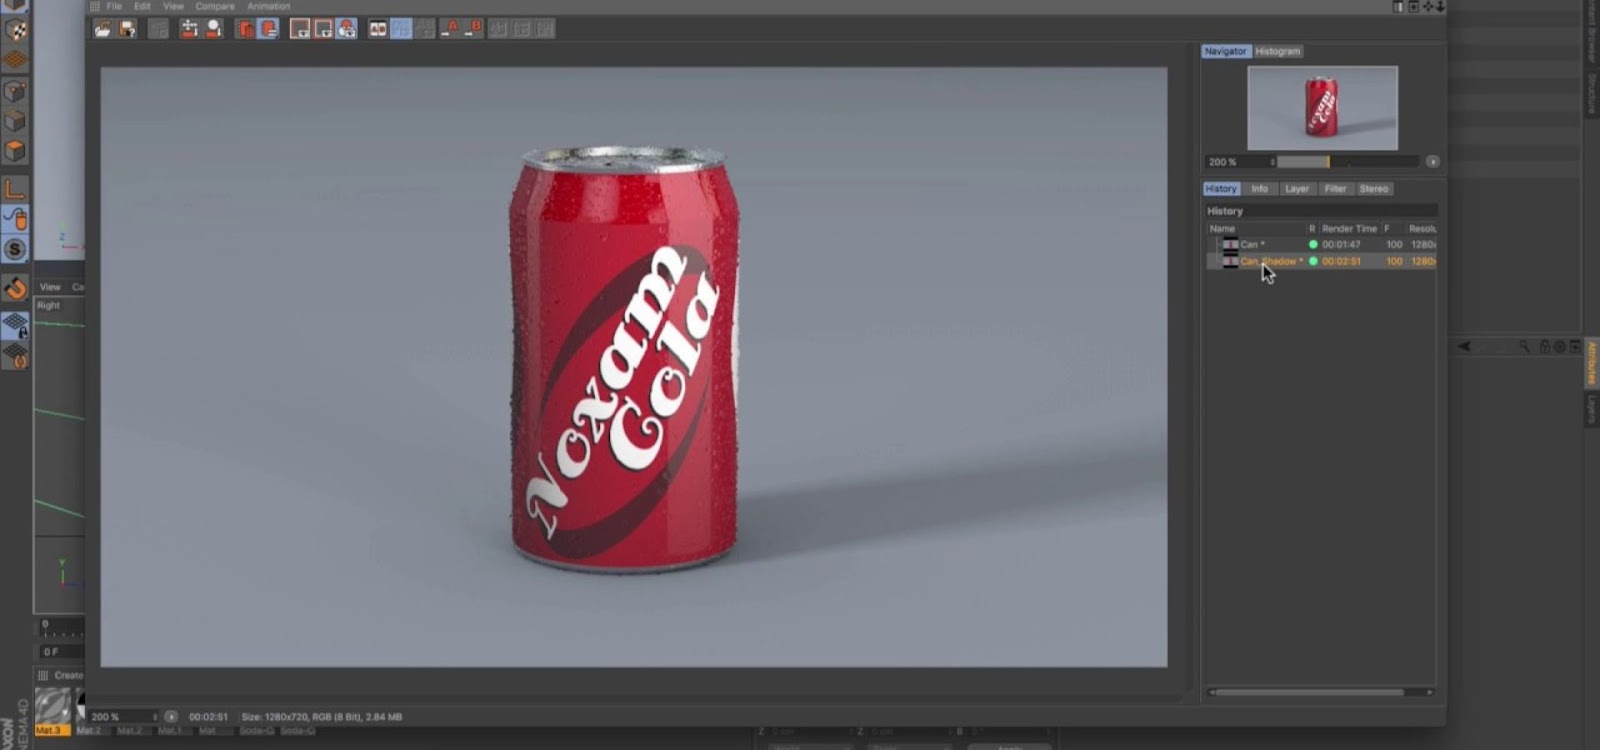
- Product Photography: In product photography, natural shadows can make objects appear grounded and realistic. They help simulate how the product interacts with the lighting environment, adding to its visual appeal.
- Digital Art and Illustrations: Incorporating natural shadows in digital art can add depth and dimension, making illustrations appear more lifelike.
- Architectural Renderings: In architectural design, natural shadows can illustrate how a structure will look at different times of the day and under various lighting conditions.
Tips for Perfecting Natural Shadows
To achieve the best results with natural shadows, keep these tips in mind:
- Study Real-World Shadows: Observe how shadows behave in real life. Pay attention to how light sources affect the shadow’s shape, size, and softness.
- Consistency: Ensure the shadow’s direction, size, and softness are consistent with other light sources in your composition.
- Blending: Achieve a seamless blend between the shadow and the background by using layer masks and feathering techniques.
Common Mistakes to Avoid
Avoid these common pitfalls to ensure your natural shadows look realistic:
- Overly Harsh Edges: Realistic shadows typically have soft, blurred edges. Avoid using shadows with overly sharp lines.
- Inconsistent Light Sources: Make sure the shadow’s characteristics match the direction and intensity of the light source in your scene.
- Ignoring Background Interaction: Pay attention to how the shadow interacts with different backgrounds. Shadows should enhance, not clash with, the surrounding elements.

Reflection Shadows
Reflection shadows simulate the effect of an object reflecting on a shiny or glossy surface. This type of shadow creates a realistic and polished look, making it particularly useful in product photography, digital art, and interface design. Reflection shadows add a layer of sophistication and depth, enhancing the visual appeal of objects by mimicking how they would appear on reflective surfaces.
Creating Reflection Shadows
To create realistic reflection shadows in Photoshop, follow these detailed steps:
- Duplicate the Object Layer: Start by duplicating the layer that contains the object you want to reflect. This duplicate will be transformed into the reflection.
- How to Duplicate: Right-click on the layer in the Layers panel and select Duplicate Layer, or use the shortcut Ctrl+J (Cmd+J on Mac).
- Flip the Duplicate Layer: Use Edit > Transform > Flip Vertical to invert the duplicated layer. This simulates the reflection of the object in a reflective surface.
- Flipping Vertically: This action mirrors the object, creating a reflection that appears as if it is lying on the surface below.
- Position the Reflection: Move the flipped layer to align it with the base of the original object. Ensure that the reflection is placed correctly to simulate how it would naturally appear on a reflective surface.
- Using the Move Tool: Select the Move tool from the toolbar or press V, then drag the flipped layer to position it accurately.
- Add Gradient Mask: Apply a gradient mask to the reflection layer to create a smooth transition from fully visible to fully transparent. This technique helps in achieving a more realistic reflection effect.
- Applying Gradient Mask: Select the reflection layer, then click on the Add Layer Mask button in the Layers panel. With the mask selected, use the Gradient tool (G) to apply a gradient from black (opaque) to white (transparent) to the mask.
- Adjust Opacity: Reduce the opacity of the reflection layer to make it more subtle. Realistic reflections are usually less opaque than the original object.
- How to Adjust Opacity: In the Layers panel, use the Opacity slider to decrease the reflection layer’s opacity to a level that looks natural.
- Add Blur Effect: Apply a slight Gaussian Blur to the reflection layer to soften its edges and enhance the illusion of a reflective surface.
- Applying Blur: Go to Filter > Blur > Gaussian Blur and adjust the Radius slider to achieve the desired level of softness.
Enhancing Reflection Shadows
Once you’ve created the basic reflection shadow, you can use additional techniques to refine and enhance its appearance:
- Warping: Use the Warp tool to adjust the reflection’s shape and perspective. This is useful for aligning the reflection with the contours of the surface it’s supposed to be reflecting on.
- Applying Warp: Go to Edit > Transform > Warp and manipulate the control points to adjust the reflection’s form to fit the desired perspective.
- Blending with the Background: Ensure that the reflection blends seamlessly with the background by using layer effects and masks. This helps in integrating the reflection more naturally into the overall composition.
- Using Layer Effects: Apply additional layer styles, such as inner shadows or gradients, to enhance the reflection’s integration with the background.
- Fine-Tuning Reflection Parameters: Adjust the size, angle, and positioning of the reflection to match the lighting and perspective of the scene. This ensures that the reflection looks believable and well-aligned with the light source.
- Refining Parameters: Use Free Transform (Ctrl+T or Cmd+T) to adjust the reflection’s scale and angle to ensure it accurately reflects the original object.
Practical Applications of Reflection Shadows
Reflection shadows are used in various design contexts to enhance the visual appeal and realism of objects:
- Product Photography: In product photography, reflections can make items appear more premium and polished. This technique is often used for high-end product shots to give a sophisticated look.
- Digital Art and Illustrations: Adding reflection shadows to digital art and illustrations can add depth and realism, making the artwork more engaging and visually interesting.
- User Interface Design: In UI design, reflection shadows can be used to create a sense of depth and dimension in buttons, icons, and other interactive elements.
Tips for Perfecting Reflection Shadows
To achieve the best results with reflection shadows, consider the following tips:
- Study Real Reflections: Observe how reflections appear on different surfaces to understand their characteristics and behaviors.
- Consistent Lighting: Ensure that the reflection’s characteristics, such as opacity and blur, are consistent with the overall lighting in your composition.
- Layer Management: Keep your layers well-organized and named for easier adjustments and refinements.
Common Mistakes to Avoid
Avoid these common pitfalls to ensure your reflection shadows look realistic:
- Overly Sharp Reflections: Reflections should be soft and blended, not harsh and defined. Avoid creating reflections with sharp edges.
- Inconsistent Opacity: Make sure the opacity of the reflection matches the reflective surface and overall scene. Inconsistent opacity can make the reflection look unrealistic.
- Ignoring Perspective: Ensure that the reflection aligns correctly with the perspective of the scene. Misaligned reflections can break the illusion of depth.
Conclusion
Mastering the art of creating drop, natural, and reflection shadows in Photoshop can significantly enhance the quality of your digital work. By understanding and applying these techniques, you can create images that are both realistic and visually appealing.
For more tips and detailed tutorials on enhancing your Photoshop skills, make sure to check out our other articles and resources.
FAQs
- What is the difference between drop and natural shadows?
Drop shadows are stylized and often used for design elements, while natural shadows mimic real-world lighting.
- How can I make my shadows look more realistic?
Pay attention to light source direction, use gradients, and adjust opacity to blend shadows naturally.
- Can shadows be colored?
Yes, colored shadows can add a creative touch, but they should still align with the light source and overall scene.
- Why do my shadows look too harsh?
Try softening the edges with Gaussian Blur and lowering the opacity.
- What’s the best way to practice creating shadows in Photoshop?
Start with simple objects, observe real-world shadows, and replicate them in Photoshop to improve your skills.


