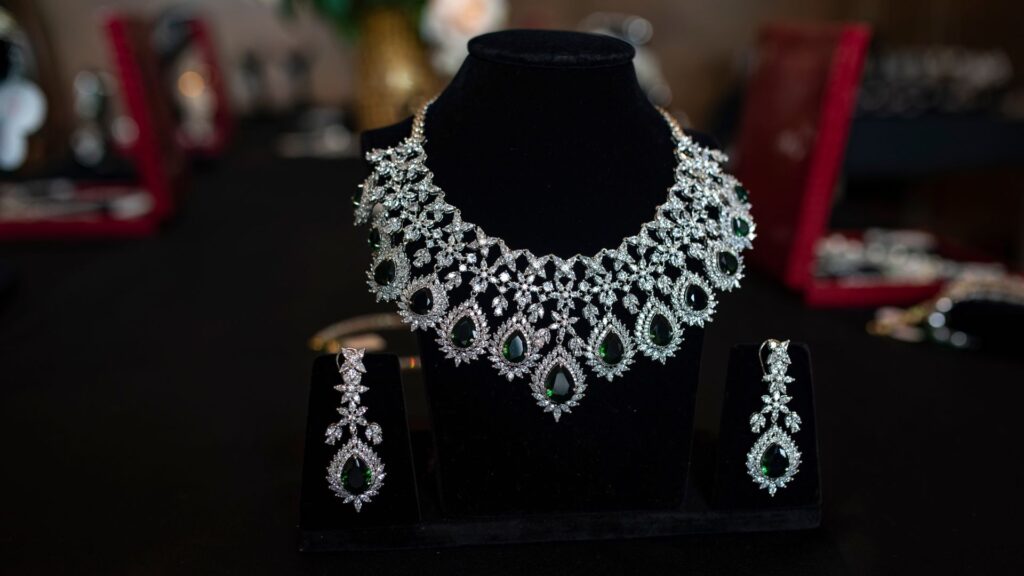
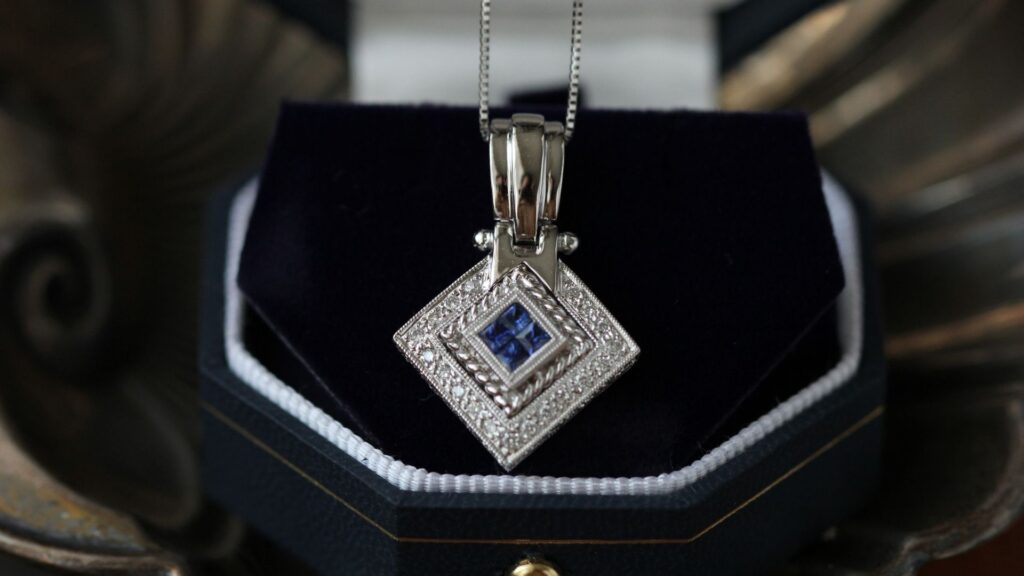
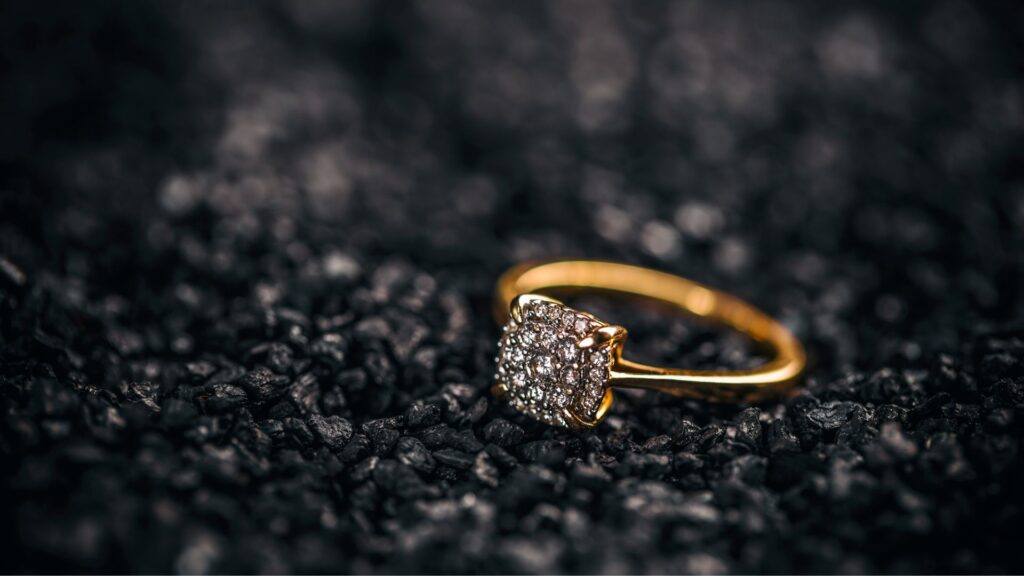
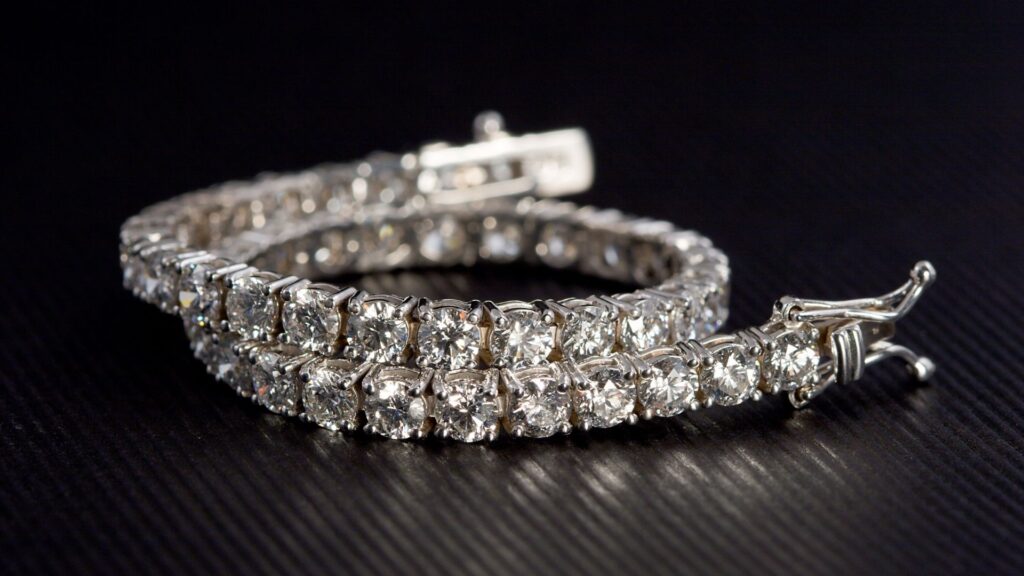
In the world of e-commerce, particularly in the jewelry industry, high-quality images play a pivotal role in attracting and converting customers. Diamonds, with their brilliance and intricate details, require special attention to highlight their allure. This comprehensive guide will walk you through the step-by-step process of diamond photo retouching, ensuring your images stand out and drive sales.
Introduction
The Importance of High-Quality Diamond Images in E-Commerce
In e-commerce, the quality of product images can make or break a sale. For diamond jewelry, this is even more crucial. Customers can’t physically inspect the product, so they rely heavily on the images provided. High-quality images help convey the beauty, quality, and details of the diamonds, instilling confidence in potential buyers.
Challenges in Diamond Photography
Photographing diamonds presents several challenges:
- Lighting: Diamonds require optimal lighting to capture their brilliance and fire without causing reflections or glare.
- Backgrounds: The background should complement the diamond without overshadowing it.
- Details: Capturing the intricate details of the diamond, such as cuts and inclusions, requires precision.
Preparing for the Retouching Process
Essential Tools and Software
Before diving into the retouching process, ensure you have the following tools and software:
- Camera and Lighting Equipment: High-resolution camera, macro lens, diffused lighting, and lightbox.
- Photo Editing Software: Adobe Photoshop is the industry standard, but alternatives like GIMP or Lightroom can also be used.
- Graphics Tablet: For precision editing.
Capturing the Perfect Raw Image
The foundation of a good retouch is a well-captured raw image. Here are some tips for photographing diamonds:
- Use a Lightbox: A lightbox provides diffused lighting, reducing harsh reflections and shadows.
- Tripod and Remote Shutter: These help in reducing camera shake, ensuring a sharp image.
- Macro Lens: Essential for capturing the minute details of the diamond.

Step-by-Step Retouching Process
Step 1: Import and Organize Your Images
Begin by importing your raw images into your photo editing software. Organize them in folders based on product type or shoot date. This will help streamline the editing process.
Step 2: Basic Adjustments
Perform basic adjustments to correct exposure, white balance, and contrast. These adjustments provide a solid foundation for more detailed retouching.
- Exposure: Adjust the exposure to ensure the diamond is neither too dark nor too bright.
- White Balance: Ensure the colors are accurate by adjusting the white balance.
- Contrast: Increase the contrast slightly to make the diamond stand out.
Step 3: Cropping and Straightening
Crop the image to focus on the diamond and remove any unnecessary background. Straighten the image if needed to ensure the diamond is aligned correctly.
Step 4: Removing Background Imperfections
Use tools like the Clone Stamp or Healing Brush to remove any dust, scratches, or imperfections in the background. This helps in creating a clean and professional look.
Step 5: Enhancing Diamond Brilliance
Enhancing the brilliance and fire of the diamond is crucial. This involves several steps:
- Selective Adjustments: Use adjustment layers to selectively enhance the diamond’s highlights and shadows.
- Sharpening: Apply sharpening to bring out the details in the facets.
- Clarity and Vibrance: Increase clarity and vibrance to make the diamond sparkle.

Step 6: Color Correction
Diamonds can reflect colors from their surroundings. Use color correction tools to neutralize any unwanted color casts and ensure the diamond’s true colors are displayed.
Step 7: Removing Inclusions and Blemishes
Diamonds may have inclusions and blemishes that can be distracting in photos. Use the Healing Brush or Clone Stamp to carefully remove these imperfections while maintaining the natural look of the diamond.
Step 8: Enhancing Metal Settings
The metal setting of the diamond also needs attention. Adjust the brightness, contrast, and color balance to ensure the metal looks polished and complements the diamond.
Step 9: Adding Reflections and Shadows
To make the image look realistic and grounded, add subtle reflections and shadows. Use layers and blending modes to achieve a natural look.
Step 10: Final Touches and Exporting
Review the image for any final adjustments. Ensure the diamond looks natural and brilliant. Export the image in the appropriate format and resolution for your e-commerce platform.
Advanced Retouching Techniques
Focus Stacking
For extreme close-ups, focus stacking can be used to ensure the entire diamond is in sharp focus. This involves taking multiple shots at different focus points and blending them together in post-processing.
High Dynamic Range (HDR)
HDR can be used to capture the full range of tones in a diamond. This involves taking multiple shots at different exposures and combining them to create a balanced image.
Noise Reduction
Reduce noise in the image, especially if it was shot at a high ISO. Use noise reduction tools to maintain the diamond’s clarity and detail.

Best Practices for Diamond Photo Retouching
Consistency
Ensure consistency across all product images. This involves using the same lighting setup, camera settings, and retouching techniques.
Realism
While enhancing the diamond’s appearance, maintain realism. Avoid over-editing, which can make the diamond look unnatural.
Attention to Detail
Pay attention to the smallest details. High-resolution images can reveal every facet and inclusion, so meticulous editing is essential.
Use of Layers
Use layers in your photo editing software to make non-destructive adjustments. This allows you to tweak and refine your edits without affecting the original image.
Conclusion
Diamond photo retouching is an art that requires precision, patience, and attention to detail. By following this step-by-step guide, you can enhance your diamond images, making them more appealing to potential customers and boosting your e-commerce sales. Remember, high-quality images are a reflection of your brand’s quality and professionalism, so invest the time and effort needed to perfect your diamond photos.


