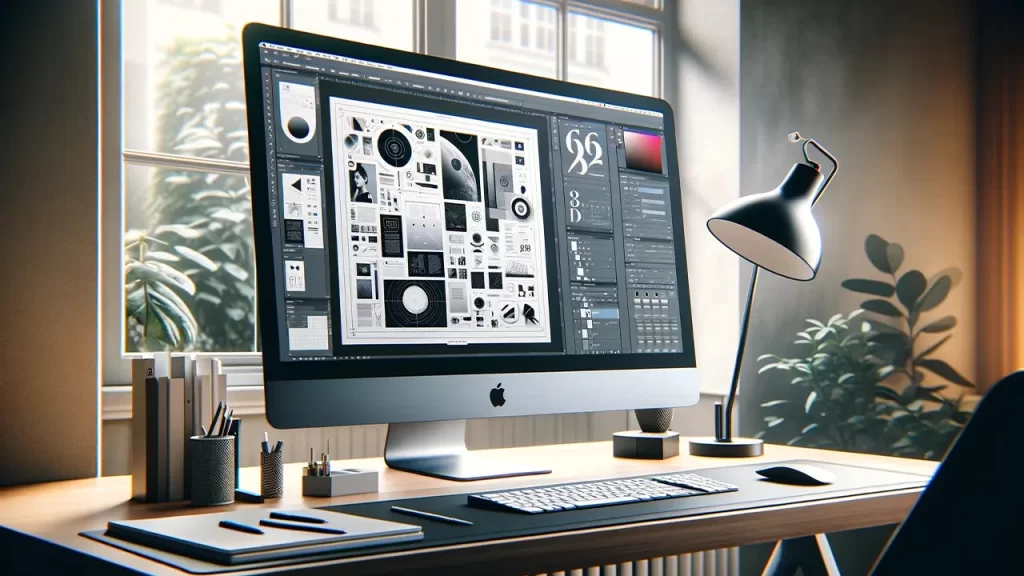
As a designer, mastering the art of cropping photos within Adobe InDesign can elevate your layout skills and help you create striking designs. Unlike other programs, InDesign doesn’t have a direct “crop” tool, but with a bit of creativity and technique, you can easily crop photos to suit your needs. This step-by-step guide will walk you through how to crop photos in InDesign effectively, giving you greater control over your image layouts.
Why Crop Photos in InDesign?
When working on layouts, designers often need to resize or reposition images to fit within specific parts of a page. Cropping photos in InDesign allows you to frame images to highlight certain details, remove unwanted portions, or fit images perfectly into grid layouts, brochures, magazines, and other design projects. Since InDesign is a layout-focused software, cropping photos in InDesign doesn’t technically delete parts of the image; it just hides them, giving you the flexibility to adjust the crop later if needed.
Getting Started with Cropping Photos in InDesign
To begin, make sure you have Adobe InDesign installed and a project open with a photo you’d like to crop. Here’s a quick overview of how to crop photos in InDesign:
- Place Your Image in InDesign
To start, go to File > Place and select the image file you want to add to your document. This step allows you to bring in the photo you’ll be cropping in InDesign. Once imported, you’ll see the image on your layout, where you can position it as desired. - Select the Frame Tool for Cropping
InDesign uses a “frame” system, which means that each image must be placed within a frame. You can choose the Rectangle Frame Tool (or Ellipse Frame Tool for circular crops) from the toolbar. Create a frame where you want the image to be displayed. To crop the photo in InDesign, place the frame over the part of the image you want to show. - Adjust the Frame to Crop the Photo
Once you have your frame, you can move or resize it to determine the visible part of the image. To adjust the crop, simply drag the edges or corners of the frame. This method allows you to crop photos in InDesign without permanently altering the original image. - Use the Direct Selection Tool for Precise Cropping
For more control, select the Direct Selection Tool (the white arrow icon). Click on the image inside the frame to adjust its position or scale. You can move the photo within the frame to center it or highlight specific details, offering a more customized crop. - Refining the Crop with the Fitting Options
InDesign offers fitting options that automatically adjust the image to fit within the frame. To access these, right-click on the image and select Fitting from the context menu. Here are some key options to consider when cropping photos in InDesign:- Fit Content to Frame: Adjusts the image to fit the frame, stretching or compressing it as necessary.
- Fit Frame to Content: Resizes the frame to match the dimensions of the image.
- Center Content: Centers the image within the frame, perfect for balanced layouts. Using fitting options ensures that you can crop photos in InDesign without distortion, creating a polished and professional look.
Advanced Cropping Techniques in InDesign
Now that you know the basics, let’s explore some advanced ways to crop photos in InDesign that can enhance your layouts further.
Using the Clipping Path Tool
A clipping path lets you create more intricate shapes for cropping images, such as circular or custom-shaped crops. To do this, follow these steps:
- Select the image, then go to Object > Clipping Path > Options.
- Choose Detect Edges or Photoshop Path to automatically outline the image or specific parts you want to keep.
- Adjust the settings for fine-tuning if necessary. This technique lets you crop photos in InDesign with unique shapes, adding creativity to your layouts.
Cropping with Multiple Frames
For a unique effect, you can place multiple frames on top of a single image to show different parts of it in various locations on the page. This technique is ideal if you want to create a collage or split an image across columns. To crop photos in InDesign using multiple frames:
- Create multiple frames and position them over the parts of the image you want to display.
- Use the Direct Selection Tool to adjust the visible areas within each frame.
- This method is excellent for creating dynamic and visually interesting layouts.
Creating Masking Effects for Cropping
Another powerful technique to crop photos in InDesign is using masking. Masks allow you to hide parts of an image without deleting them, which is similar to cropping:
- Draw a shape (rectangle, ellipse, or custom shape) where you want the cropped photo to appear.
- Place the photo over the shape, then right-click and choose Create Clipping Mask.
- The photo will now be “cropped” within the shape, giving a masked effect that can make layouts more visually appealing.
Tips for Professional Cropping in InDesign
- Maintain Aspect Ratios
While you crop photos in InDesign, it’s essential to keep aspect ratios intact, especially for printed designs. Stretching images can distort and reduce quality, so hold Shift while resizing. - Experiment with Framing and Positioning
Try positioning the image differently within the frame. This is a great way to experiment with layouts and compositions. - Using Effects to Enhance Cropped Photos
To make cropped images stand out, consider adding a subtle drop shadow or feather effect. These effects can draw attention to the cropped photo in InDesign, enhancing the design without overwhelming it. - Use Grids and Guides
Align your frames using grids and guides to create a cohesive and visually pleasing layout. Grids help ensure that the cropped photos in InDesign are aligned and spaced consistently, which is crucial for maintaining a professional appearance.
Common Mistakes to Avoid When Cropping Photos in InDesign
- Over-Cropping
Avoid cropping too closely, as this can cut off important details. When you crop photos in InDesign, ensure that the image retains enough context to be understood. - Ignoring Resolution
Low-resolution images may look blurry when cropped extensively. Always check the image resolution and ensure it meets print or digital quality standards before cropping photos in InDesign. - Stretching Images
Stretching or distorting images while cropping can reduce quality. If resizing, hold Shift to maintain the original proportions and avoid pixelation or distortion.
Why Cropping Photos in InDesign Matters for Design Projects
Cropping photos in InDesign is not just a practical task—it’s a creative tool that allows you to manipulate visuals, create focal points, and maintain a cohesive design style across your layouts. Whether you’re working on magazine spreads, brochures, or posters, cropping photos in InDesign gives you control over each element of your design, ensuring that images align with your overall vision.
Final Thoughts on Cropping Photos in InDesign
Learning to crop photos in InDesign is a skill that pays off for designers of all levels. This tool lets you frame images to suit your design’s unique needs, helping you create layouts that are both visually compelling and functional. From basic techniques using frames to more advanced methods like clipping paths and masks, there are plenty of ways to explore cropping photos in InDesign.
Remember, practice makes perfect. Try experimenting with different cropping techniques and observe how each approach changes the visual impact of your design. With these tools and tips, you’ll be well-equipped to crop photos in InDesign like a pro!
Experience Perfection: Claim Your Free Trial Today!
Get a firsthand look at our exceptional services with a no-obligation free trial—start transforming your visuals today!


