

When it comes to precise image editing, Clipping Path Photoshop is an essential feature for removing backgrounds, isolating objects, or preparing images for product catalogs. If you’re working in e-commerce, graphic design, or photography, mastering the Clipping Path Photoshop tool can significantly improve the quality of your images. This tutorial will guide you step-by-step through the process of creating clean and professional edits using Clipping Path Photoshop.
1. What Is a Clipping Path in Photoshop?
In Clipping Path Photoshop, a clipping path is a closed vector path or shape that you can use to cut out objects from an image. The primary purpose of a clipping path is to remove the background and leave only the desired object, which is especially useful for product photography, fashion shoots, or any image where a clean, isolated subject is required.
2. Why Use Clipping Path Photoshop for Editing?
Clipping Path Photoshop is one of the most precise methods for separating an object from its background. Here’s why it’s commonly used:
- Precision: Ideal for objects with clear, defined edges, such as products, boxes, or machinery.
- Control: Allows you to define exactly what is included and excluded in your image.
- Layering: Clipping Path Photoshop makes it easier to overlay the isolated object on a different background or graphic design.
3. Getting Started with Clipping Path in Photoshop
Before you begin, make sure you have the latest version of Adobe Photoshop installed. Follow these steps to start using Clipping Path Photoshop.
Step 1: Open Your Image in Photoshop
Start by opening the image you want to edit in Photoshop. Navigate to File > Open, and select the file from your computer.
Step 2: Select the Pen Tool
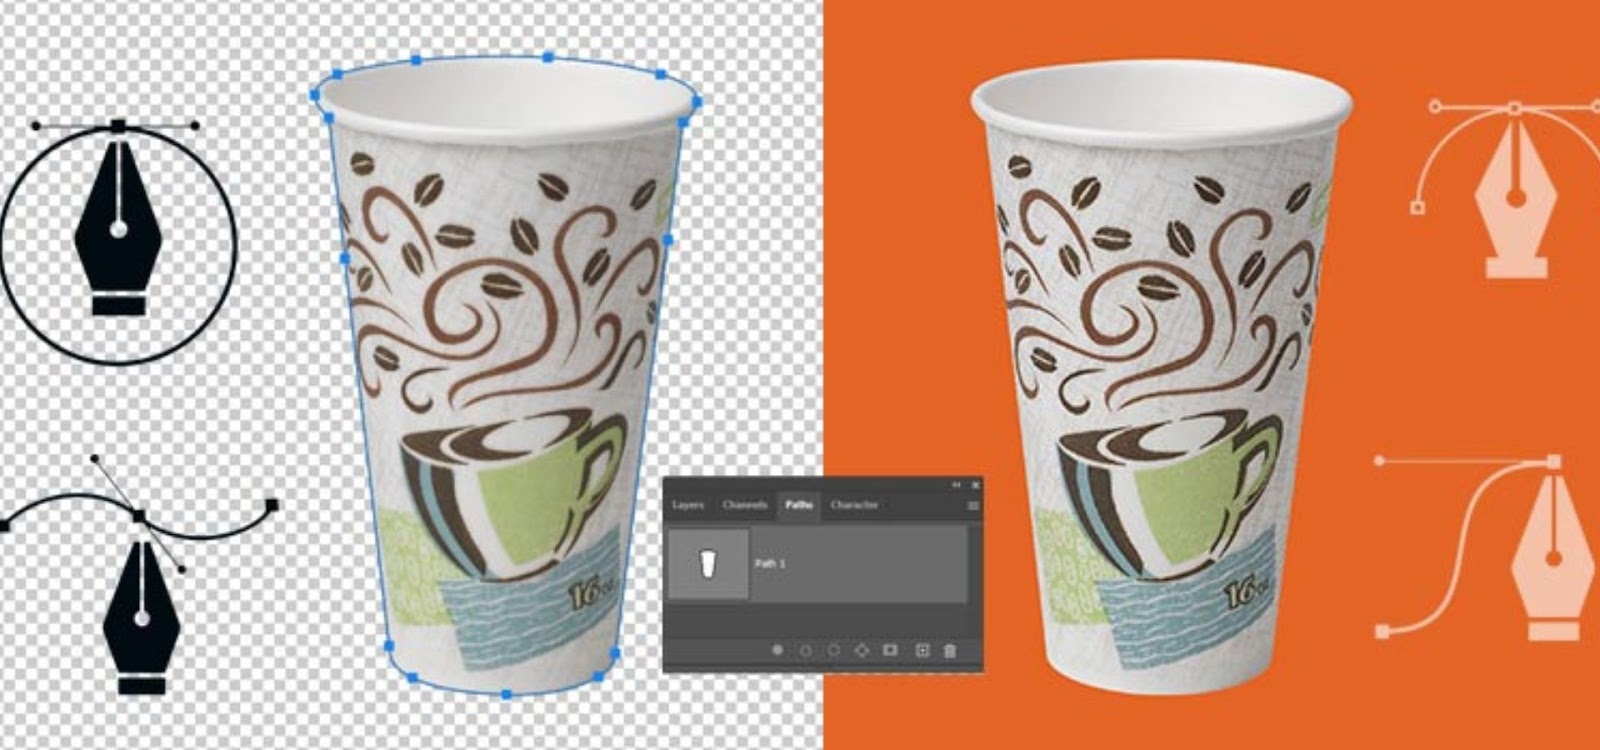
The pen tool is the primary tool used to create clipping paths in Clipping Path Photoshop. You can select it from the toolbar on the left or by pressing P on your keyboard. The pen tool allows you to draw precise paths around the object you want to isolate.
Step 3: Create Anchor Points Around the Object
Begin by clicking at a starting point on the edge of your object. This creates the first anchor point. Continue clicking around the perimeter of the object, placing anchor points as you go. For straight lines, simply click from one point to the next. For curves, click and drag to create a smooth arc.
- Tip: Zoom in on your image (use Ctrl + or Cmd +) to ensure your anchor points are placed as close to the object’s edge as possible.
Step 4: Complete the Path
Once you’ve traced around the entire object, return to the starting point to complete the path. The path will close, forming a continuous outline around the object.
4. Converting the Path to a Clipping Path
After creating the path in Clipping Path Photoshop, you need to convert it into a clipping path. Here’s how:
- Step 1: Open the Paths Panel
Go to Window > Paths to open the paths panel if it isn’t already visible. - Step 2: Save the Path
In the Paths panel, double-click on the path you just created. A dialog box will appear; name your path and click OK. - Step 3: Set the Clipping Path
With your path selected, click on the menu icon in the top-right corner of the Paths panel. From the drop-down menu, select Clipping Path. Another dialog box will appear, allowing you to set the flatness (leave it as default). Click OK to create your clipping path.
5. Refining Your Clipping Path
Even after creating a clipping path in Clipping Path Photoshop, you might notice some imperfections. Photoshop offers various tools to refine your path for an even cleaner cut.
Step 1: Adjust Anchor Points
To adjust an anchor point, select the Direct Selection Tool (shortcut: A) from the toolbar. Click on an anchor point to move it or adjust its curve handles for better alignment with the object’s edges.
Step 2: Feathering the Edges
If the edges of your clipping path look too harsh, you can soften them by feathering. Go to Select > Modify > Feather, and choose a pixel radius to smooth out the edges.
Step 3: Adding or Deleting Anchor Points
If you need to add more anchor points for better accuracy, use the Add Anchor Point Tool (available under the Pen Tool). Similarly, you can delete unnecessary points with the Delete Anchor Point Tool.
6. Exporting the Clipped Image
Once you’re satisfied with the clipping path created in Clipping Path Photoshop, you can export the image with a transparent background or on a different background. Here’s how:
Step 1: Remove the Background
Go to the Layers Panel and hide or delete the background layer, leaving only the clipped object visible.
Step 2: Save as PNG or TIFF
For transparent backgrounds, save the image as a PNG or TIFF file. Go to File > Save As, choose PNG or TIFF as the file format, and make sure the Transparency option is checked.
7. Practical Applications of Clipping Path Photoshop
Clipping Path Photoshop has a wide range of applications across industries. Here are some common uses:
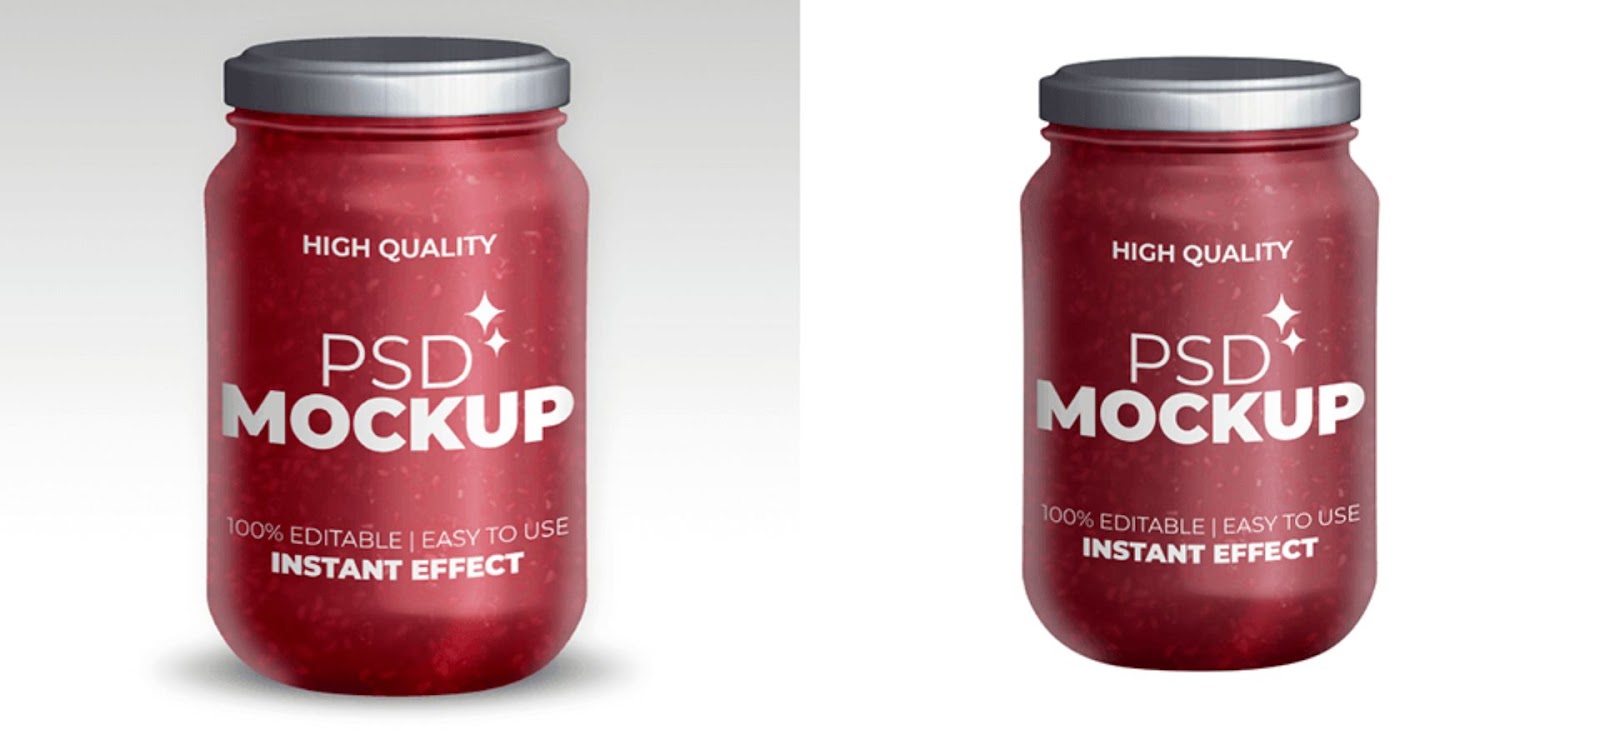
- E-commerce Product Photos: Clean, white backgrounds are a standard requirement for online stores. Clipping Path Photoshop is ideal for isolating products and creating professional-looking listings.
- Catalogs and Brochures: Graphic designers often use Clipping Path Photoshop to integrate product images into layouts for catalogs or marketing materials.
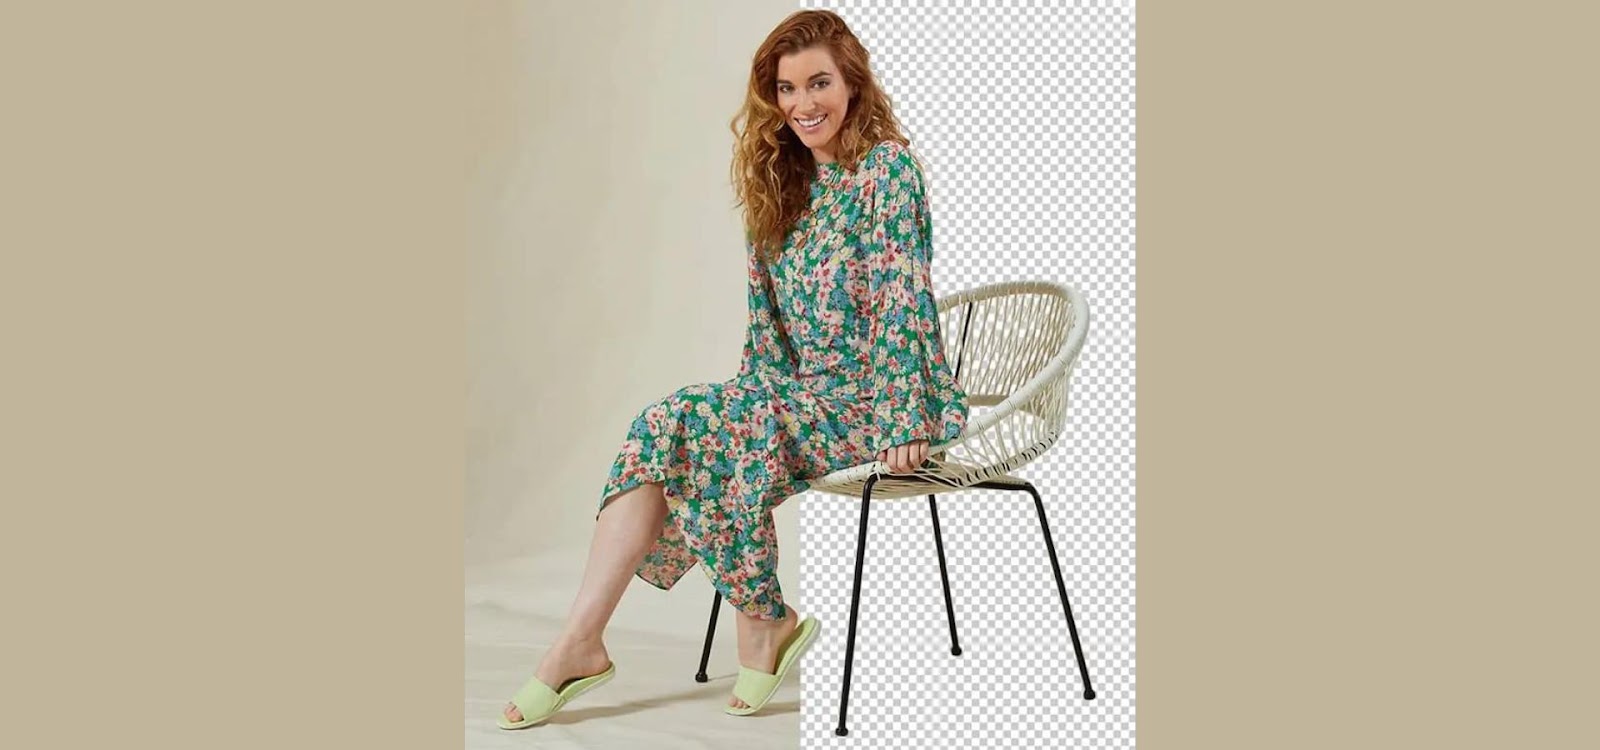
- Fashion Photography: Clipping Path Photoshop is frequently used to isolate models or clothing items from the background, making them easier to feature on websites or in magazines.
- Advertising: Isolating objects and placing them in new environments or alongside text is a common practice in advertising, and Clipping Path Photoshop makes this seamless.
8. Clipping Paths vs. Other Image Editing Techniques
While Clipping Path Photoshop is a go-to tool for objects with hard edges, other techniques might be better suited for more complex images.
- Image Masking: For subjects with soft or fuzzy edges (such as hair, fur, or smoke), image masking is often a better solution than clipping paths.
- Quick Selection Tool: The Quick Selection Tool can be used for faster, less precise selections, especially for images with contrasting backgrounds.
- Magic Wand Tool: This tool works well for images where the subject and background are distinctly different in color.
9. How to Practice and Improve Your Clipping Path Photoshop Skills
- Start with Simple Objects: Begin by practicing with simple objects like boxes or bottles. As you get more comfortable with the pen tool, move on to more complex shapes like jewelry or plants.
- Use High-Resolution Images: Working with high-quality images makes it easier to see details and create accurate clipping paths in Clipping Path Photoshop.
- Watch Tutorials: There are numerous Photoshop tutorials online that can help you refine your technique and learn new tricks related to Clipping Path Photoshop.
10. Common Mistakes to Avoid with Clipping Path Photoshop
- Rushing the Path Creation: Precision is key, so take your time when placing anchor points. Hasty work often results in uneven or jagged paths.
- Using Too Few or Too Many Anchor Points: Balance is essential. Too few points will result in a rough outline, while too many points can make the path harder to edit.
- Ignoring Edge Quality: Always zoom in and carefully inspect your edges. Adjust the path as needed to avoid leaving parts of the background in the final image.
Conclusion
Mastering Clipping Path Photoshop is an essential skill for anyone working with image editing. Whether you’re editing product photos for an e-commerce website or preparing images for a magazine layout, the precision of Clipping Path Photoshop will ensure your images look professional and polished. With practice, you’ll be able to create clean, seamless paths and save valuable time on future editing projects.
FAQs
What is the difference between a clipping path and image masking in Photoshop?
Clipping paths are used for hard-edged objects, while image masking is better for subjects with soft or fuzzy edges like hair or fur.
Can I use the pen tool for complex objects in Photoshop?
Yes, the pen tool is highly versatile and can handle complex objects. For more intricate details, you may need to add extra anchor points and adjust curves.
How do I save an image with a transparent background after creating a clipping path?
To save an image with a transparent background, remove the background layer and save the image as a PNG or TIFF file with transparency enabled.
Is there an automatic way to create clipping paths in Photoshop?
While there are tools like the Magic Wand and Quick Selection for faster edits, these are not as precise as the manual pen tool method for creating clipping paths.
How long does it take to master clipping paths in Photoshop?
It depends on your level of experience, but with regular practice, most users become proficient in a few weeks.
Experience Perfection: Claim Your Free Trial Today!
Get a firsthand look at our exceptional services with a no-obligation free trial—start transforming your visuals today!


