

When it comes to designing professional layouts, Adobe InDesign is one of the top choices for designers worldwide. However, to create truly polished and engaging designs, mastering techniques like clipping paths is essential. Clipping paths allow you to isolate parts of an image, enabling you to remove backgrounds or enhance visual elements without compromising quality. If you’re new to this feature in InDesign or looking to refine your skills, this tutorial will walk you through everything you need to know about using clipping paths for professional layouts.

1. What Is a Clipping Path in InDesign?
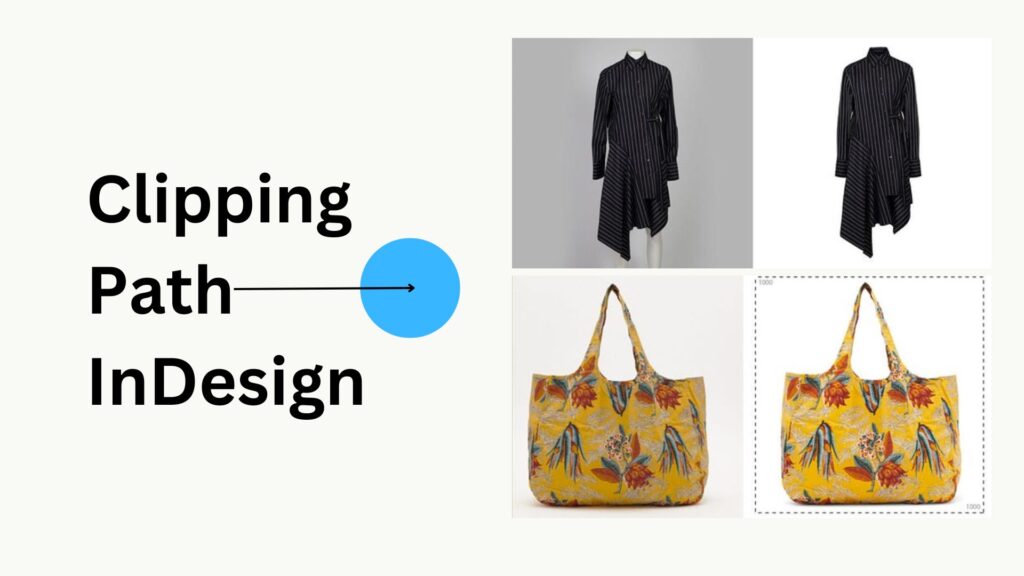
A clipping path is essentially a vector outline that isolates a particular part of an image. By using a clipping path, you can remove the background of an image, ensuring only the subject or desired object remains visible. This technique is widely used in graphic design to seamlessly integrate images into layouts, making the final output look polished and professional.
2. Why Use Clipping Paths in InDesign?
Using clipping paths in InDesign is crucial for several reasons:
- Clean Layouts: They help create cleaner, more professional layouts by removing unwanted backgrounds or distractions from images.
- Versatile Design Elements: Clipping paths allow designers to use images in creative ways, such as wrapping text around an object or layering images without obstructing key elements.
- Consistency: For publications or catalog designs, clipping paths ensure a consistent look across all pages by isolating the important parts of images.
3. Preparing Your Image for a Clipping Path
Before diving into InDesign, the first step is to prepare your image using Photoshop or another image-editing tool that supports clipping paths.
- Step 1: Open your image in Photoshop.
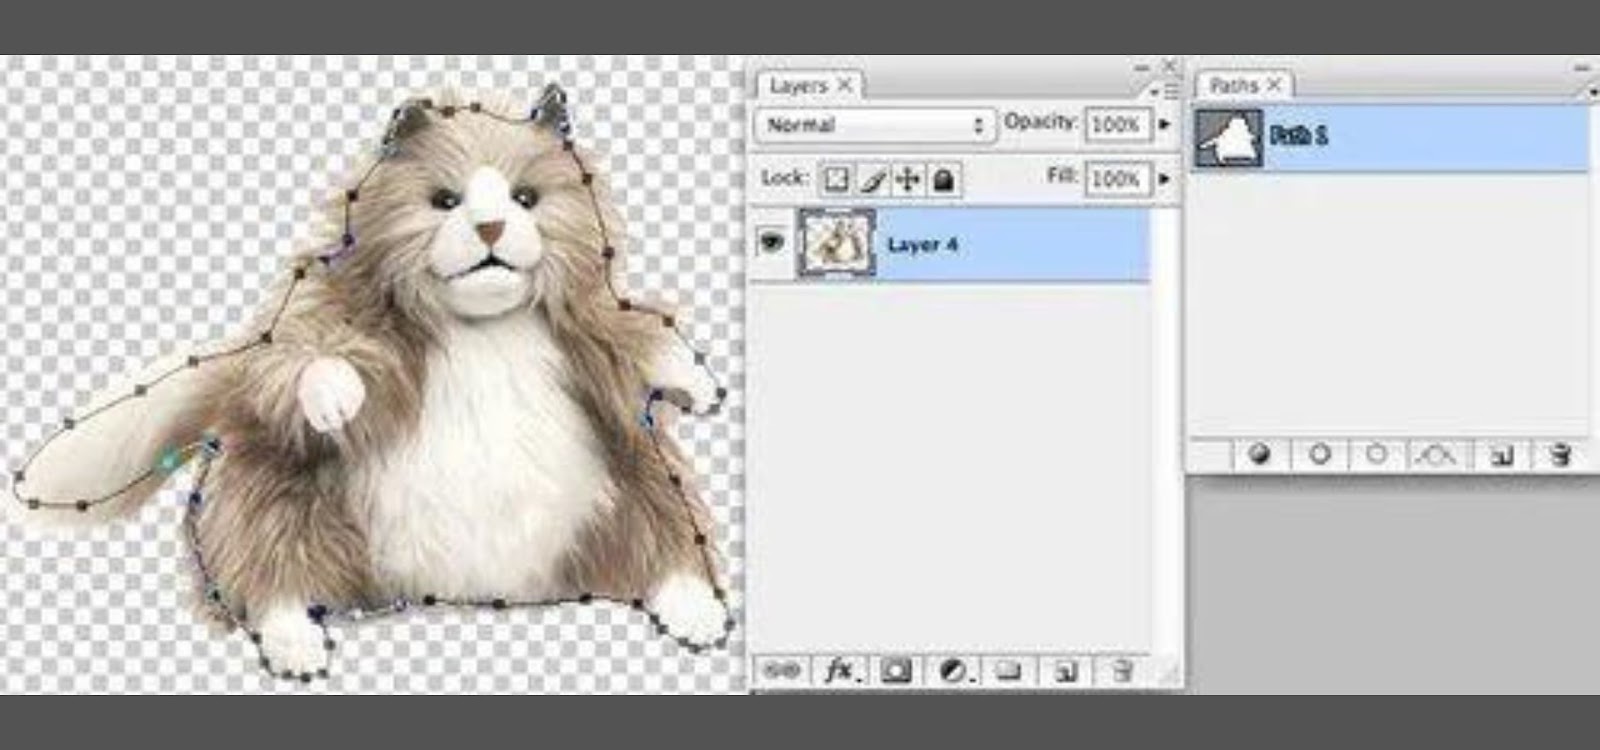
- Step 2: Use the Pen Tool to trace around the object you want to isolate.
- Step 3: Once the path is complete, right-click and select “Make Selection.”
- Step 4: Go to the Paths panel and choose Clipping Path from the options.
- Step 5: Save the image as an EPS or TIFF file, which retains the clipping path for use in InDesign.
4. Importing the Image with a Clipping Path into InDesign
Now that your image has a clipping path, you can import it into InDesign.
- Step 1: Open Adobe InDesign and create a new document or open an existing project.
- Step 2: Select File > Place and choose the image you saved with the clipping path.
- Step 3: Once placed in your document, the background will be removed, and only the object inside the clipping path will remain visible.
5. Using InDesign’s Built-in Clipping Path Feature
If you don’t have access to Photoshop or simply want to edit an image directly in InDesign, you can also create a clipping path within the program itself.
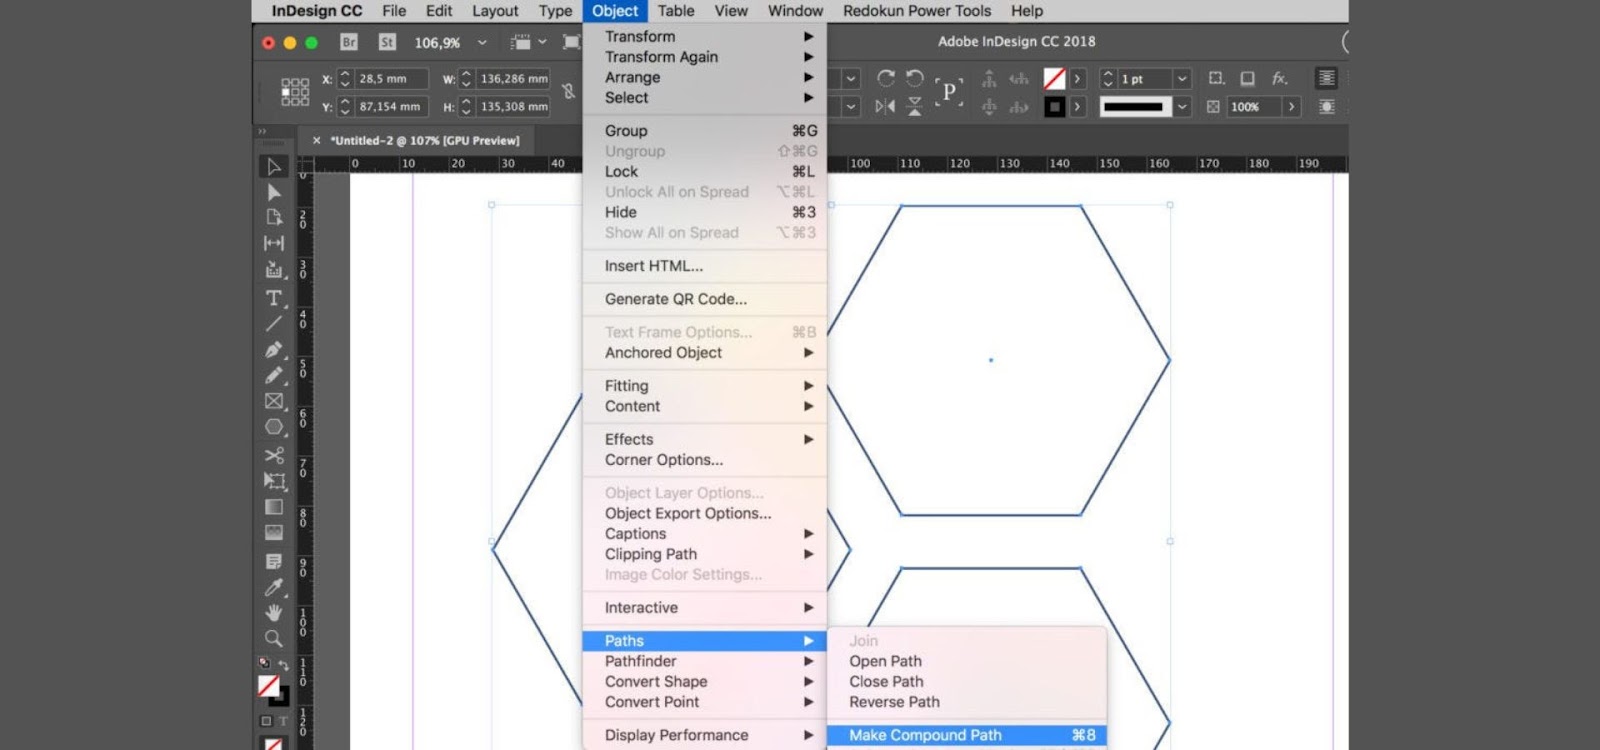
- Step 1: Select the image you want to edit in InDesign.
- Step 2: Go to the Object menu and select Clipping Path > Options.
- Step 3: In the dialogue box that appears, choose Detect Edges if your image has a high-contrast background or select Alpha Channel if the image has transparency data.
InDesign will automatically create a clipping path around the edges of the subject, allowing you to remove the background and achieve a cleaner look.
6. Adjusting Clipping Paths in InDesign
Sometimes, the automatic clipping path created by InDesign may need fine-tuning. Luckily, you can manually adjust the path for better precision.
- Step 1: Select the image in your layout.
- Step 2: Open the Direct Selection Tool (A) to reveal the anchor points of the clipping path.
- Step 3: Click and drag the anchor points to adjust the path. You can add or remove points by right-clicking on the path and choosing from the options in the contextual menu.
This manual adjustment allows you to achieve perfect precision, ensuring the clipping path aligns with your design’s needs.
7. Combining Clipping Paths with Text Wrap
One of the most powerful uses of clipping paths in InDesign is the ability to wrap text around your clipped images. This technique creates visually dynamic layouts that enhance readability and visual interest.
- Step 1: Once you have your clipping path set, go to the Window menu and select Text Wrap.
- Step 2: In the Text Wrap panel, choose the second option: Wrap around Object Shape.
- Step 3: Adjust the padding around the object to ensure the text isn’t too close or too far from the image.
This technique is especially useful in magazines, brochures, and catalogs where image and text interaction is key to creating a professional-looking design.
8. Clipping Path Tips for Better Design
Using clipping paths effectively requires a bit of finesse. Here are a few pro tips to enhance your designs:
- Maintain Consistency: If you’re using multiple images with clipping paths, ensure they all have similar styles and levels of precision to maintain a cohesive look.
- Check Resolution: Always make sure your images are high-resolution (300 DPI for print) before applying clipping paths. Low-resolution images may lose quality when clipped.
- Preview Often: Before finalizing your design, preview how the clipping path affects the overall layout. Make sure there are no stray edges or awkward cut-offs.
9. Common Clipping Path Mistakes and How to Avoid Them
While clipping paths can elevate your design, there are common mistakes that designers sometimes make:
- Poor Path Accuracy: If your clipping path is too rough or doesn’t follow the contours of the object closely, it will look unprofessional. Always zoom in when creating paths and be as precise as possible.
- Ignoring Image Quality: Trying to clip a low-resolution or pixelated image will result in a poor outcome. Always work with high-quality, high-resolution images for the best results.
- Overcomplicating Paths: Sometimes, simple is better. If the object can be clipped using basic shapes, there’s no need to create an overly complex path.
10. When to Use a Clipping Path vs. Image Masking
While clipping paths are ideal for objects with defined edges, they’re not always suitable for every image. For soft edges like hair or fur, image masking may be a better option.
- Clipping Path: Best for hard-edged objects like products, logos, or text.
- Image Masking: Ideal for complex images with soft edges or semi-transparent elements.
Conclusion
Mastering clipping paths in Adobe InDesign can significantly elevate the quality of your layouts, making them look clean, professional, and visually compelling. Whether you’re working on an e-commerce catalog, a magazine, or a brochure, clipping paths allow you to isolate objects, remove backgrounds, and create visually stunning designs. By following the steps outlined in this tutorial, you can confidently use clipping paths in your future projects, knowing that your layouts will stand out from the crowd.
FAQs
Can I create clipping paths directly in InDesign?
Yes, InDesign has built-in tools to create clipping paths, but for more precise editing, external tools like Photoshop are recommended.
What’s the difference between clipping paths and image masking?
Clipping paths are used for hard-edged objects, while image masking is ideal for soft-edged objects like hair or fur.
Can I adjust a clipping path after placing an image in InDesign?
Yes, you can manually adjust clipping paths using the Direct Selection Tool to ensure precision.
Which file formats should I use when importing images with clipping paths?
Use formats like EPS or TIFF when importing images with clipping paths to ensure the paths remain intact.
Do clipping paths affect image resolution?
No, clipping paths don’t affect the resolution, but always make sure you’re working with high-resolution images for the best results.
Experience Perfection: Claim Your Free Trial Today!
Get a firsthand look at our exceptional services with a no-obligation free trial—start transforming your visuals today!


