


If you’ve ever worked with portrait photography or any image that features a person, you’ve likely encountered the challenge of making skin tones look just right. Whether you’re a photographer, a graphic designer, or simply someone looking to enhance personal photos, the ability to adjust skin tone in Photoshop is an incredibly valuable skill. Photoshop’s powerful tools make it easier than ever to change skin color in Photoshop, giving you control over the final result.
In this article, we will walk you through how to change skin color in Photoshop and offer tips for achieving a natural and flawless finish. We’ll explore the different techniques, tools, and settings that will allow you to adjust skin tone with precision and confidence, and how to use this ability for various purposes, such as creating more flattering photos or making adjustments for professional projects.
Why You Might Need to Adjust Skin Tone in Photoshop
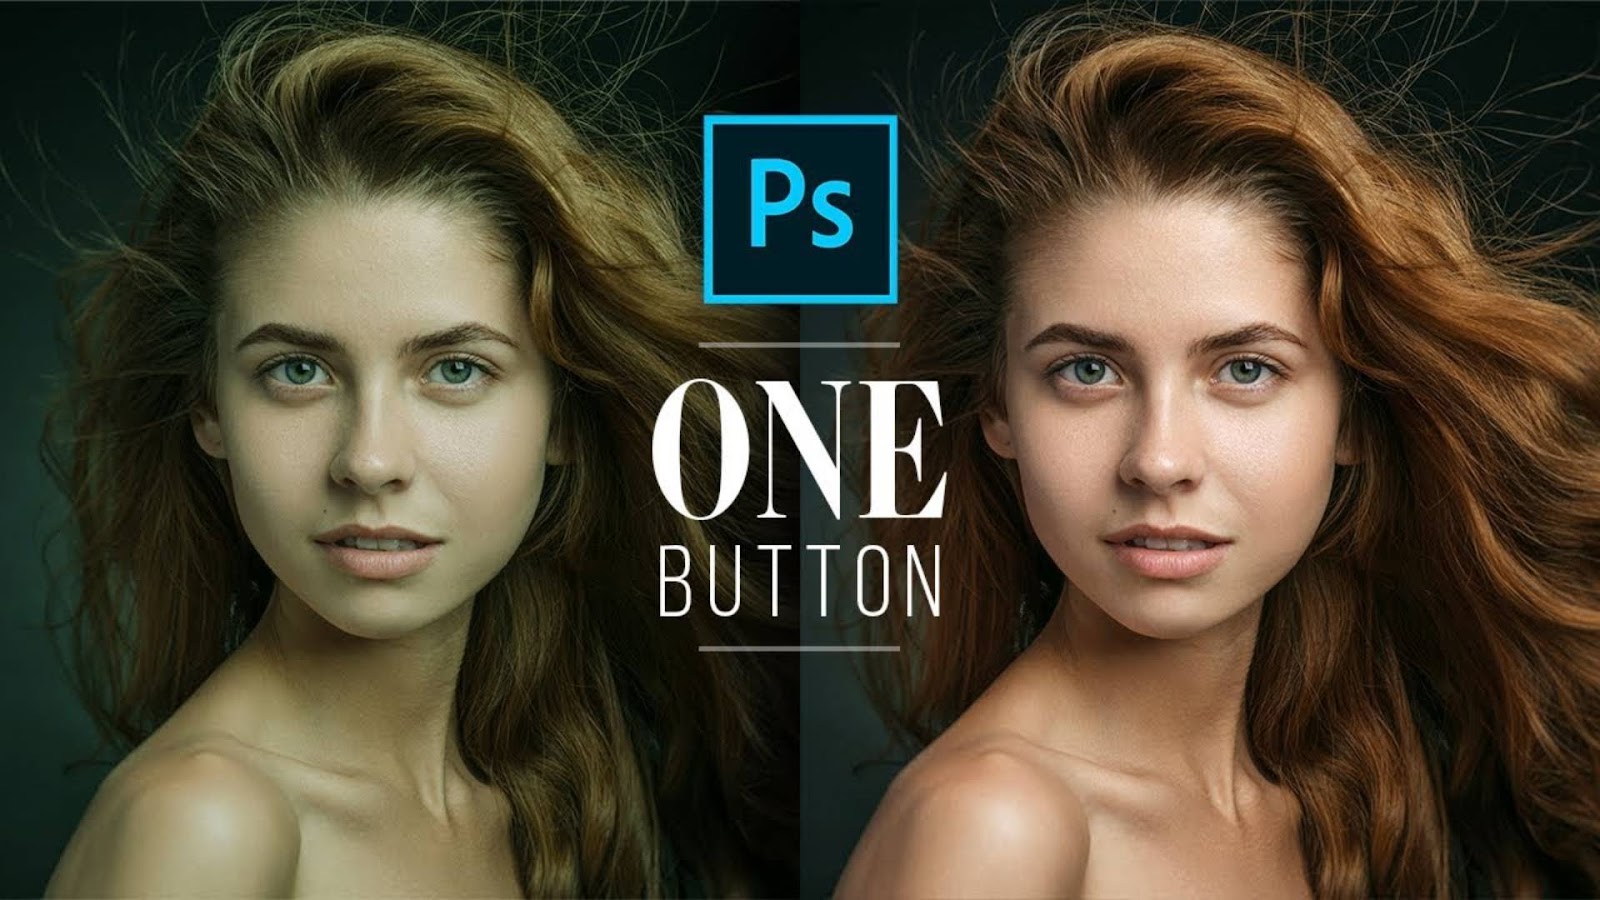
There are many reasons why you might want to adjust or change skin color in Photoshop. Maybe the lighting in the photo wasn’t perfect, and the skin tones came out too pale or too orange. Or perhaps you want to add a touch of warmth to someone’s complexion to make the image appear healthier or more vibrant. Photoshop gives you the flexibility to make these types of adjustments easily.
In some cases, you might want to adjust the skin tone to match a certain style or branding guideline, particularly in advertising or magazine work. Additionally, you might need to correct the skin color due to lighting or color calibration issues when the original photo was taken. Whatever your reason, the ability to change skin color in Photoshop can help you perfect your images.
Step-by-Step Guide to Change Skin Color in Photoshop
Changing skin tone in Photoshop involves a combination of selecting the skin areas, adjusting the color balance, and using the right tools to fine-tune the result. Below is a simple, easy-to-follow guide to get you started on adjusting skin tones in Photoshop.
Step 1: Open the Image in Photoshop
The first step to changing skin color in Photoshop is to open the image you want to edit. Go to “File” and click “Open,” then select the photo you’d like to work on. Once the image is loaded, you’ll be ready to begin making adjustments.
It’s important to start with a high-quality image to ensure the adjustments you make to the skin tone appear smooth and natural. Low-resolution photos may look pixelated after applying changes, so always use the best-quality photo available.
Step 2: Select the Skin Area
Before you can change skin color in Photoshop, you’ll need to isolate the skin areas from the rest of the image. This is typically done using selection tools. Photoshop provides a variety of ways to select the skin, but two of the most effective tools for this purpose are the Quick Selection Tool and the Pen Tool.
The Quick Selection Tool allows you to paint over the skin, and Photoshop will automatically detect the edges, making it faster and easier to select larger areas. However, if you need more precision—such as when selecting areas around the face or hands—the Pen Tool may be more effective, as it lets you manually trace the skin’s boundaries.
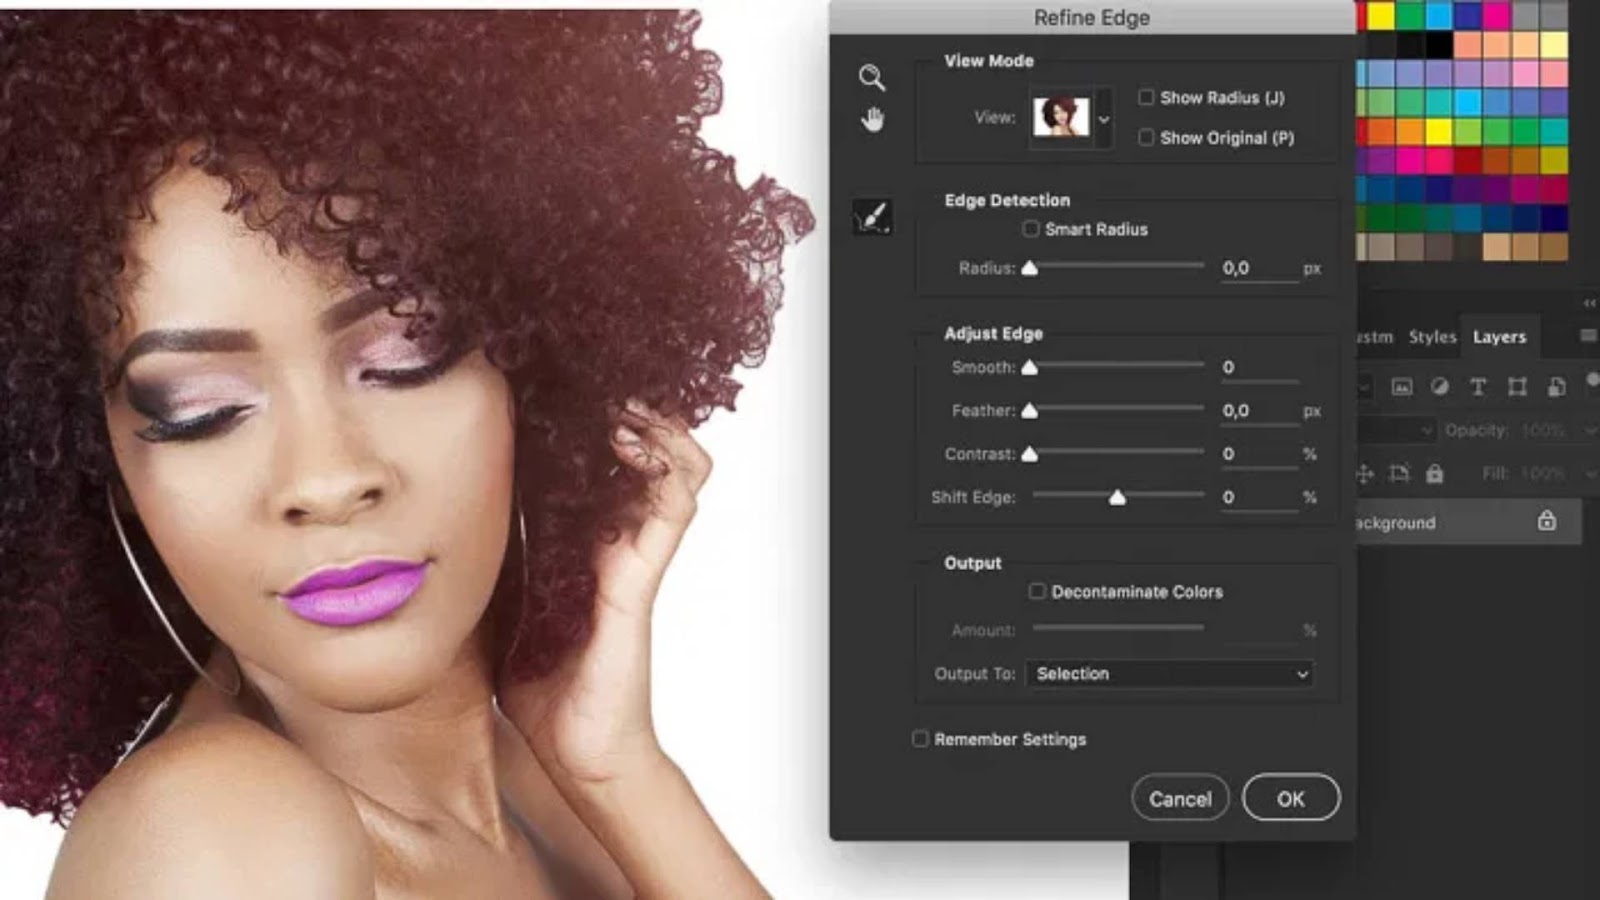
Once you’ve made the selection, refine the edges using the “Refine Edge” or “Select and Mask” feature, which helps smooth out any harsh lines and ensures the skin tones are separated cleanly from the rest of the image.
Step 3: Create an Adjustment Layer
To ensure you’re making non-destructive edits, it’s best to use adjustment layers. Adjustment layers let you make changes to the image without permanently altering the original file. This means you can always go back and make changes later if necessary.
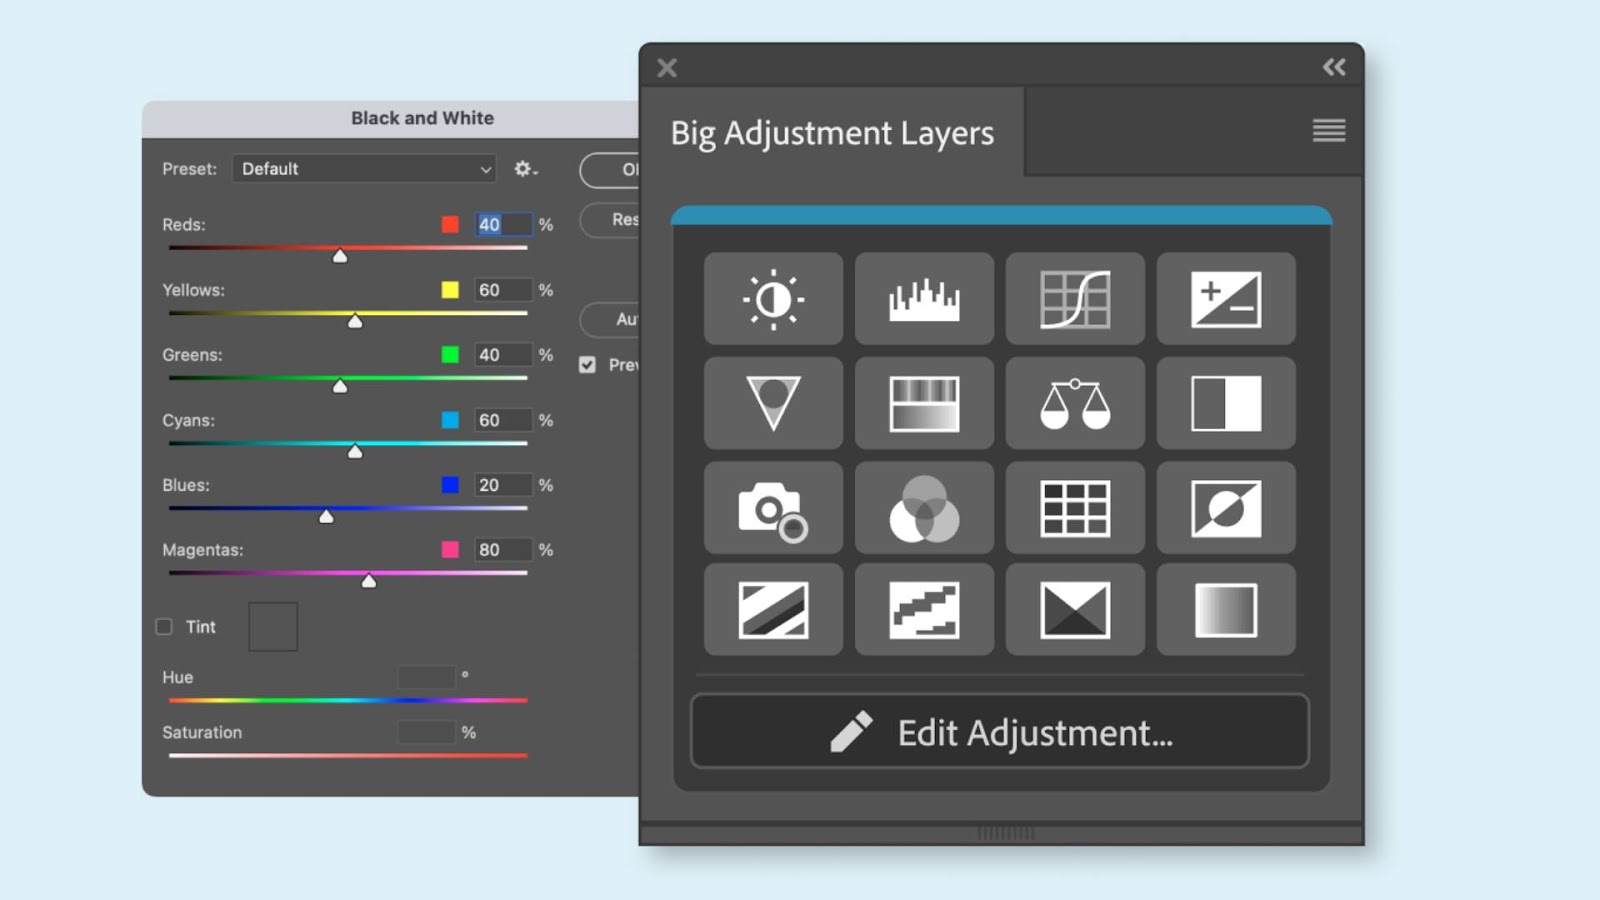
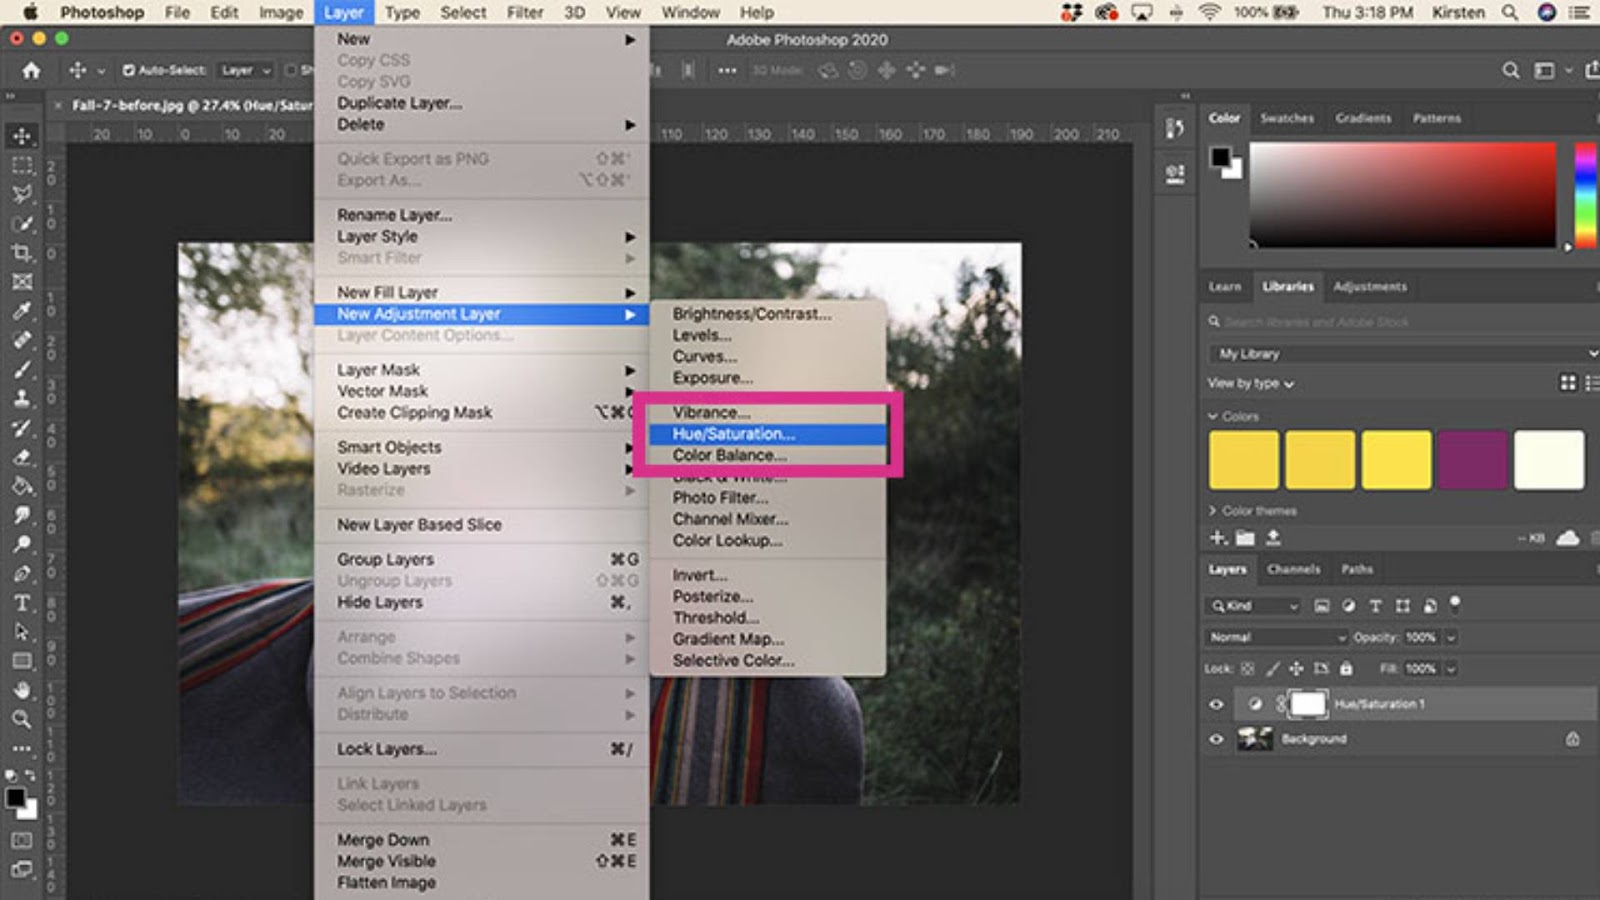
In the Layers panel, click on the “New Adjustment Layer” icon (it looks like a half-filled circle), then select “Hue/Saturation.” This adjustment layer will allow you to adjust the skin tones by altering the color properties.
When you add the “Hue/Saturation” adjustment layer, it will automatically apply to the selected skin area. At this point, you can begin adjusting the skin tone.
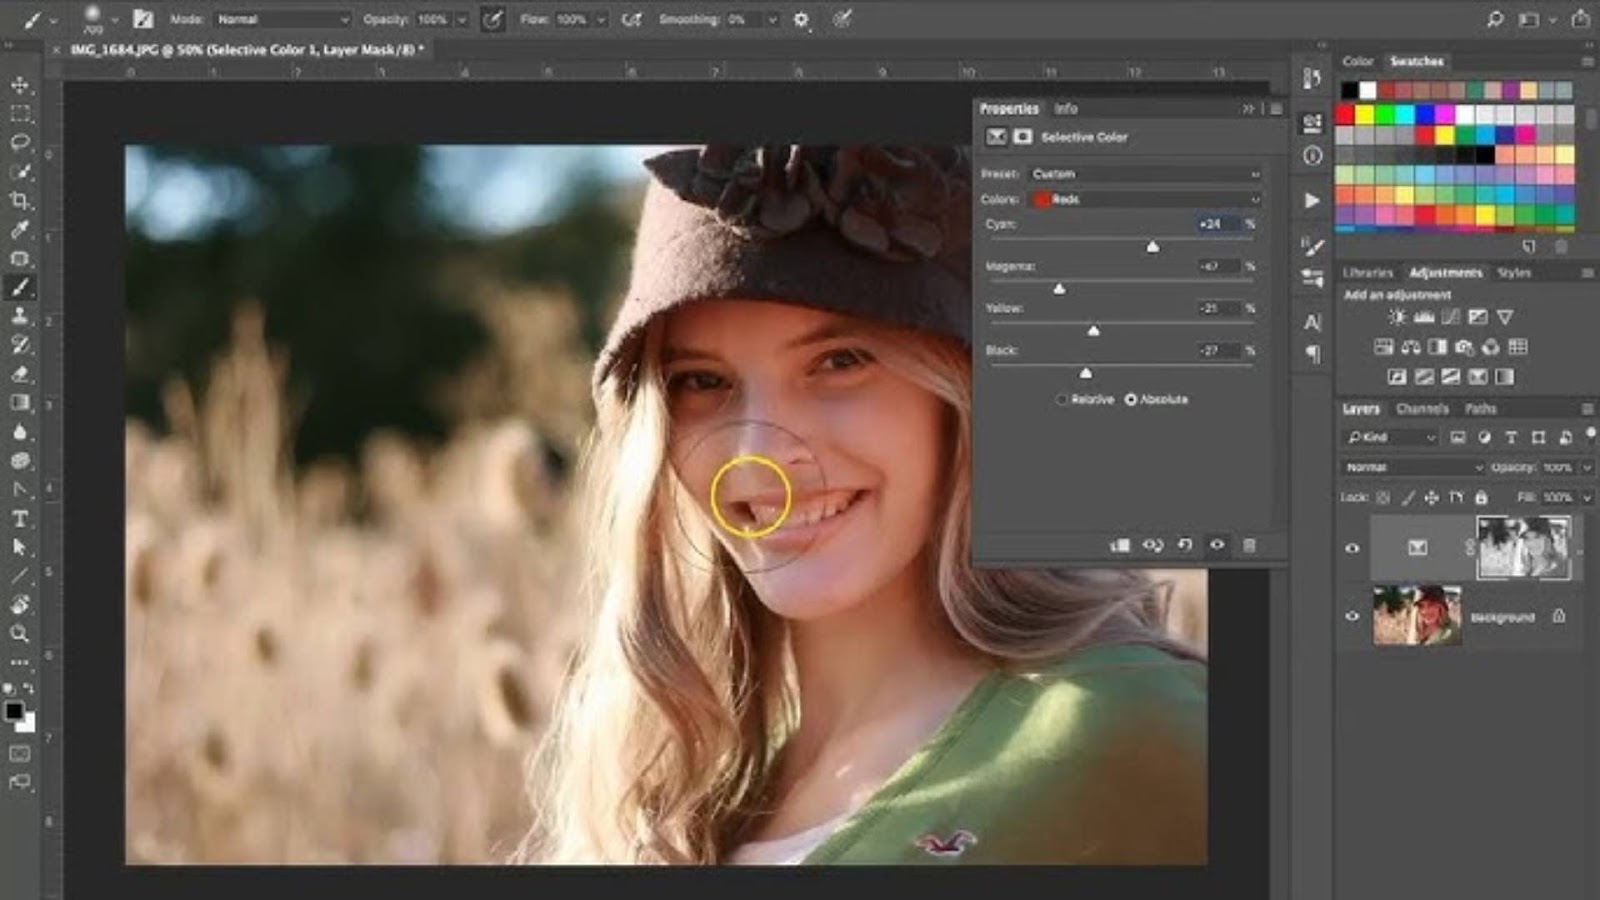
Step 4: Adjust the Hue and Saturation
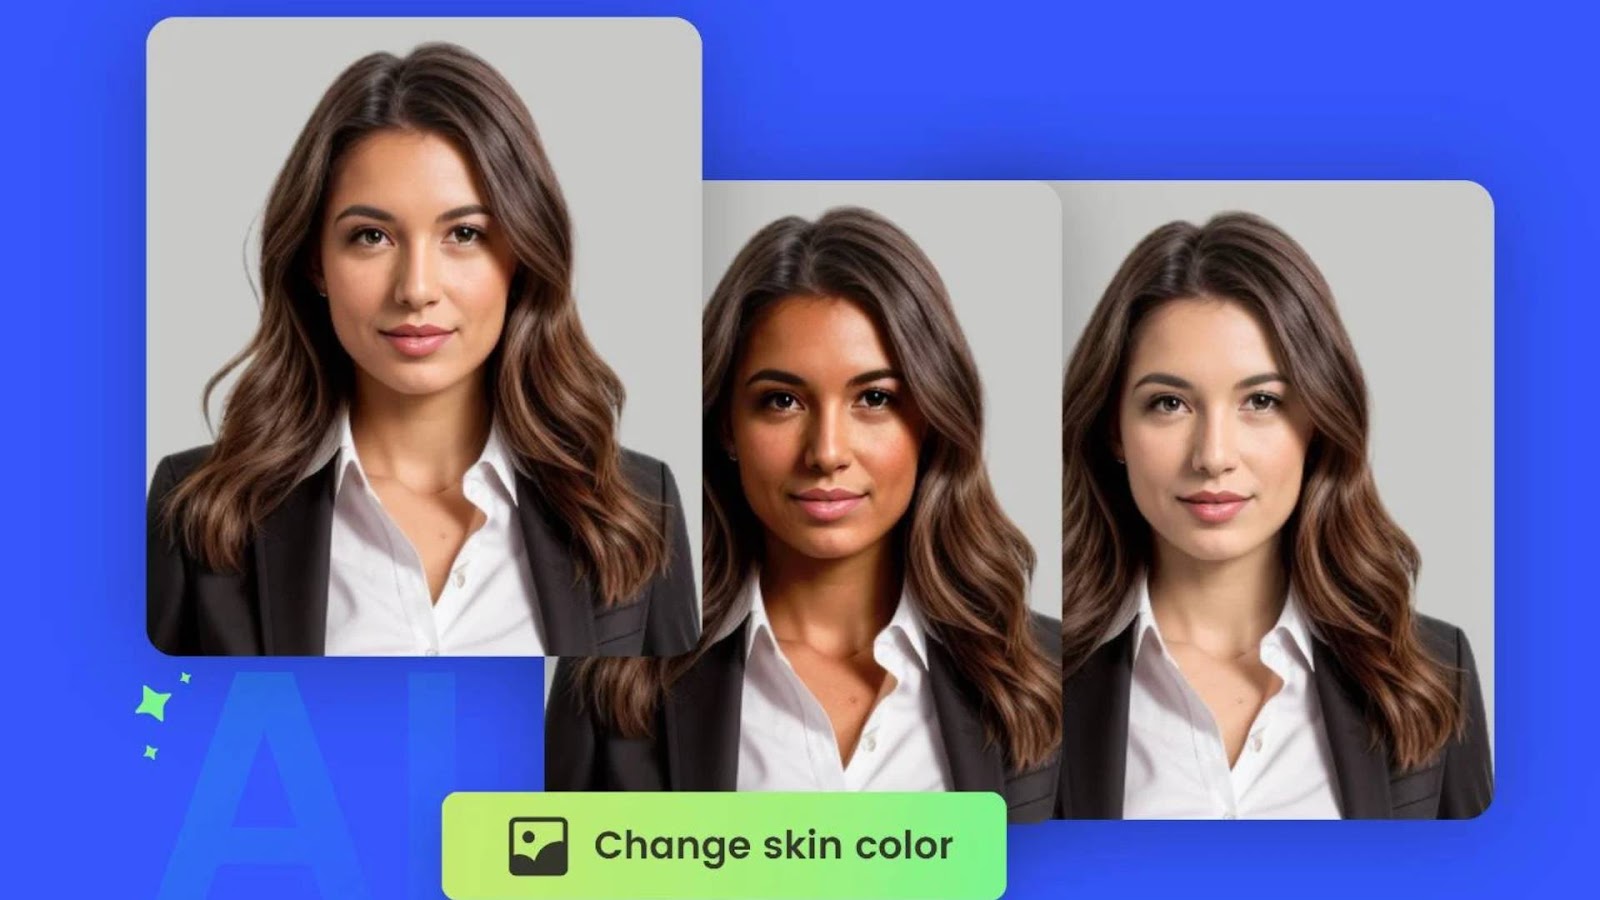
Now, with the Hue/Saturation adjustment layer selected, the “Properties” panel will appear. This is where the magic happens. You can begin to adjust the skin color in Photoshop by manipulating the “Hue” slider. Moving the Hue slider left or right shifts the skin tones along the color spectrum. For instance, moving the slider to the left might introduce more red tones to the skin, while moving it to the right can add yellow or greenish hues.
You can also use the “Saturation” slider to adjust the intensity of the skin color. Increasing the saturation makes the skin tones more vibrant and rich, while lowering it can make the skin appear more muted or natural. Be careful not to overdo the saturation, as this can make the skin look unnaturally bright or too intense.
When you adjust the hue, always be mindful of the overall image. The skin tone should still match the lighting of the scene and appear natural in relation to the other colors in the image.
Step 5: Use Color Balance for More Precision
If you want to fine-tune the skin tone and make it look even more realistic, using the “Color Balance” tool can be incredibly helpful. The Color Balance tool allows you to adjust the red, green, and blue channels in different tonal areas: shadows, midtones, and highlights. This can make subtle changes to the skin tone, helping you get the exact result you want.
For example, if the skin looks too cool (blue or purple), you can add more red or yellow to warm it up. Conversely, if the skin appears too orange or yellow, you can adjust the blue or green channels to cool it down. Using Color Balance gives you the flexibility to tweak the image until the skin tone appears perfectly balanced and natural.
To apply the Color Balance adjustment, go to “Image” > “Adjustments” > “Color Balance,” and then adjust the sliders to achieve your desired result. Make sure to keep the skin tones looking realistic by adjusting the shadows, midtones, and highlights separately.
Step 6: Mask Out Areas Not Affected by Skin Tone Adjustments
After adjusting the skin tone, it’s time to make sure the changes you’ve made don’t affect other parts of the image. This is where the layer mask comes in. If you’ve used an adjustment layer, you’ll see a layer mask thumbnail in the Layers panel.
Click on the layer mask, and using a soft brush with low opacity, paint over areas where the skin tone adjustments should not apply. For example, you might not want to change the color of the eyes, hair, or clothing, so use a black brush to mask out these areas.
Remember that the layer mask is a non-destructive tool, so you can always go back and adjust it if needed. The key to creating a flawless skin tone change is to be meticulous with your mask and only apply the changes where necessary.
Step 7: Refine the Edges for a Smooth Transition
Once you’ve adjusted the skin tone and refined the mask, you’ll want to make sure the transition between the skin and other areas of the image is smooth and seamless. Sometimes, the edges of the selection can appear harsh or unnatural.
To fix this, zoom in on the edges and use a soft brush tool with low opacity to gently blend the skin tone into the surrounding areas. You can also use the “Feather” tool in the selection menu to soften the edges of your skin selection, which will help create a more natural transition between the edited skin and the rest of the image.
Step 8: Check the Overall Image for Balance
After making adjustments to the skin tone, it’s essential to step back and evaluate the image as a whole. Look at how the skin tone blends with the lighting and shadows in the image. If the skin appears too flat or unnatural, you can make additional adjustments to ensure everything looks cohesive.
You can also use the “Brightness/Contrast” adjustment layer to make the skin tone appear more balanced with the rest of the image. Sometimes, adjusting the brightness or contrast can enhance the skin tones and help them pop in the image.
Additional Tips for Perfecting Skin Tone Adjustments
As you continue working with Photoshop to change skin color, there are a few additional tips that can help you achieve flawless results:
- Work with Layers: Always use layers for every adjustment, whether it’s hue, saturation, or brightness. This allows you to make changes non-destructively and gives you more flexibility.
- Use the Clone Stamp Tool: If there are imperfections or blemishes on the skin that you want to correct while adjusting the skin tone, the Clone Stamp tool is a great way to smooth out the skin and make it look flawless.
- Keep an Eye on Realism: While it can be tempting to go bold with skin tone adjustments, it’s important to remember that the goal is often to achieve a natural look. Pay attention to the subtle variations in skin tones, and make sure the changes appear realistic.
- Experiment with Layer Opacity: If your skin tone adjustments look too harsh or intense, lowering the opacity of your adjustment layers can help create a more subtle, natural effect.
Conclusion
Knowing how to change skin color in Photoshop is an invaluable skill for anyone working with portraits or personal images. Whether you’re aiming to enhance an image, correct color inconsistencies, or simply improve the overall appearance of the skin, Photoshop provides the tools necessary to make it happen.
By following the steps outlined above, you can confidently adjust skin tones and achieve professional-quality results. With practice, you’ll get better at selecting the right colors and making subtle adjustments to perfect your edits. The ability to change skin color in Photoshop not only enhances your images but also provides a creative outlet for transforming photos into stunning works of art.


