

Shadows can be the secret sauce that transforms a flat image into a stunningly realistic one. Whether you’re a seasoned photographer or a novice just getting into photo editing, mastering the art of shadows can take your work to the next level. In this guide, we’ll dive deep into advanced shadow techniques, ensuring your edited photos look as natural and dynamic as possible.
Understanding Shadows in Photography
Types of Shadows
Shadows come in various forms, each adding a unique element to your photos. Hard shadows are stark and defined, often resulting from a direct light source. Soft shadows, on the other hand, are gentle and diffuse, typically created by diffused light. Knowing when to use each type can significantly affect the mood and depth of your images.
The Role of Lighting
Lighting is the foundation of shadows. The position, intensity, and color of your light sources determine the appearance of shadows. Understanding how light interacts with objects helps you create shadows that are realistic and compelling.
Essential Tools for Shadow Editing
Software Options
Choosing the right software is crucial. Adobe Photoshop is a favorite among professionals due to its extensive capabilities. Lightroom is great for global adjustments, while GIMP offers powerful tools for those on a budget. Each software has unique features that can aid in shadow creation and manipulation.
Basic Tools Overview
Layers, masks, brushes, and gradient tools are your best friends when it comes to shadow editing. Layers allow you to work non-destructively, while masks help you control where shadows appear. Brushes can simulate natural shadow edges, and gradients can create smooth transitions.
Creating Realistic Shadows
Principles of Shadow Creation
Realistic shadows follow the principles of light physics. They fade as they move away from the object casting them, and their edges blur depending on the light source’s hardness. Start by understanding these principles, then apply them using digital tools.
Using Layers and Masks
Layers and masks provide control and flexibility. Create a new layer for your shadow and use a mask to refine its shape and transparency. This method allows you to adjust the shadow without affecting the original image.
Shadow Placement and Perspective
Matching Light Sources
Your shadows must align with the light sources in your image. If the light comes from the left, shadows should fall to the right. Consistency in light direction is key to maintaining realism.
Perspective Accuracy
Shadows should mimic the perspective of the scene. Objects closer to the light source cast longer shadows, while those farther away cast shorter ones. Adjust your shadows to match the perspective for a seamless look.
Enhancing Natural Shadows
Techniques for Deepening Shadows
Deepening existing shadows can add depth. Use adjustment layers to darken shadows subtly. Avoid making them pitch black; instead, aim for a natural gradient that enhances the image.
Adjusting Shadow Opacity
Opacity adjustments can make or break the realism of your shadows. Lower opacity creates softer shadows, while higher opacity results in more defined shadows. Adjust opacity based on the light source and the shadow’s proximity to the object.
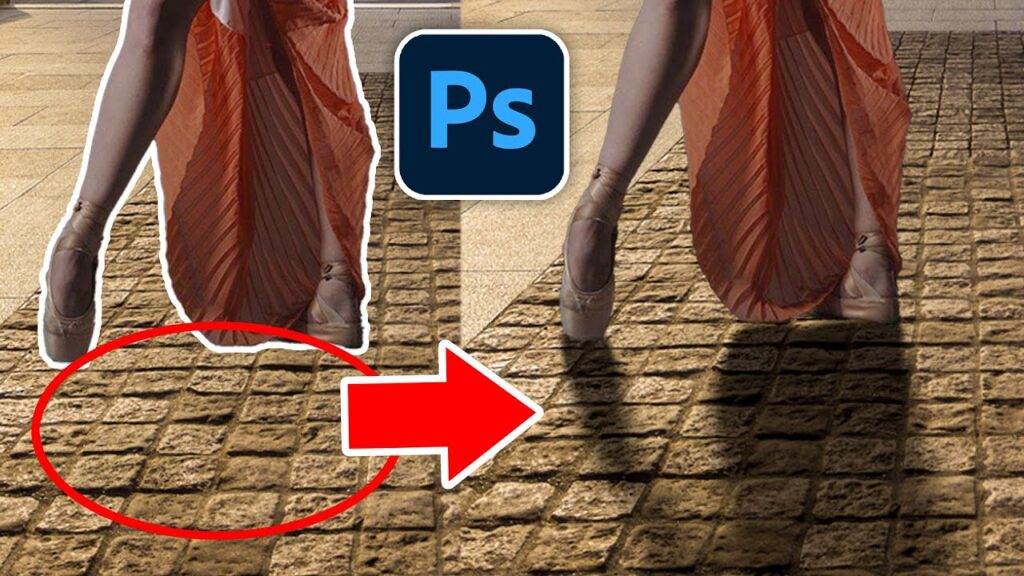
Adding Shadows to Isolated Objects
Shadow Creation for Cut-Outs
When adding shadows to isolated objects, consider the object’s shape and the light source. Use a combination of soft brushes and gradients to create a shadow that feels grounded in the scene.
Blending Shadows with Backgrounds
Blending shadows with backgrounds ensures they don’t look out of place. Match the shadow’s color and intensity with the background’s light conditions to achieve a cohesive look.
Soft Shadows vs. Hard Shadows
When to Use Each Type
Soft shadows are ideal for diffused light conditions, such as cloudy days or indoor shots with multiple light sources. Hard shadows work well for strong, direct light, like sunlight or a spotlight.
Techniques for Creating Both
For soft shadows, use large, soft brushes and lower opacity. For hard shadows, smaller, harder brushes and higher opacity will do the trick. Blend edges carefully to avoid harsh transitions.
Color and Temperature of Shadows
Adjusting Shadow Color
Shadows aren’t always gray or black. They often take on a hint of ambient light. Adjust the shadow color to match the scene’s overall color temperature for added realism.
Temperature Effects on Shadows
Warm light sources, like the setting sun, cast warmer shadows. Cooler light, like overcast skies, casts cooler shadows. Match your shadow temperature to the light source for consistency.
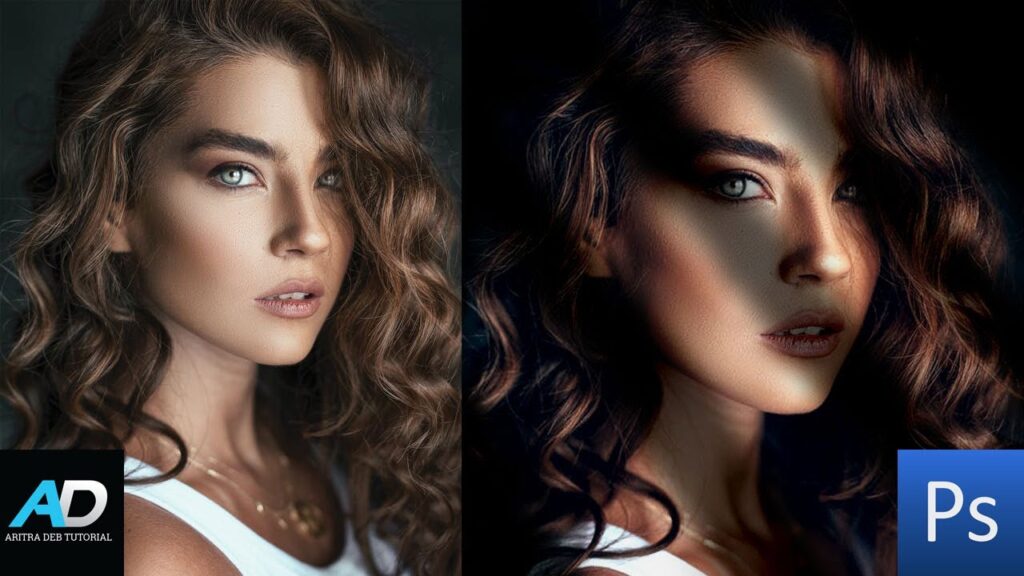
Shadow Effects in Portrait Editing
Enhancing Facial Features
Shadows can enhance facial features by adding depth and dimension. Use shadows to accentuate cheekbones, jawlines, and other facial contours. Be subtle to avoid unnatural results.
Creating Depth and Dimension
Shadows can make your subjects pop. Apply shadows strategically to create a sense of depth, making the portrait more engaging and lifelike.
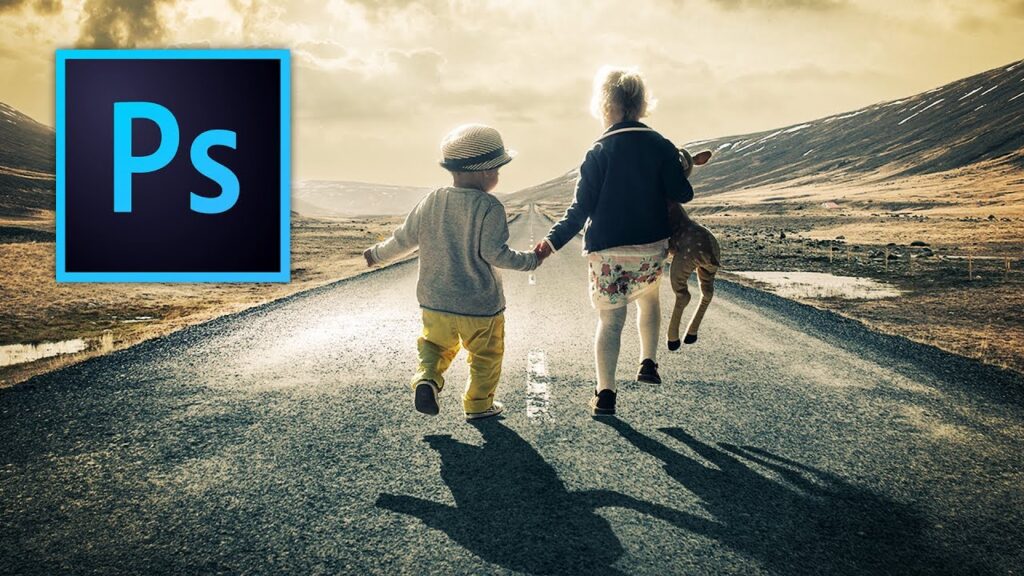
Environmental Shadow Techniques
Adding Shadows in Landscape Photography
Shadows in landscapes can create a sense of time and place. Use them to highlight the contours of the land and add drama to your photos.
Simulating Natural Light Conditions
Simulate natural light conditions by paying attention to the direction and quality of light. This approach helps in creating shadows that feel integral to the environment.
Shadow Manipulation for Artistic Effect
Creative Shadow Uses
Shadows aren’t just for realism; they can be used creatively. Experiment with unusual angles and shapes to create artistic compositions that stand out.
Abstract and Surreal Shadow Techniques
Abstract and surreal shadows can transform ordinary photos into extraordinary works of art. Play with perspective and light sources to create shadows that defy reality.
Avoiding Common Shadow Editing Mistakes
Overdoing Shadows
Less is often more with shadows. Overdone shadows can look unnatural and distracting. Aim for subtlety and realism.
Inconsistent Light Sources
Ensure all shadows in your image align with the same light source. Inconsistent lighting can break the illusion and make your edits look unprofessional.
Advanced Shadow Techniques in Different Software
Photoshop Tips and Tricks
Photoshop offers numerous advanced tools for shadow editing. Use layer styles, blending modes, and smart objects to refine your shadows.
Lightroom Shadow Adjustments
Lightroom excels in global adjustments. Use the shadow slider and local adjustment tools to tweak shadows across your image efficiently.
GIMP and Other Free Software
GIMP provides powerful shadow tools for those on a budget. Explore its layer and mask functionalities to achieve professional-level results.
Conclusion
Mastering advanced shadow techniques can dramatically improve your photo editing skills. By understanding the principles of light and shadow, using the right tools, and applying creative techniques, you can create stunning, realistic, and artistic images. So, dive into your editing software and start experimenting with shadows today!
FAQs
How can I make my shadows look more realistic? Focus on matching the light source, adjusting opacity, and blending edges carefully. Use layers and masks for better control.
What are the best tools for shadow editing? Adobe Photoshop, Lightroom, and GIMP are excellent choices. Each offers unique tools that cater to different aspects of shadow editing.
How do I match shadows with multiple light sources? Analyze the direction and intensity of each light source. Create shadows that align with each source, adjusting opacity and blur to match their respective qualities.
Can shadows change the mood of a photo? Absolutely! Shadows can add drama, depth, and emotion, significantly influencing the mood of your photo.


