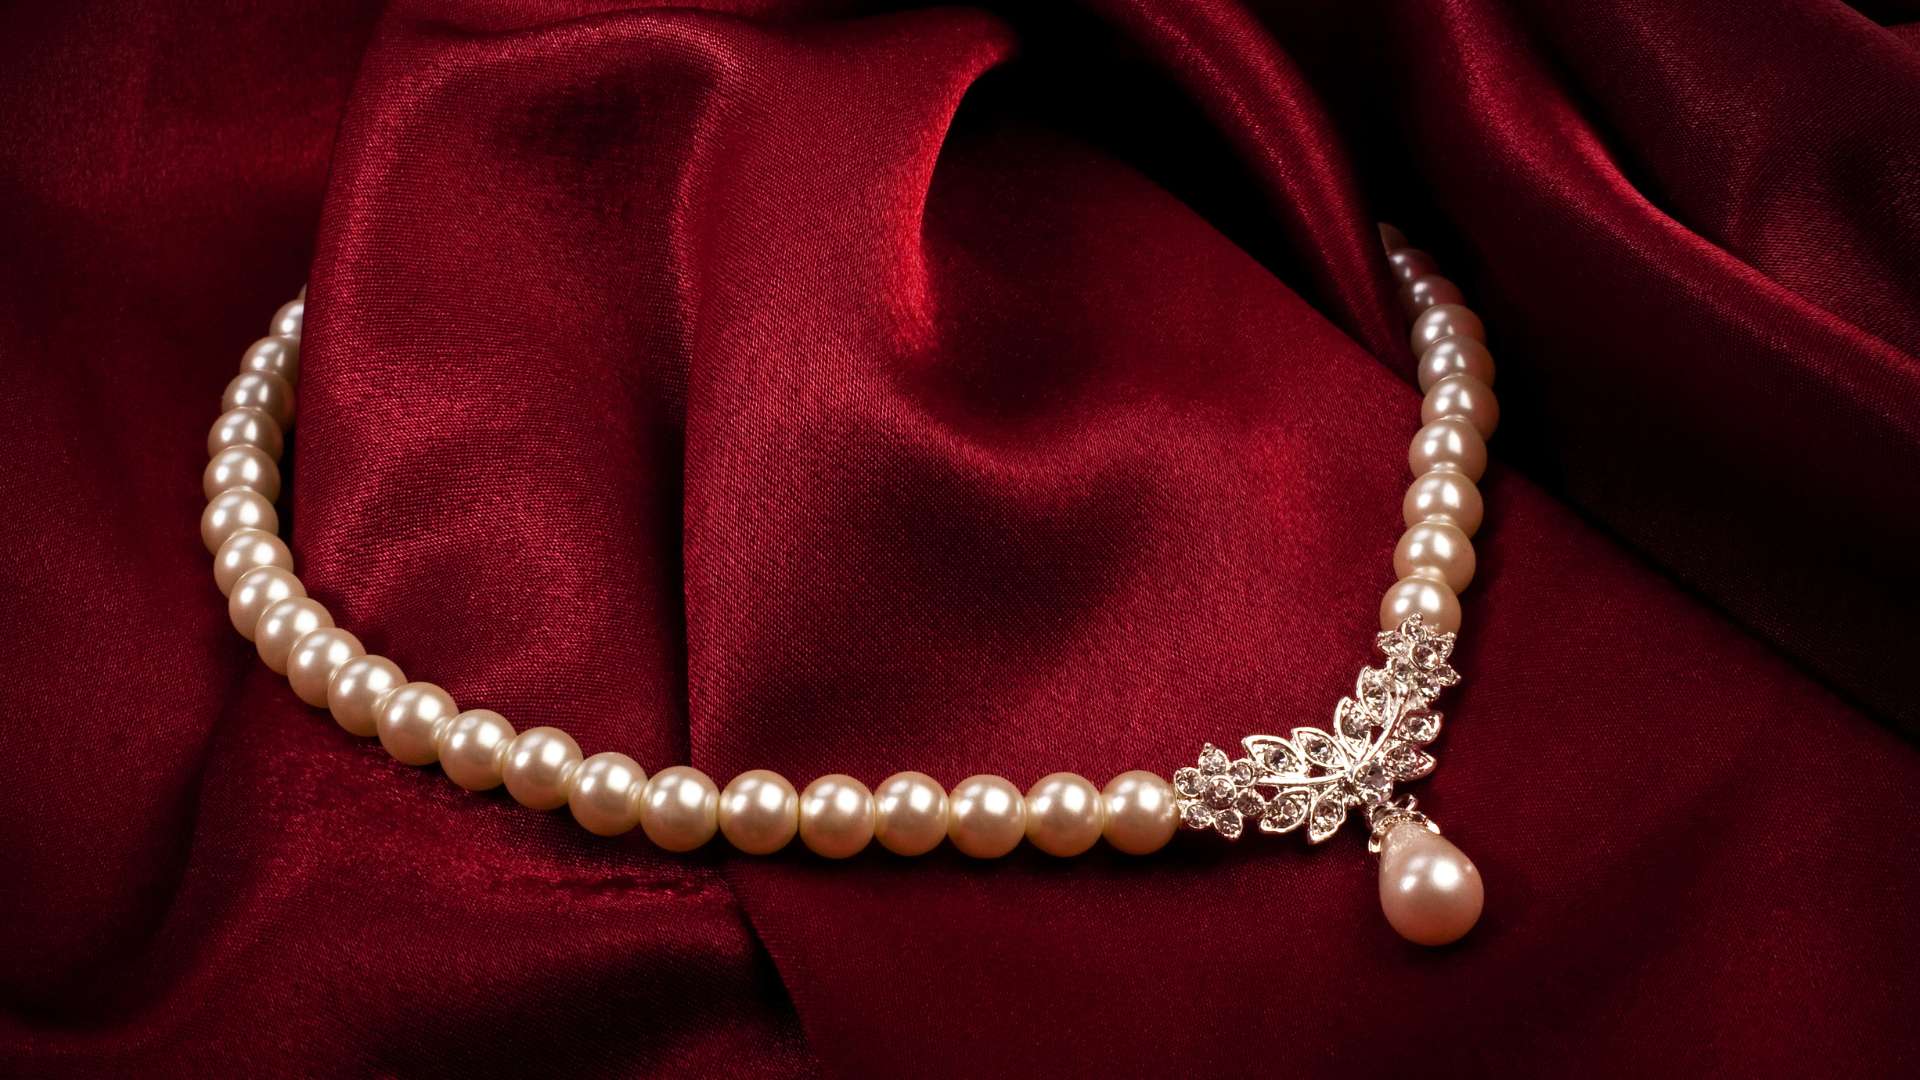
Whether you’re a jewelry designer or a jewelry store owner, you know that beautiful, eye-catching product photos are key to selling your pieces. But you don’t need to be a professional photographer to get stunning results – with a few simple edits in Photoshop, you can make your jewelry sparkle and shine like never before! Read on to learn how to edit jewelry photos in Photoshop.
Whether you’re just starting out in the jewelry business or have been in the game for years, having professional product images is key to success. Jewelry photo editing is an essential part of the process to ensure that the product images have a crisp white background and the jewelry itself is displayed in the best light. By investing in professional jewelry photo editing services, you can create an eye-catching portfolio that will draw in customers and help set your business apart from the competition. With the right techniques and tools, a skilled jeweler can turn any photo into a stunning piece of art that will help sell your product.
An Overview of how to edit jewelry photos in photoshop
Edit jewelry product photos using photoshop can be a great way to make them look even more beautiful and eye-catching. With the right tools, you can easily adjust the colors, shadows, and highlights to bring out the best features of each piece. Plus, you can add special effects and textures to make the photos look even more professional. The possibilities are endless, and it’s a great way to show off your jewelry designs in the best light.
Jewelry photo retouching is an art form that requires a skilled eye and a steady hand. Using Photoshop, jewelry photo retouching using photoshop you can take a photo of a piece of jewelry and make it look even more stunning. Whether you want to adjust the color, remove any blemishes, or even add a special effect, Photoshop is the best tool for the job. Jewelry photo retouching is a skill that requires patience and practice, but it can be a great way to make your jewelry photos stand out from the crowd.
Jewelry photography is a delicate art that requires skill and expertise to create stunning visuals. One of the most important tools used in jewelry photography is the spot healing brush tool. This tool allows photographers to create natural shadow and retouching services, as well as post processing and editing software. With the help of the pen tool , photographers can create smooth lines and curves for jewelry pieces, along with a range of effects such as adding glimmer, sparkle, and shine. Additionally, photographers can use the clone tool to create a professional finish to their work. Advanced photographers may also use advanced lighting techniques to create a three-dimensional effect, as well as to bring out the details in the jewelry. Ultimately, the goal of jewelry photography is to create a beautiful and memorable image that draws attention and inspires the viewer to purchase the product.
1: Step One: Prepping and Cleaning the Image
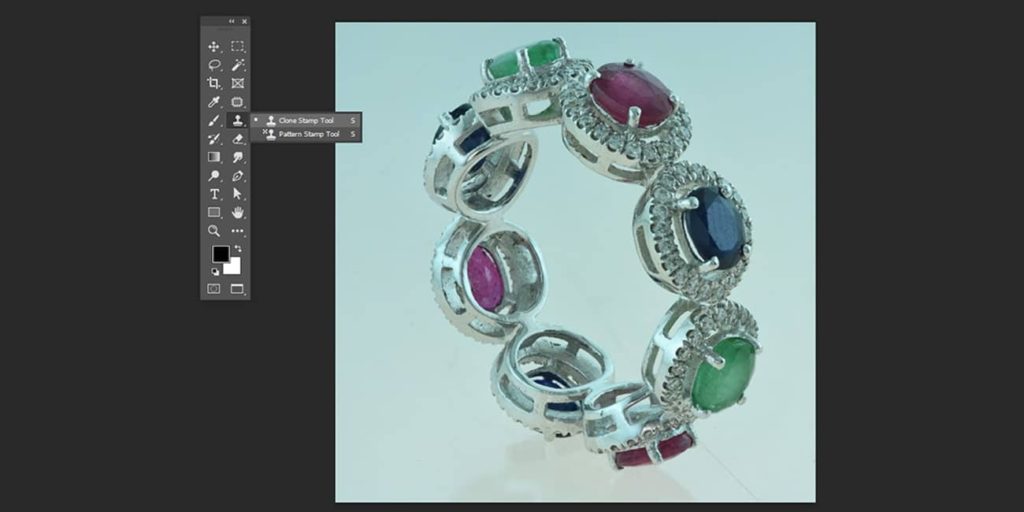
Before you can start editing the image you’ve chosen, it’s important to make sure it’s prepped and cleaned. This involves removing any dust or blemishes, adjusting the white balance, and sharpening the image. Once these steps are complete, you’ll be ready to start the editing process and transform your image into the perfect piece of artwork.
2: Step Two: Applying Color Corrections and Setting Highlights and Shadows
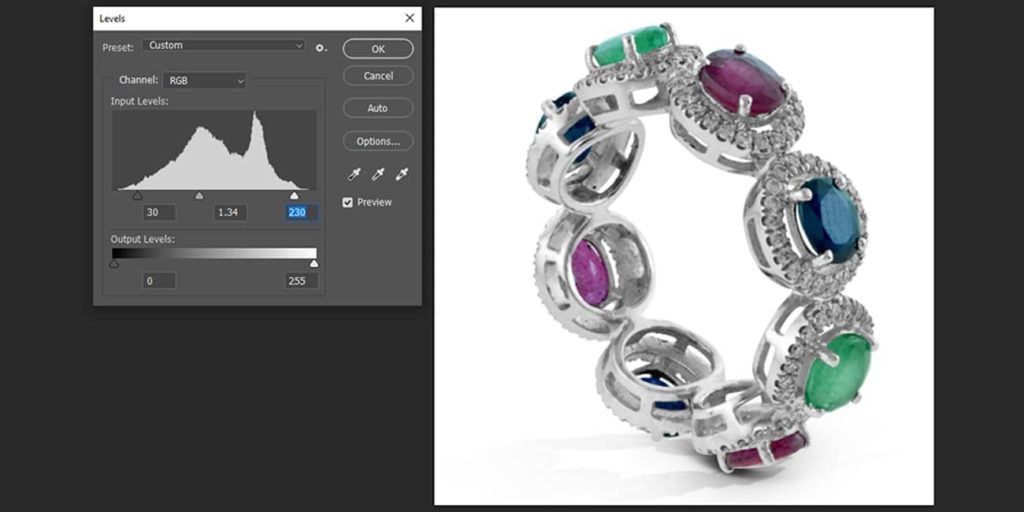
Color corrections and setting highlights and shadows can make a world of difference when it comes to your photographs. By applying color corrections and setting the highlights and shadows, you can bring out the details in your photos that you didn’t even know were there. Whether you’re a professional photographer or a beginner, these techniques can take your photos to the next level.
3: Step Three: Enhancing the Sparkle and Shine with Contrast and Clarity
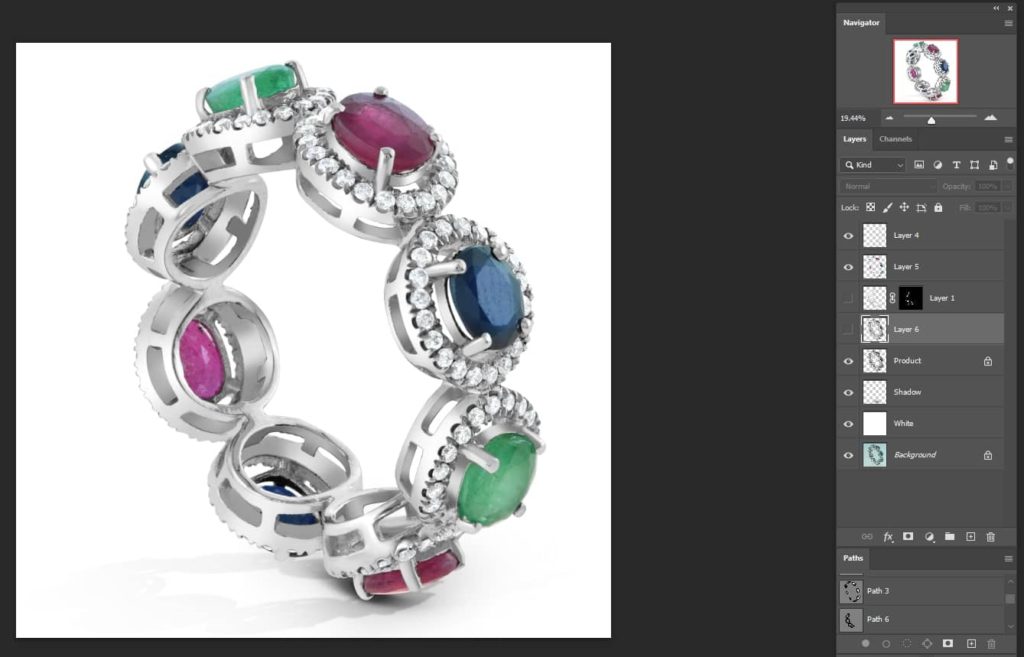
Once you’ve got a good foundation in place, it’s time to enhance the sparkle and shine of your project. Step three is all about contrast and clarity. By adding a few bold colors, or adjusting the brightness and contrast of your design, you can make your project really stand out. You can also use clarity techniques, such as increasing the sharpness of images or improving the legibility of text. Finally, try adding visual interest or texture by using embossing, gradients, or textures.
4: Step Four: Adding Finishing Touches with Bokeh, Glows, and Special Effects
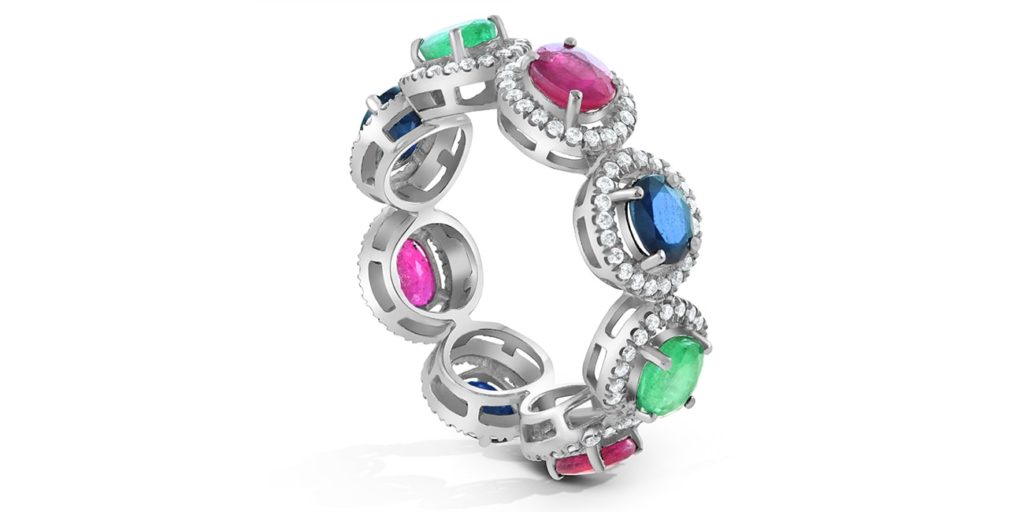
Once you’ve finished the basics of your photo editing, you can add the perfect finishing touches with bokeh, glows, and special effects. Bokeh is an effect that gives your photo a soft, blurred background, while glows add a subtle but beautiful highlight to your image. Special effects are a great way to make your photos stand out and they can be used to enhance the mood and feel of the photo.
5: Conclusion: Achieving Professional-Looking Jewelry Photos with Photoshop
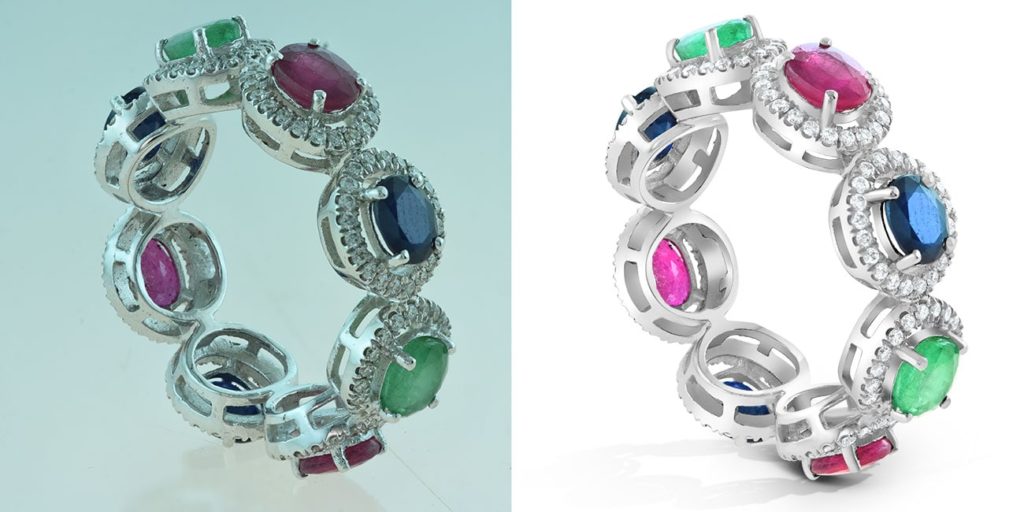
After learning the basics of how to use Photoshop to enhance your jewelry photos, you can now confidently create professional-looking images of your jewelry. With a few simple steps, you can easily adjust lighting, color, and composition to make your jewelry look its best. With some practice, you’ll be able to create beautifully, captivating jewelry images that will help you stand out from the competition and attract more customers.


