


Introduction
Lighting is a fundamental element in photography, particularly in headshots where the goal is to capture a clear, engaging, and professional image. The quality of lighting can make a significant difference in how a headshot turns out, affecting everything from the model’s appearance to the overall mood of the photograph. This article explores the best lighting techniques for headshots, providing insights into natural and studio lighting, key lighting techniques, and practical tips for achieving the perfect shot.

Understanding Lighting Basics for Headshots
The Role of Lighting in Photography
Lighting is crucial in photography as it defines the visual qualities of the image, including brightness, contrast, and texture. In headshot photography, effective lighting ensures that the subject’s face is well-illuminated, free of harsh shadows, and highlights their features in a flattering manner. Proper lighting can also convey different moods and enhance the overall impact of the photograph.
Types of Lighting Used in Headshots
There are several types of lighting used in headshot photography, including natural light, studio light, and artificial light sources. Natural light refers to sunlight or ambient daylight, which can provide a soft and natural look. Studio lighting involves various equipment such as strobes, softboxes, and reflectors to control and manipulate light. Artificial lighting includes lamps, LED panels, and other light sources that can be adjusted for different effects.
How Lighting Affects the Mood and Clarity of a Headshot
Lighting affects the mood and clarity of a headshot by influencing the overall tone and texture of the image. Soft lighting can create a gentle, flattering effect, while harsh lighting can produce strong shadows and highlight imperfections. The direction and quality of light also impact how facial features are portrayed, making it essential to choose the right lighting technique to achieve the desired look.
Natural Lighting Techniques
Benefits of Using Natural Light
Natural light is a popular choice for headshots due to its soft, flattering qualities and the ease with which it can be used. It provides a natural, well-balanced illumination that reduces the need for additional equipment. Natural light can also enhance the subject’s skin tone and create a more genuine, approachable look in the headshot.
Best Practices for Shooting in Natural Light
When using natural light for headshots, it’s important to consider the time of day and the quality of light. Early morning and late afternoon provide soft, diffused light that is ideal for flattering headshots. Position the subject near a large window or in an open shade to avoid harsh direct sunlight. Use reflectors to fill in shadows and ensure even lighting across the subject’s face. Experiment with different angles and positions to find the most flattering natural light setup.
Examples of Natural Light Setups for Headshots
A popular natural light setup involves placing the subject next to a large window with sheer curtains to diffuse the light. This setup creates a soft, even illumination that minimizes shadows and highlights the subject’s features gently. Another effective technique is to shoot in open shade outdoors, where the light is diffused by the surrounding environment. This setup can produce a natural, balanced look that enhances the subject’s appearance.
Studio Lighting Techniques
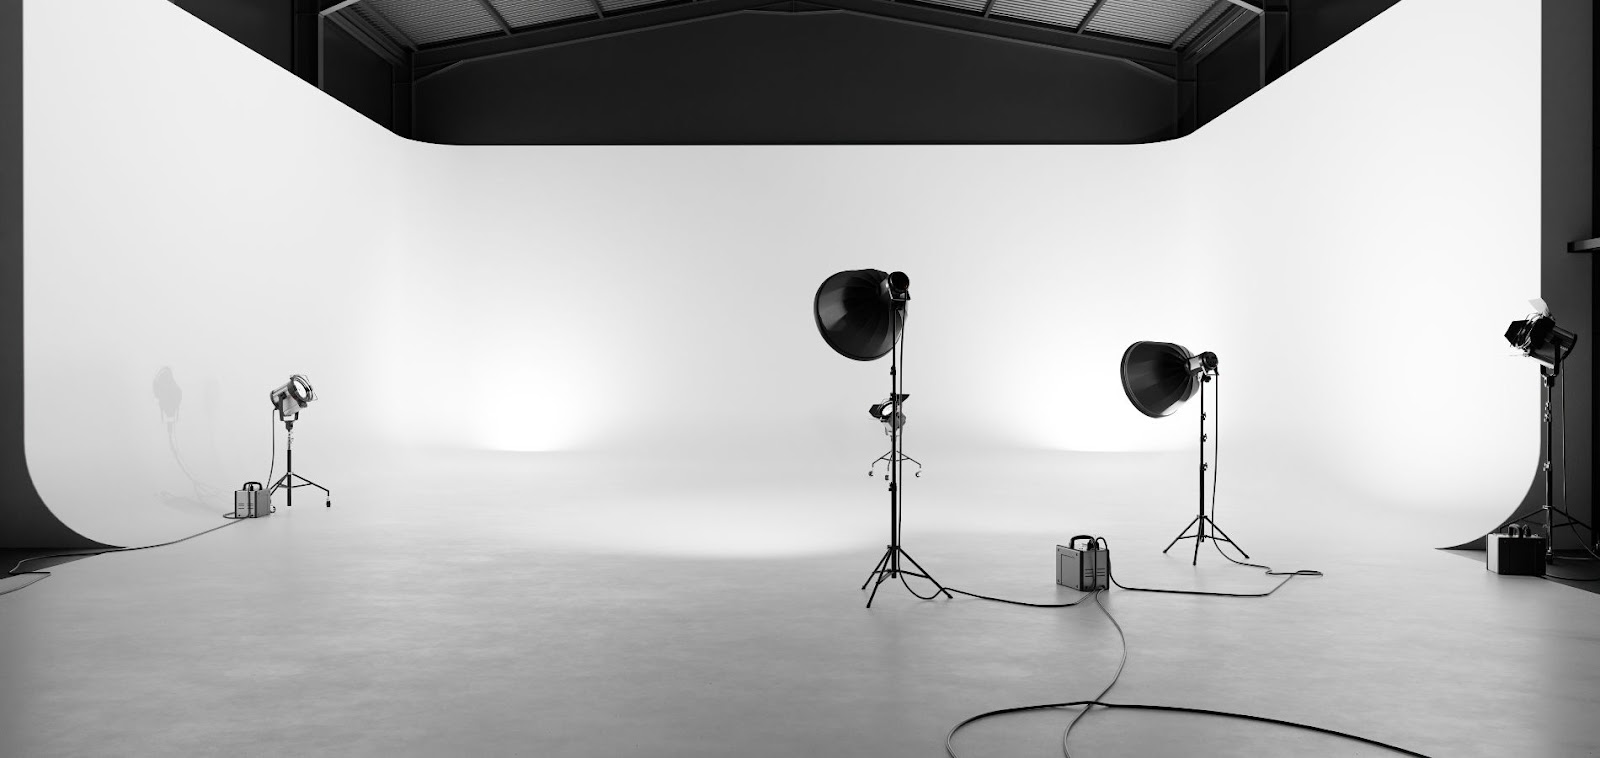
Advantages of Studio Lighting
Studio lighting offers precise control over the lighting setup, allowing for consistent and customizable results. It enables photographers to create a range of effects, from dramatic to subtle, and to address specific lighting challenges. Studio lighting can also be adjusted to accommodate different facial features and preferences, making it a versatile option for professional headshots.
Essential Studio Lighting Equipment for Headshots
Essential studio lighting equipment for headshots includes key lights, fill lights, and backdrops. Key lights, such as softboxes for strobes, provide the primary illumination and shape the subject’s features. Fill lights are used to soften shadows and reduce contrast. Backgrounds and reflectors can be used to enhance the overall composition and lighting effect. Investing in high-quality lighting equipment and understanding its use is crucial for achieving professional headshots.
Common Studio Lighting Setups and Their Effects
Common studio lighting setups for headshots include the butterfly lighting, Rembrandt lighting, and split lighting techniques. Butterfly lighting involves placing the key light directly in front of the subject, creating a soft, symmetrical illumination with a butterfly-shaped shadow under the nose. Rembrandt lighting positions the key light at a 45-degree angle to the subject, producing a classic triangular shadow on the cheek. Split lighting places the key light directly to the side of the subject, creating a dramatic effect with one half of the face lit and the other in shadow.
Key Lighting Techniques
Butterfly Lighting: Definition and Benefits
Butterfly lighting, also known as Paramount lighting, is a popular technique in headshot photography that creates a flattering, symmetrical illumination. The key light is positioned directly in front of and slightly above the subject, casting a soft shadow under the nose that resembles a butterfly. This setup highlights the cheekbones and provides a smooth, even light across the face. Butterfly lighting is ideal for creating a classic, glamorous look and is commonly used in fashion and beauty photography.
Rembrandt Lighting: How to Achieve It and Its Impact
Rembrandt lighting is characterized by a distinct triangular patch of light on the subject’s cheek, named after the painter Rembrandt who used similar lighting in his portraits. To achieve Rembrandt lighting, position the key light at a 45-degree angle to the subject and slightly above eye level. This setup creates a dramatic, yet balanced look, emphasizing the subject’s facial contours and adding depth to the image. Rembrandt lighting is suitable for creating a strong, professional appearance and is often used in corporate and actor headshots.
Split Lighting: Uses and Effects on Headshots
Split lighting involves positioning the key light directly to the side of the subject, resulting in one half of the face being illuminated and the other half in shadow. This technique creates a high-contrast, dramatic effect that highlights the subject’s features and adds a sense of mystery or intensity to the image. Split lighting is often used to convey strength and character, making it a popular choice for actor headshots and more dynamic portraits.
Using Reflectors and Diffusers
The Purpose of Reflectors in Headshot Photography
Reflectors are used to bounce light back onto the subject, reducing shadows and providing more even illumination. They can be placed opposite the key light to fill in shadows or to add highlights to specific areas of the face. Reflectors come in various materials and sizes, including white, silver, and gold, each offering different lighting effects. Using a reflector effectively can enhance the quality of the headshot and ensure a well-balanced exposure.
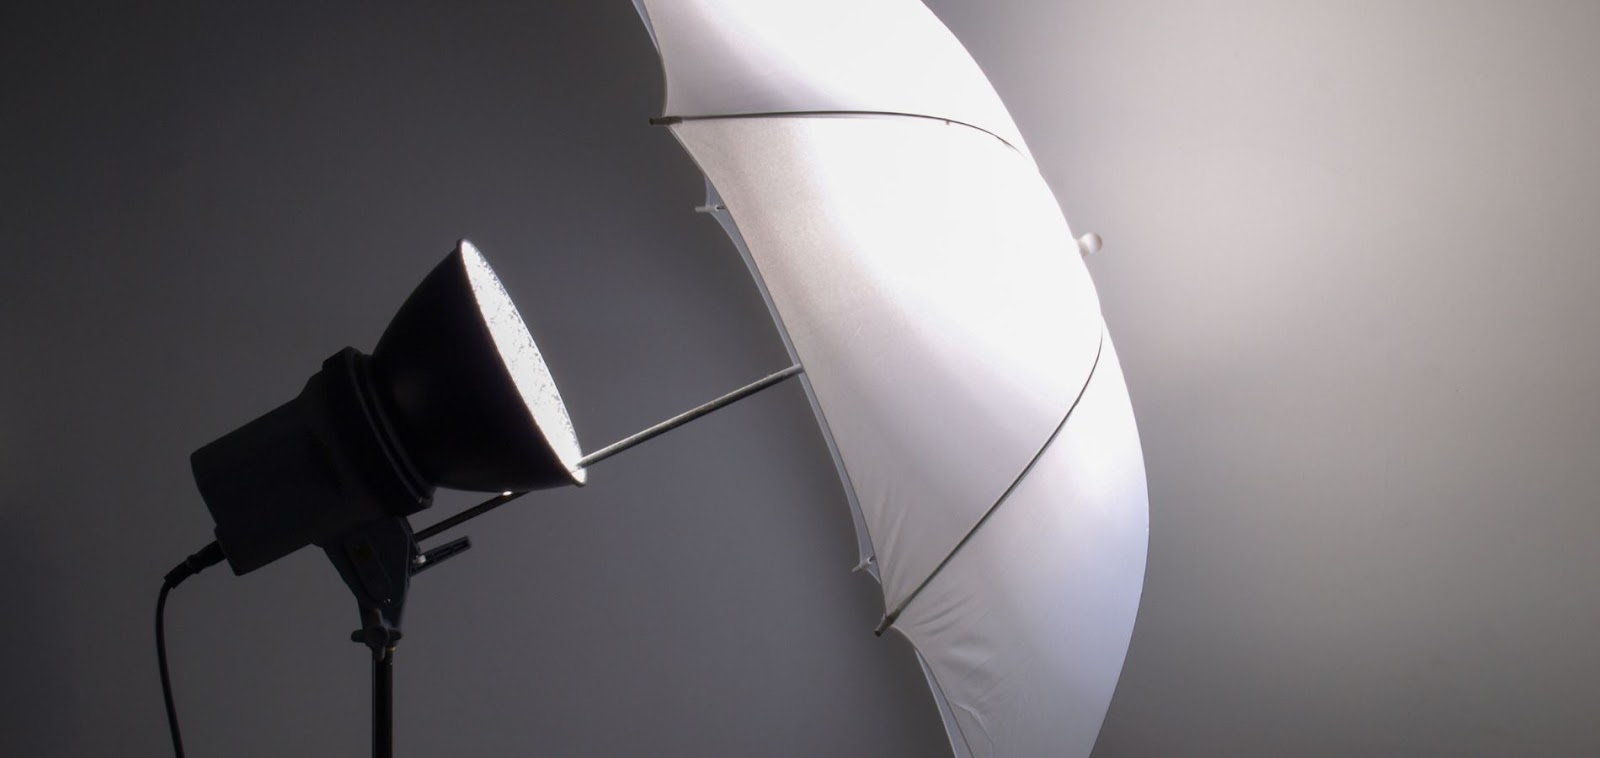
How Diffusers Improve Lighting Quality
Diffusers are used to soften and diffuse light, creating a more even and flattering illumination. They are typically placed between the light source and the subject to reduce harsh shadows and create a gentle, diffuse light. Diffusers can be in the form of softboxes, umbrellas, or fabric panels. Using a diffuser helps to create a smooth, natural look that minimizes imperfections and highlights the subject’s features more evenly.
Practical Tips for Using Reflectors and Diffusers Effectively
To use reflectors and diffusers effectively, position the reflector or diffuser at an angle that best complements the lighting setup. For reflectors, ensure they are placed to fill in shadows and add balance to the light. For diffusers, adjust the distance from the light source to control the intensity of the diffusion. Experiment with different setups to find the most flattering light for your headshot.

Lighting for Different Skin Tones and Features
Adapting Lighting for Various Skin Tones
Different skin tones require specific lighting adjustments to ensure a flattering and accurate representation. For lighter skin tones, avoid overly harsh lighting that can create glare or wash out details. For darker skin tones, use lighting setups that provide ample contrast and highlight the richness of the skin. Adjust the light intensity and use reflectors to ensure that all skin tones are represented naturally and beautifully.
Techniques for Highlighting Facial Features
To highlight facial features, adjust the lighting angle and intensity to emphasize key areas such as cheekbones, jawlines, and eyes. Use techniques like Rembrandt lighting or butterfly lighting to accentuate the subject’s features and create a well-defined look. Experiment with different lighting setups to find the most flattering way to showcase the subject’s unique attributes.
Case Studies Showcasing Different Lighting for Diverse Features
Reviewing case studies of headshots with various lighting techniques can provide insights into how different setups affect facial features. For example, a model with high cheekbones might benefit from butterfly lighting to enhance their bone structure, while a model with strong jawlines might use split lighting to create a dramatic effect. Analyzing these examples can help in selecting the most appropriate lighting technique for different facial features.

Avoiding Common Lighting Mistakes
Common Pitfalls in Headshot Lighting
Common lighting mistakes in headshot photography include harsh shadows, overexposure, and uneven lighting. Harsh shadows can create unflattering effects and obscure facial features, while overexposure can wash out details and reduce image quality. Uneven lighting can lead to inconsistent illumination, affecting the overall appearance of the headshot.
How to Correct Common Lighting Errors
To correct lighting errors, adjust the lighting setup to reduce harsh shadows and ensure even illumination. Use reflectors and diffusers to soften and balance the light, and monitor exposure levels to avoid overexposure. Regularly review and adjust the lighting setup during the shoot to address any issues and achieve the best results.
Tips for Achieving Professional Results
For professional results, ensure that the lighting setup is well-planned and executed. Experiment with different techniques and equipment to find the most flattering lighting for the subject. Collaborate with the photographer to make necessary adjustments and continuously review the results to achieve a polished and professional headshot.
Post-Processing and Enhancing Lighting
Basic Post-Processing Techniques to Improve Lighting
Post-processing can enhance the lighting of headshots by adjusting exposure, contrast, and color balance. Use photo editing software to fine-tune the lighting and correct any issues that may have arisen during the shoot. Basic adjustments can improve the overall quality of the headshot and ensure that the lighting appears natural and flattering.
Tools and Software for Enhancing Headshot Lighting
Several tools and software programs are available for enhancing headshot lighting, including Adobe Photoshop, Lightroom, and Capture One. These tools offer various features for adjusting brightness, contrast, and color balance. Familiarize yourself with these programs to effectively enhance and finalize headshots.
Balancing Natural and Studio Light in Post-Production
When working with a combination of natural and studio light, balance the two sources during post-production to achieve a cohesive look. Adjust the exposure and color balance to ensure that both light sources complement each other and enhance the subject’s appearance. This balancing act helps to create a harmonious and professional final image.
Conclusion
Mastering the best lighting techniques for headshots involves understanding the fundamentals of lighting, experimenting with different setups, and making adjustments to suit the subject’s features. From natural and studio lighting to key techniques and post-processing, each aspect contributes to achieving the perfect headshot. By applying these techniques and continuously refining your approach, you can create stunning headshots that capture the subject’s true essence and leave a lasting impression. Embrace the process, practice regularly, and let your creativity shine through in your lighting choices.


